I have to thank @Wechnivag Gavin for pointing out the red tint seen on the pics, thanks to him I made the effort to recalibrate the projector again after 2 years…
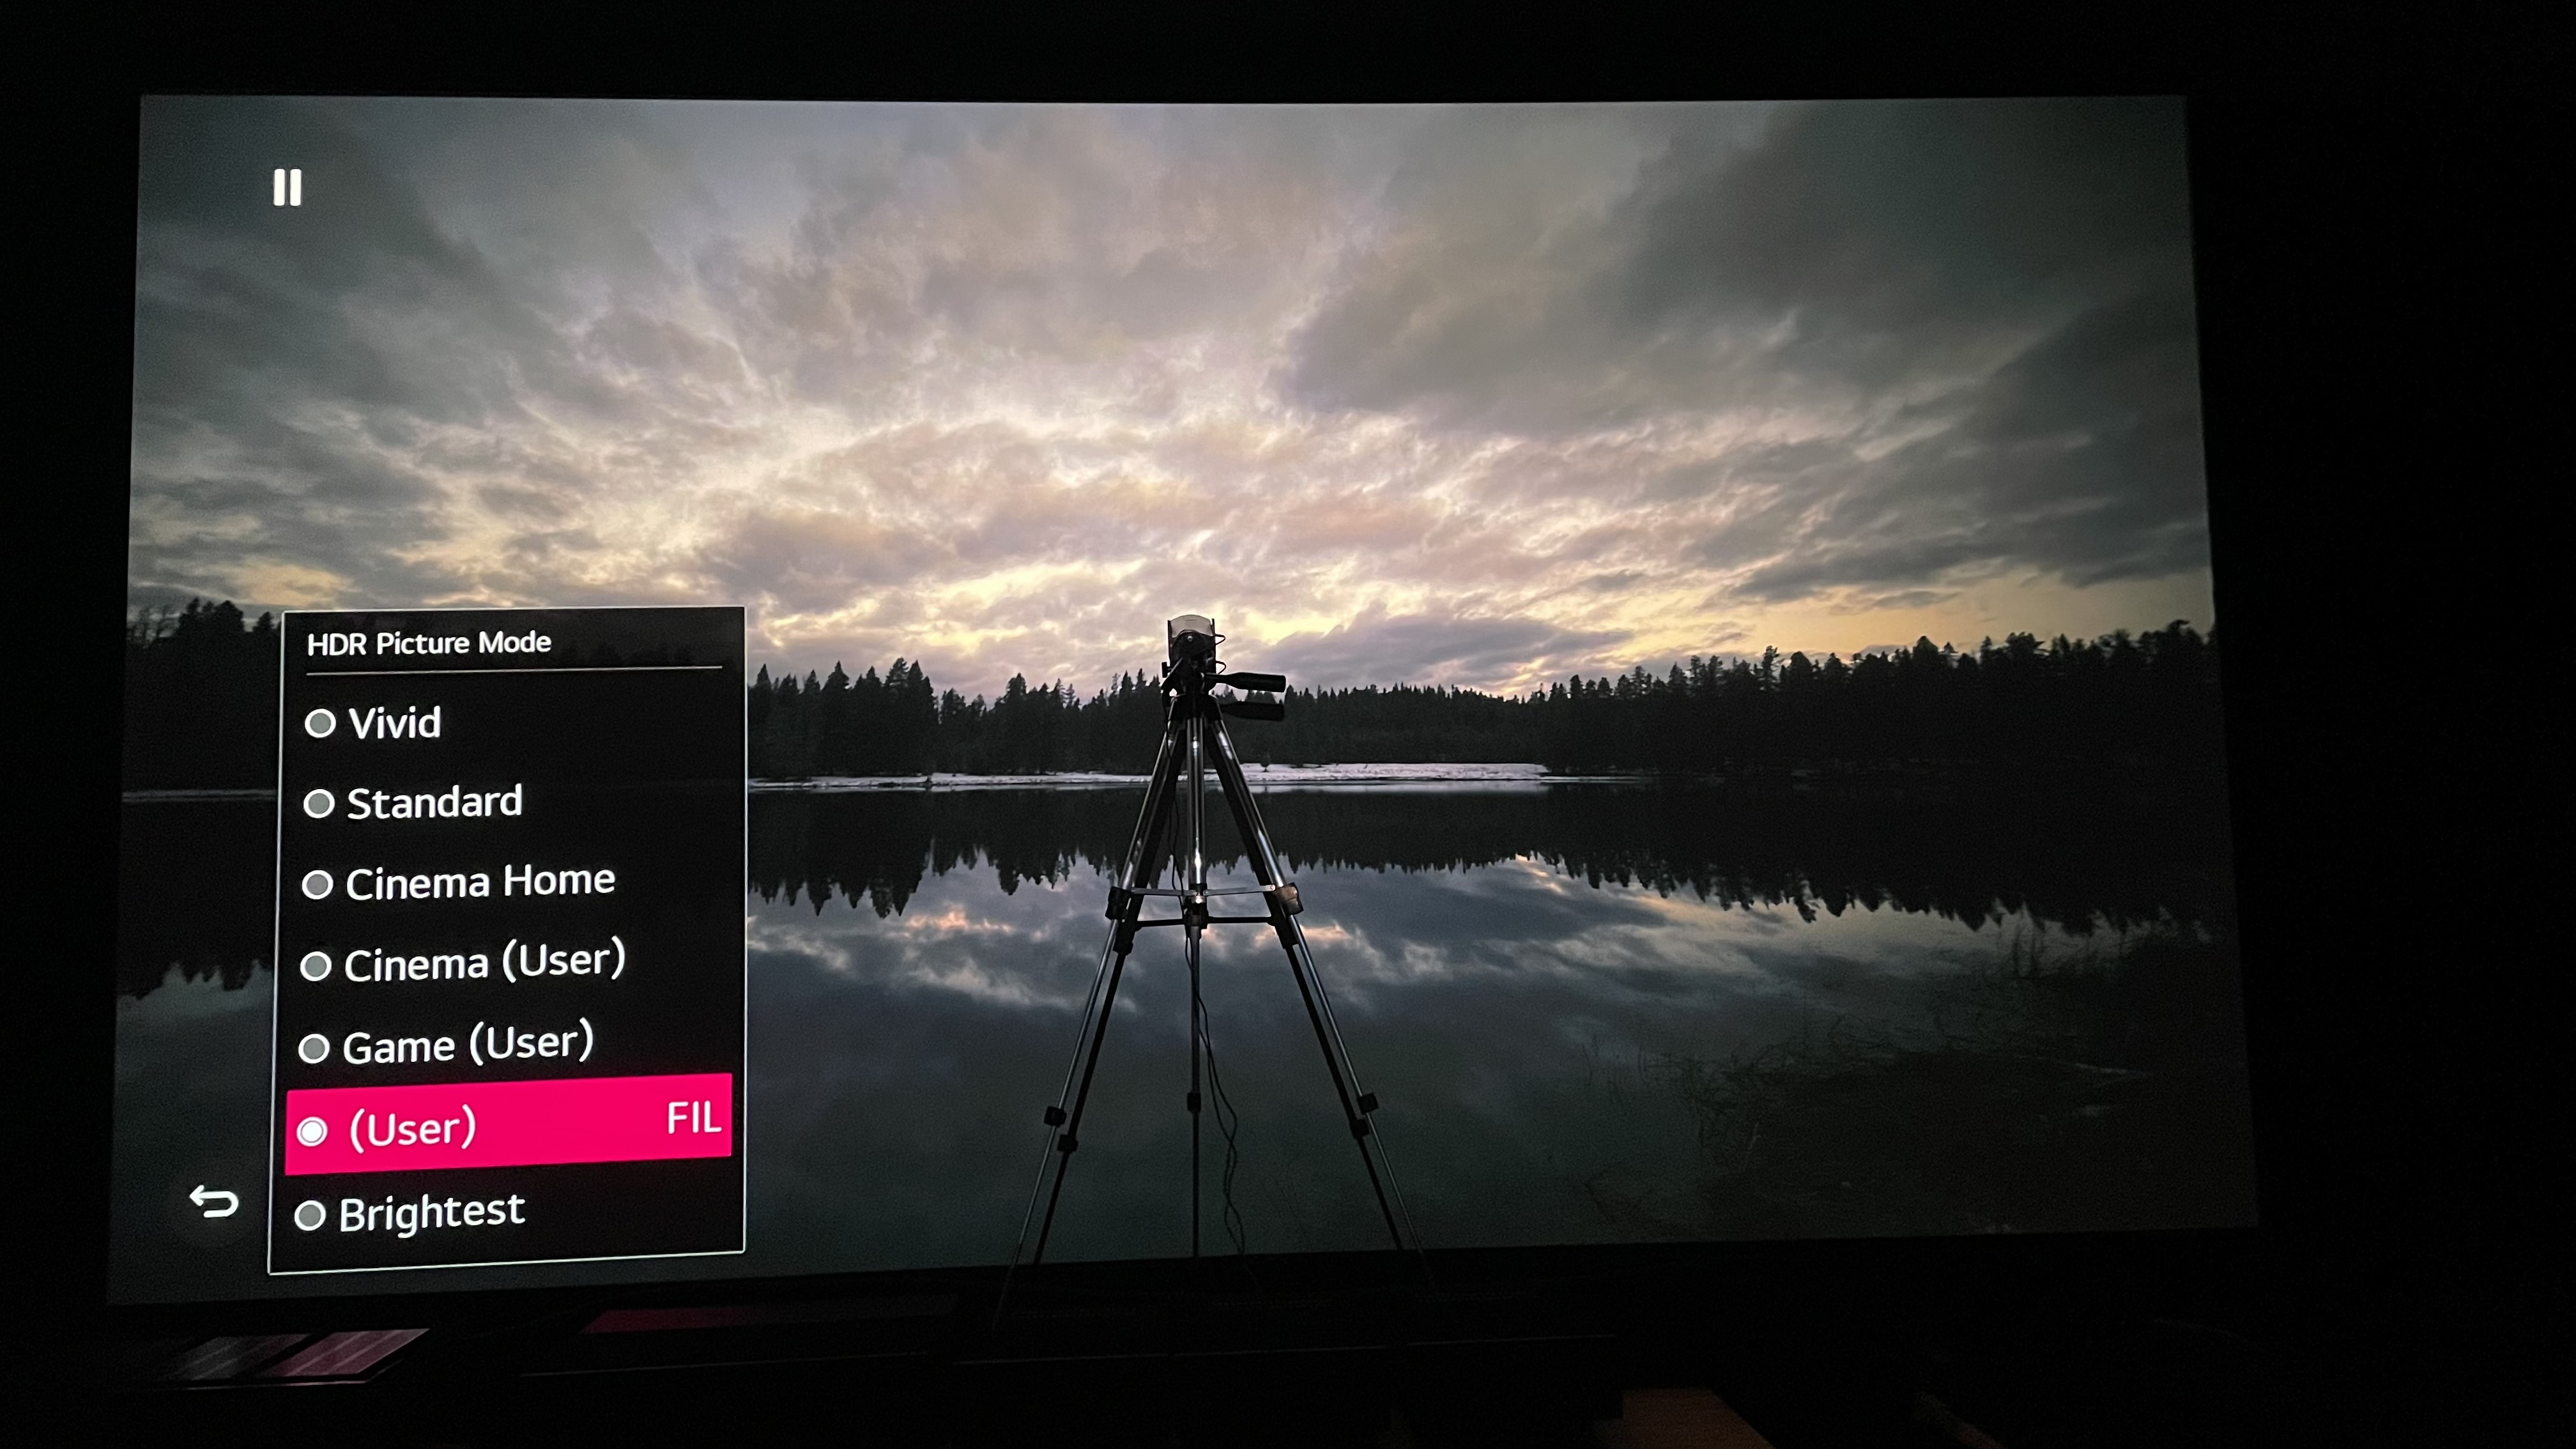
Of course a lot of updates have taken place with the new software and a lot of the settings seem to work correctly now… so the image looked the best now in its native hdr mode
As you can observe the colour accuracy and grayscale tracking from the above calibration from calman… they are all coming in with delta errors at 0.3, on screen view looks so much nicer now…
Thanks Gavin and calman for the new software and constant improvements
You meant all those screenshots you showed in the past have this red push all along? What is the difference you do this time compared to the previous calibration attempt in terms of calibration? Based on he last 2 pics, seems like you picked a different gamma values? I recalled you mentioned Calman did a fantastic job with a very low dE? This kind of error “red push” should have been picked up if there is a reference to compared with. One way is to use the grayscale ramp to see if there is any red tint after calibration. Sometimes it could be rectified by lowering the contrast.
Interesting. I had followed your previous guide to the letter, including using game mode, but Calman then was already using the new Aurora engine as the software had been updated by the time I used it. I also used PGEN - the perfect Raspberry Pi pattern generator - because the built in LG pattern generator has errors and you also can’t do a post calibration measurement with it, whereas you can with an external pattern generator. I’ll pop in the S&M disc tonight to take the same photos so see if I get the red push.
Does the current software still use the Matrix LUT for HDR? I’m not hugely trustful of Calman’s HDR color calibration, because the Matrix LUT measures just five patches and then uses mathematics to generate the other patches. Whereas the SDR calibration using the regular 3D LUT does thousands of measurements. Can you redo your earlier guide based on what you have discovered with the new software especially the calibration of Filmmaker mode and the IRIS level you used. I can try it as I only really use Game mode occasionally as most content goes through MadVR into SDR BT2020 mode.
I’ve can simulate red push by simply mismatching the colorspace with the calibration e.g., outputting BT2020 into a Rec 709 calibrated mode. That’s not the case with yours, but I’ve definitely seen the issues you describe.
I got dE under 1 previously, but my main issue with the color dE is Cyan. Can never seem to get that down really low. Have been in correspondence with other LG HU/AU810 guys on AVS and they all have issues with Cyan.
Lastly, the most useful thing I have when doing the LG projector calibration is having a reference display to see if I’m doing it right or not. In my case, I have a Panasonic OLED TV that is known to be extremely accurate in it’s Cinema mode and I verified that with PGEN and Calman Home in manual mode. I have also further calibrated both Panasonic TV ISF modes to even lower dE. When calibrating the projector, I compare with the OLED to see. As for whether Lumagen and MadVR are useful, like matrix6888, I find a considerable improvement in tone mapping with MadVR and it makes the HU810 much closer to the OLED than without it.
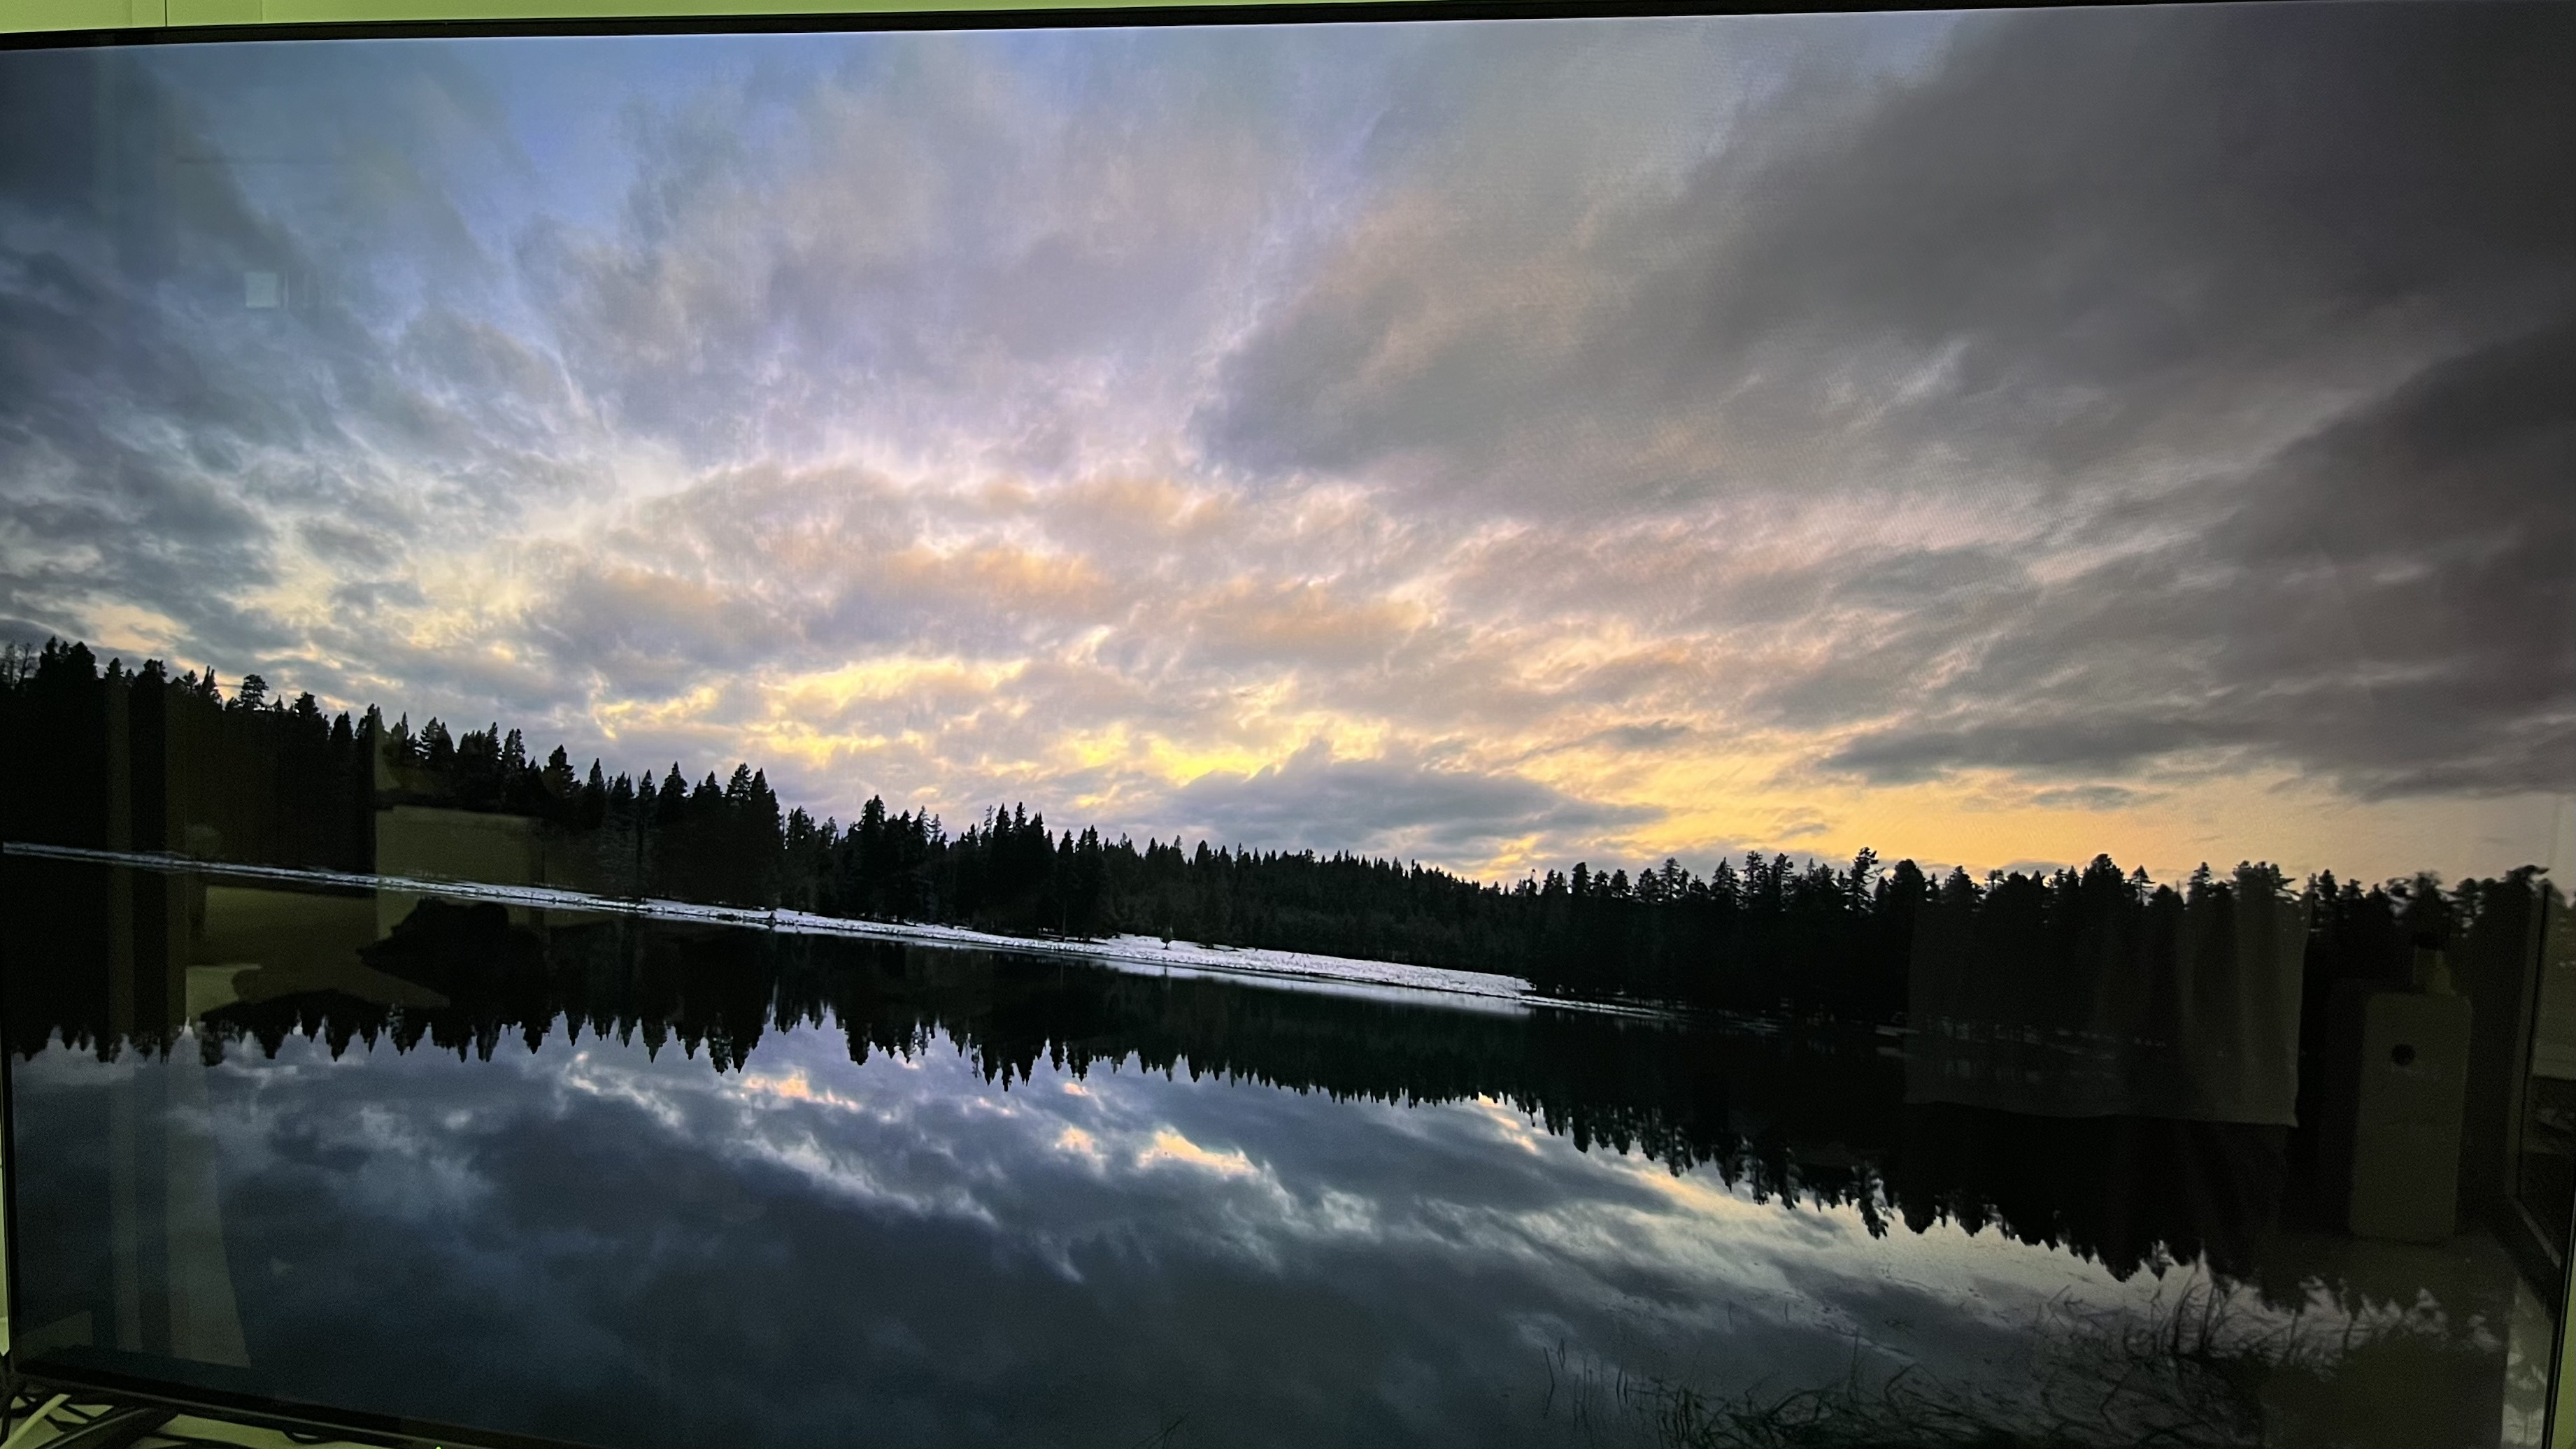
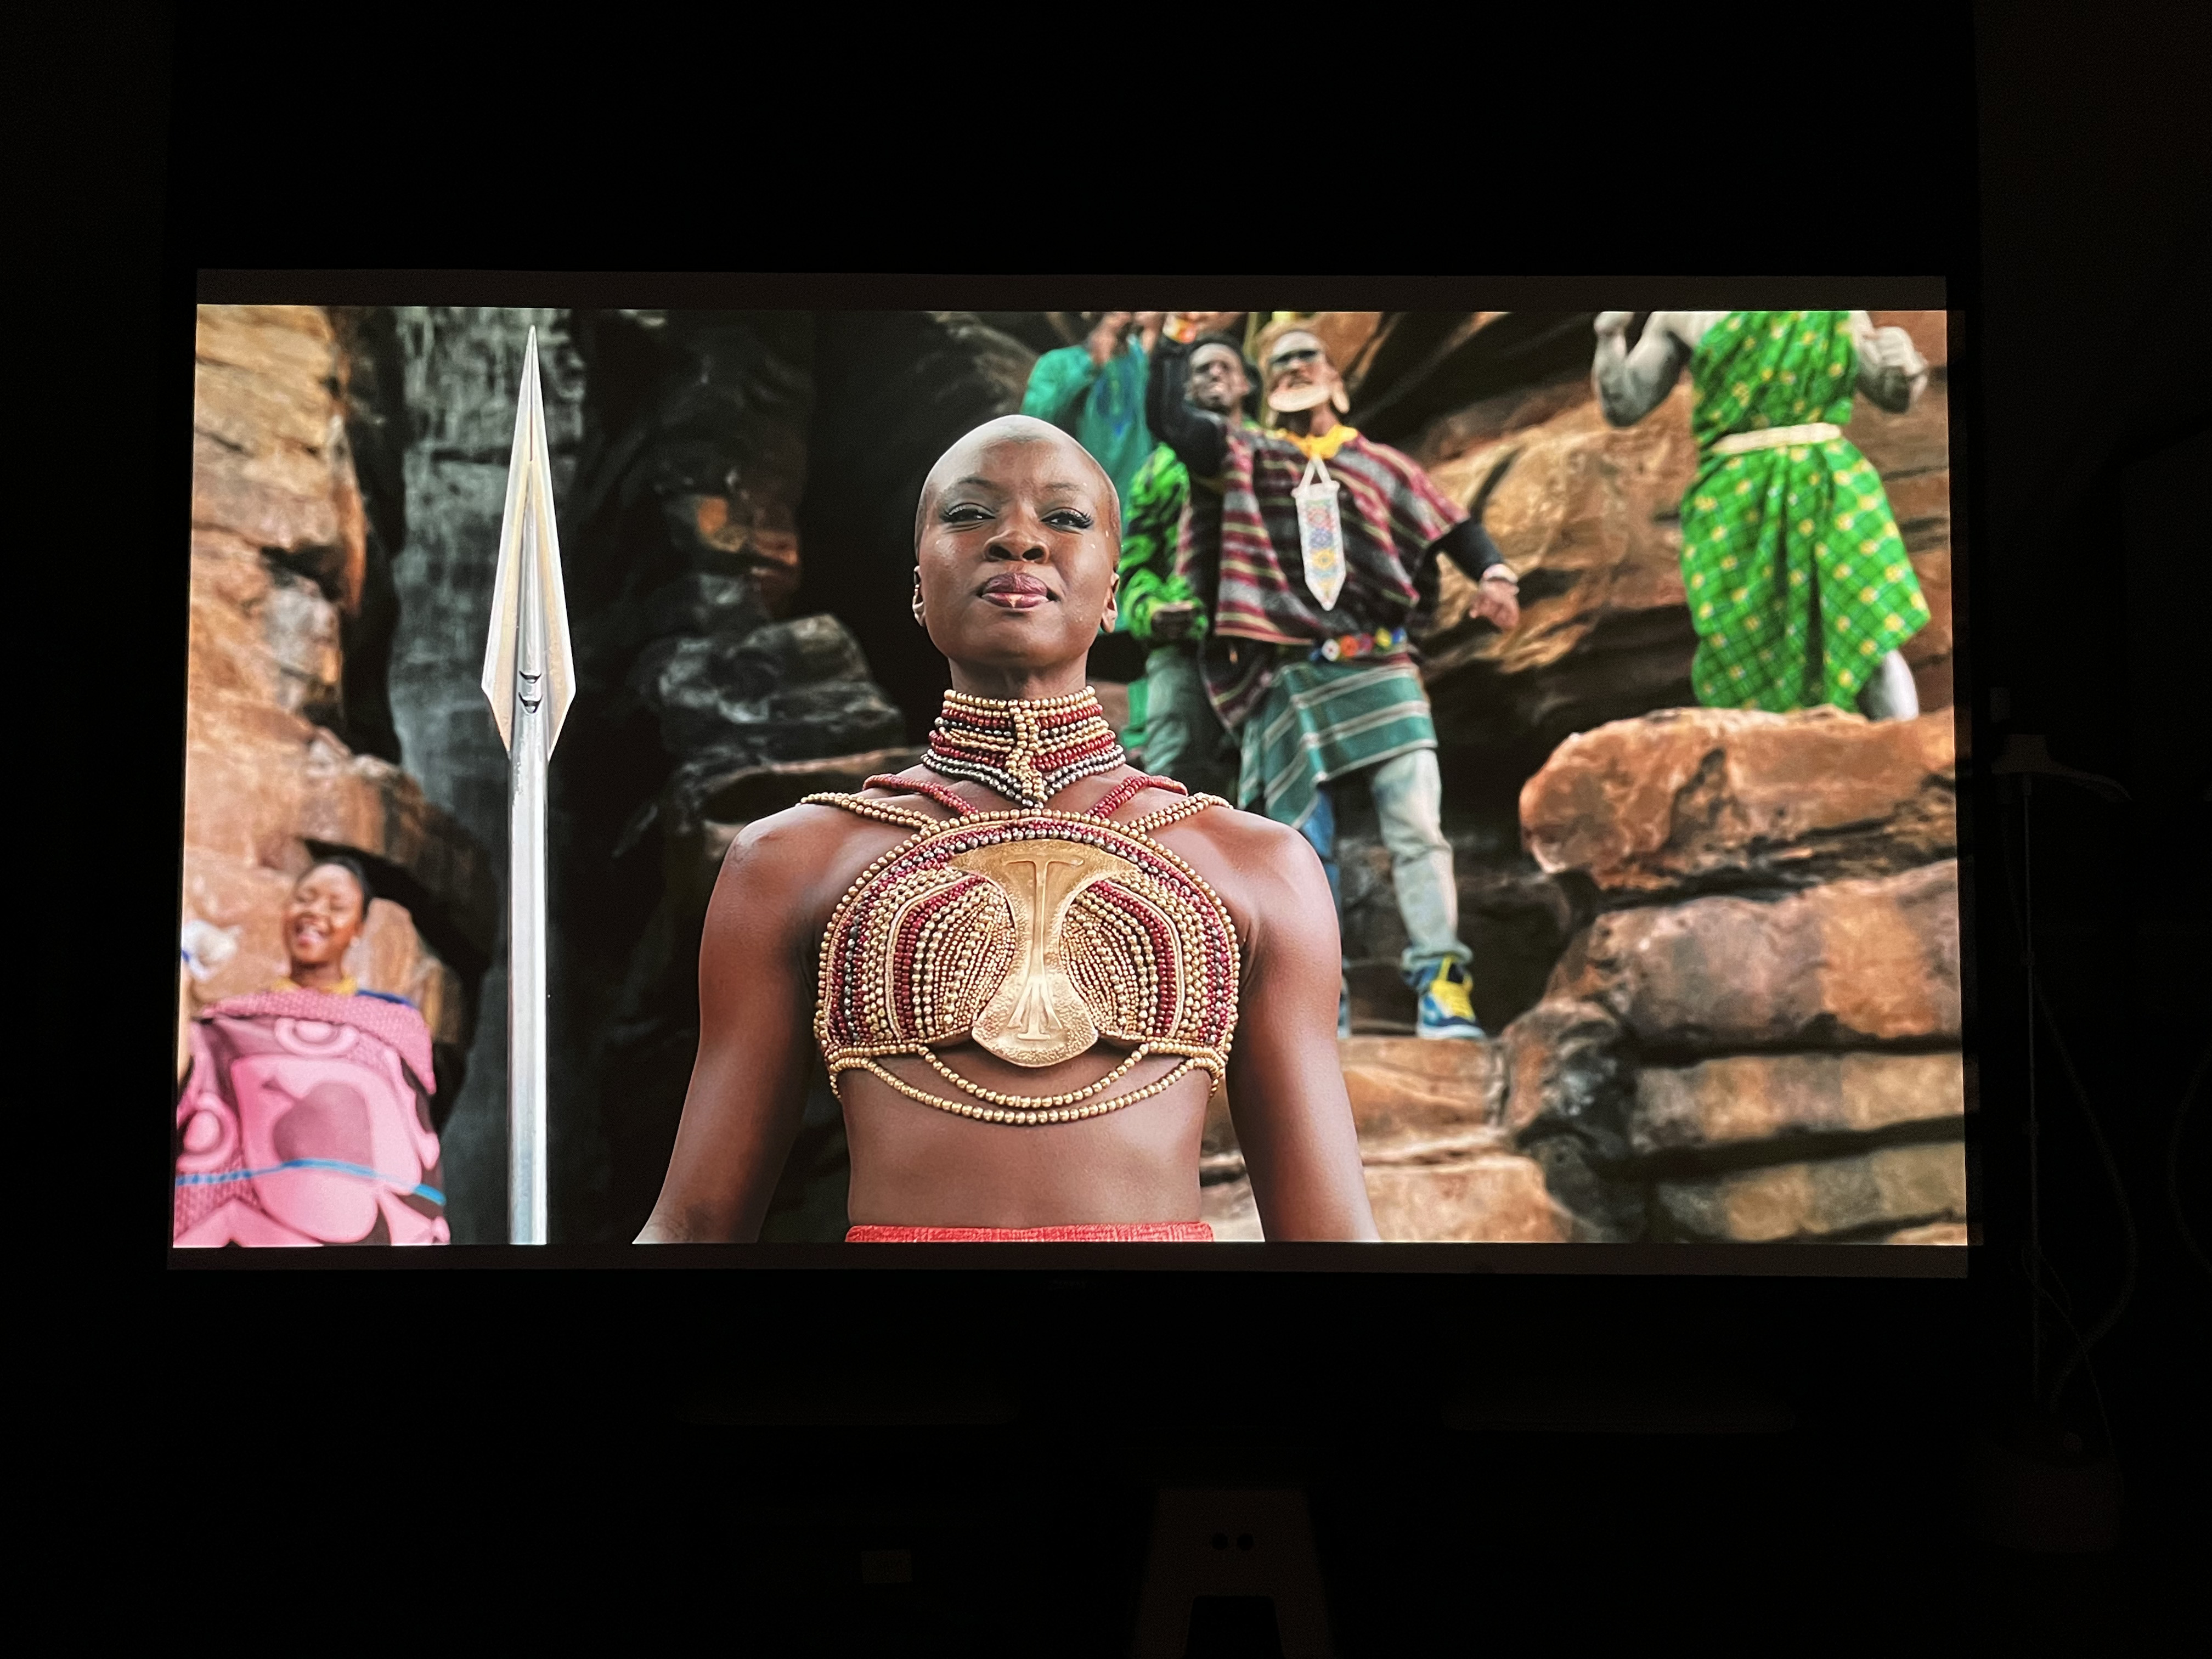
This is what it looks like on the OLED in Calman calibrated day mode. Aplogies for the weird side angle, but my OLED screen has strong reflections at this time of day so I had to shoot from the side
There was a bug in the older firmware. I couldn’t re-do it as the colorimeter was with foodie. So we just met up recently for dinner and I thought I’d give it a shot to compare the new calman vs the old version.
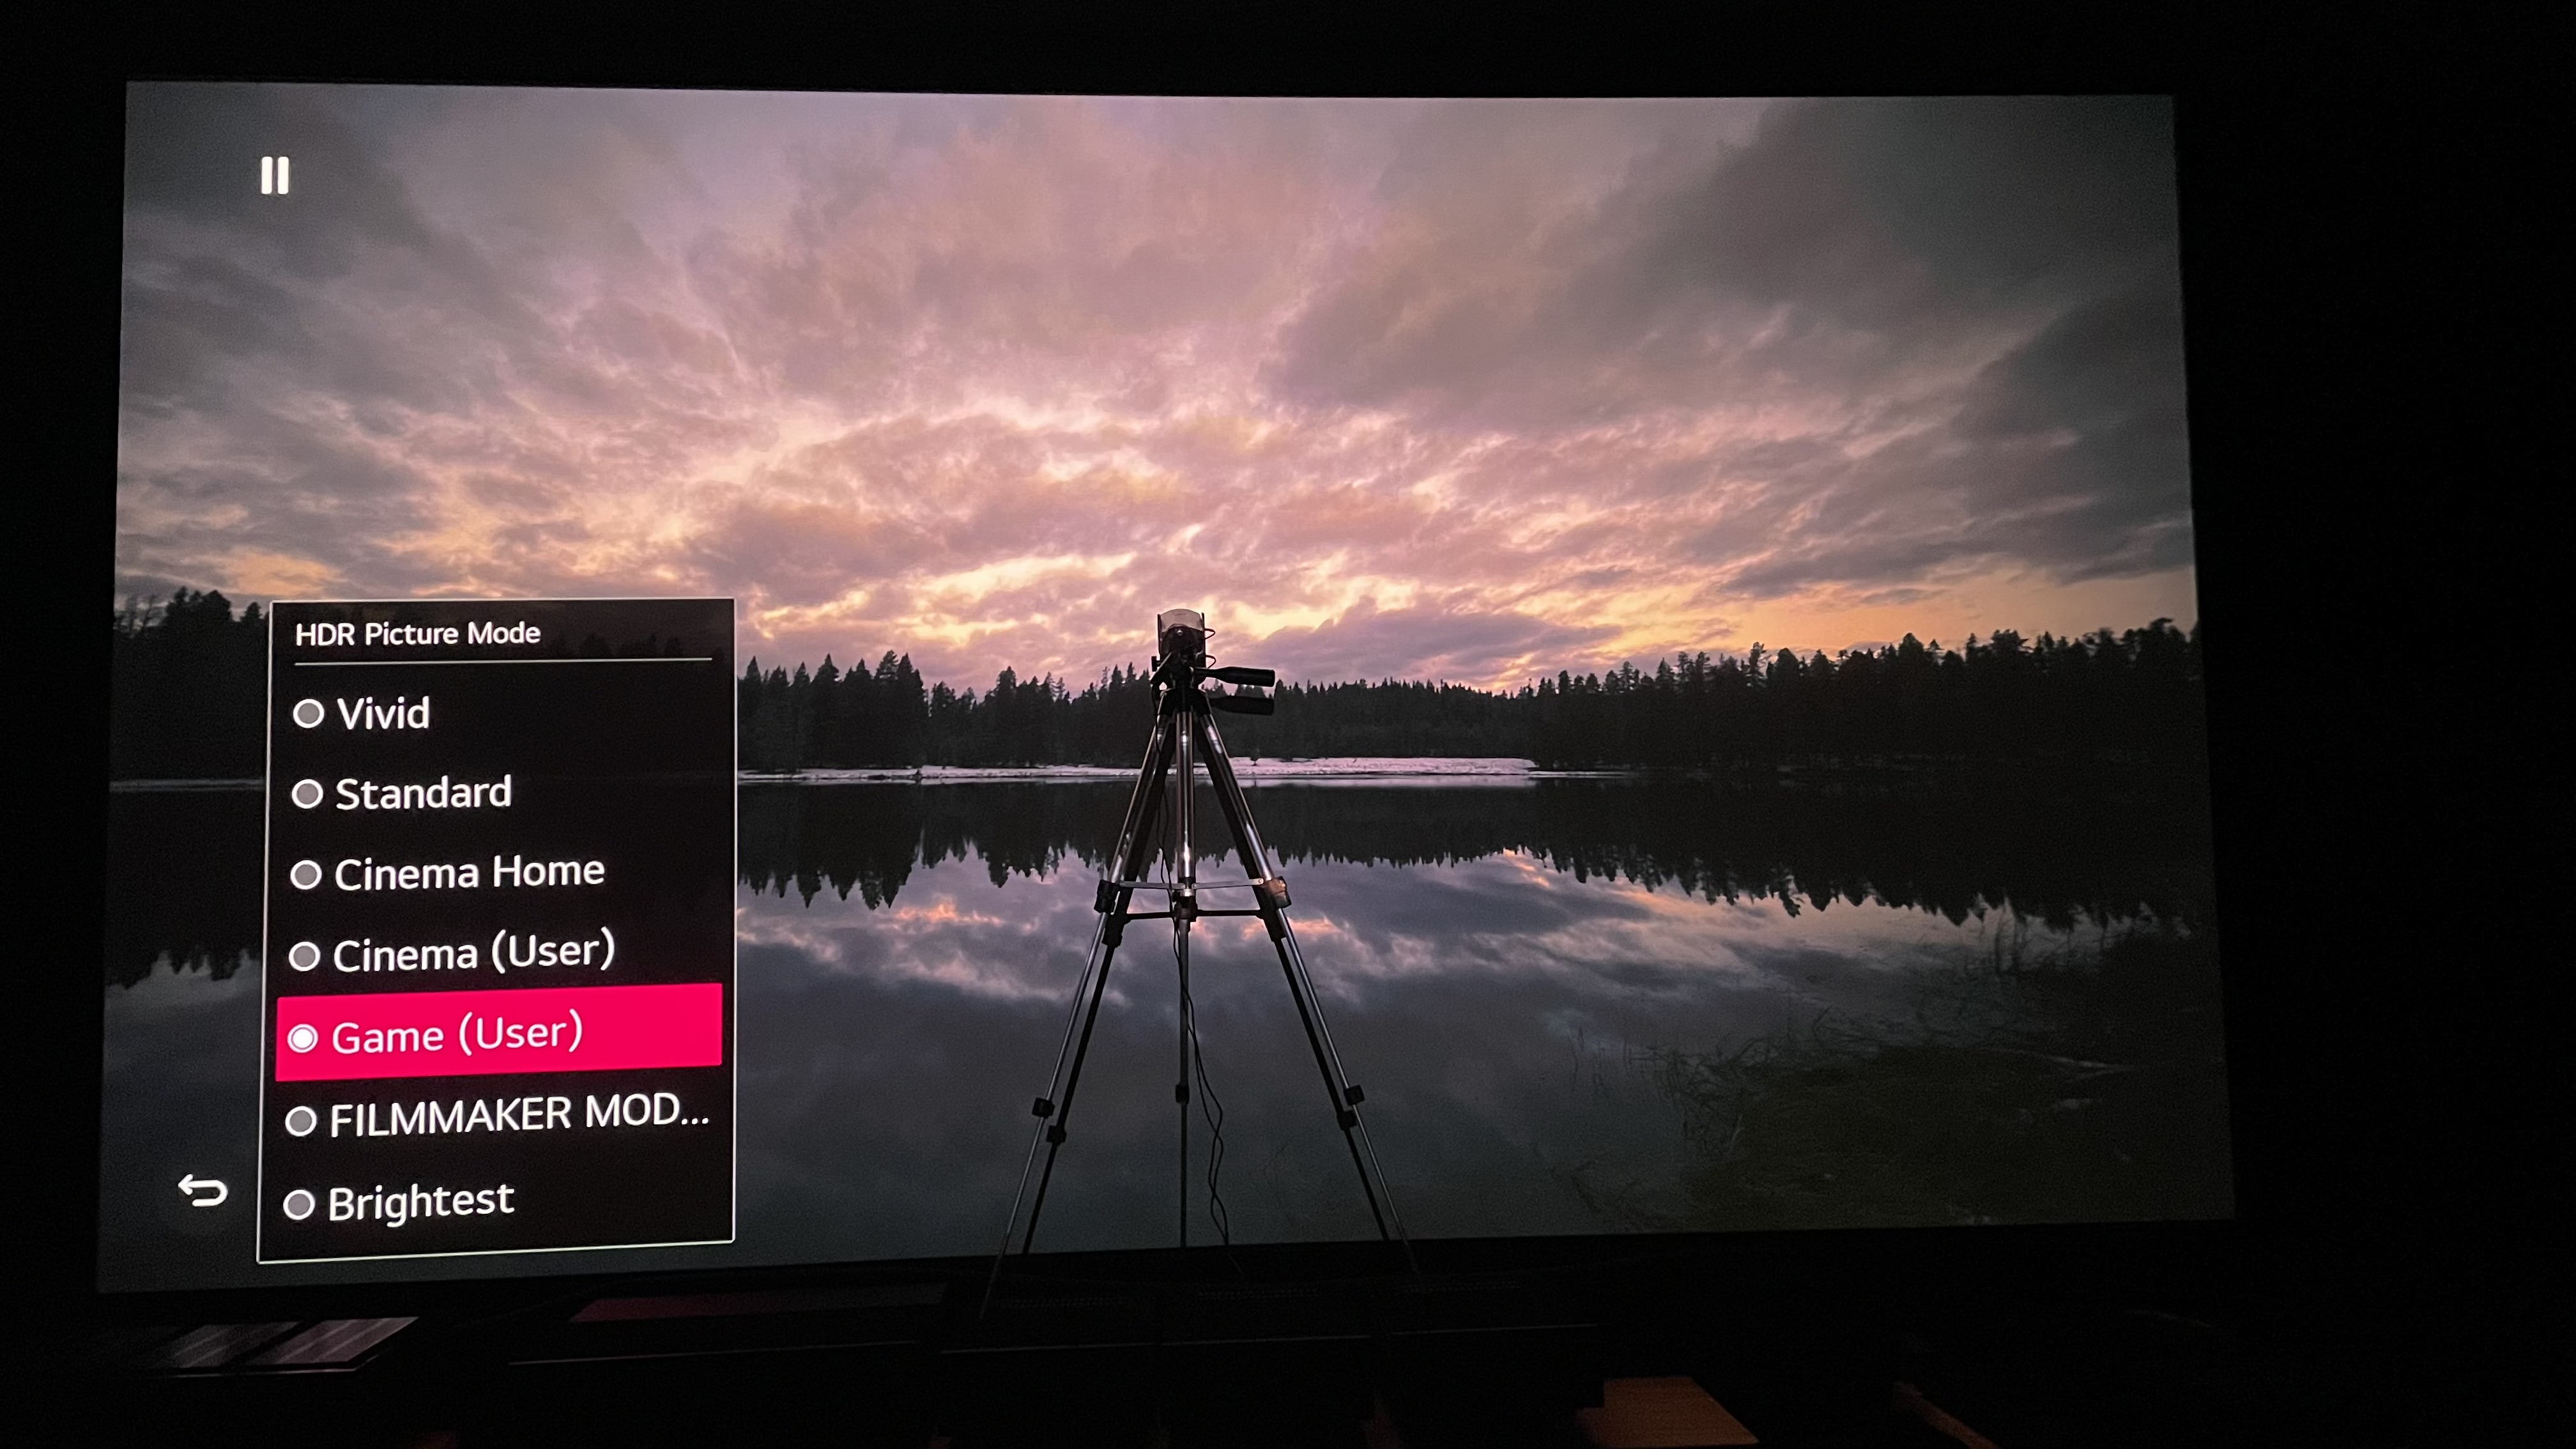
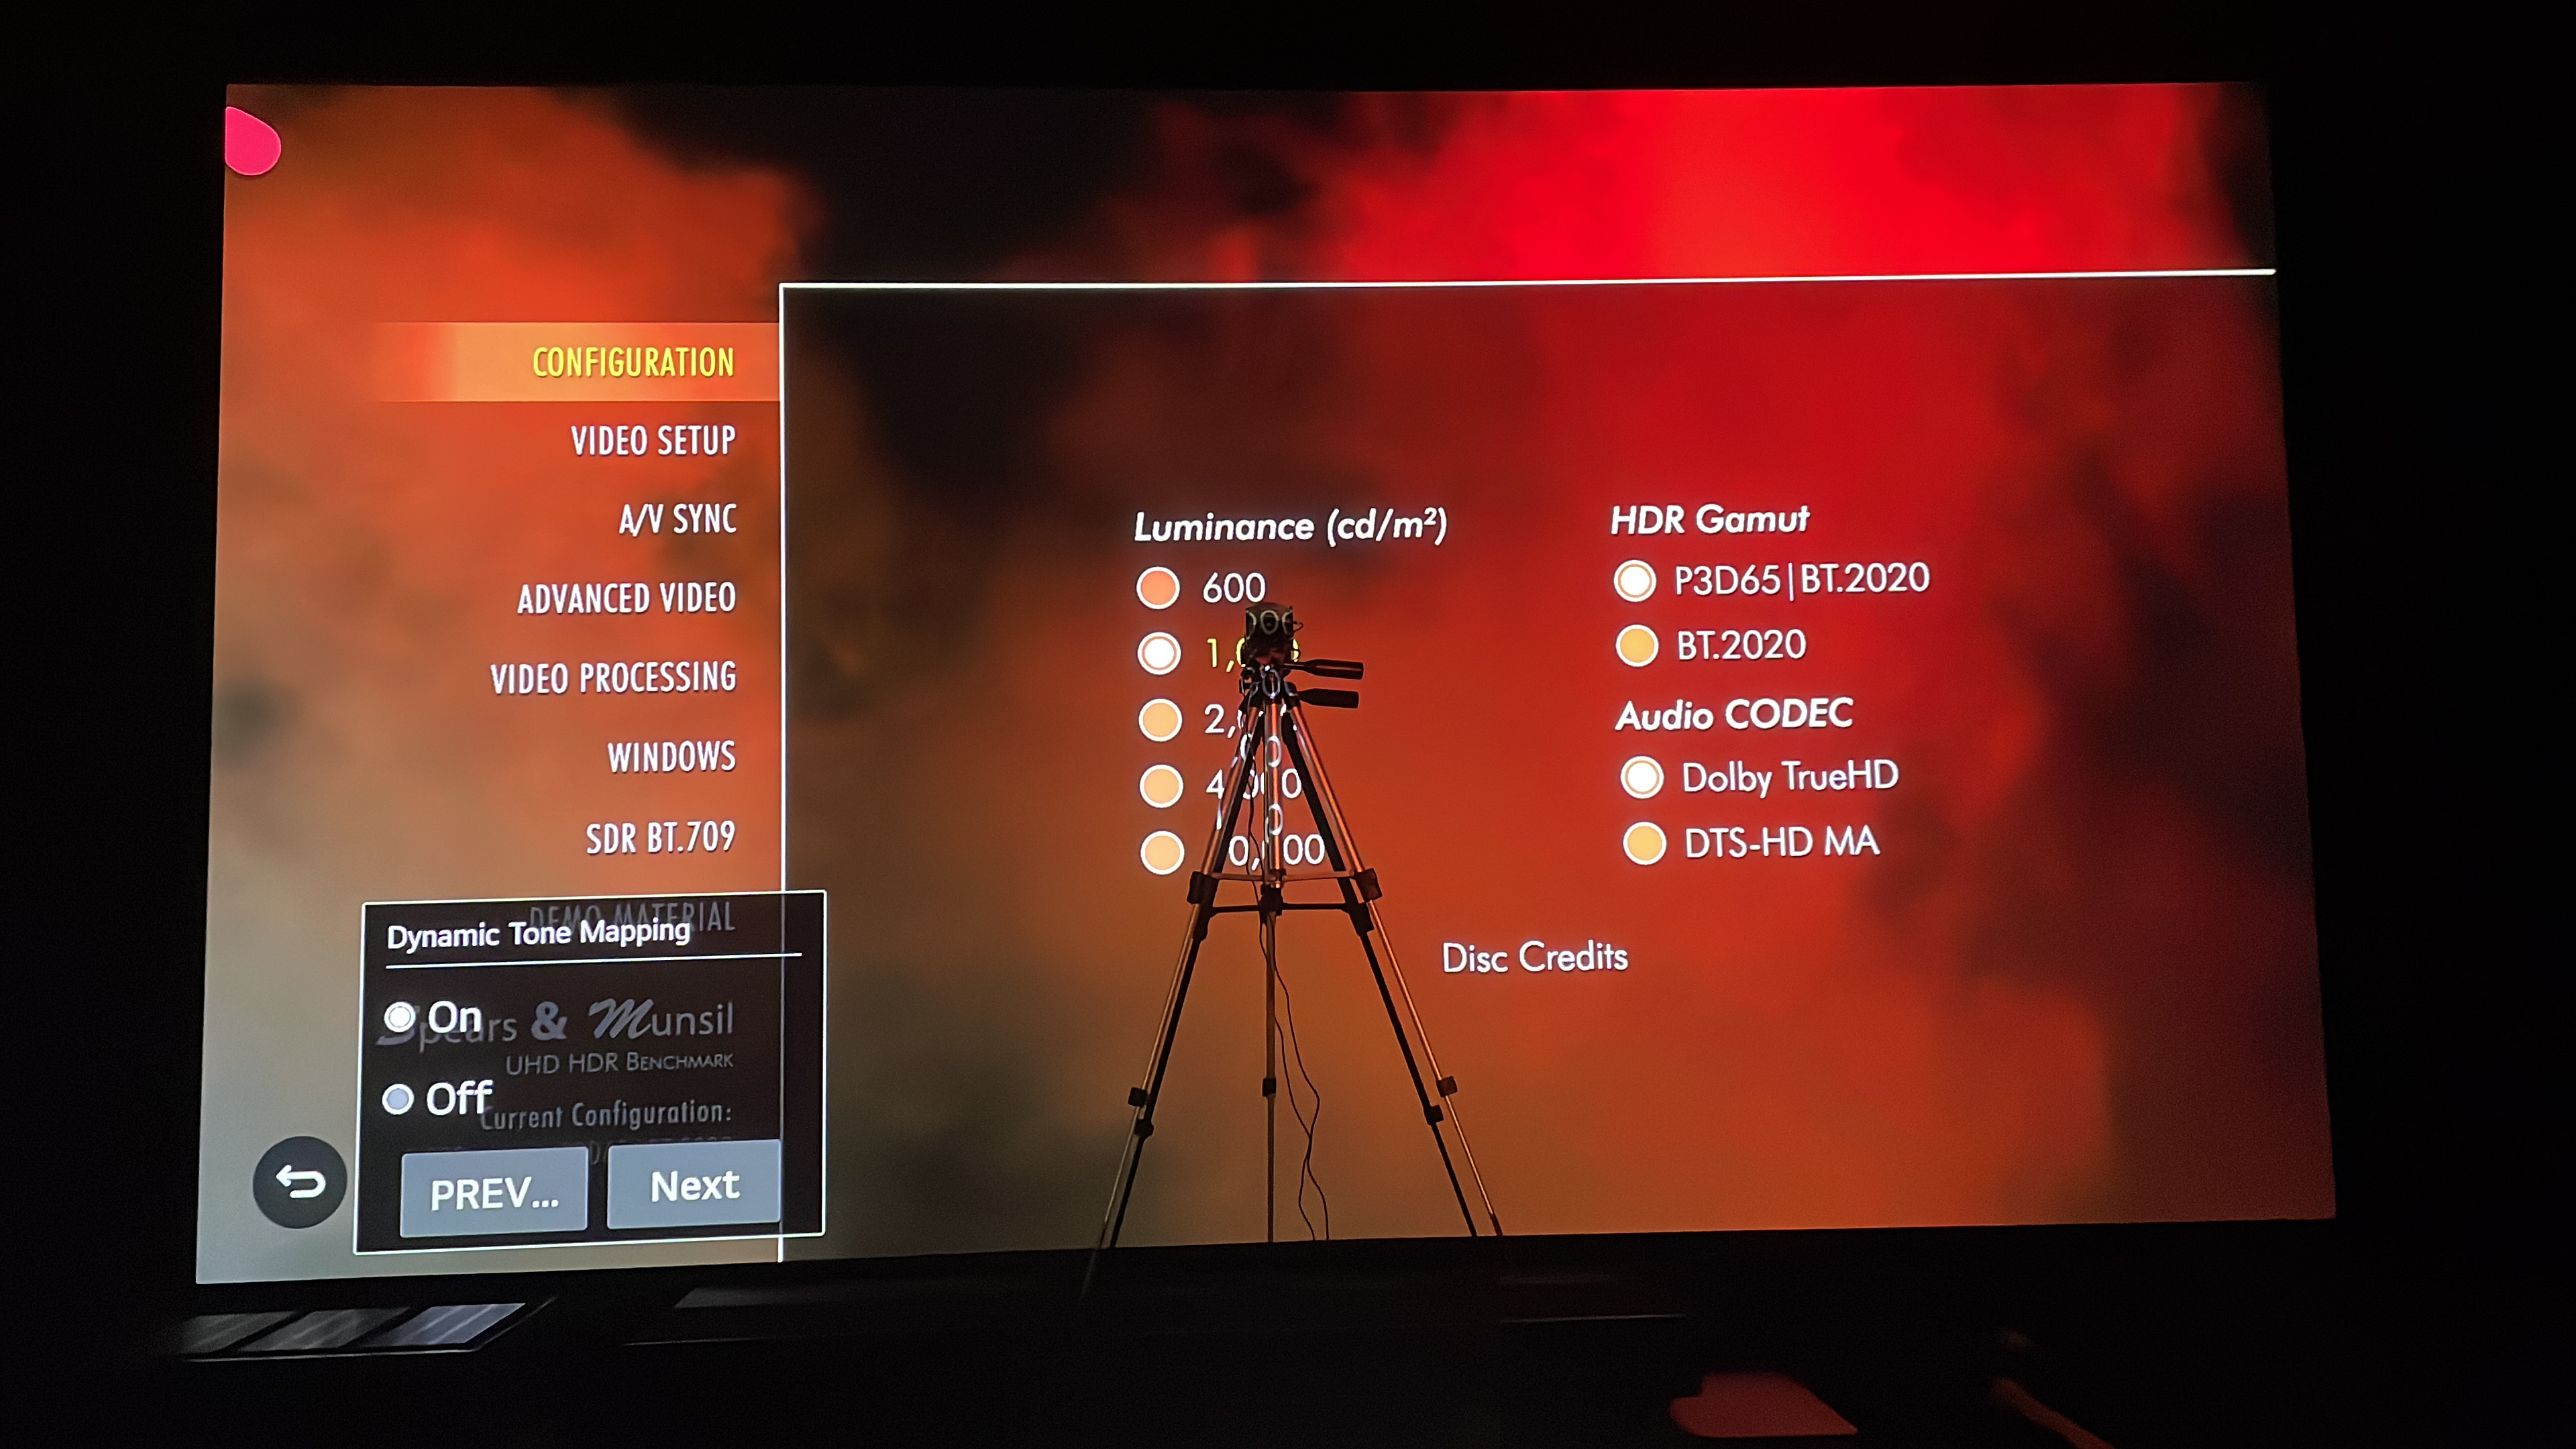
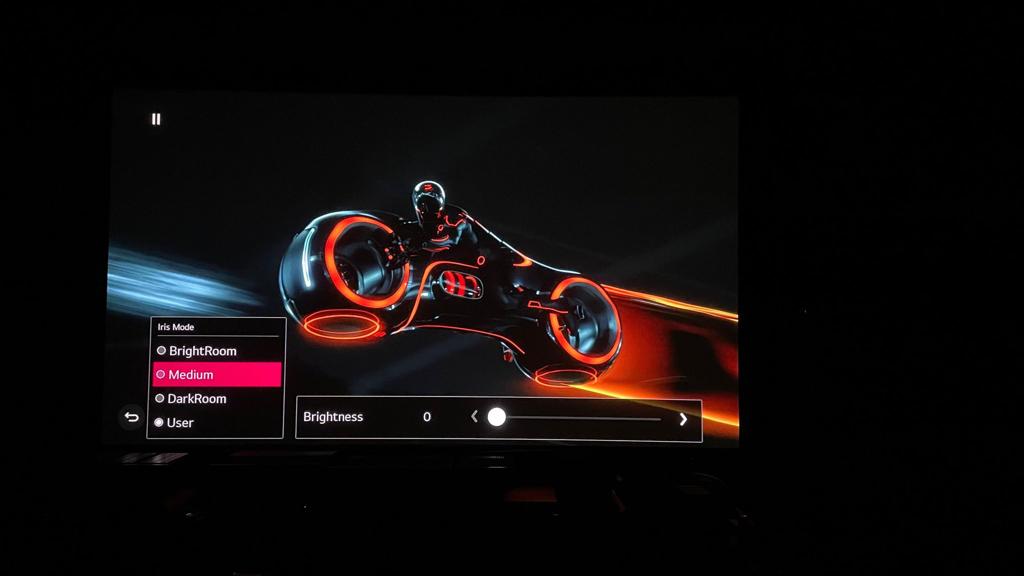
I took some video shots on the tron legacy demo clip. On that clip, Gavin immediately highlighted the red tint with the bike lights. So initially I thought it was the camera, as I observe closely toggling between SDR and hdr, I started noticing this red tint. It became a lot more obvious with other scenes.
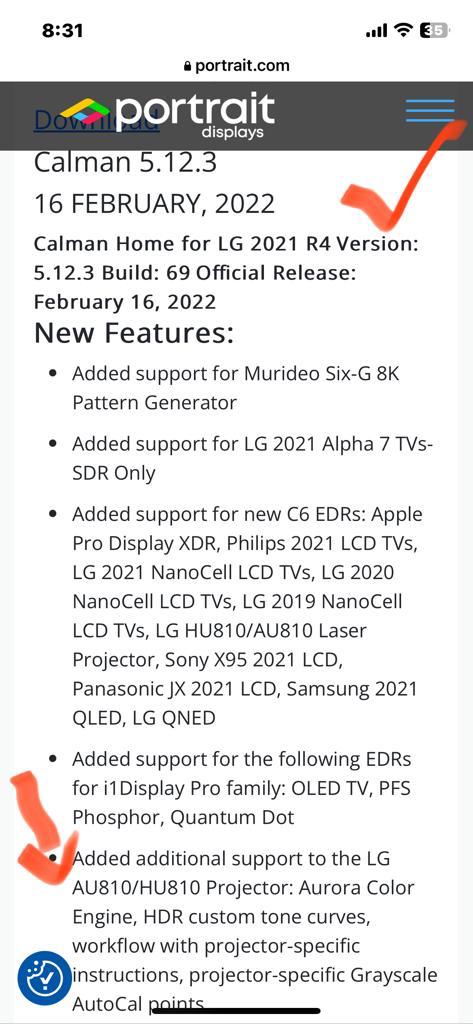
So I revisited the calibration, this time using the newly released projector workflow from calman to dial in the image. Took me some time to figure out the what this internal DTM is doing.
It turns out the magic lies in dialing in the appropriate luminance levels of the projector in hdr mode .
But once I understood the algorithm, I knew exactly what needed to be done .
The other problem with this LG is the Iris and energy saving modes affects luminance.the colour temperature shifts with different iris levels and different energy saving modes…
Took me some time to measure it to get the correct levels before dialing in the hdr tone mapping curve to be used…
The problem is not the hardware of the Lg projector or the tone mapping algorithm, the problem was the calman software…the user needs to know what values to use and how to apply them to bring out the best from this projector… the controls are available but it’s not clearly explained anywhere online, lotsa it is trial and error to see what it is actually doing…
At the time when I calibrated, it was without the aurora engine. So only with iris opened to 7-8, can we achieve decent grayscale performance. When u close the iris down to 4-5, the grayscale goes haywire. The new software fixes this
Also calman seems to raise black floor when calibrating for black levels. So u might want to switch this to black levels setting to “high “ pre calibration.
Similarly for energy saving mode, I set them to high, so lesser light through. Medium pushes light levels up by 2.5nits post cal and min 5 nits post calibration. This setting here does not affect the colour temperature. The iris does. I went with iris opened at 4
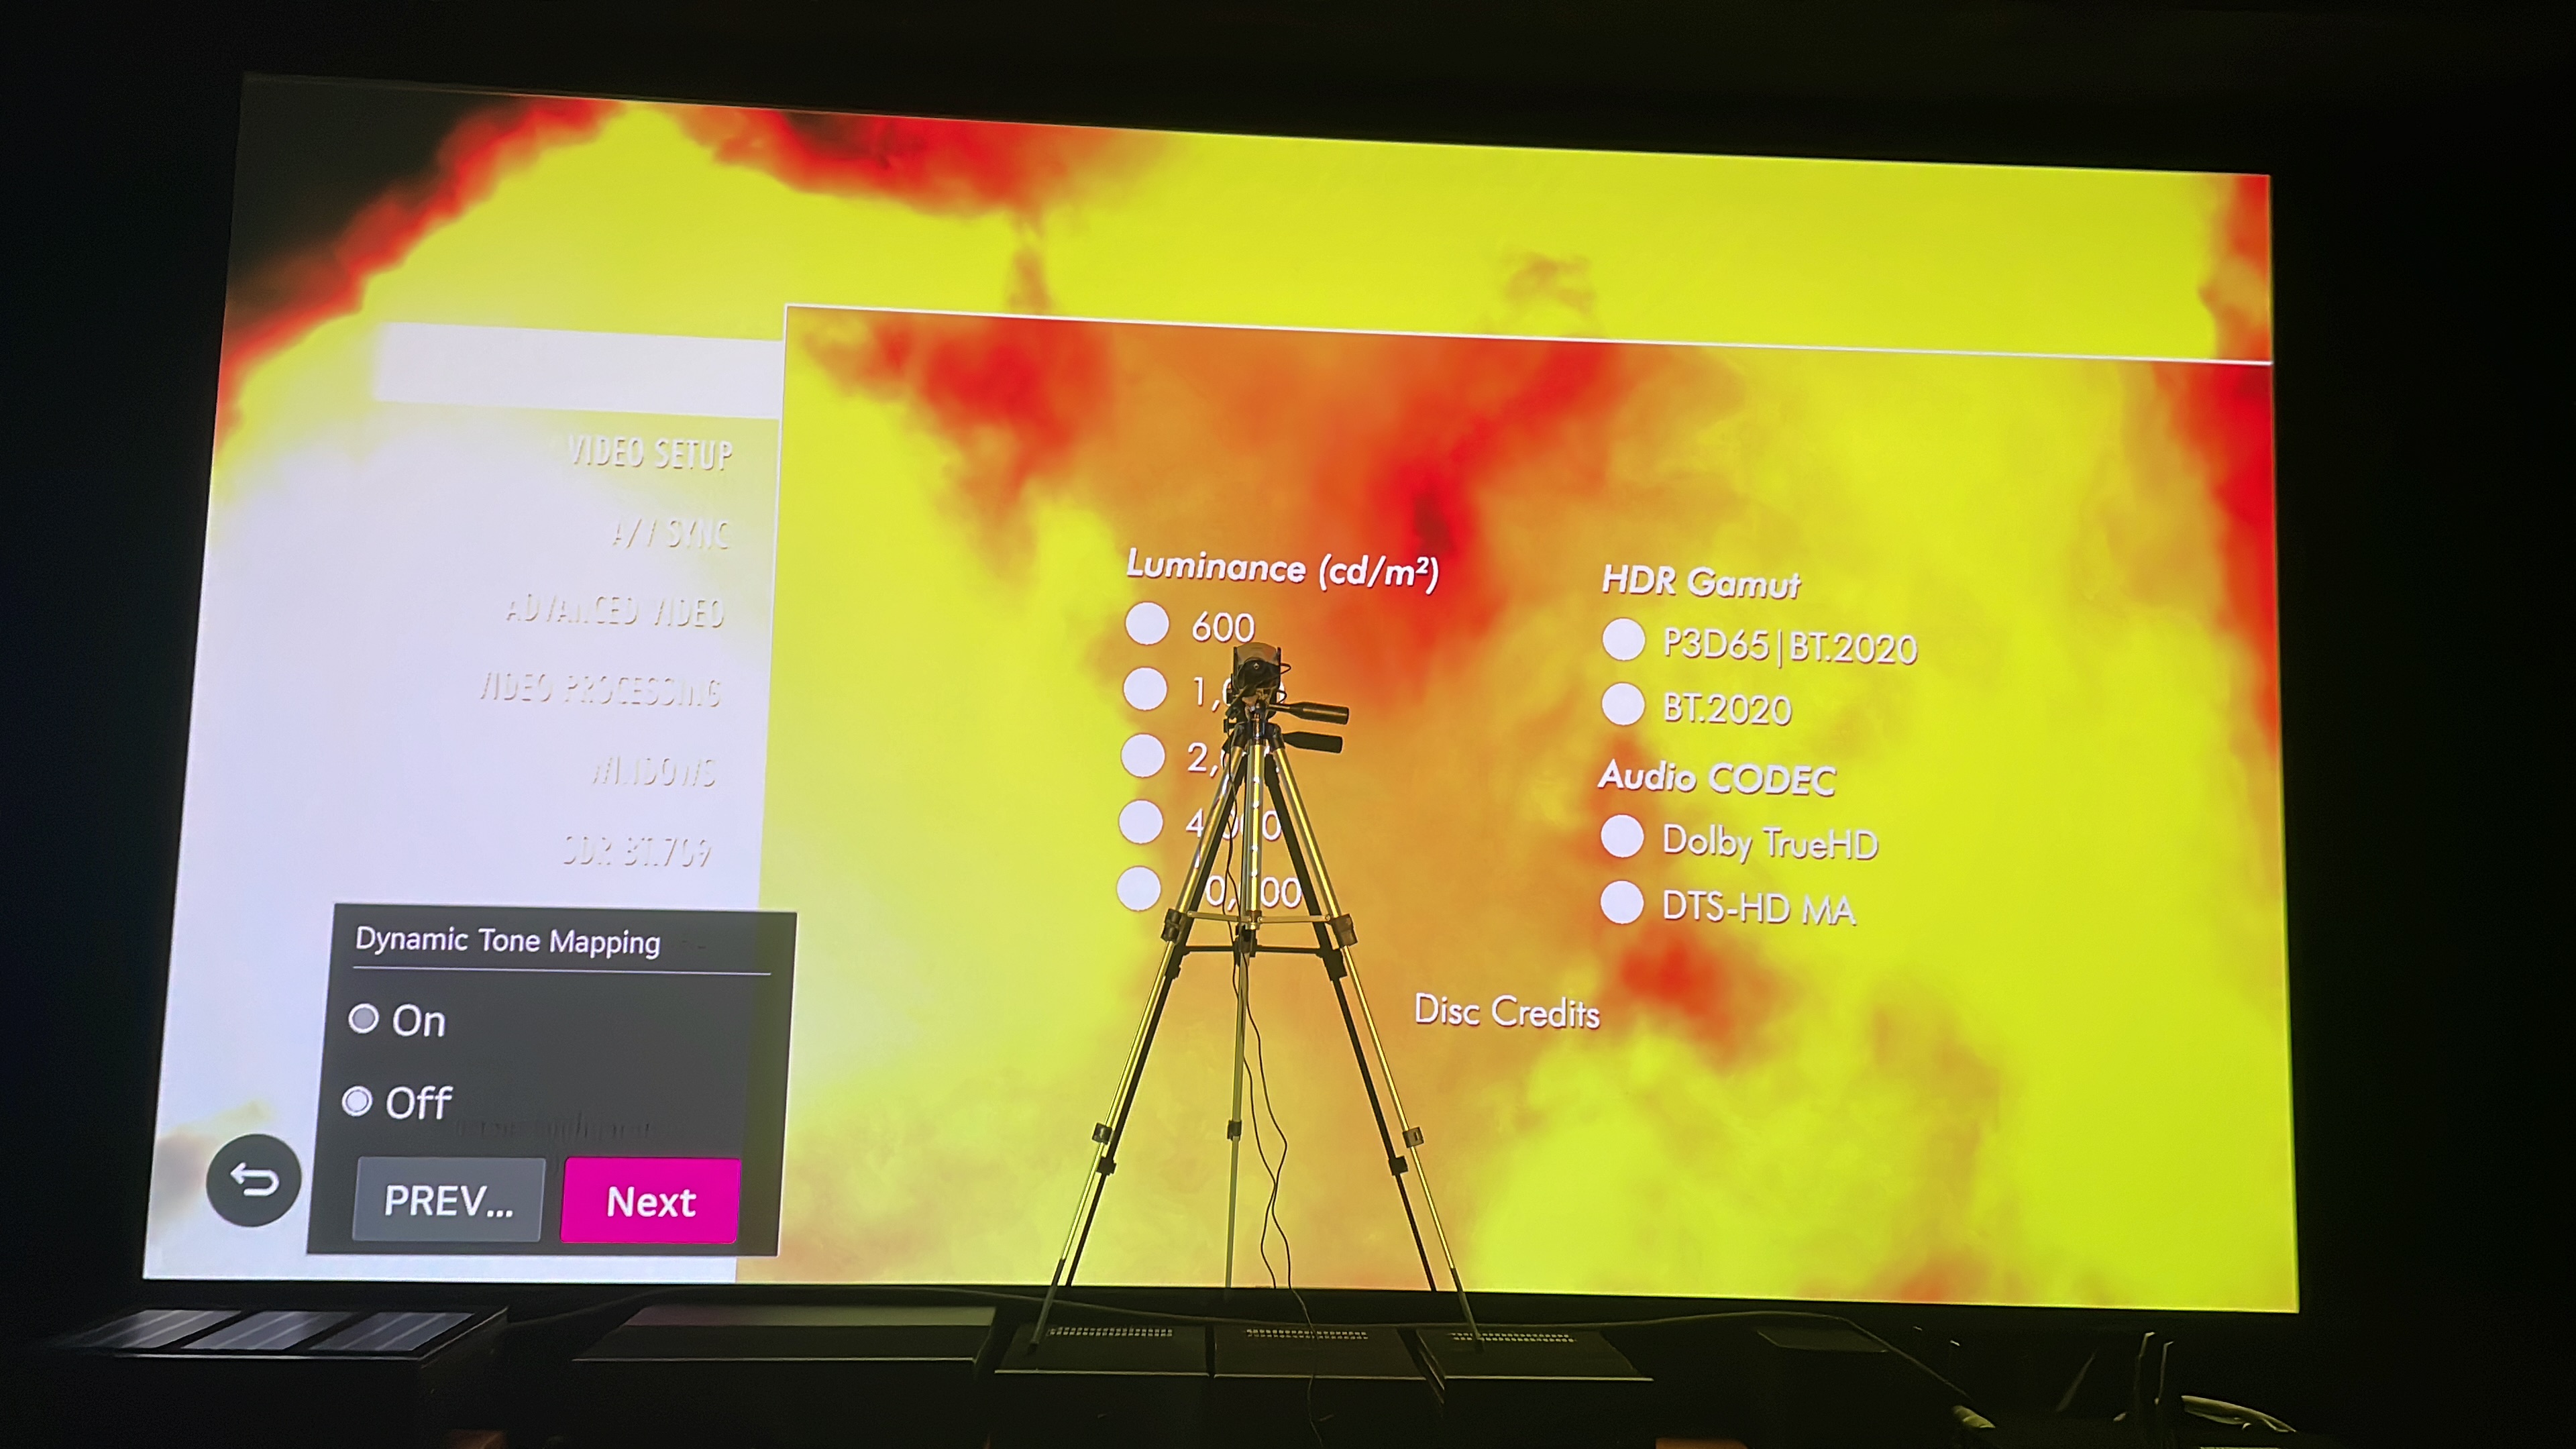
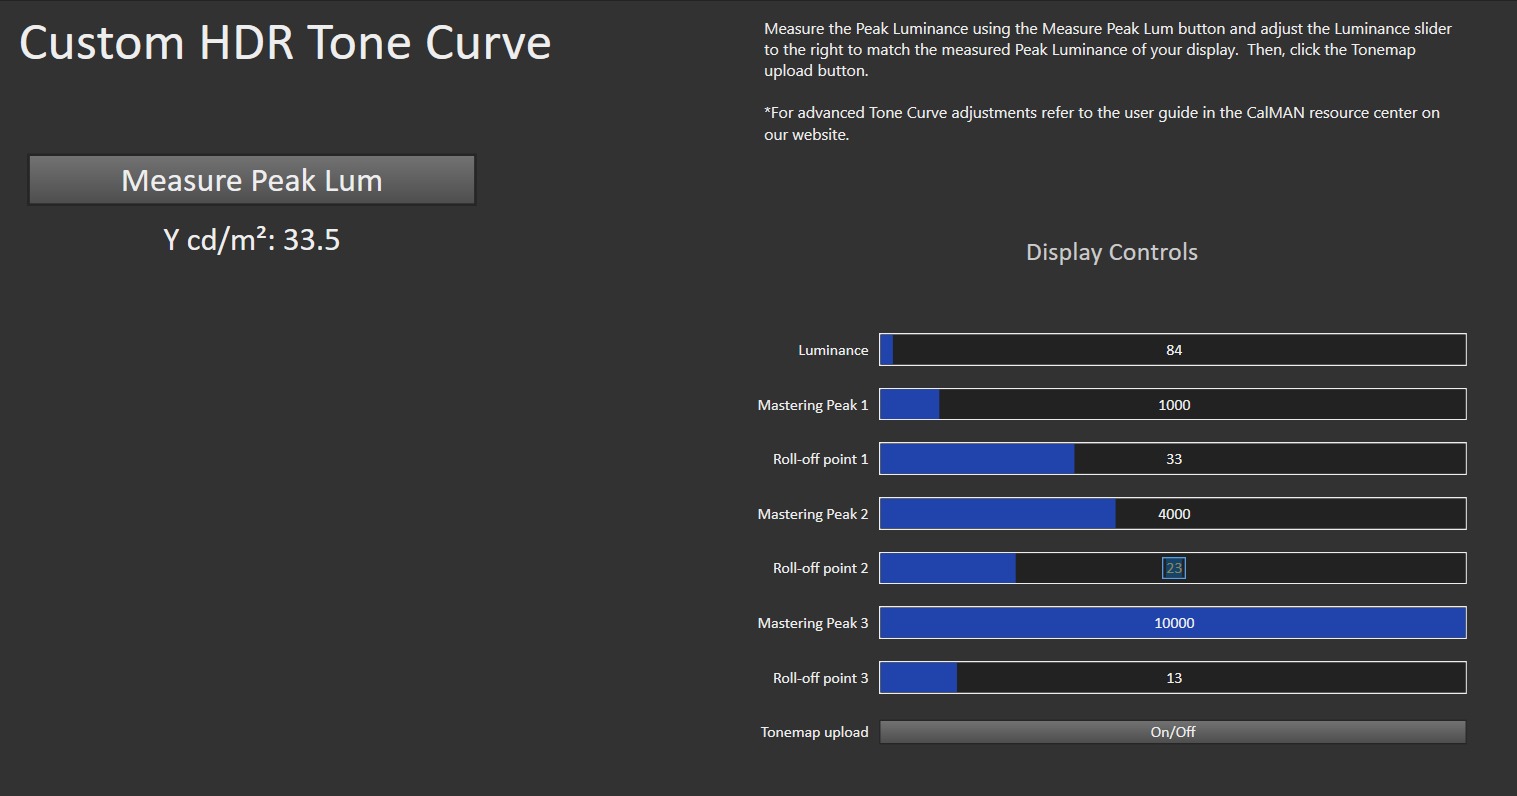
Finally the tone mapping curve is where the magic lies
We first need to understand the peak luminance levels on the projector in your room.( Post calibration)Once you have that, set these into your 1000nit tone mapping curve.
However when u input the luminance levels, use between 2.5x to 2.8x the measured luminance levels. Depending on how bright you want your specular highlights
You can set the 4000 nits curve to 1/2.5x and set the 10,000 nit curve roll off to 1/6th the measured peak luminance. That way it will not clip white…
The image now has the accuracy of the SDR image at the same time the pop from the hdr video… best of both worlds… this looks correct now with the new calman software
Use only this version below if calibrating the projector
I’m using the lowest energy saving mode because I sometimes watch in the daytime and need the brightness. I have noticed big changes in color temperature with the iris. Opening the iris pushes the greens. So when I want the best calibrated mode, I use the iris level which I calibrated the projector at, which is 3 on SDR. I’m a fan of their dynamic contrast as well.
As for the Custom HDR Tone curve, I have played with it. A bunch of us on AVS were fiddling with it and Tyler Pruitt was giving some advice on how to use it. He promised to make a video about it, but I don’t recall seeing it so he may have left Portrait before he had a chance to make it. He now works at Apple.
Why are you using the two year old version of Calman? When I first calibrated in 2022, I was already on 5.13 and just upgraded to 5.14.2.3 because my one year upgrading of license will expire in less than 2 months. I also bought Calman Home for Panasonic, which is actually in the same executable file
yea he promised us a fix on this but left all of a sudden, so didnt get much help there. What settings did you go with after your experiment on the HDR Tone Map Curve?
I started in 2021 May, back then we didnt have the Projector Workflow, so i had to use the OLED workflow and make some changes from there. The bunch of us were struggling but eventually i managed to get something decent out of it. Only to realise yesterday, it could have been way way better
On mine, opening the iris pushes the RED. that is why you see that red tint on the white images. It didnt look as obvious, but as i started sharing pics, Gavin pointed out. Eh this looks like its got a red tint, is this the camera ? I thought it was, then i tried and observe the SDR version and the whites looked more greenish. But the strange thing is both were calibrated with IRIS opened at 8. One had the greenish white (SDR), one had the reddish white(HDR)…Later i found out the software i was using previously, wasnt really optimised for Projector HDR calibration… Im glad i recalibrated HDR, it didnt take long but there was a lot of improvement in terms of colour accuracy and luminance levels. This has got the best HDR image so far from all the different trial and errors with different settings… The colours and temperature tracks more closely to the calibrated SDR image
See how the colour temperature shifts with iris ? This is what got me to recalibrate the Projector!!
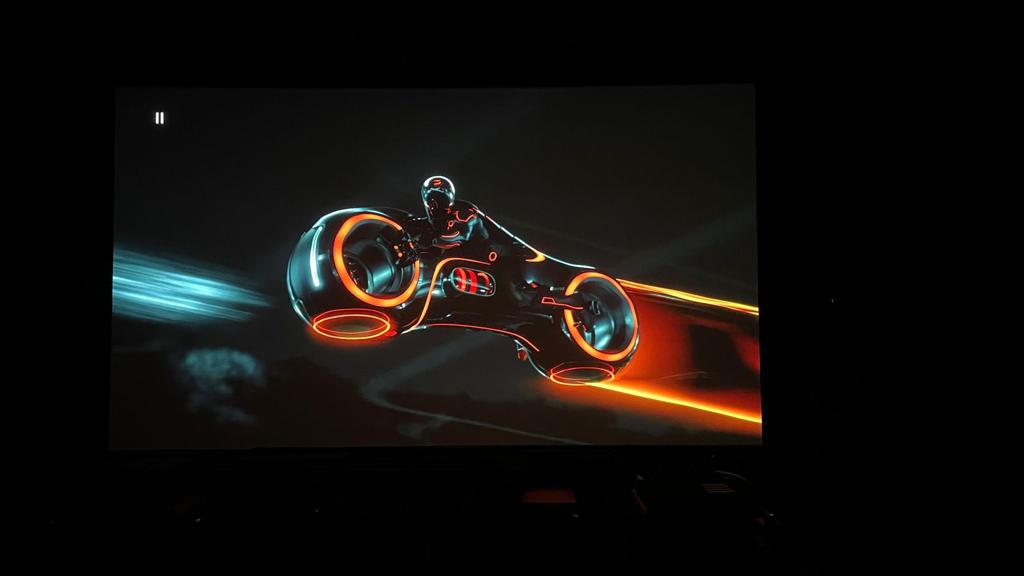
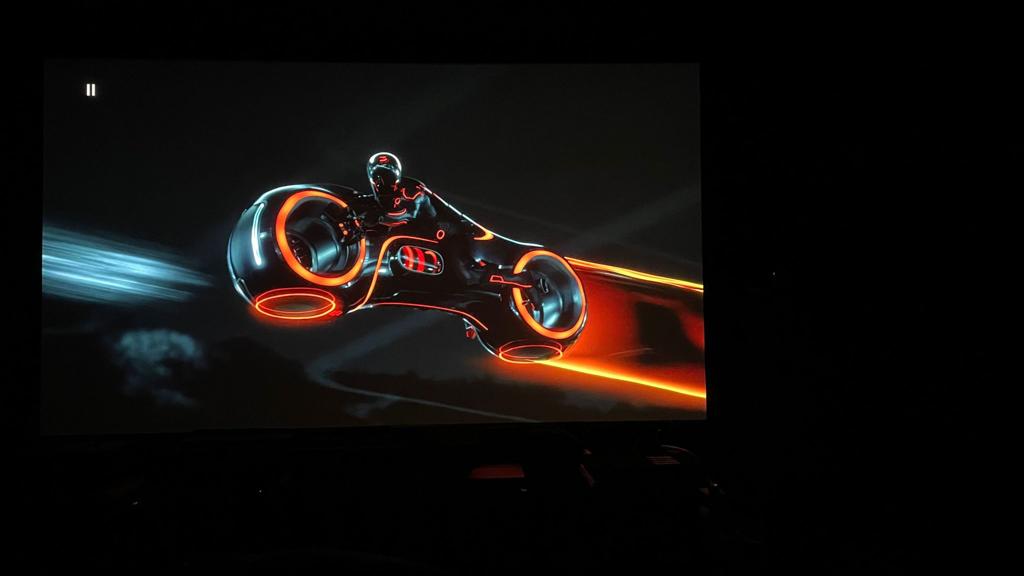
When you dont compare, you will not know which bike colour is the correct colour ? Is the one in light orange or dark orange ?
Even the light on the bike looks different, one has that blueish white tint whilst the other is tael… So which is correct ?
After re-calibrating last night, i finally noticed that the good guys Light Cycle bikes, comes in 3 different colours, 2 green, 2 blue and the hero is riding Pure white… lol
This is not new, call it a limitation of any IRIS-implemented projector. JVC projector also suffered the same issue. It is important to take note at what “stop”…it could be 2 - 3 stops before the color temp shift will happen.
Oh so this is common… even with JVC projectors… I did ask Gavin this question , he told me he uses the Auto Iris function ,so even with the Auto Iris function turned on, the colour temperature shifts ? That means its better not to use auto iris ?
Is it common for ALL projectors? I would think so. I can only comment based on my exeprience with Sony and JVC laser projectors. For Sony which implements Dynamic Iris alongside with laser mode (low, medium or high), I do not see much of a color temp shift but for JVC projector, it is quite apparent. JVC NZ projector series is a laser projector that utilize Laser Dimming together with manual len aperture (Iris) to boost Dynamic CR. One can choose to leave the Iris fully open or manually set the Iris stop. For instance, my Len aperture setting is set around -3 but once I go past a threshold of say -4, I will see a slight color temp shift. This is unavoidable when we use Iris. Laser Dimming supposed to supercede Iris to boost CR but still requires Iris to boost perceived dynamic CR.
For me, the only reason to open up the iris is if there is ambient light in the room. So for critical watching, I fix my iris at 3 (what I calibrated with) and watch at night. With MadVR, I don’t have to adjust tone curves anymore and it handles any sort of movie in pure darkness. Before MadVR, I was fiddling the projector a lot to get the best tone map, brightness, shadow detail and sometimes had to move the iris around, especially with the previous BenQ projector. One day I will make a bat cave, but for now, daytime watching involves some compromise of color.
For my OLED, I have day and night modes. In total darkness, day mode is blinding, but night mode is just right. Any ambient light will spoil night mode.
In my case, the Iris of 10 reduces the red saturation and creates greenish skin tones. Its less obvious than with direct observation, perhaps due to the auto white balance in the iPhone camera
Up and down one level usually not much change. However if you use MadVR and there is no change in darkness of your room, then the calibration point iris shouldn’t change, and all video should look nice. The only reason I change iris is to watch during daytime, when light is leaking in. Often I don’t darken the room at all, so Standard (uncalibrated) mode with Bright Room setting the color temperature is too cool, but very watchable for regular TV stuff and news
Good question. I also didn’t realise there is so much shift in colour temperature when iris changes. So for the early adopters, iris has to be opened to 7/8 for the calibration to work. Anything less and the grayscale calibration goes haywire. But after calibration, iris at 7/8 is too bright, so we turn them down to between 0-4 , and the colour shifts. So not ideal
So not sure about those using auto iris . Some of the projectors allow for automatic opening and closing of the iris with different scenes.
But like what desray mentioned above, need to find that sweet spot where the colour temperature doesn’t move much with iris at “x” spot . All these need to be determined before even starting the calibration . Kind of like a midpoint before it skews to one side of the colour temperature
I found this value to be iris at 4. So if u move 1/2 clicks up or down, it doesn’t deviate much from the calibrated reference. Iris at 4 then becomes the reference point where d65 white point is bang on accurate
@Foodie this clip here shows u what’s happening with iris 0,4,8… I picked this number so we can see how big the gap between iris 0 to 4, and how big the gap between iris 4 to 8. This image is from the tron legacy movie . In this instance, the projector was calibrated with iris at 8, so iris at 4 v 8 wasn’t as off compared to 0 v 4 . That’s a sample and for us to actually see what’s happening with the colour temperature shifts with different iris
So assuming after finishing this exercise, u find that you will never watch a movie with iris at 8, then no point opening the iris too high before calibration. If u find u r in a bat cave and always watching the movies with iris at 0, then this room’s iris could work better at iris 2 before starting the calibration. So u can go down to 0 or go up to 4 without much deviation from the calibrated reference.
But iris 2 then becomes the reference point, bang on correct delta error 0.3 type of reference point according to the colorimeter report. Of course if the colorimeter is not referenced against a spectro, then it is what it is out of the box a factory meter…
After fiddling with a couple of the tone curves that AVS users posted, I eventually went back to default. If I recall, you can change the tone curve without redoing the whole calibration process.
Now that I’m using MadVR in SDR2020, I hardly use the HDR mode on the projector. As you know, I never did manage to achieve your level of dark scene shadow detail in HDR calibration, so while LG DTM does great for bright scenes, dark scenes were just too dark. I always thought adjusting the HDR Tone Curve would fix this, but I never was able to. Before I had MadVR, I was quite satisfied with HD Fury’s LLDV hack handling the bright scenes and simply turning off LG DTM, but it wasn’t quite as perfect as MadVR.