
Look at the calibrated hdr black levels on the Lg laser
Nothing short of stunning ! Deep blacks inky and nice…
Don’t need to go JVC Laser for $15k !
Let the pic do the talking…. Very very good
Look at the calibrated hdr black levels on the Lg laser
Nothing short of stunning ! Deep blacks inky and nice…
Don’t need to go JVC Laser for $15k !
Let the pic do the talking…. Very very good
Very happy with the video quality now, the grey bars masked out with the ultra black velvet diy masking bar. Very very good. So much difference to the image quality. Didn’t expect to see so much improvement on the video , very satisfied .
How is the new Sony TV treating you Foodie ? I’m sure u will enjoy moving up from 65” to 75”. Size matters really.
Luckily 3 years ago I took the advice of another member and went with the biggest screen possible. Back then he told me, “as u go along the way, u will find that the screen gets smaller and smalller” lol… so based on his recommendations, I went with the 135” instead of 120” as recommended by thx . I am glad I listened to this member, old timer at xtremeplace
Over time, you will get used to it
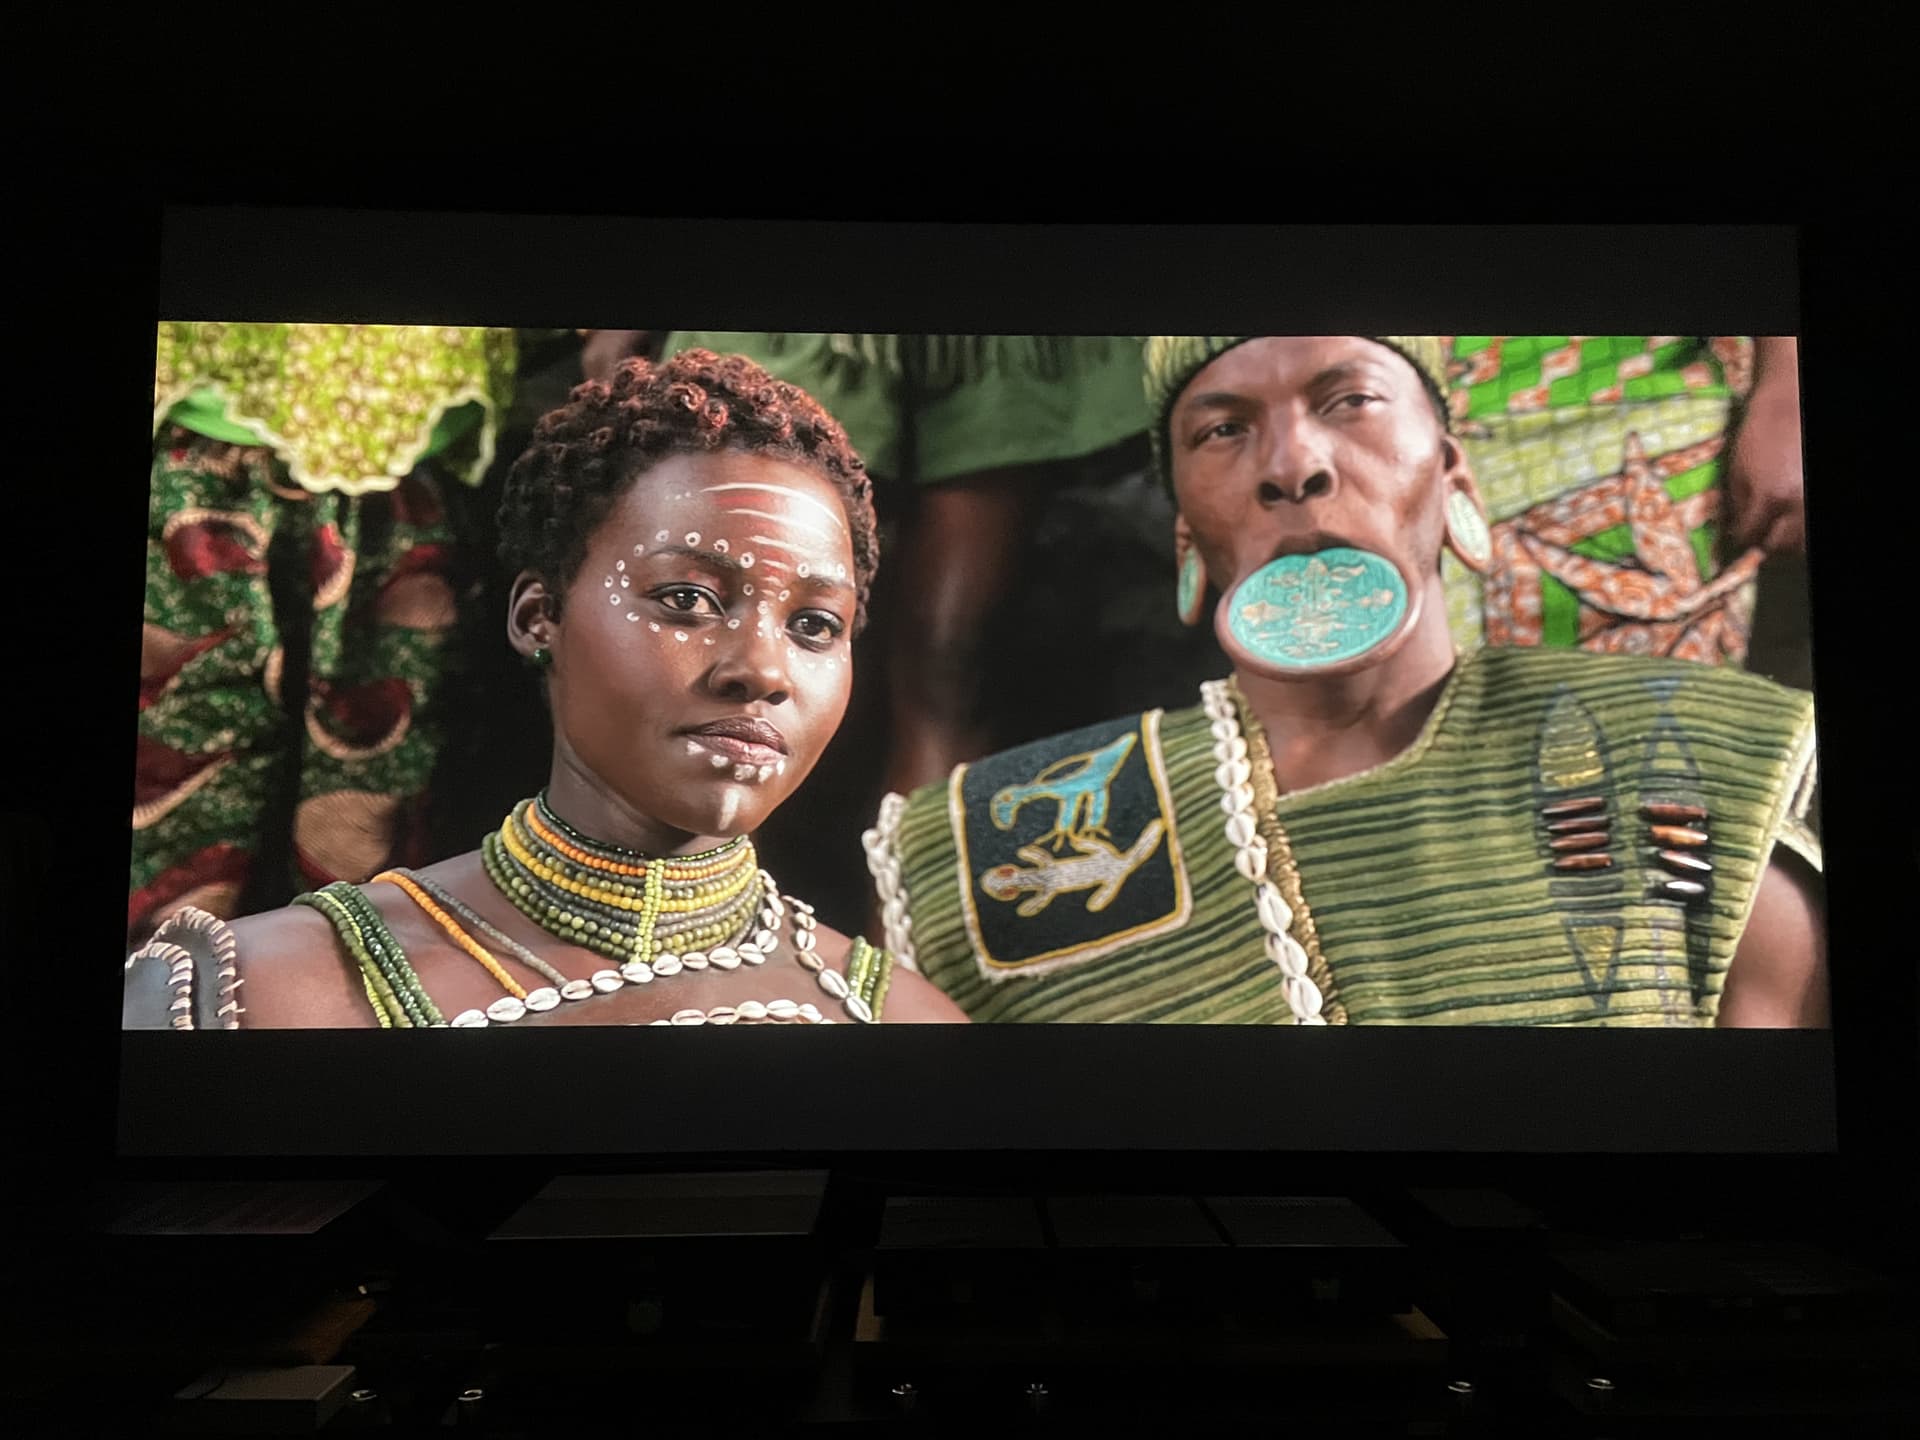
Let u see same source
Above is BenQ 5700
Below is lg laser
Can see a lot of difference watching it in person!
Same camera same source same player … only different projector
Very very happy with the increased screen size! No regrets man.
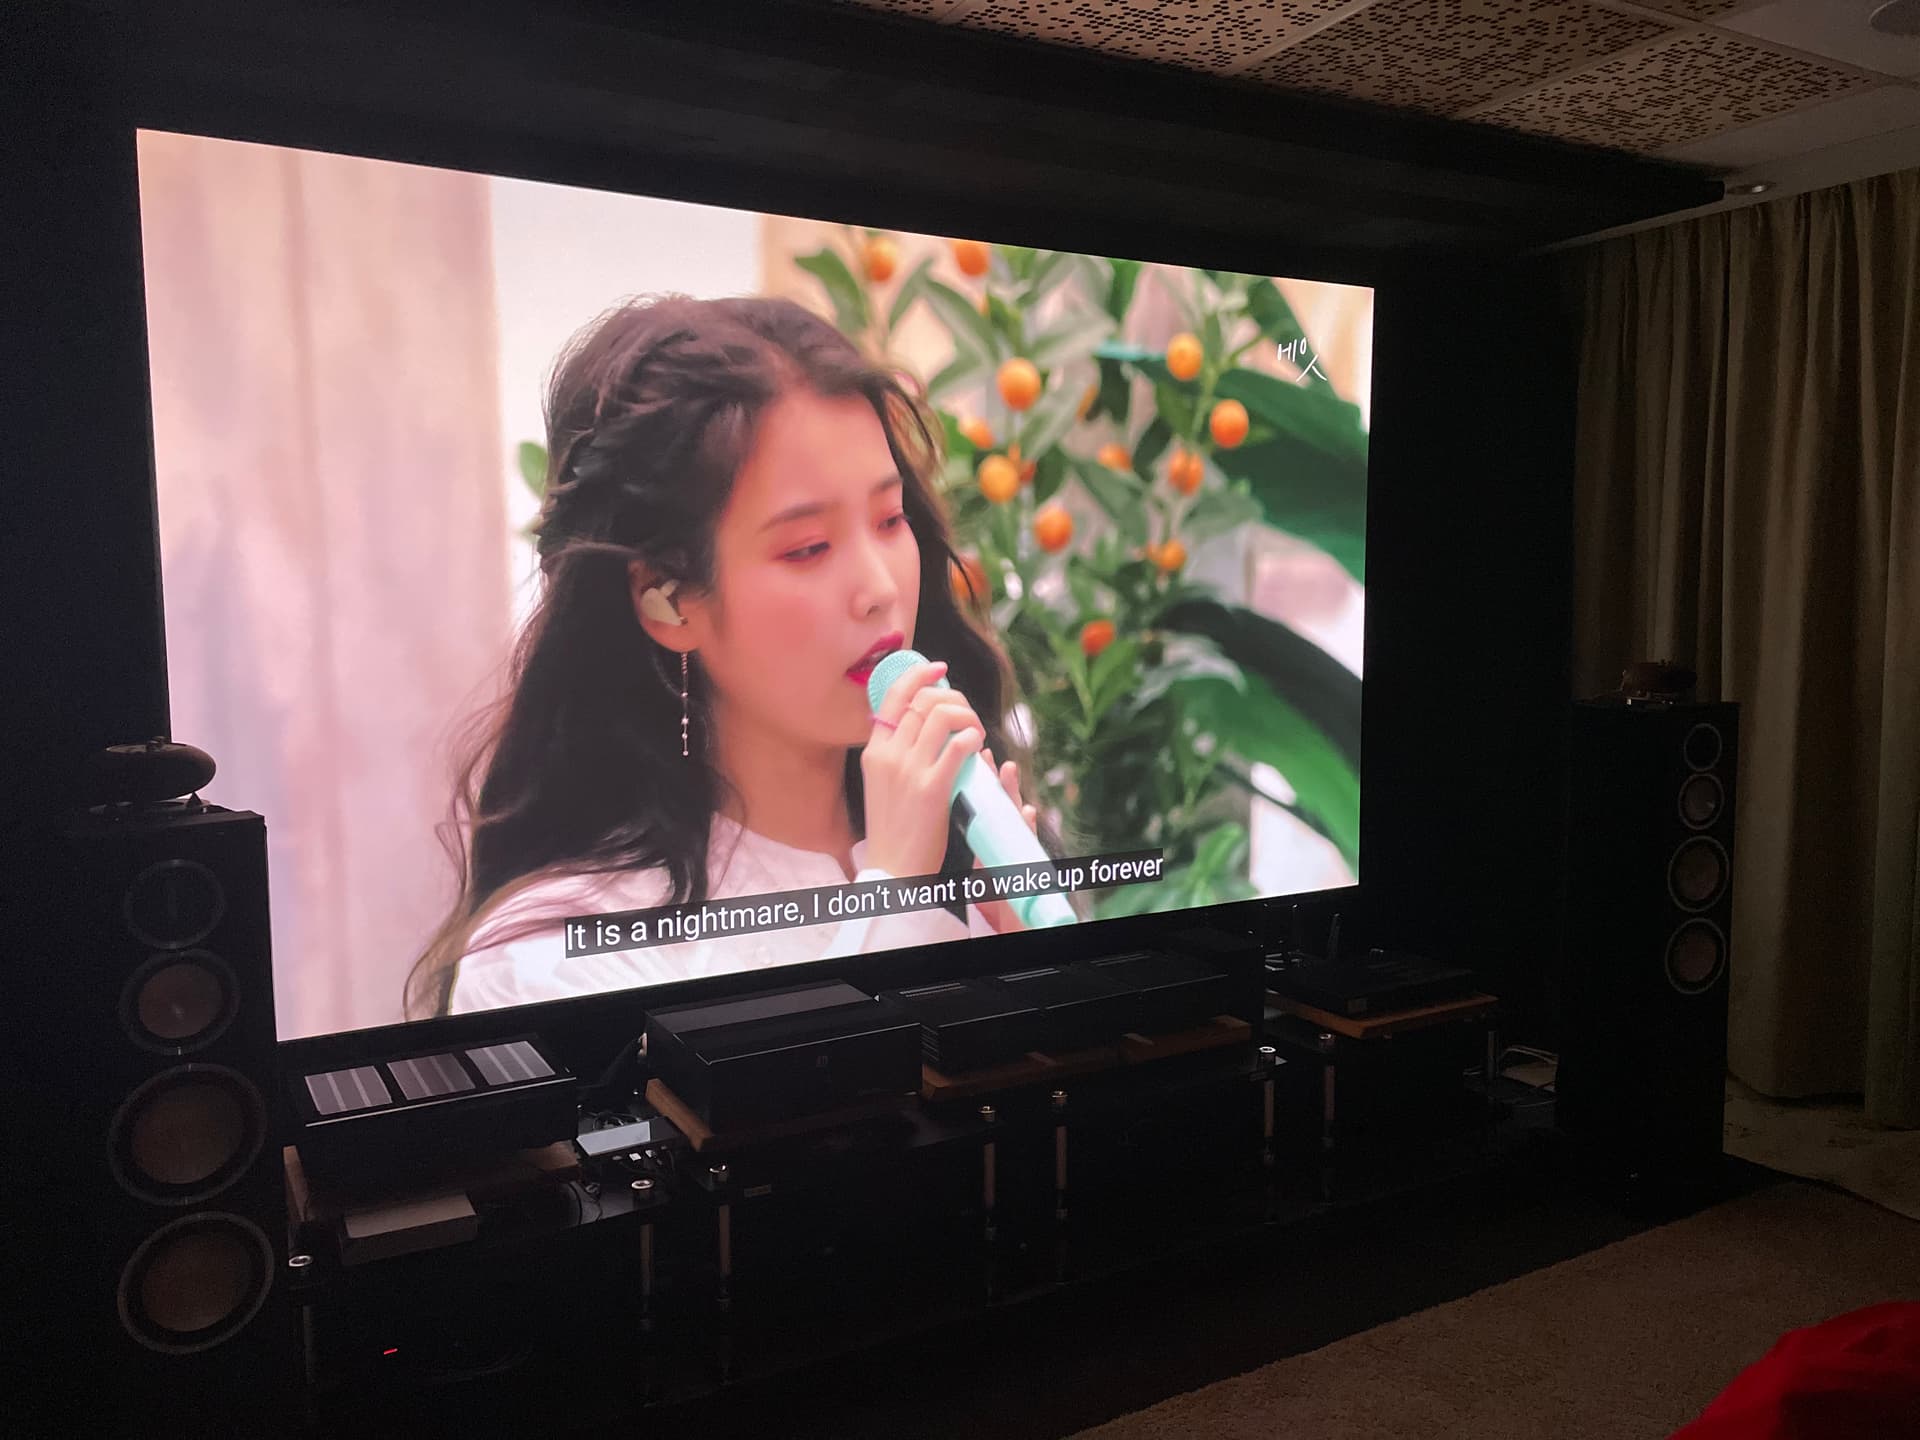
The Sony’s picture and color quality out of the box is quite good. Spotted a light blue tinge to correct and improve skin tones.
I miss the perfect blacks levels of the oled in dark room viewing environment. Overall picture quality and blacks, oled still is THE KING.
LED TVs has a critical challenge to overcome for black levels in dark room environment - the back-light and blooming for dark scenes and also the top and bottom bar to be totally black… does PJ has this challenge too when u switched from oled to PJ?
Thankfully, Sony’s local dimming ability n its algorithm is very good to overcome this in dark room viewing.
Projectors different ball game bro… need light control. Even the material, black, how much light it absorbs, how black is the black, makes a huge difference as I have just found out. Those OLED organic light displays with self emitting light is different. Won’t be much of an issue.
For OLED even if u don’t calibrate not too bad, but projector it’s a huge difference once u calibrate it. Especially for hdr, so much difference
I’m witnessing first hand now, how these black masking makes a difference to end result and contrast. Watching it in person , it’s mind blowing . Now I understand the importance of light control and a pitched black man cave . The experience is different
The Sony is also good. Not bad, now tv is getting cheaper !! Finally
Very true, for projectors, it is very very important to have dark-colored surroundings (walls, ceiling, and flooring) to minimize stray lights from bouncing back to the screen. This will ultimately have an impact on the overall perceived contrast. The bigger the screen estate, the harder it is to control. But this can be a real challenge if one does not have a dedicated HT room…it is harder to do have a makeover for a living room set without compromising on the aesthetics to a certain extent.
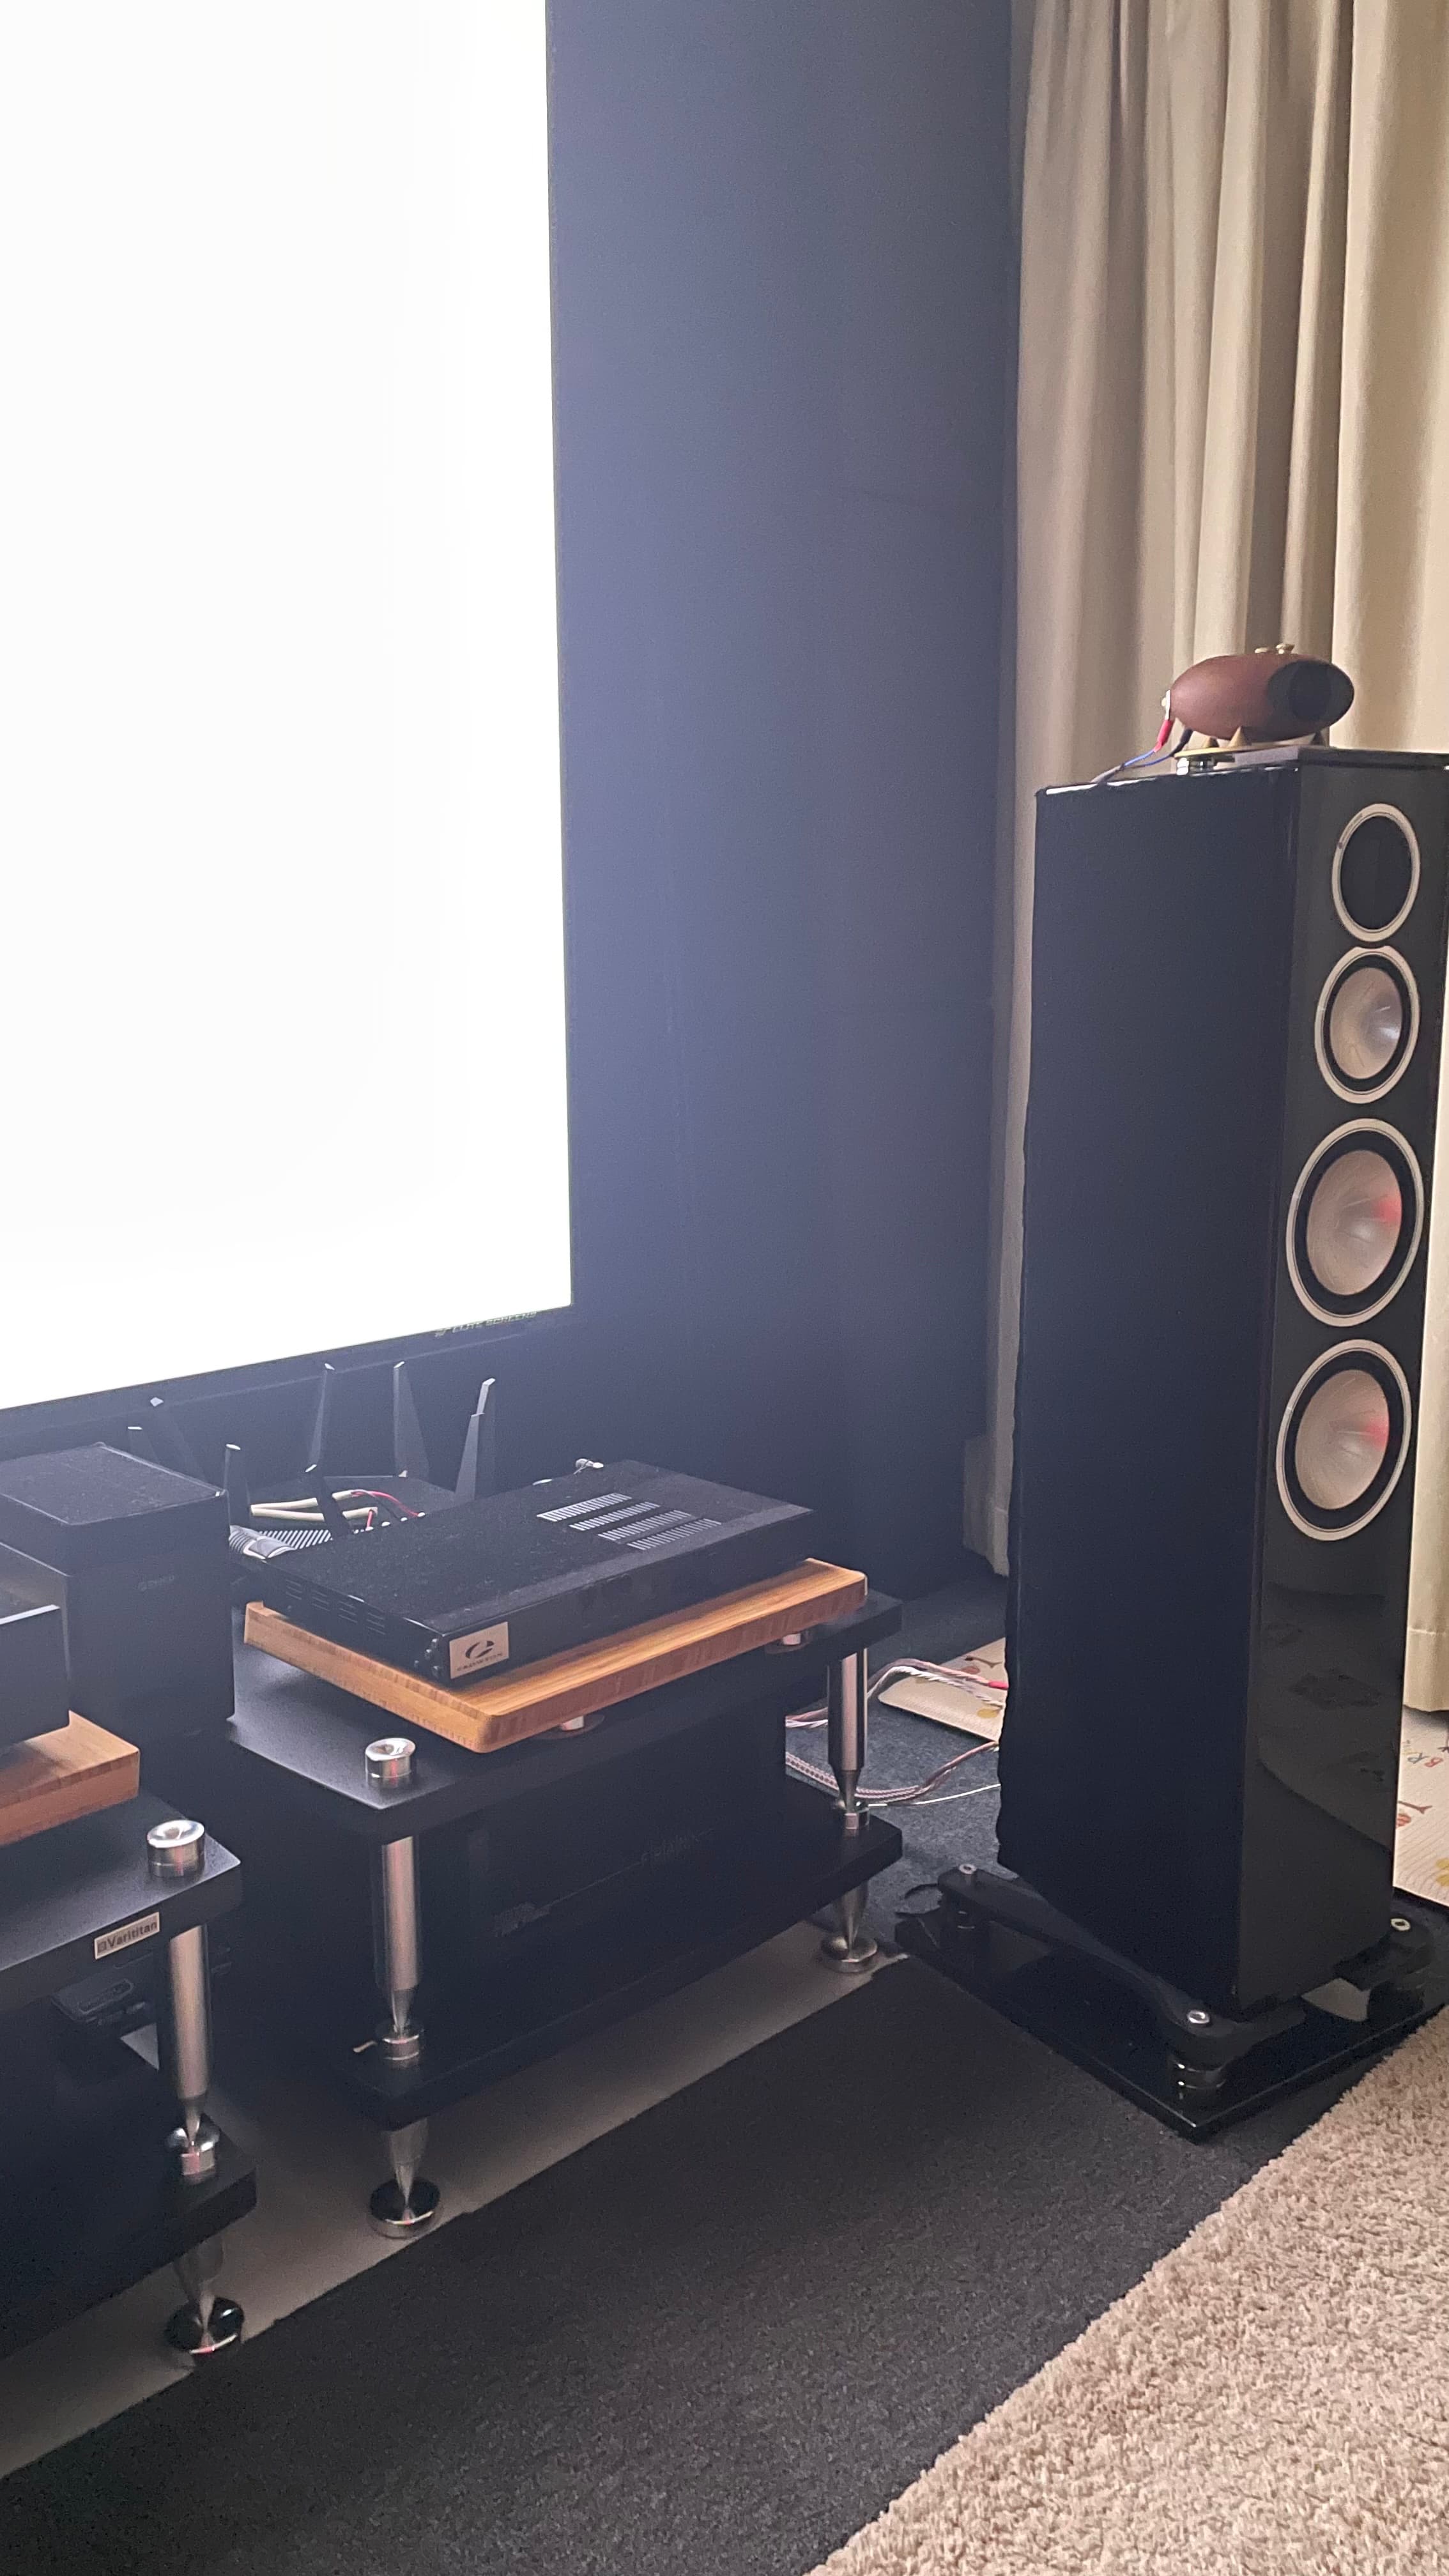
Following up now with the speakers.
Since I had some leftover fabric, I did the math and thank god, I had sufficient fabric left over from previous diy masking project. So I thought, why not use it for the speakers ??
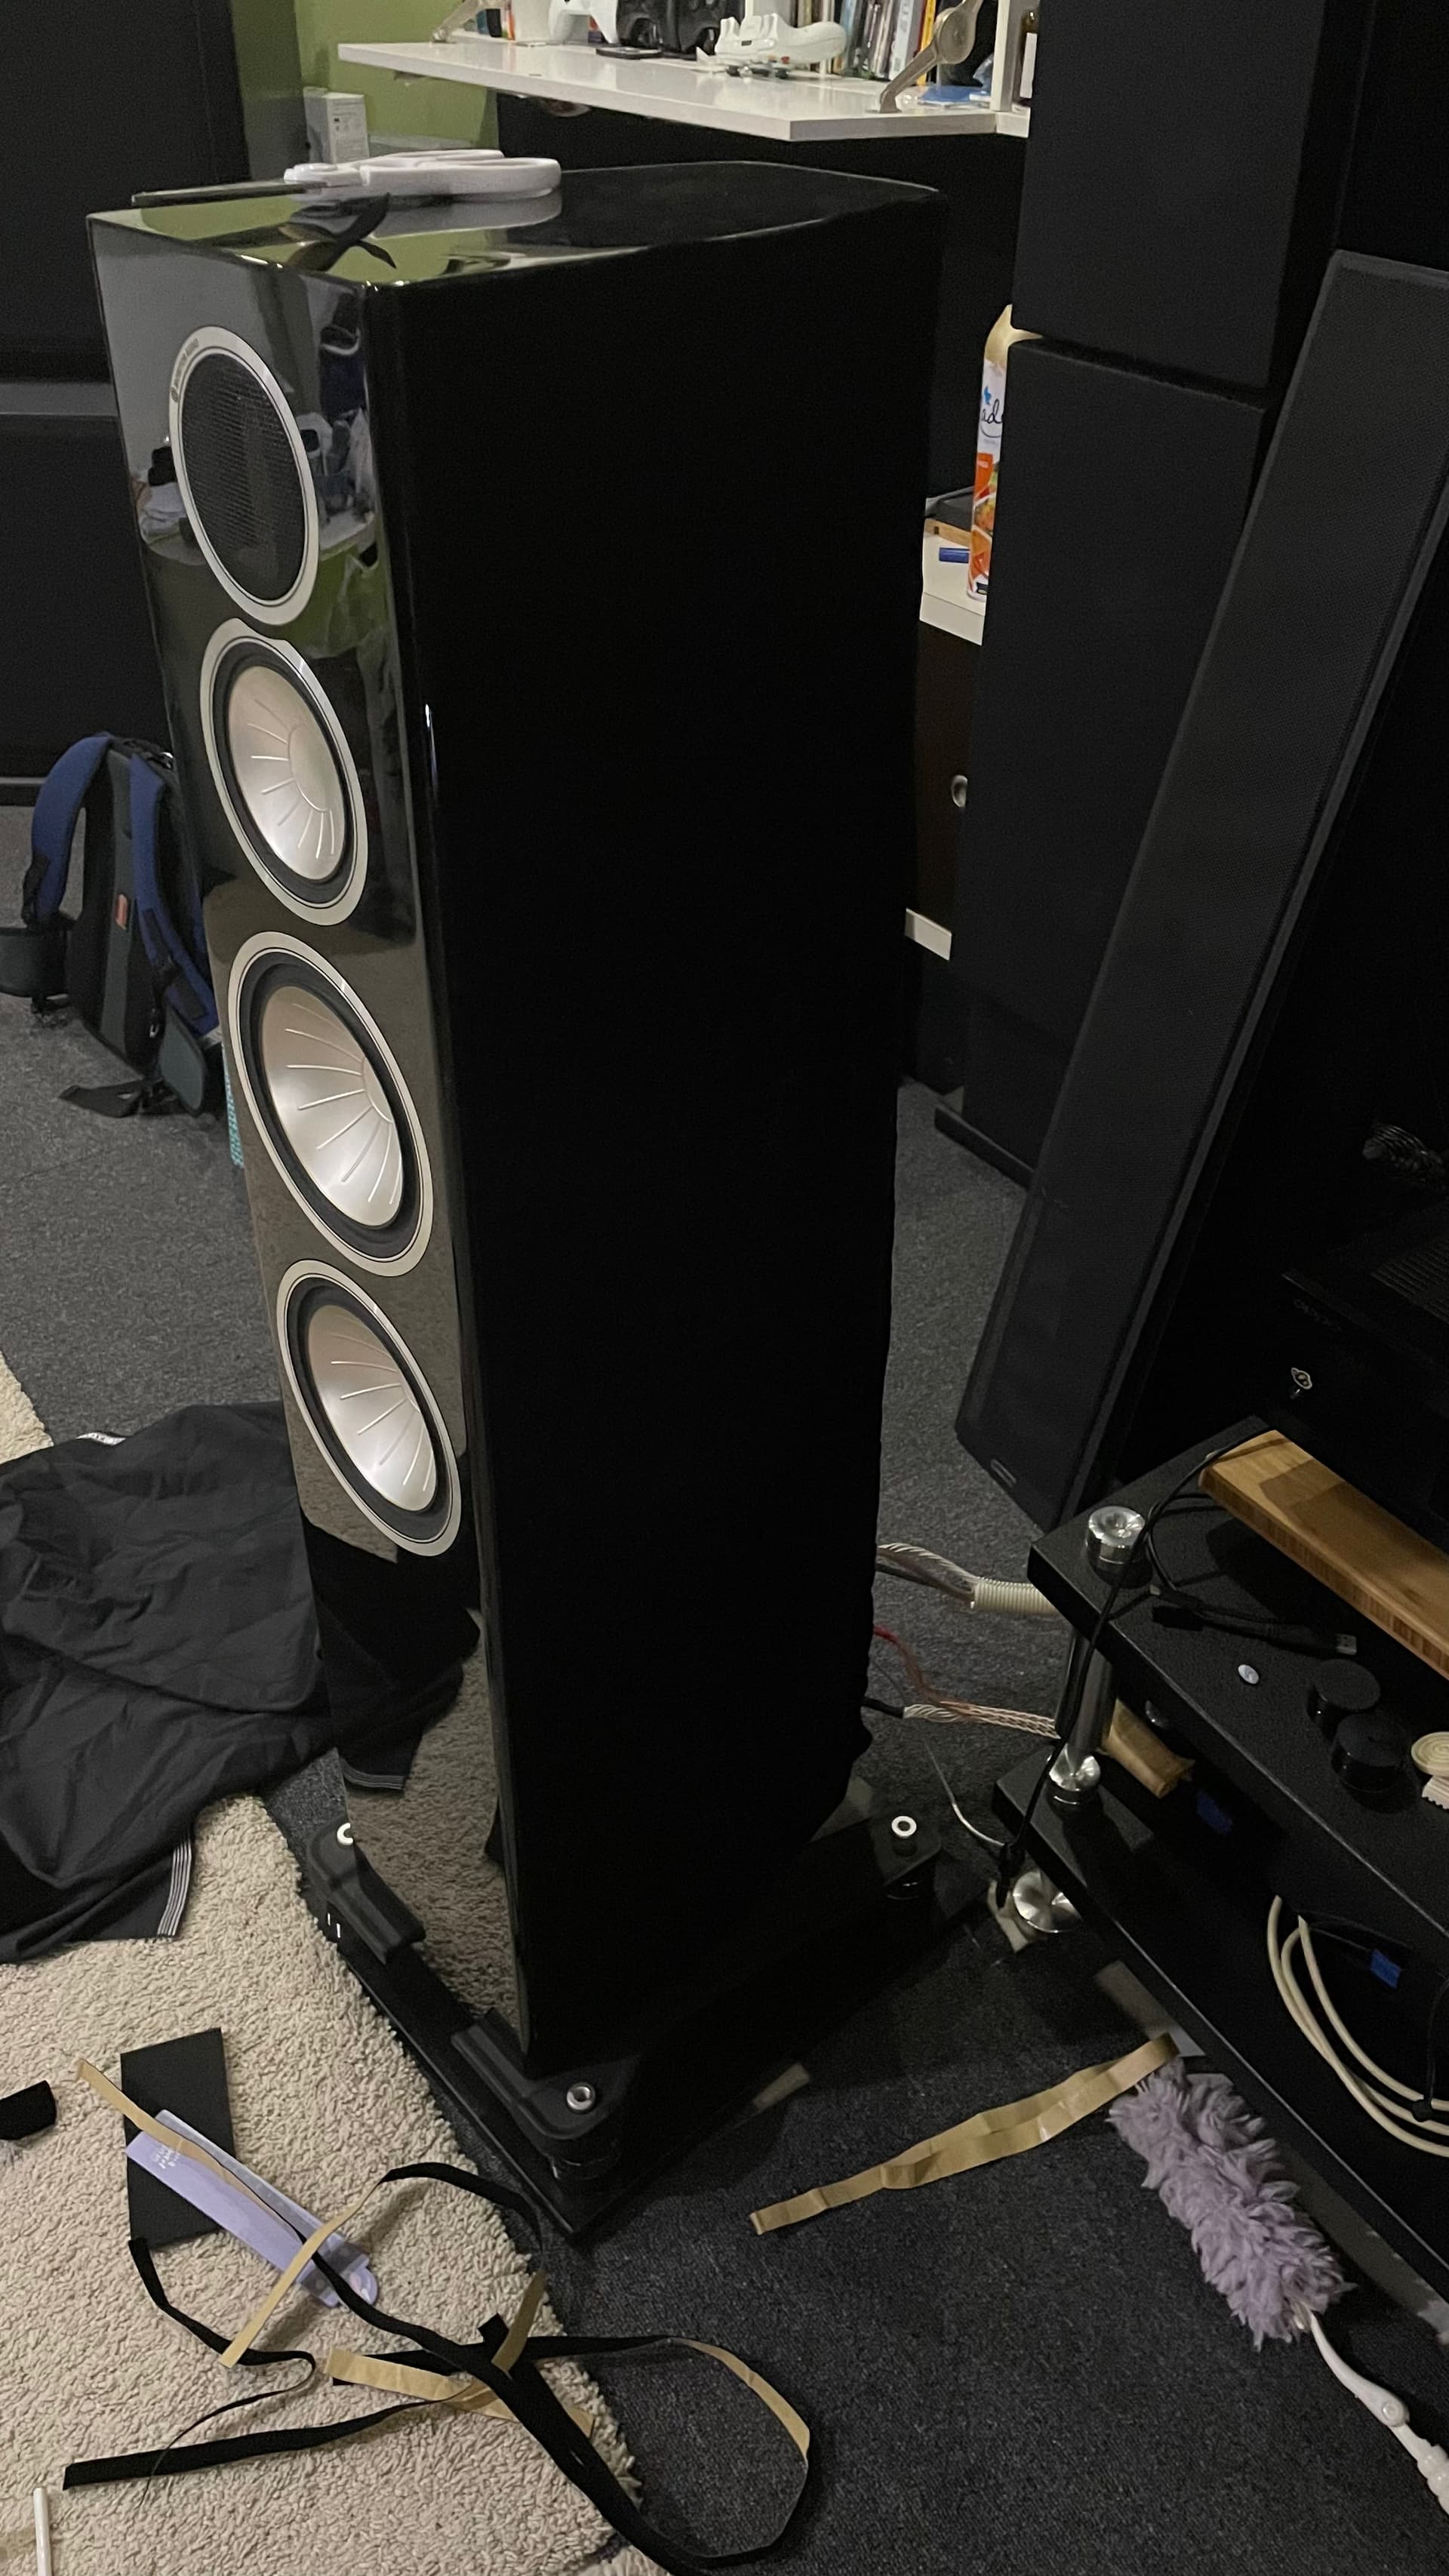
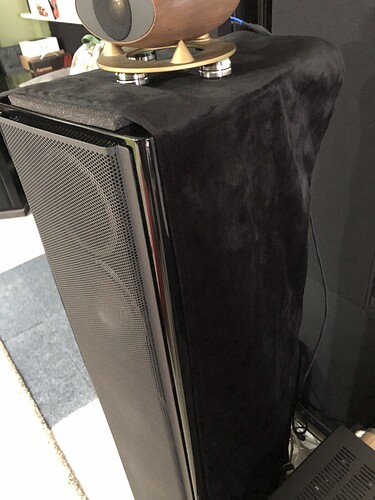
In case u r wondering why, here below is why , see the lights reflecting off the glossy speaker cabinets below ?
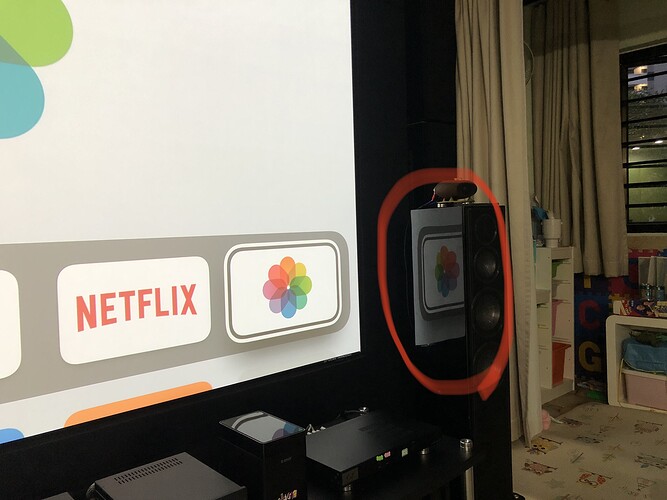
No more now with the ultra black fabric
I covered the top section and inner section only with the fabric
I had to use very thin layer of blutack, it sticks on well to the cloth and cabinet.
Still haven’t completed the tidying up…
This cloth is really good, ultra black, stretchable spandex, breathable, quite good and cheap! Can’t find it anywhere except spotlight. I need to find the model. Then I will share that information. It’s super black and good for absorbing light
You can see now, no more lights reflecting off the speaker cabinets! Satisfied now… doesn’t affect the sound quality as well, so that’s a big big plus , thank god !
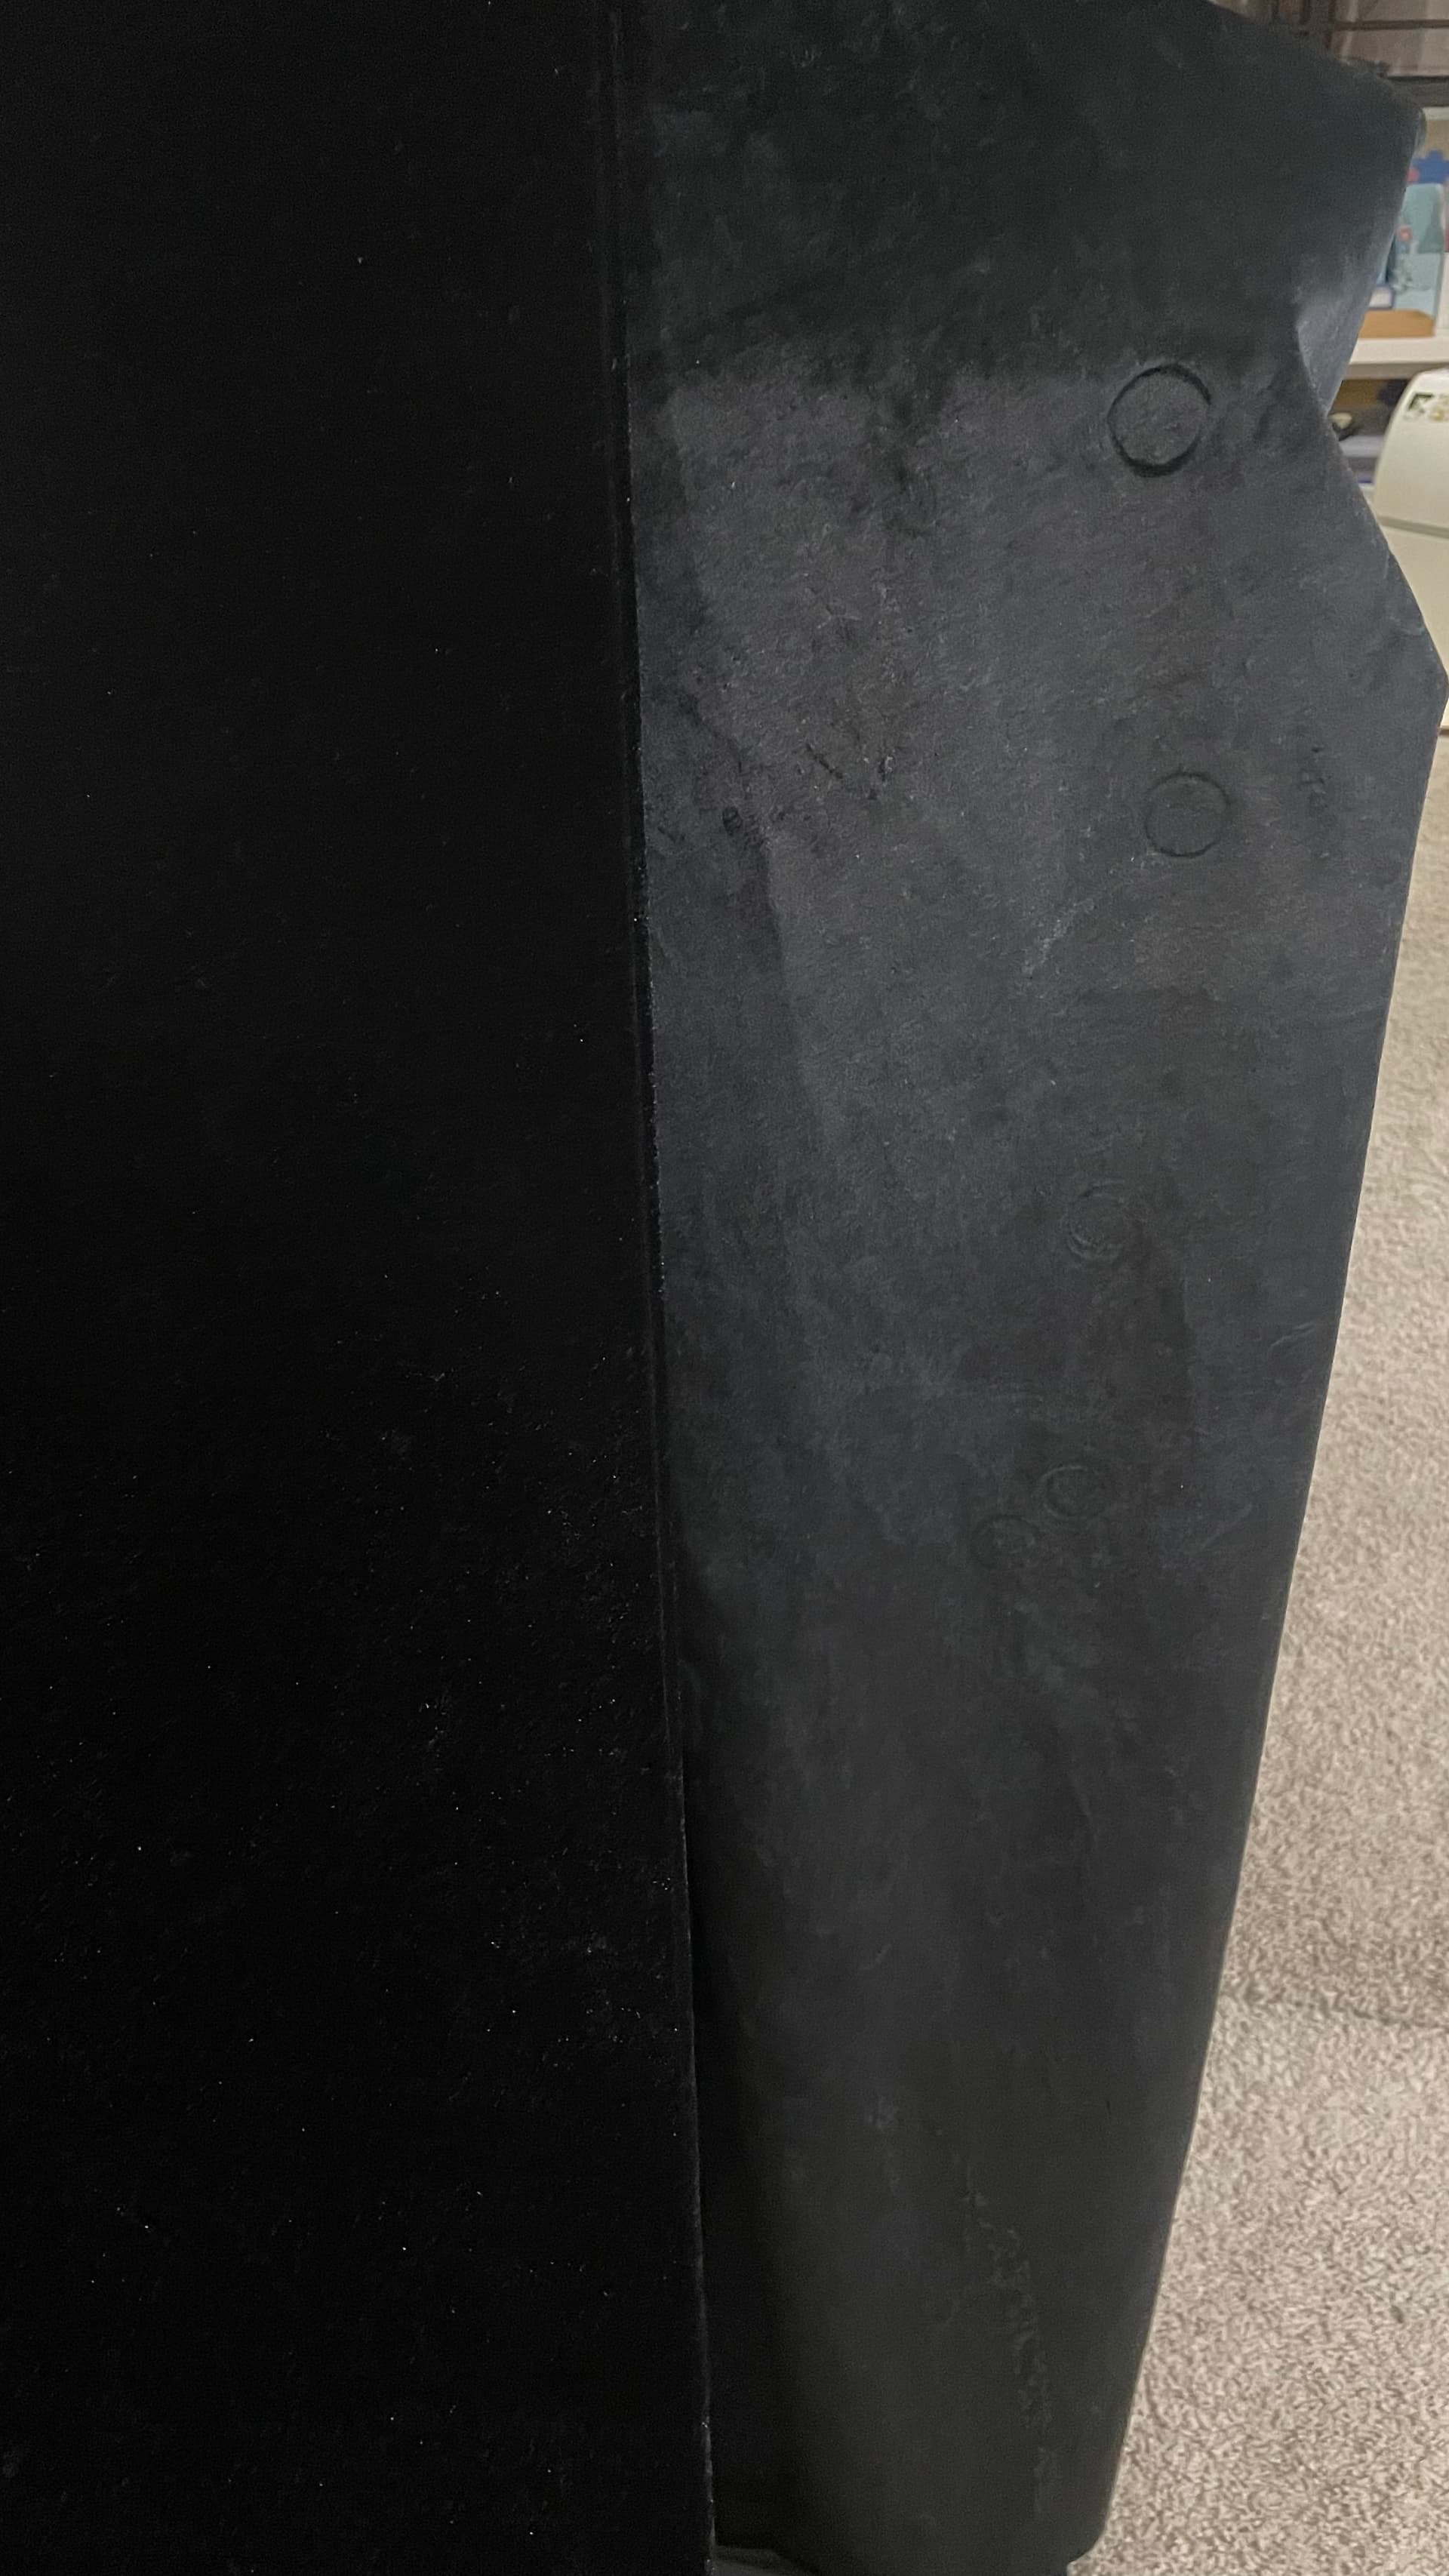
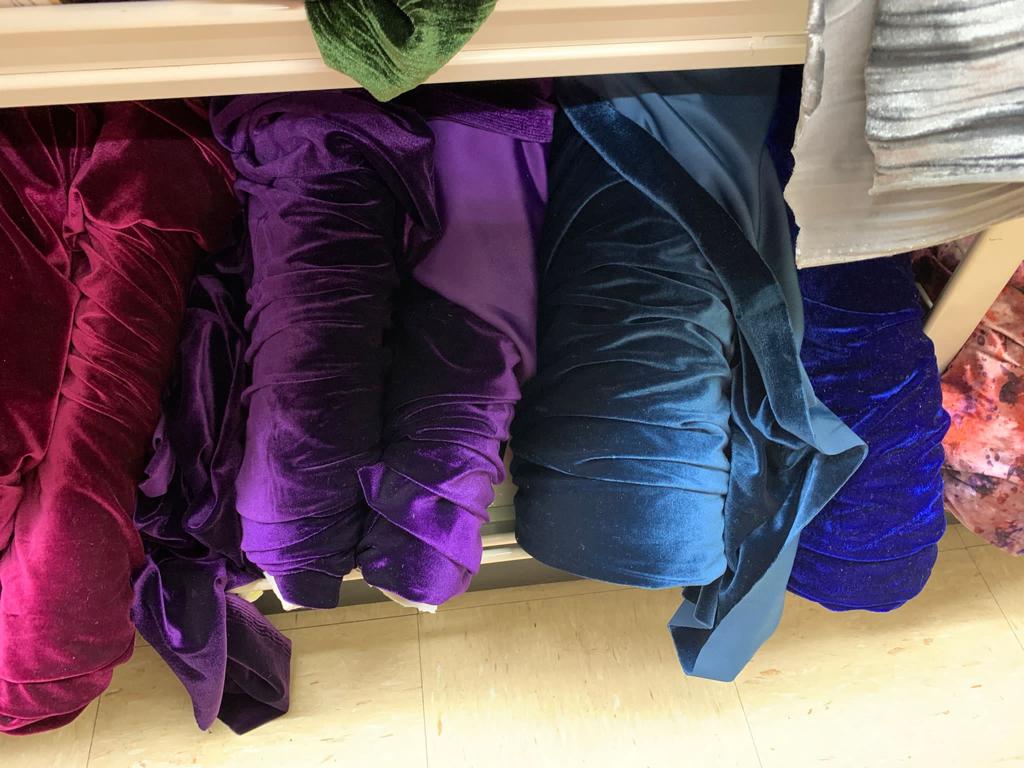
The above pic on right is another velvet I was using previously… just to hang over the speakers. It doesn’t absorb as well, see previous pics below
Compare this (now) below against top pic from previous and u can see side by side, how black this material from spotlight
I took one with flash, u can still see the side of the speakers, no light reflecting off the sides of the right speakers
So good and effective. Esp those who are not watching from mlp and seeing more of the speakers’ sides
Yea everything using this material now. I think was $14/m , cheap and good man ! Can’t find
High five! Cool idea right. I would think that besides using bluetak, you might want to use others like easy peel double tape or some sort. Bluetak gives off some sort of oil in long run… may indirectly cause undesirable stains. Especially for gloss surface. I’m speaking from experience cos my piano finish KEF is like this. 
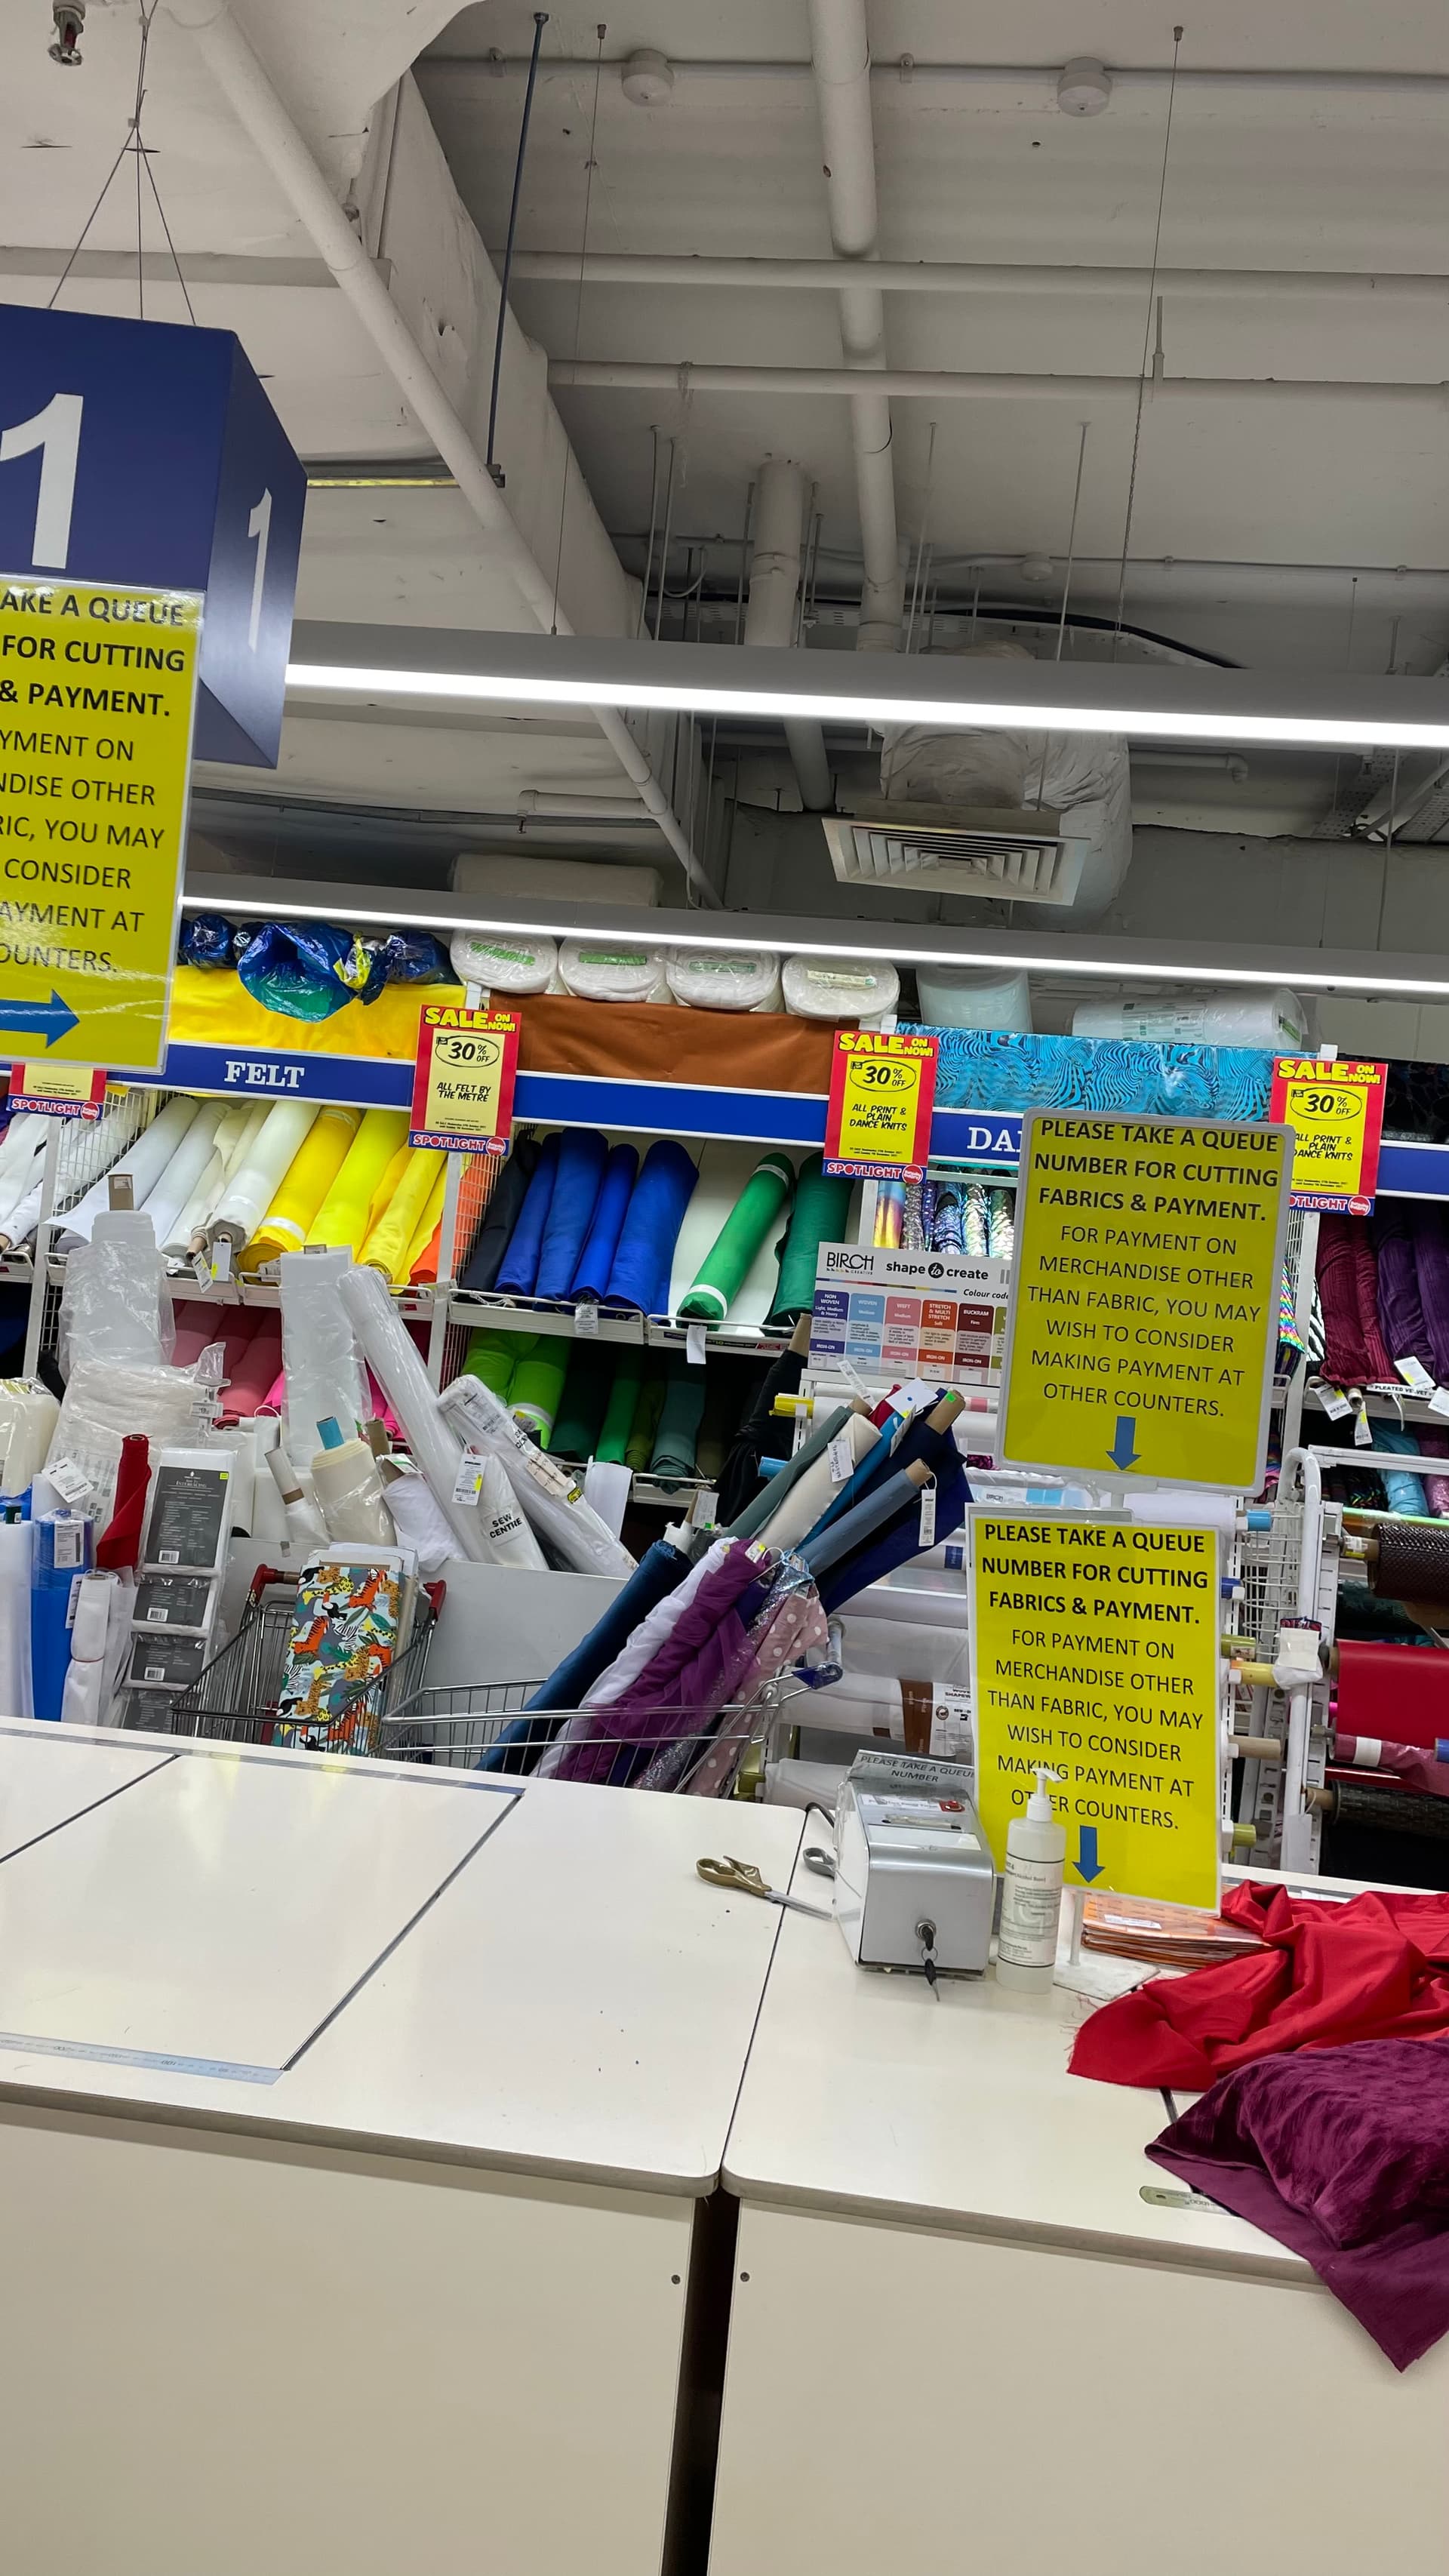
Ok happen to pass by spotlight today at plaza sing
Found the model of the fabric
They have all sorts of colours, just don’t have stock for black, all finished… u know where it ended up
It’s located behind the counter here, velvet fabric dept
Price is SGD14.70/m
This is highly recommended if u want to go ultra black for room environment , extremely good deep black , good light absorption and breathable stretchable material …
Double sided tape easy peel cloth type works well too.
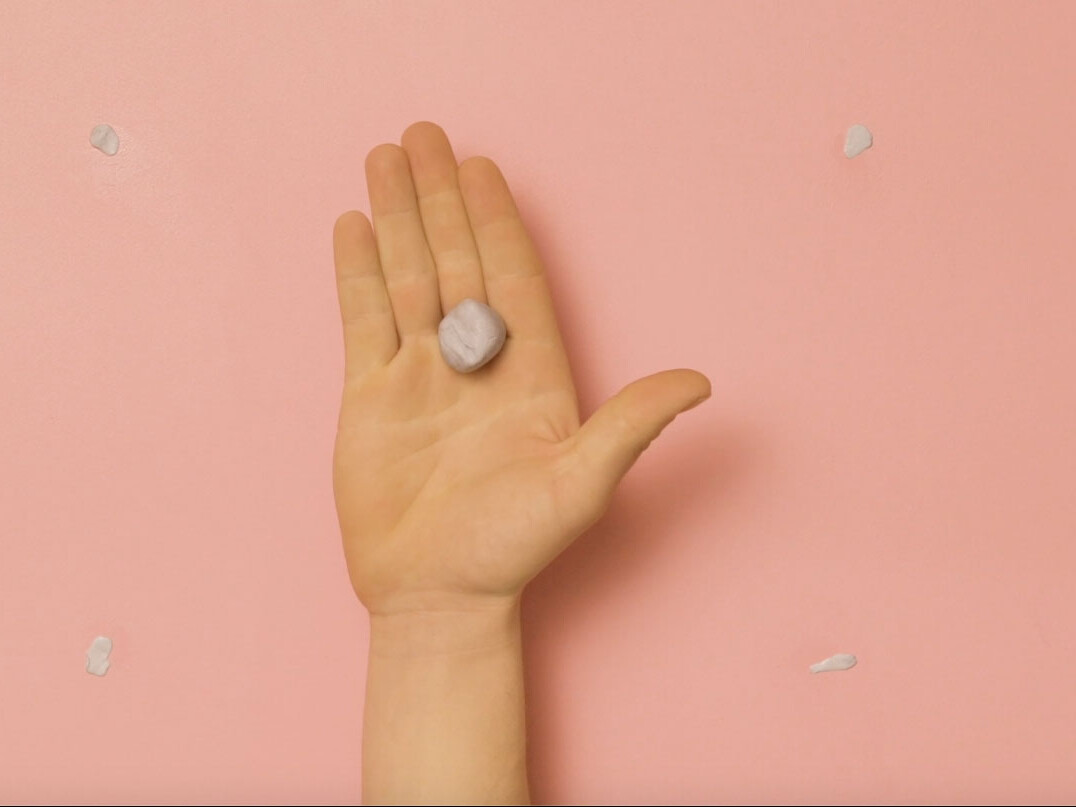
But Heads up for those using blutack, to remove the blutack, should follow these steps here , pretty easy to remove, will not leave any stains if you follow these :
These work all the time for me
The key is to use more blutack, roll it into a ball like this
If need be, stretch and pull it a few times till it gets hot before rolling into a ball, it becomes sticky when soft and warm, u can feel it, then u roll it on the surface and all will blutack or residues from it will stick onto it… neat and clean
I’ve used it for some years now, never had issues with stains or oil, just need to make sure to follow the steps below on how to remove it properly, they work wonders
To remove Bostik Blu Tack® from a wall when it has been there for a period of months – or longer – don’t pull at it, instead roll it carefully off the surface. It can then be used again and again. Any remaining bits can be removed by rolling or dabbing another blob of Bostik Blu Tack® over the wall’s surface.
If the surface underneath the Blu Tack® is old, delicate or porous, there may be a mark left behind. Chewing gum remover or lighter fuel can sometimes remove the stain. Do a patch test on an inconspicuous area first, to ensure that your chosen product will not mark the wall.
Apply a small amount of the cleaning product to a piece of kitchen paper or a clean cloth, then dab (don’t rub!) the affected area.
Take a clean and dry piece of cloth or kitchen paper and dab at the affected area. This method works by dissolving the oil in the Blu Tack® - It is then lifted off the surface when you dab with the dry cloth or kitchen paper. And that’s it, you’ve removed the Blu Tack® stain
Nice! I gave up doing the above when the oil sip through too deep 
Ya it will leave a mark no matter what eventually. So if we are putting on speakers, better choose something that won’t leave that mark /stain.
Ok bro, I think I had better listen to you guys, now still not so sticky, can take out the blutack. I’ll use double side cloth type of peel free double sided tape.
I go find now. Then swap it out. Luckily it’s easy to take out and stick back , so not too bad
Try 3M tapes. Some of them are strong but have minimum sticky residue =)
Oh thanks bro. Ya my concern is the glue residue after some time. That’s why I didn’t opt for double sided
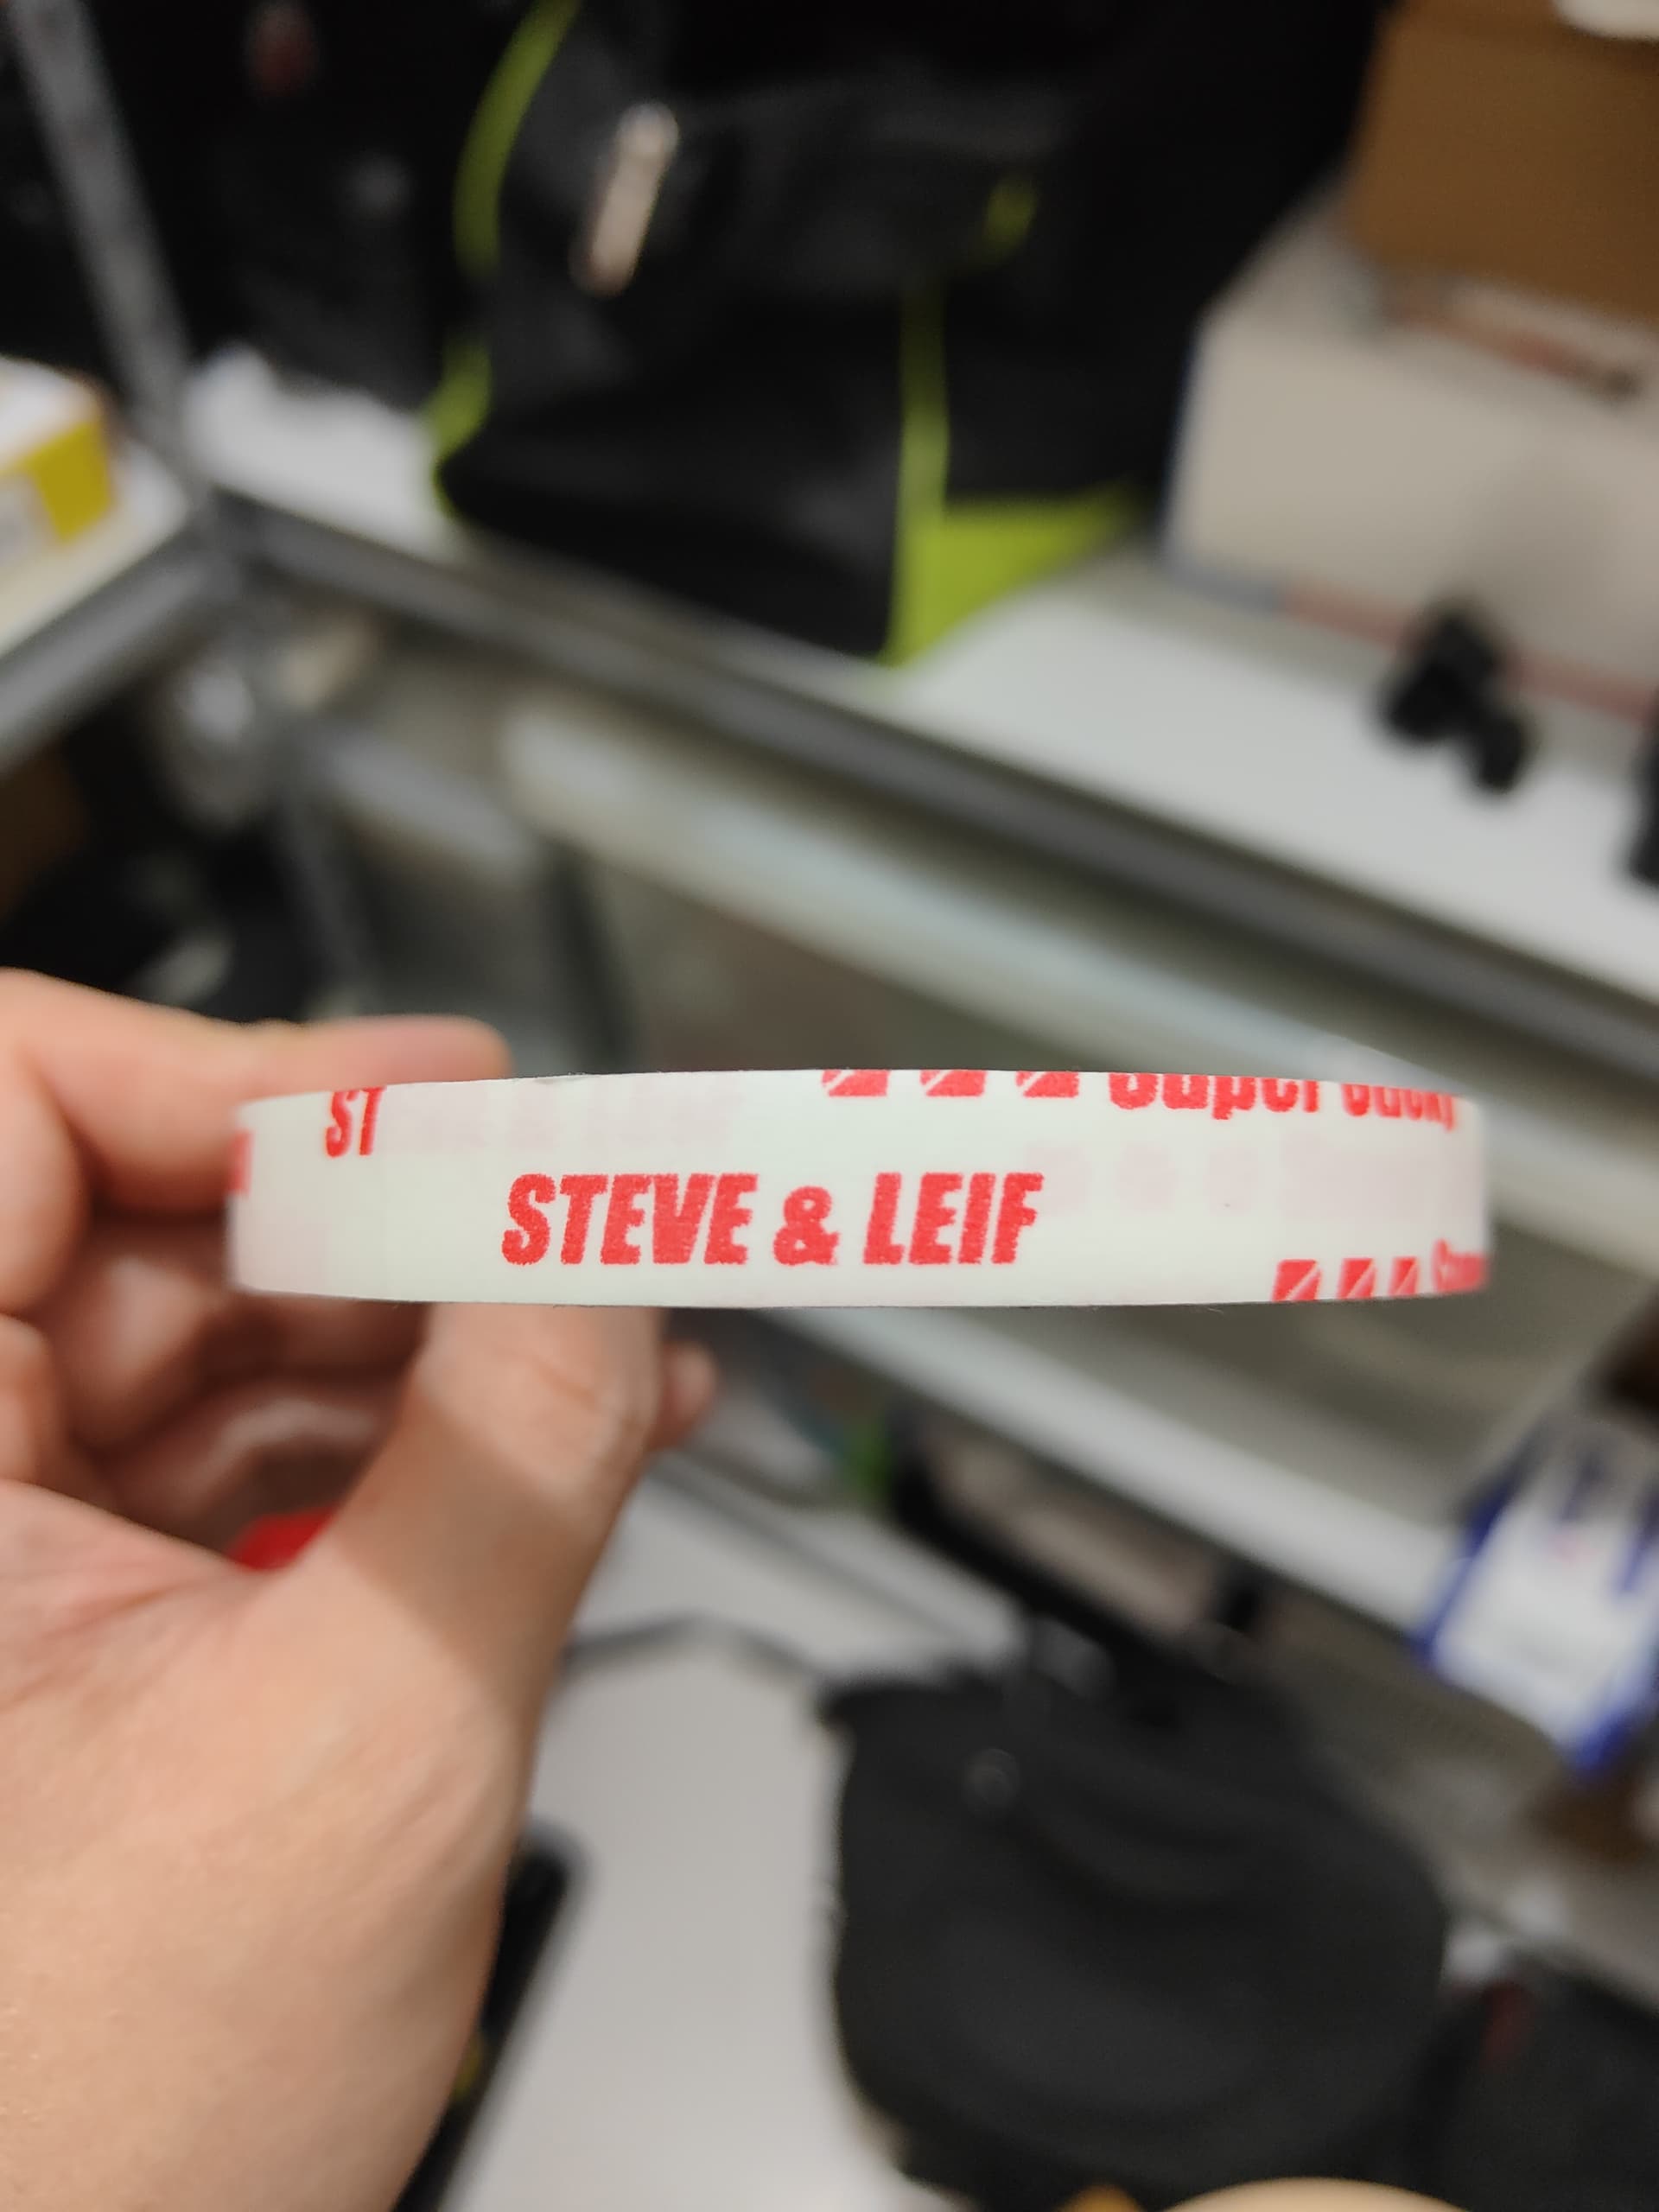
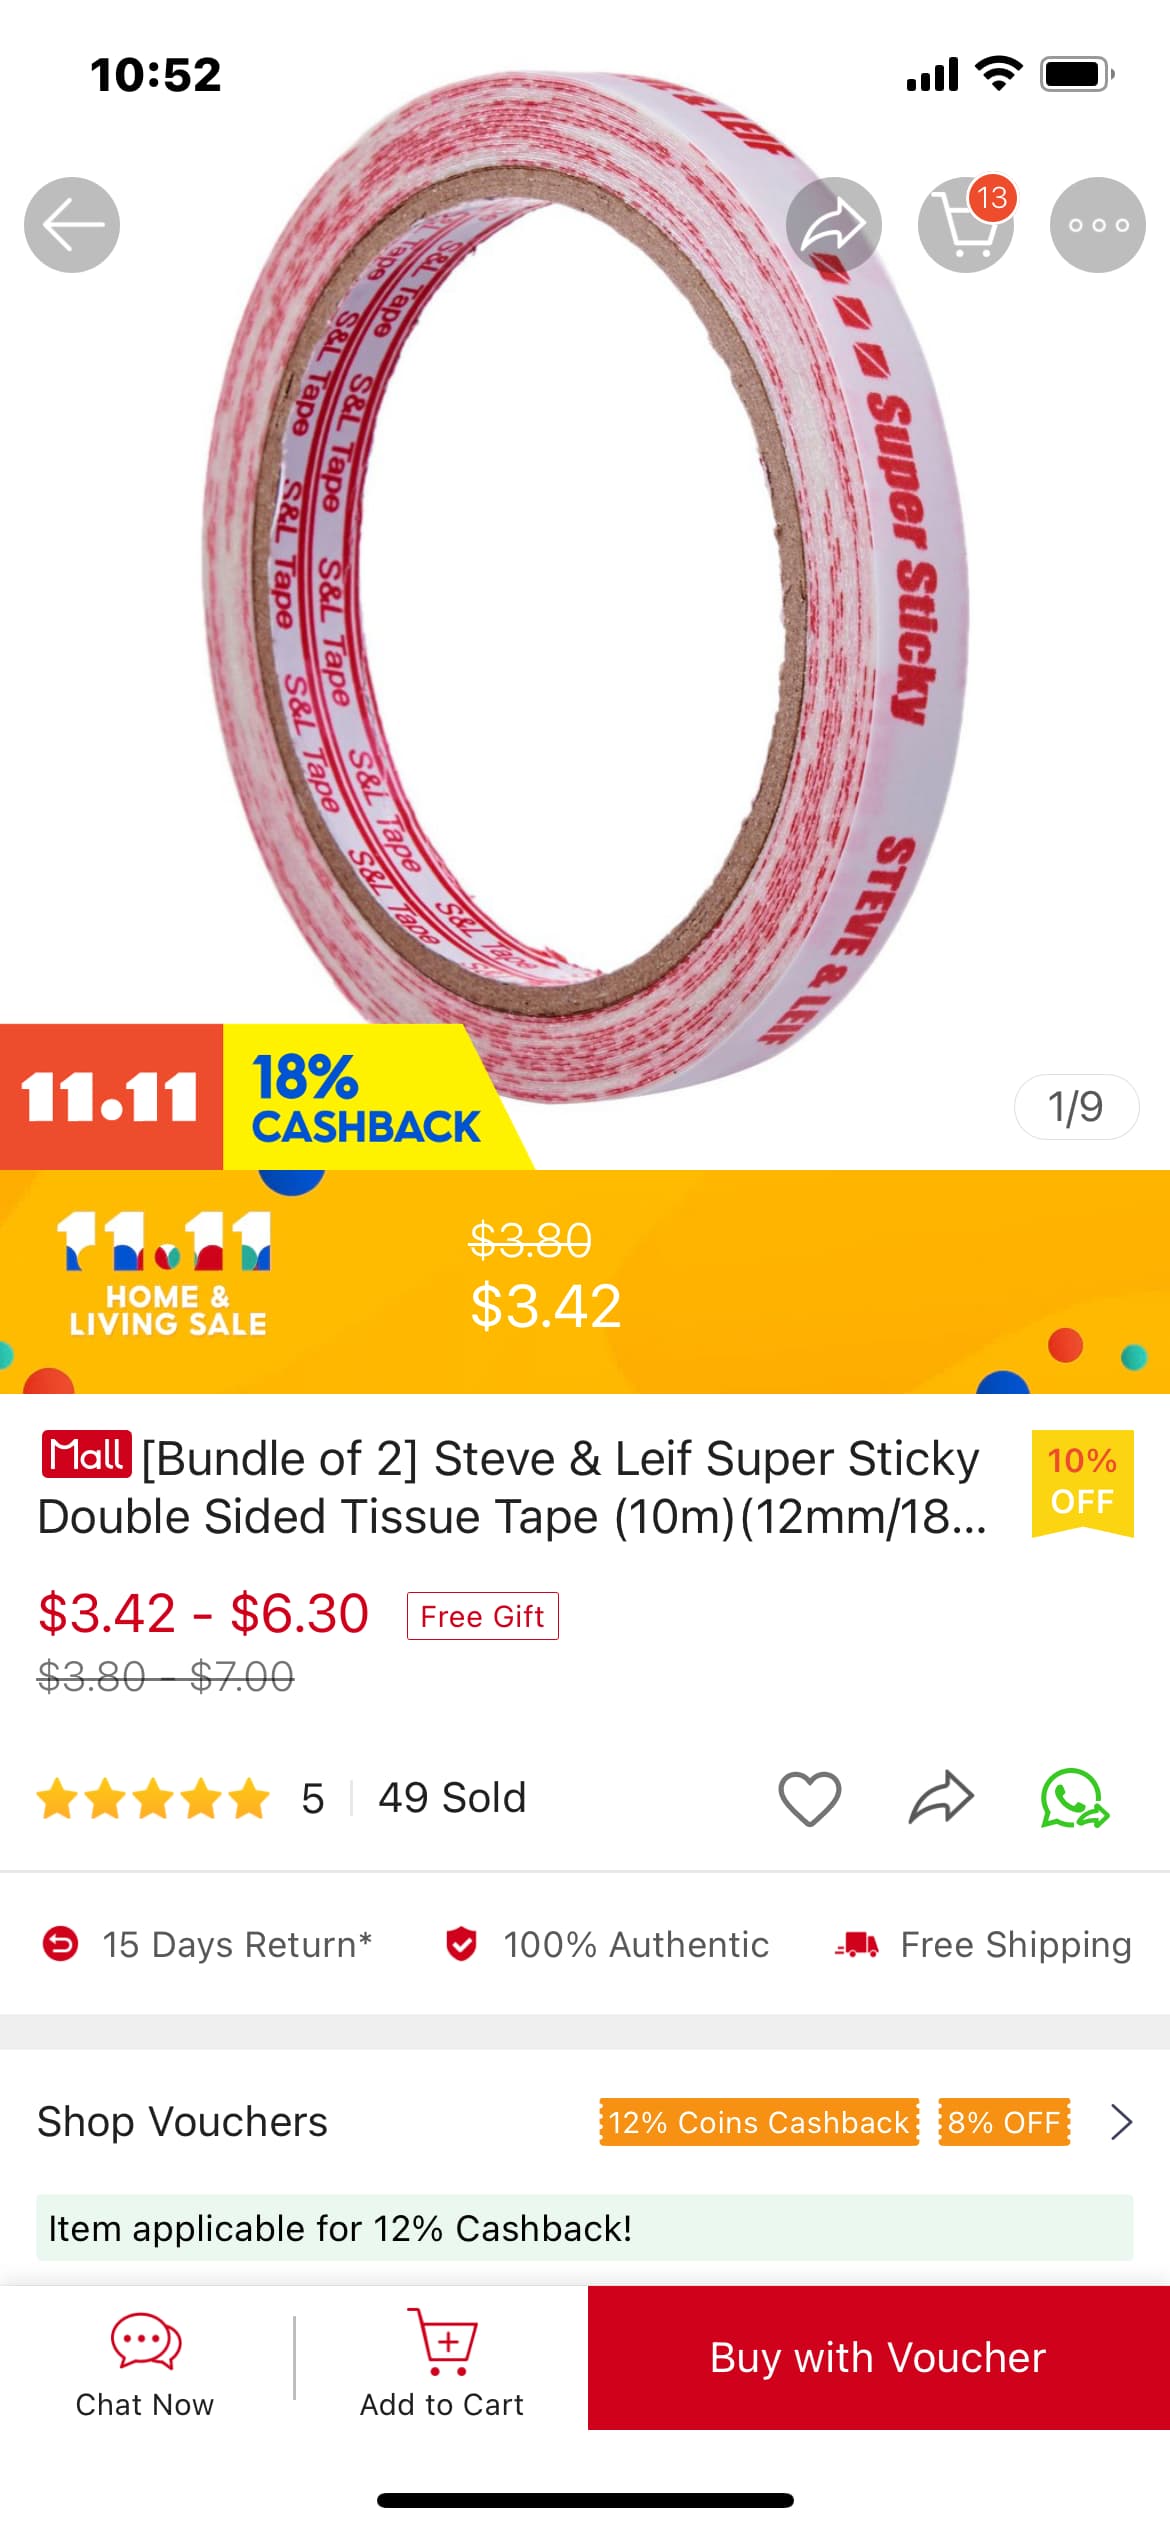
I saw the description , the thing that worries me most is the glue residue when removing it
It doesn’t say will not have glue residue , but application seems to be for strong bond steel plate
Steve and Leif Super Sticky Double Sided Tissue Tape is use for your most demanding stick on applications, for instance - bonding steel plate and stainless steel sheet. Coated with thicker later of solvent adhesive, good initial adhesion and holding power. Applicable for bonding automotive emblems or inner decoration such as in mounting car roof linings. Excellent adhesion for printed banners.
I’ve actually used blutack on the surround speakers with a super tweeter sitting on a wood on the speaker, it’s been there for years, haven’t seen any issues with that so far , that’s why went with blutack.
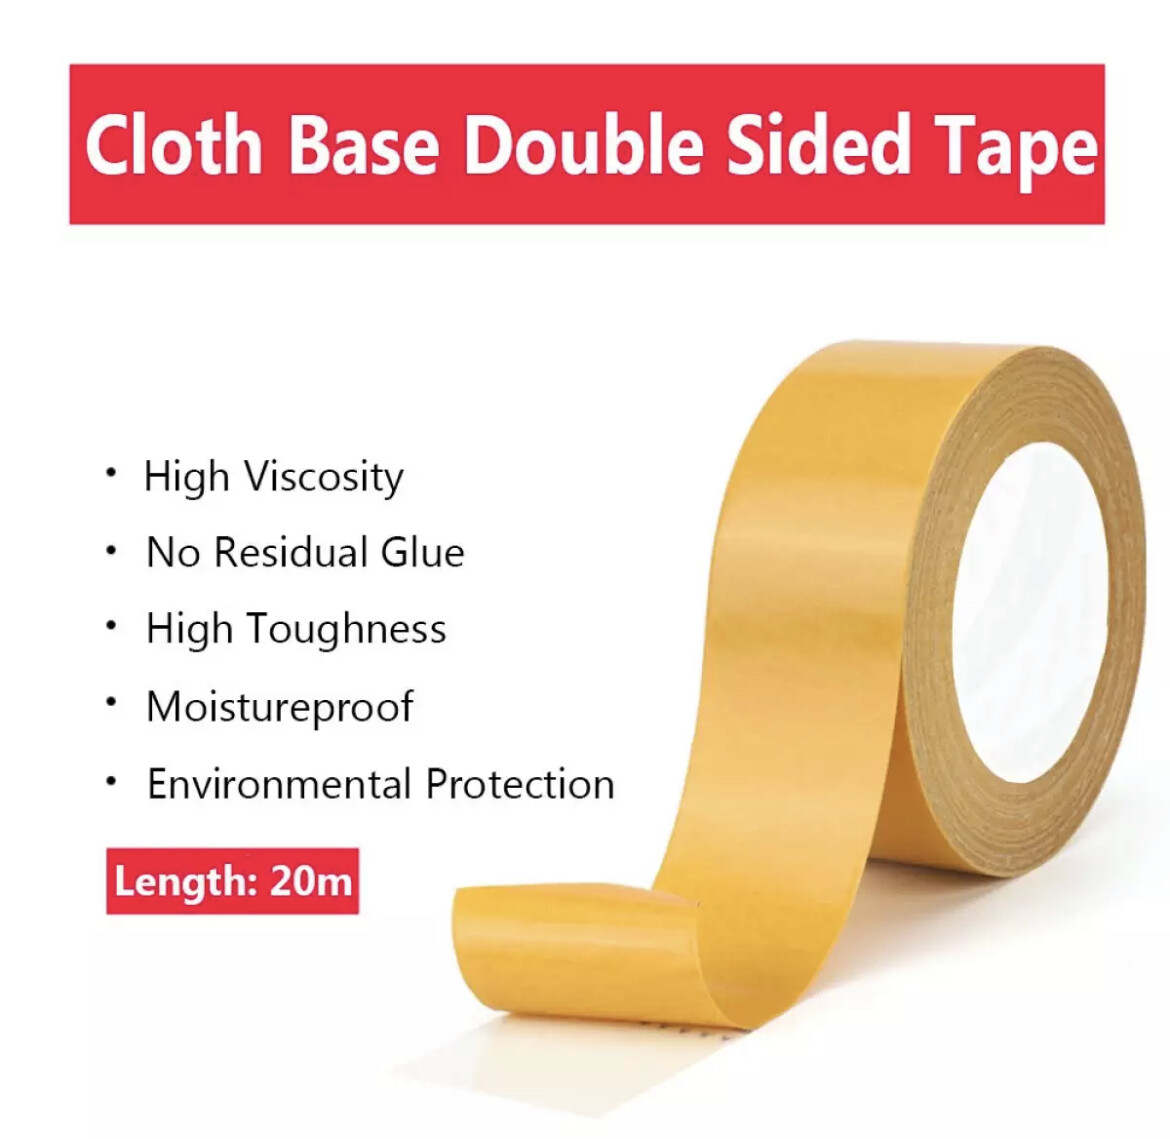
Anyway, I have ordered this version now , not sure how effective but will check it out
Cloth based double sided, says no glue residue …how accurate the description, not sure man, never used before…
Dont worry about sticky residue. You can clean away the sticky residue easily using zippo lighter fluid. and it wont leave any mark hehe
Ok thanks guys, I’ll go with your suggestions above with double sided then. That should do the trick