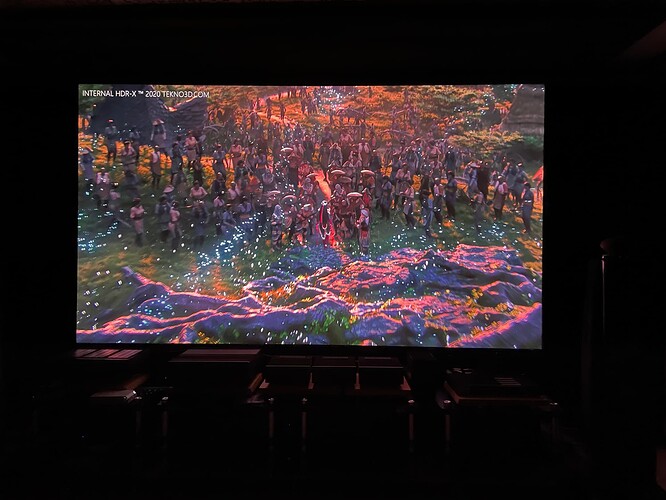
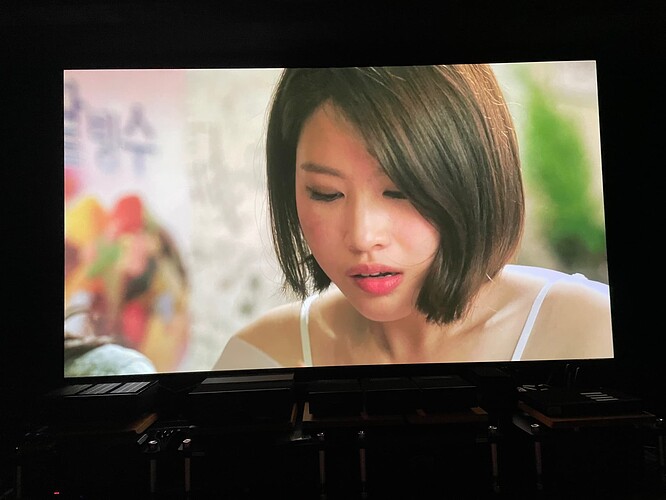
Demo and catch up at Roni’s

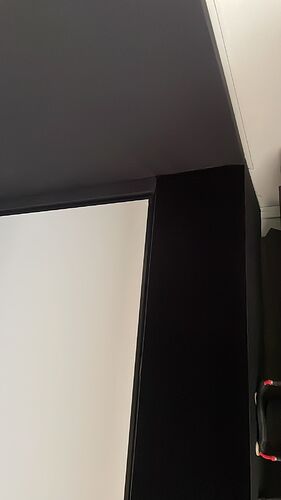
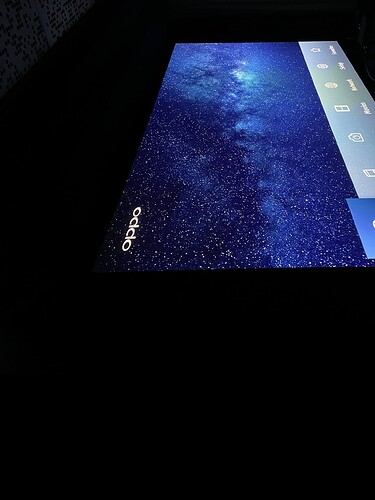
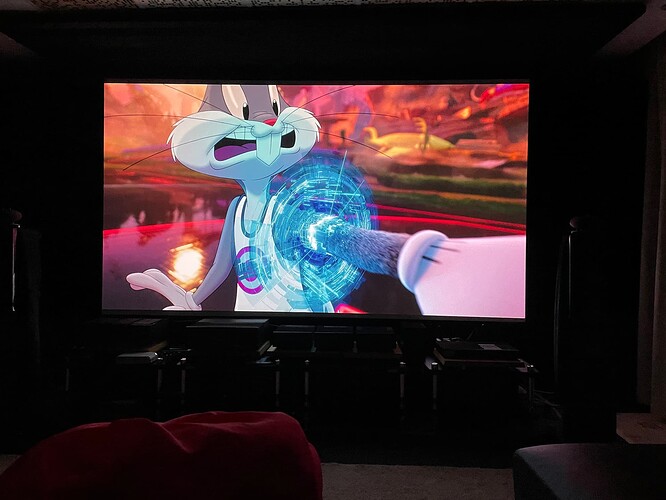
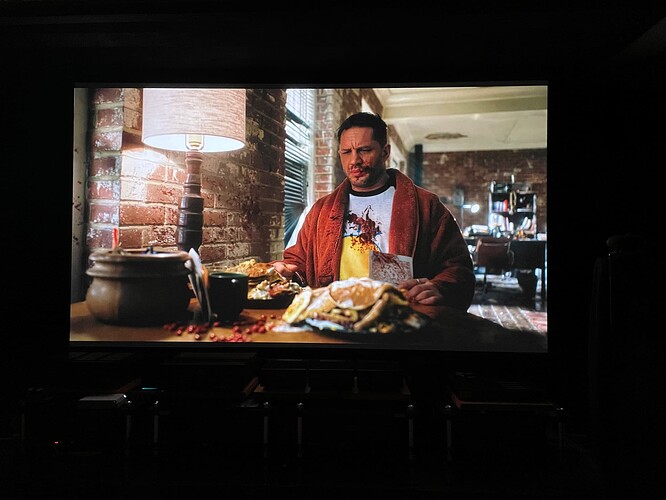
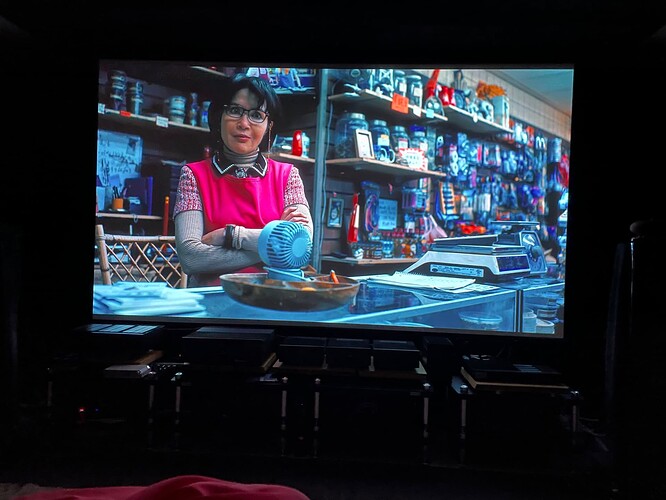
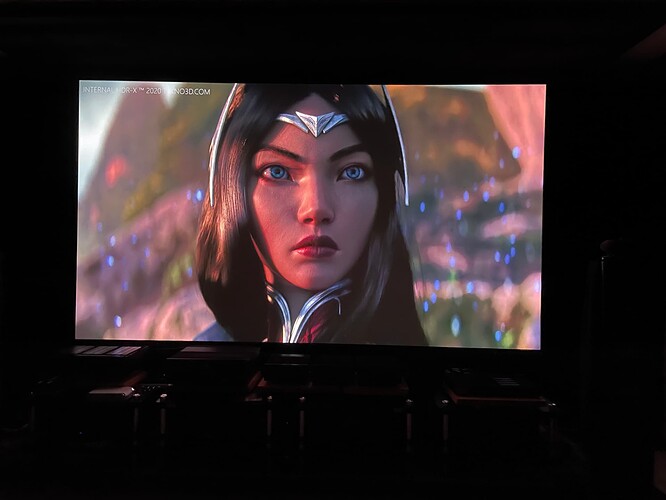
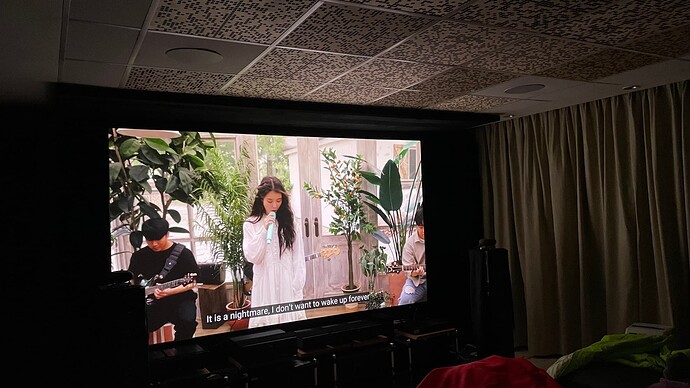
I had the chance to take a pic at night , let’s see now how it looks

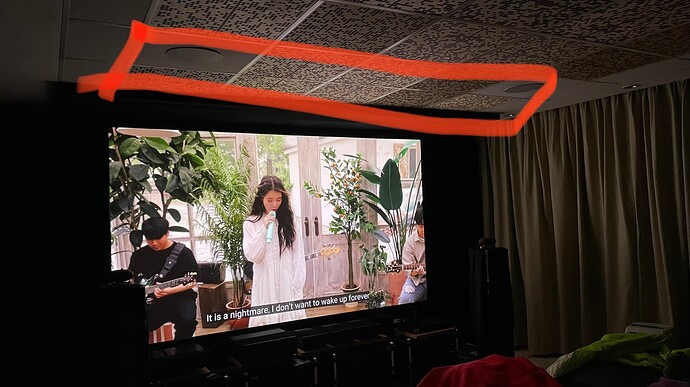
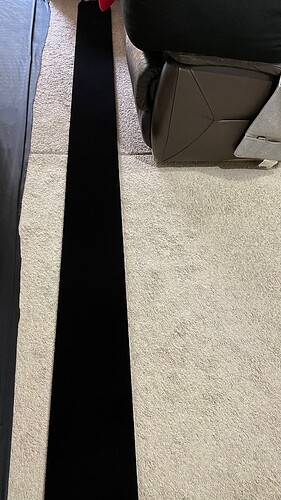
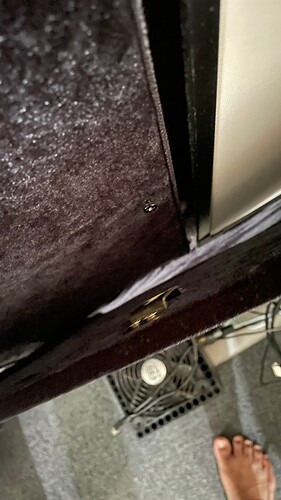
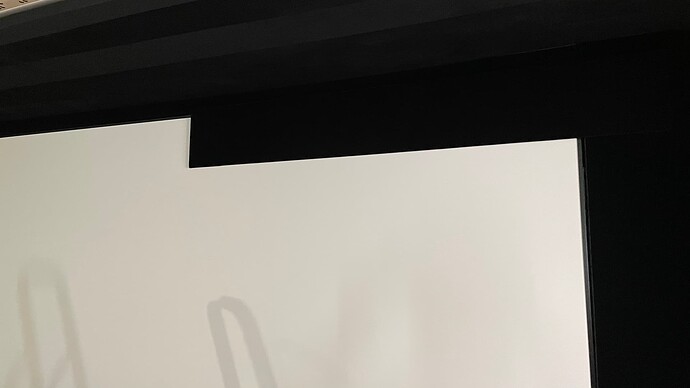
If u observe carefully, the light reflecting off the black top is not “fully obsorbed” compared to the sides

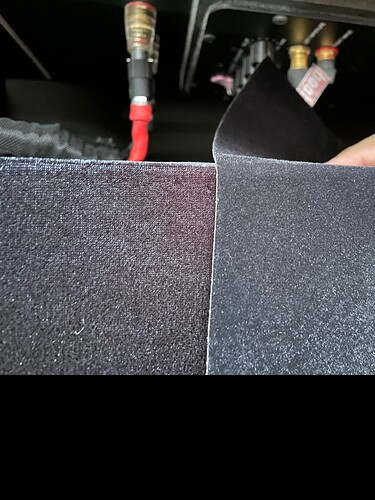
Here is the pic again on the black fabric

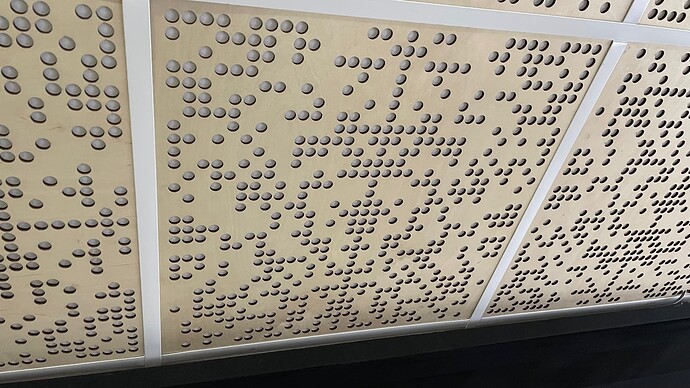
The side vs top, see the pic above here, then zoom in to the one above that… see how there light is not fully absorbed ?

Hope that helps, for those who want to build their theatre room, make sure not just any black fabric , u need ultra black fabric. next I’ll affix the top portion with the ultra black fabric then we will see again….

Nice! Am having some ideas now to fix my light bleed as well

1 Like

Wahh, nice profile pic !! Front man !! From squid game . Yes definitely keep in view when upgrading your screen.

The ultra black makes a difference for pj

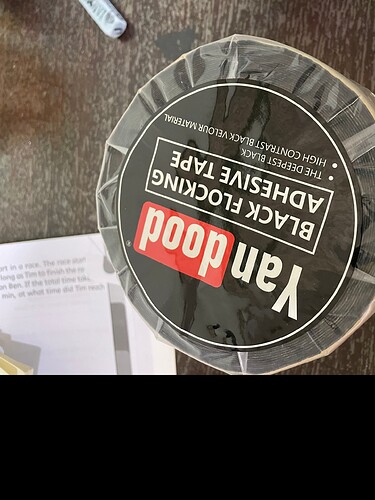
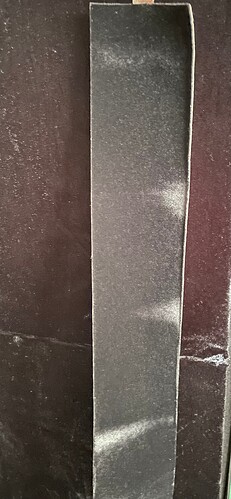
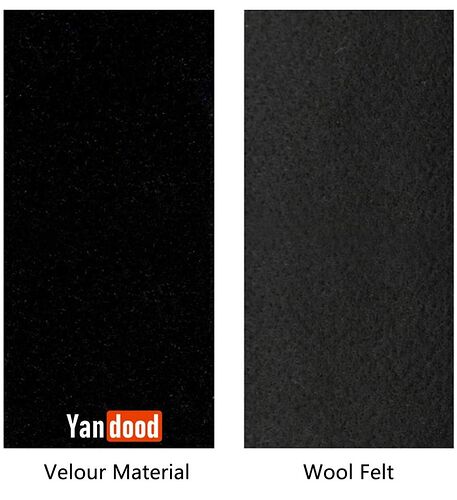
Some further updates , on the velour material I got from amazon , this is like stick on type fabric.It is better than the existing one but cannot beat the super ultra black material from spotlight


From above we can see it still cannot beat the velvet ultra black spandex from spotlight , it’s black but not really ultra black . Although on the sales ad it shows like this

Deepest black, high contrast black etc but still not super black

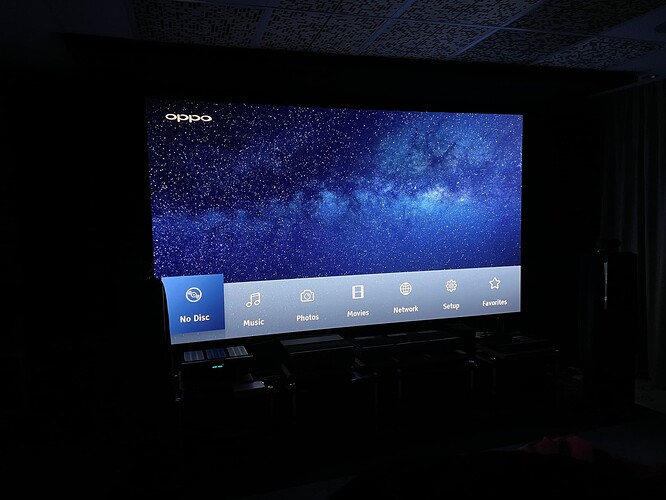
Now let’s see again how it is after fixing the top portion


Can be observed from above so much more improvements with light absorption, though I must mention that on brighter scenes, the velvet ultra black spandex material is superb with light absorption, could still observe some light on top portion, minor but it’s there. So ultra black makes a huge difference

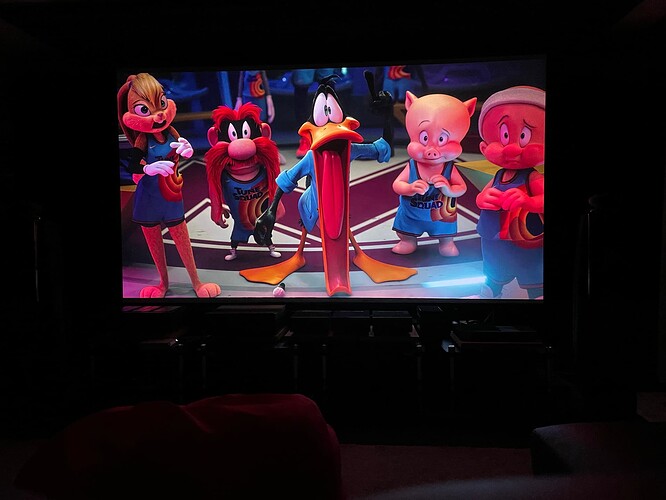
The video looks so much more beautiful and has that contrast


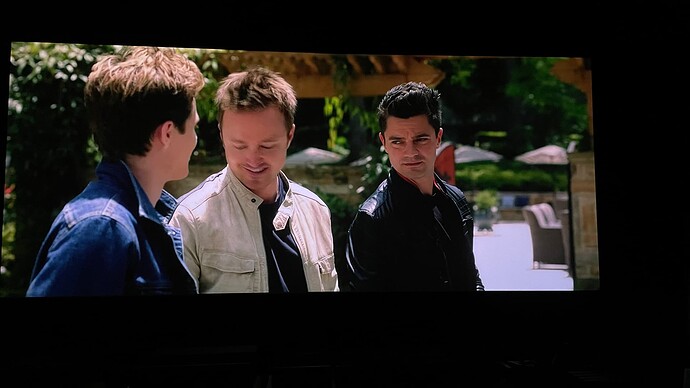
On the space jam movie colours look absolutely rich and inky, so much depth to the eyes

2 Likes

Yes one more important point and update after the ultra black velvet fabric wrap


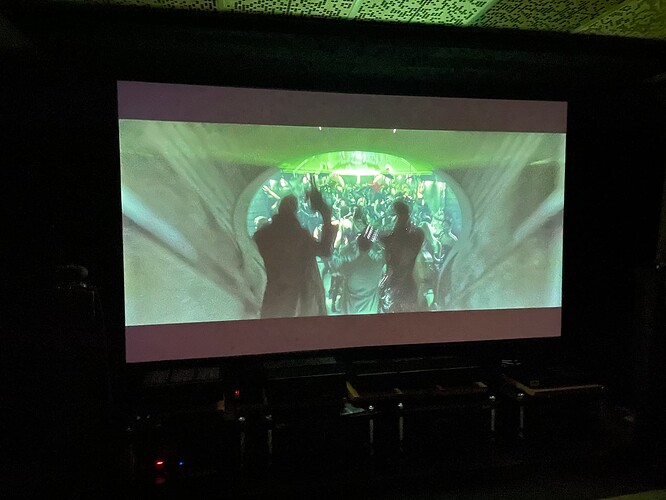
I took a quick pic, so not so clear the picture. But one important aspect is, once the sides of the screen are covered with the ultra black material, the grey bars when watching scope 2:35 content is very much visible. You can see the pic above, how obvious the grey bars area . So this is important if you have ultra black masking to cover the grey bars

Also on some content, it’s not as visible , the grey bar looks darker

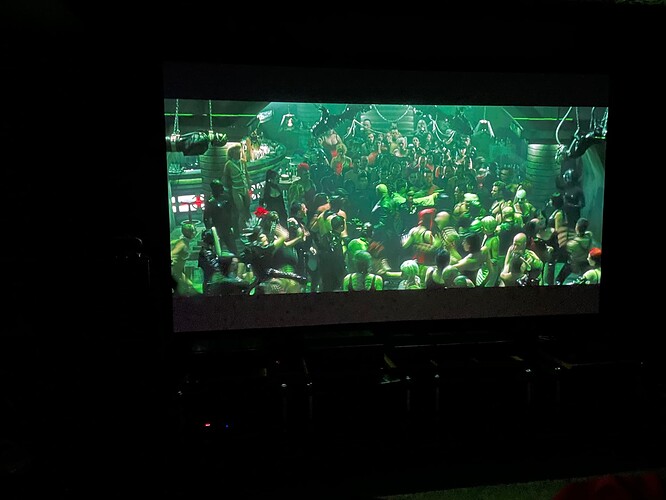
Finally observe the pic again, you will notice the light spill extends way front top, the current top front area, is covered up to 80cm only. This light spill extends all the way to the front up to 150cm, u can see the green glow effect on ceiling

Switching it to 16:9 content

No more grey bars and so much more pleasant watching 16:9 or imax full screen

Hope that helps as well, it’s good to know

I managed to take one more picture last night

So we can see clearly, what happens when we use ultra black, all the borders are good, no light bleed. But take note the top portion, ceiling area, you can still light reflecting off the non black panels

This I have calculated to be, with a 135” screen, we need to cover up to 2m from screen on the ceiling.

At the moment , I have only covered 80cm top front. It is insufficient. The panels are 60x60cm. So for two panels, that’s 120cm. Add that with the existing 80cm, it is 2m.

So that’s the amount we need to cover on the ceiling from screen, 2meters. They improve perceived contrast significantly

Hope that helps someone or anyone out there building your theatre room

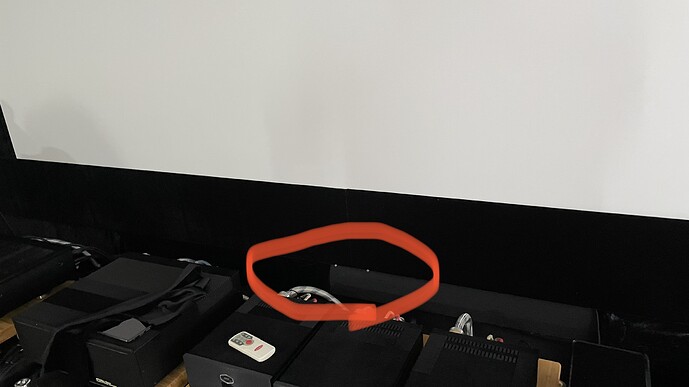
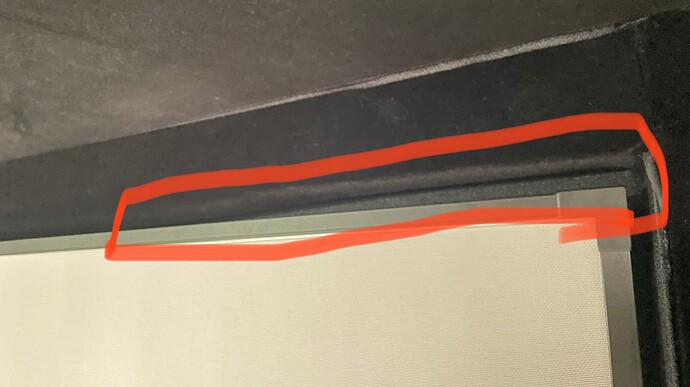
To solve the light spill problem above, circled in red, what I could do is

Unmount the grid panels 60x60cm, it is a 5mm ply, fabric wrap it with the ultra black spandex velvet and mount it back.

This is the single biggest benefit when using the grid system. Versatility

However……. If u have top heights speakers installed, then a different type of material is required to enable the speakers to pass through sound. Some form of compromise in the process

So plan wisely. Personally when watching movies etc, I do notice the lights reflecting off those areas when it’s a bright scene. However I would keep things as it is and will not attempt to fabric wrap the front layer of BAD panels. The Mrs really don’t like it when the entire hall is black black

So these are the things that u know how to solve, but u cannot go ahead because u want to respect spouse who may not like it to be dark and black in living room

Perfection vs practicality :smiley:

Ya , sometimes no choice. This is a typical case of having a solution, but cannot execute. So bottom line, no use even if u have a solution… in my case . But for others, this may not be a hindrance , especially if one has dedicated theatre room

Another alternative, paint the wooden BAD panels with ultra black paint

This will also work for those who are keen, but not sure how much it will affect the sound when wood is painted with that ultra black paint. This is something he/she will need to evaluate themselves

From this exercise; I understand now the importance of an ultra black material. Is the original black fabric sufficient ? Yes. It was. Was I happy with it initially? Yes I was. I didn’t bother much until I saw the youthman videos. That’s when I came to realise, there is room for improvement. Was the original black fabric efficient enough? Not really. Ultra black velvet is very efficient with the light absorption and there is a whole lot of a difference in video quality

Overall, happy with the improvements made. Working now with masking the grey bars , just got the same material from spotlight again. Very very good, $14/m. Cheap and good ! Highly recommended

Other thing you have to do is matt black paint all the grid structure - it never ends.

Exactly, never ending. Those feasible, I’ll try and do it. Like the recent DIY masking we did. Let me share what we did to improve it further . Courtesy from the video here

In this video, he uses styrofoam with black masking , one long piece. We can’t find long pieces of styrofoam, so we used thin plywood instead , here is what we did over the weekend last week

With the help of a local bro here, we proceeded to diy the manual masking black bar

Here is what we did


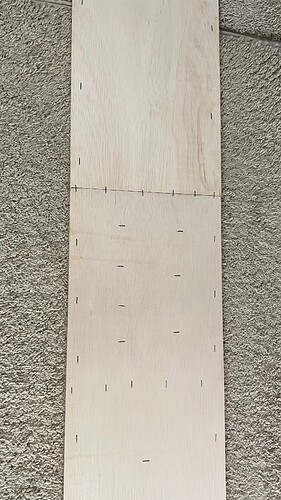
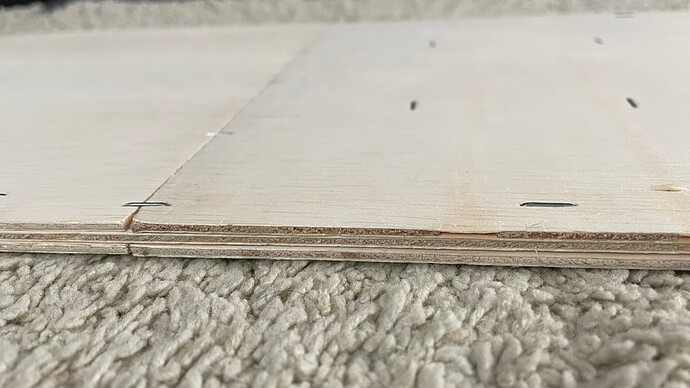
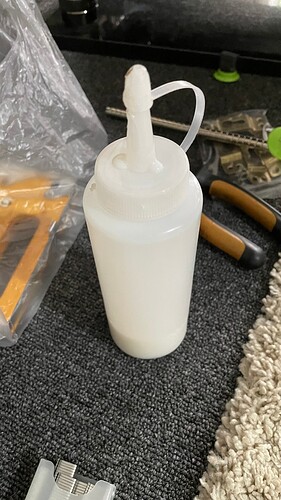
We obtained 3 pieces of 5mm ply, with some glue and staple gun, stacked them so they hold firmly down the centre

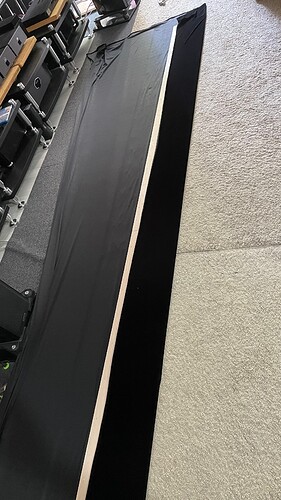
We then wrapped the diy masking with the ultra black fabric into one long piece like this below:


Halfway through it, we realised… oh no!! It’s still wobbly in the centre and it won’t hold ! It’s also difficult to store when removing it for IMAX content in 16:9.

So we had to slice it into 2!

Thank god I still kept pictures of my previous set up


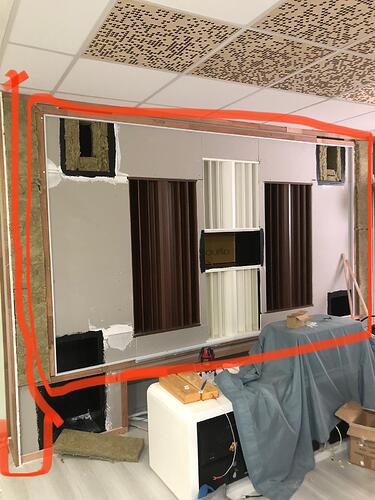
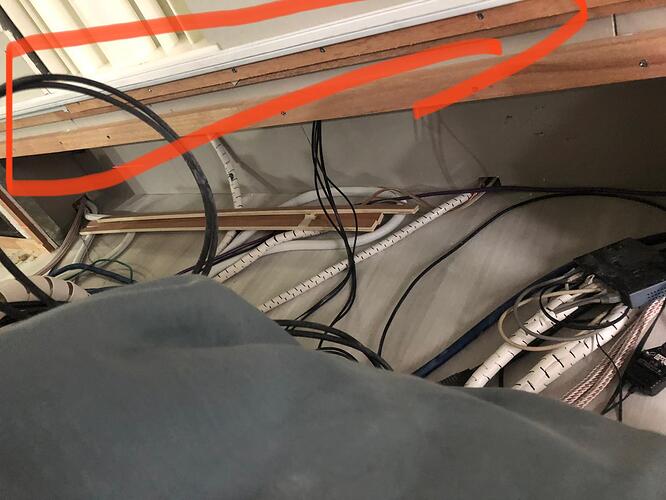
This was my previous set up, thank god I took pictures of it, so we could find which is the wood structure. If u look at the pic carefully, u will notice a white PVC like trunking stuff. This is what most acoustic companies use when building the baffle wall stuff with rockwool or mineral wool. This white pvc stuff, works in such a way that it makes it easy for the installer to neatly tuck in the ultra black spandex velvet. This is how I was able to DIY myself and add on the stretchable material to the baffle wall.

Our member was brilliant, he came out with a good solution on how to get this done.

So after slicing in 2, we had to re-wrap the fabric with staple guns, again thank god this spandex material is stretchable, so it was so much easier to do it and tidy.

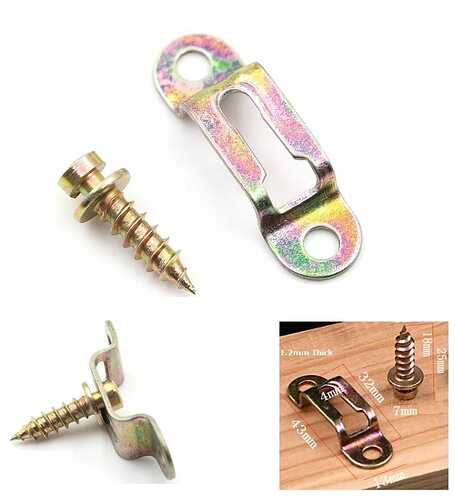
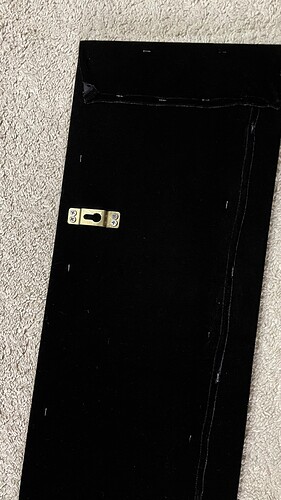
We then loaded hooks like these as if we are hanging a picture frame


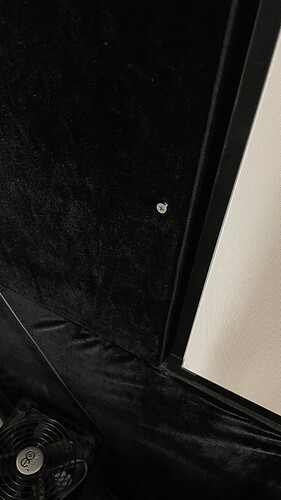
With the screws at the side that was eventually painted black with a permanent black marker

On the centre of the screen, we drilled two screws into the middle, to support the weight of the masking bar like this

So the panel just rest on the screws in the middle, and is hooked on to the hook at the side.

Now that the bar is sliced in half, it wasn’t
as heavy + it was easier to put it on when watching 2:39 content

For the top, it was slightly more challenging. We couldn’t rest it on the screws like the pic above. , instead we did this

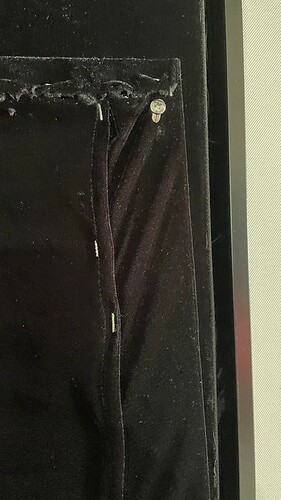
We drilled a screw onto the masking bar like this

As usual on the sides we have the hooks with this

On the top, we just slot the screws into the hole so the screws rest on the screen like this

So it sorts of slides all the way then u will see it like this for one side

That completes the journey of the diy masking bar. What an afternoon!

The completed now with scope 2:39

Big thank you to our member who popped by to help! Thanks a load mate, u were brilliant !

Absolutely loving it now, ultra black makes a big difference to the contrast and image quality, check out below on the quality

Now let’s look at the image, I notice Godzilla vs Kong is Dolby vision, Full Enhanced layer, the pic looks absolutely stunning in 2:39 with LLDV processing using hd fury to spoof

Before the black diy masking bar, we can still see gray bars

The same scene, once added the ultra black masking bar, one word “BEAUTIFUL “

Absolutely stunning image quality, almost as if I upgraded to a new projector, there was no turning back, so so pleased with the image quality in dolby vision , what a quality from dolby


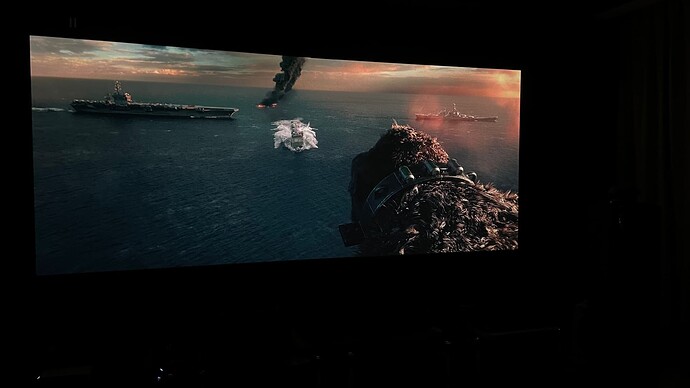
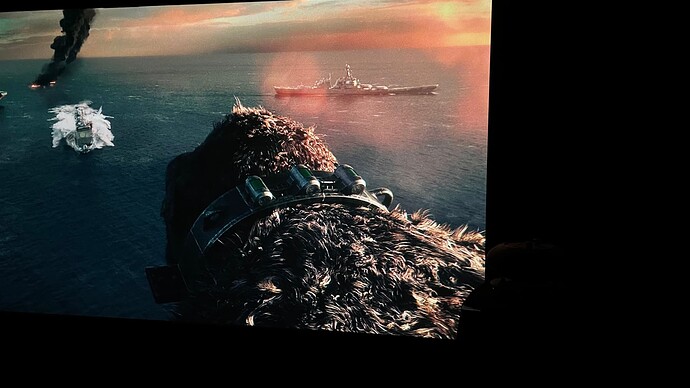
Look at the fur of Kong, black levels look inky yet no loss of shadow details


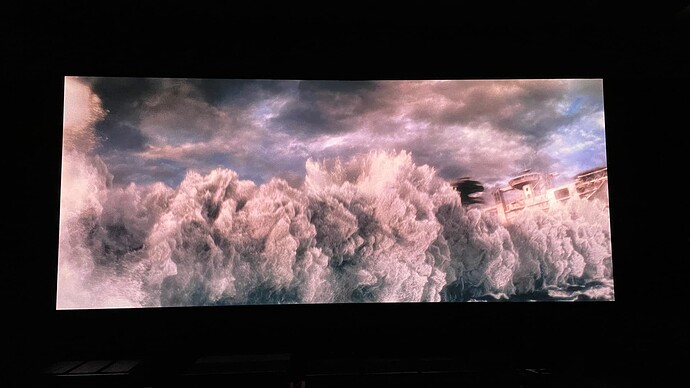
Water splashing scenes superb whites with clouds, stunning details


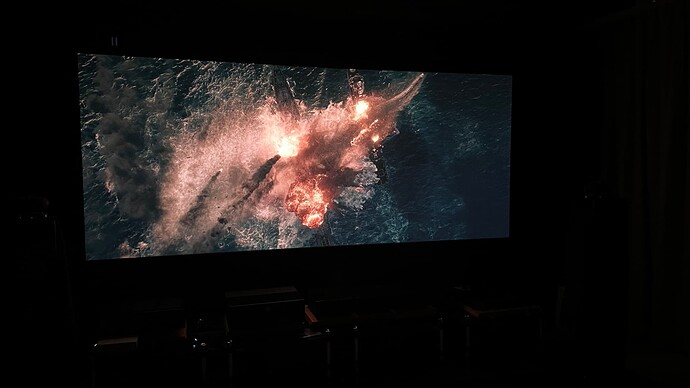
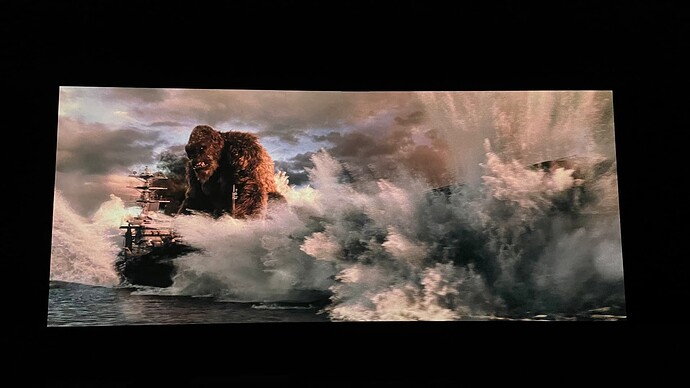
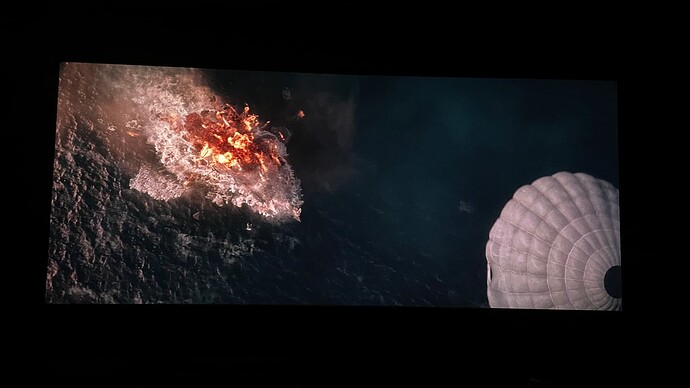
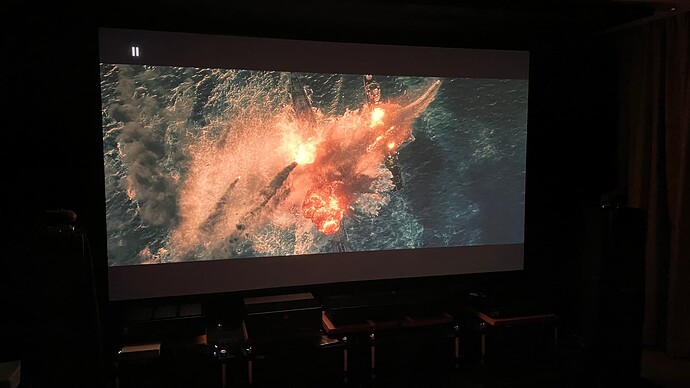
Check out the water and explosion

Absolutely beautiful & gorgeous dolby vision

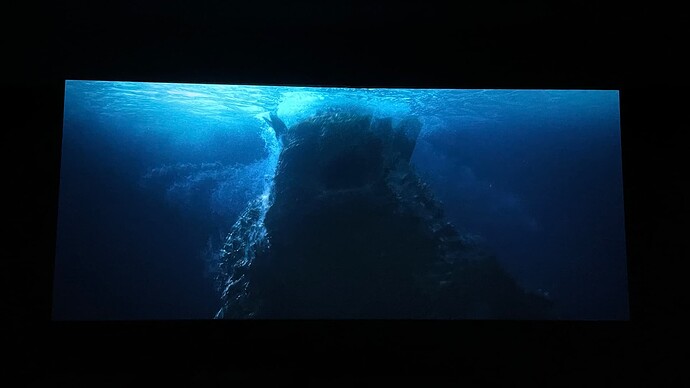
Underwater fight scenes was superb , and Atmos sound mix was very good, this scene is now my fav for demo


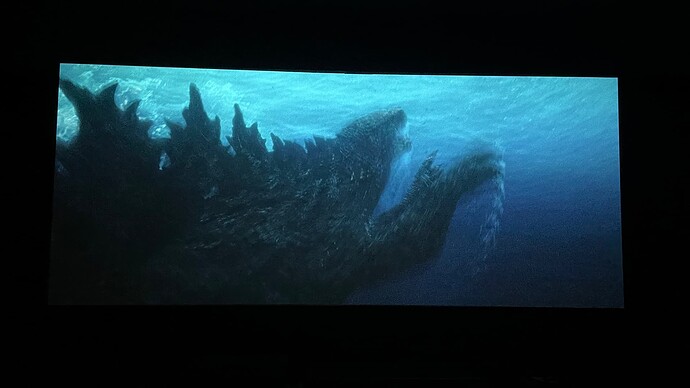
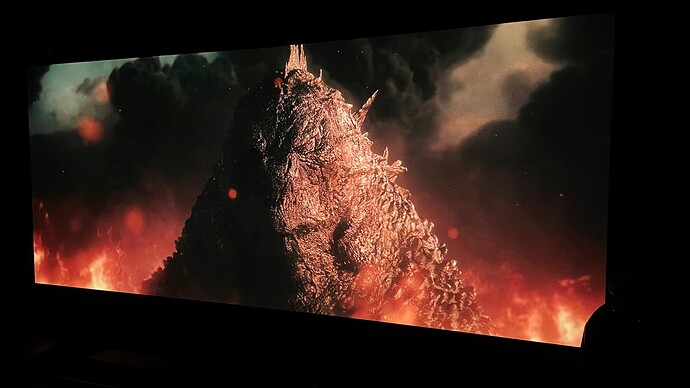
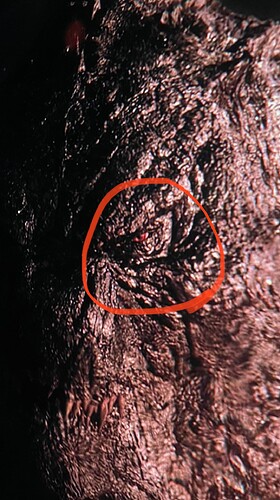
Man, I could even see Godzilla’a eyes ‘! It was red! He wa actually angry

Close up u can see his eyes

Details were unbelievable.

Dolby vision rulezzzzzz

1 Like

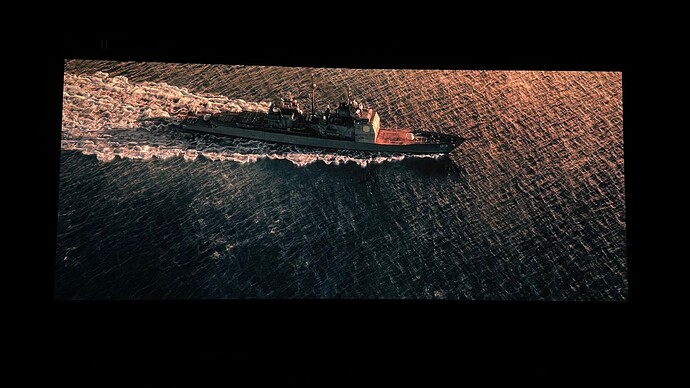
Next up I fired all my familiar scenes

Breath taking video, laser PJ is really the way to go…. With the LLDV processing, it’s really different especially when the projector has been calibrated for hdr

Reference stuff


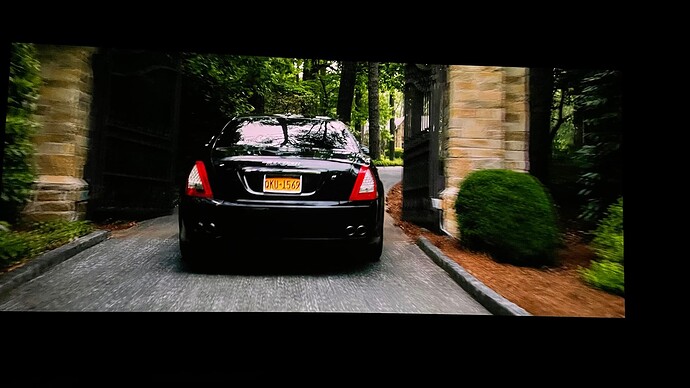
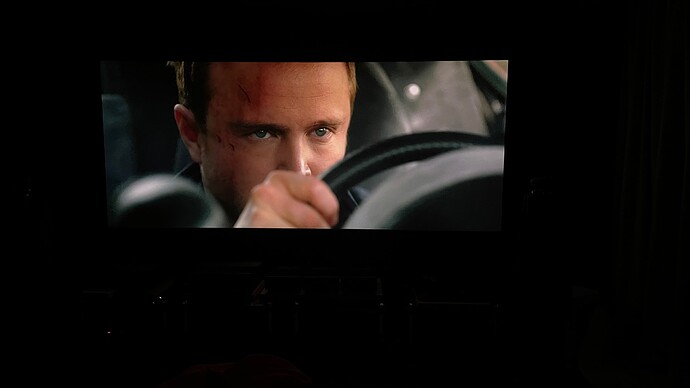
Check out how inky black the Maserati car, in need for speed in HDR10 . I don’t miss the OLED at all, this LG laser projector is absolutely stunning


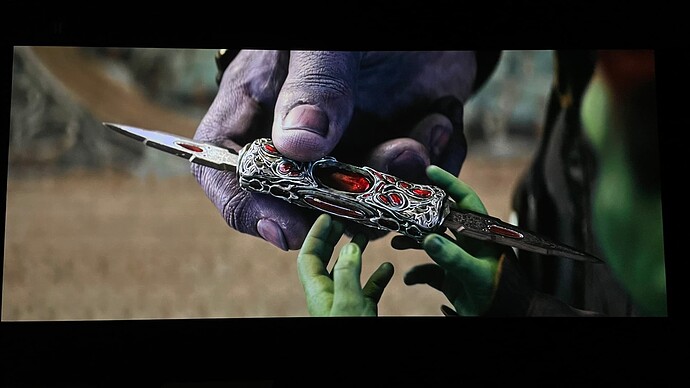
Check out Thanos fingers ! Damn didn’t know his nails were so dirty, so so much details I was missing . This actually implied that Thanos wasn’t really bossing around, he was there doing the dirty work and being a warrior fighting the war and leading it like a true general…

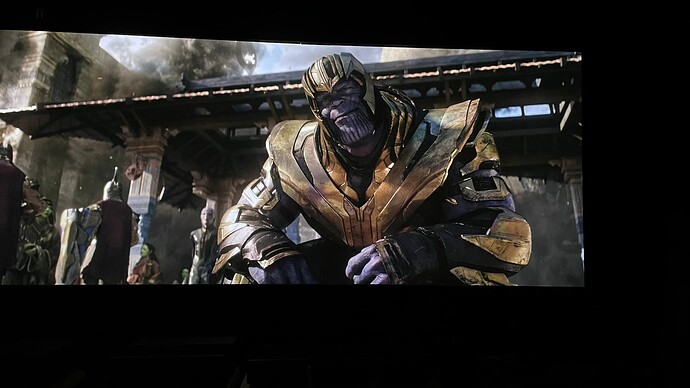
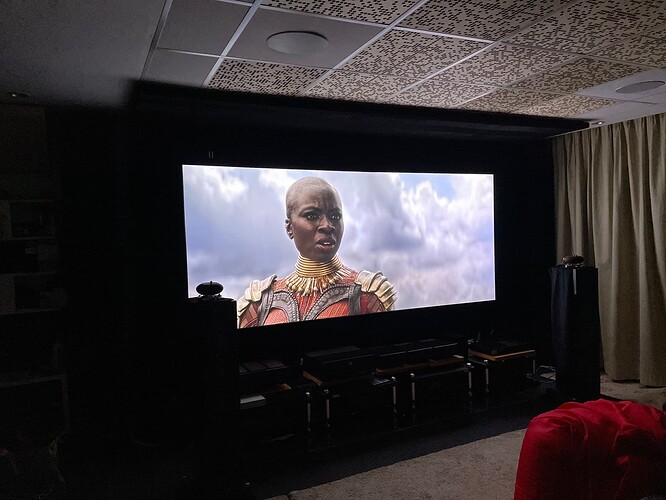
That gold armour! Unbelievable and stunning !


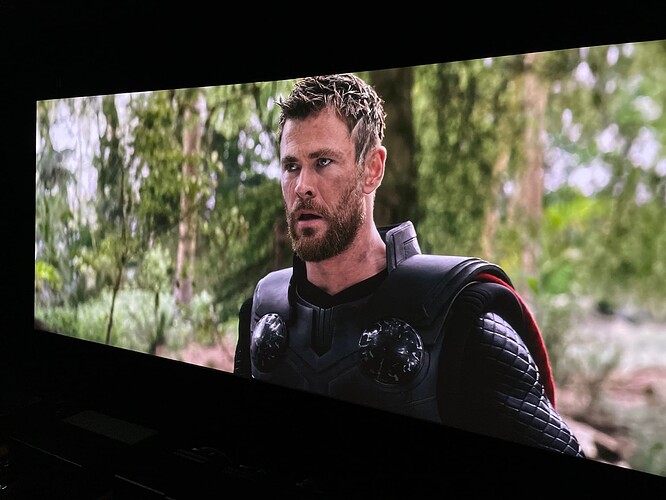
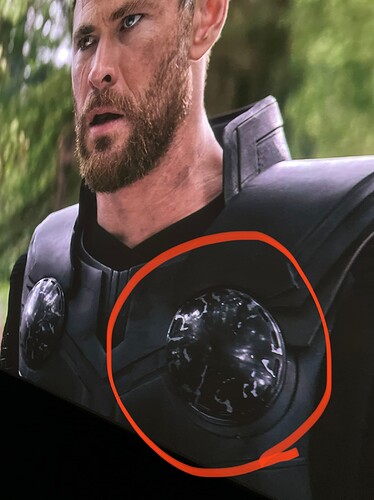
So much details see the armour of Thor, it didn’t look as black before, now it looks inky black and I can see see the details circled

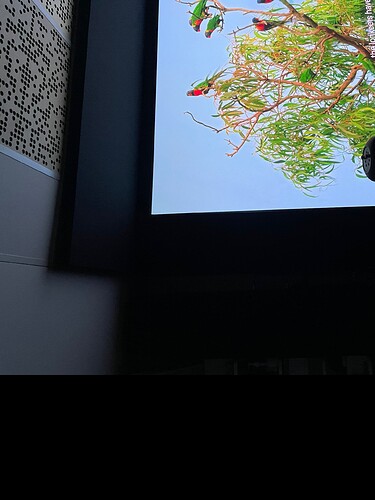
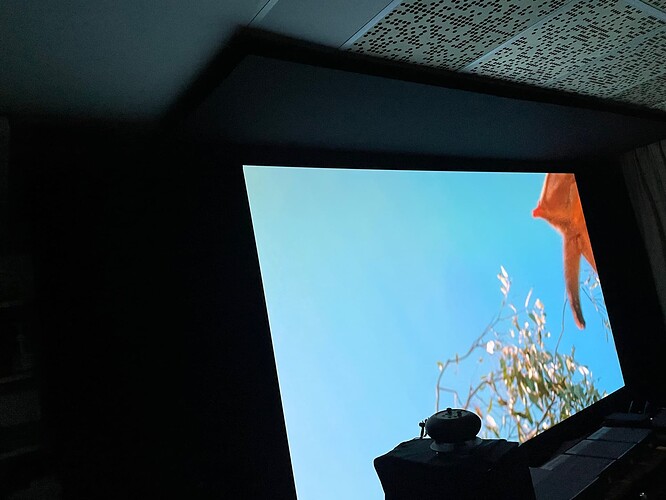
Now when u look at this image below, u will notice so much light spill on the ceiling, imagine if this was with ultra black material too, it would be crazy good!

This is a compromise I have to accept, for bright scenes like the ones below, the lg laser has so much light output in hdr gaming mode

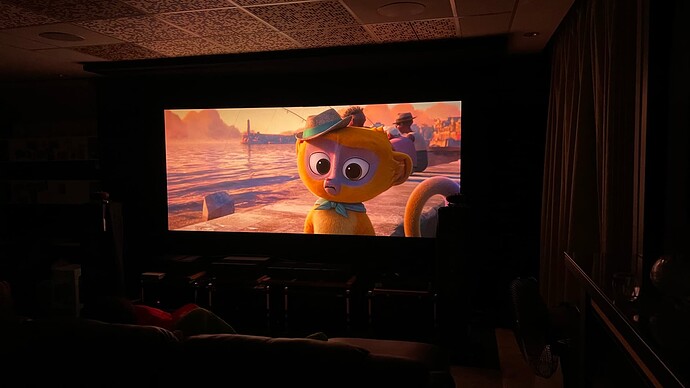
Other animation pics we can see the light above on ceiling

Overall, very satisfied, despite the ceiling, the 2:39 masking bars really brought a solid improvement to the set up.

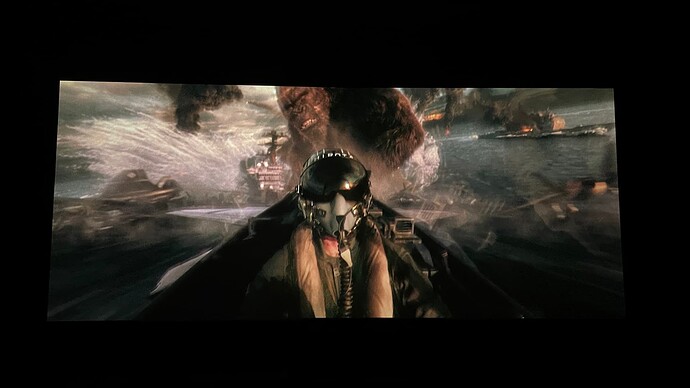
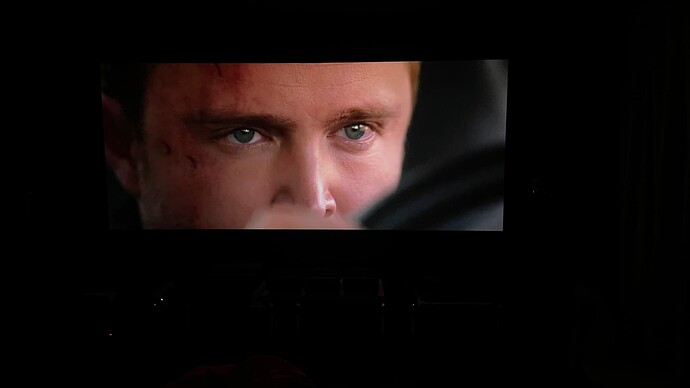
It’s so immersive, see how the camera focus from his hands to his face with steering and just his eyes, all in 2:39 scope, it’s like ready, get set, go… then the bass kicks in with line array and 18”… very immersive


The next round when things improve, I’ll host the demo not only for sound, but I’ll explain the video aspects including why we should take advantage of dolby algorithm processing
Haha… No regrets jumping on the projector train eh? :grin:
1 Like

Ya so good man, can’t imagine the JVC laser, will be solid too for sure! But price is a bit on the high side. Saw one member bought it recently… waiting for more updates on reviews on that one
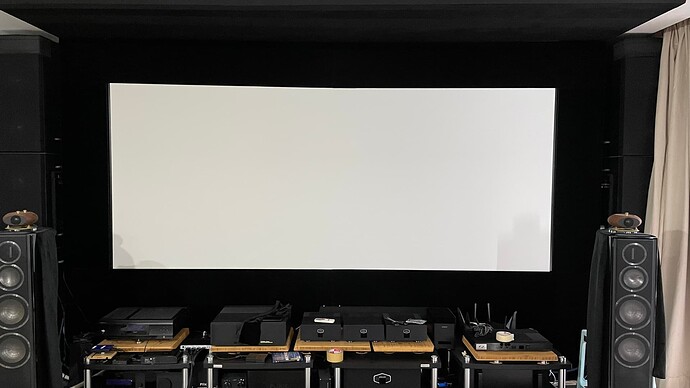
LoL…you’ve spent so much on audio equipment, acoustic panels, and a variety of treatments from footers to power conditioners, renovation…what’s a $15K projector? :stuck_out_tongue:

1 Like

Looks like u had a great off day today ya? Hehehe… HT time.

From the photos, i feel it made a very big difference to the entire viewing experience and much more focussed immersion. Very nicely done up and modified.
Deep black the way to go for the front wall hehe…