Wow… U mean all those carpentry and painting and mounting all done by yourself? 
It’s always great to have a dedicated HT room of your own. You can do all sorts of “wonders” with it. I have been enjoying that for the past decade. The advantages are countless. Come home after work, immerse yourself in entertainment after a day’s hard work. Be it watching Netflix, listening to music, or even playing games.
Yes Sir!
A whole lot of patience and persistent will see you thru.
Part of the reason I went this route was to avoid the hefty $$$ if I were to ask one of the “specialist company” to do this.
I reckon it cost me 1/3 - 1/2 the cost of what an external vendor would charge.
I had a fella from JD Acoustic who came over with some fancy measuring tool (FOC apparently) to evaluate my room. After which he quoted something like 3.5k to put in 17 pcs of treatment panels - of course most of the cost goes to the 17 panels. However it still does not address my need to create the “false wall” to mount my in-wall speakers and 2x atmos speakers.
Thus far, just the room itself, I’ve clocked around 3.5k.
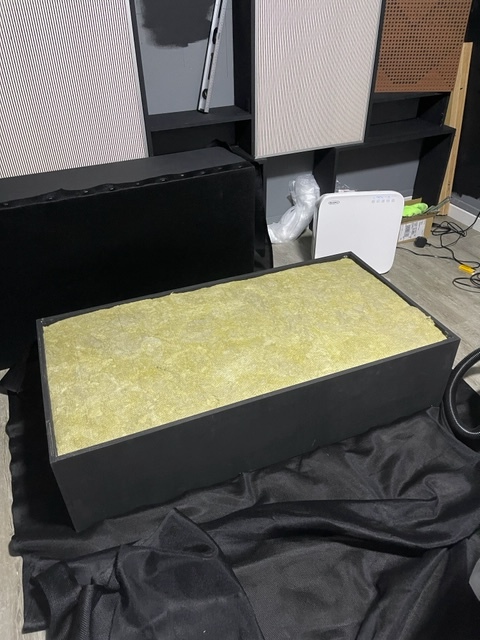
I made 2 pcs of 12" thick bass trap (ave $60/pc) using Rockwool of 60kg/m3 density.
It noticeably tame the room node (which means I need to EQ less on the AV processor).
2 Likes
Nice! U r very talented
1 Like
You may as well build the on wall/ceiling speakers. Crossover simulation is so much easier now to get right. 
That’s still a lot of effort which I’m not prepared for.
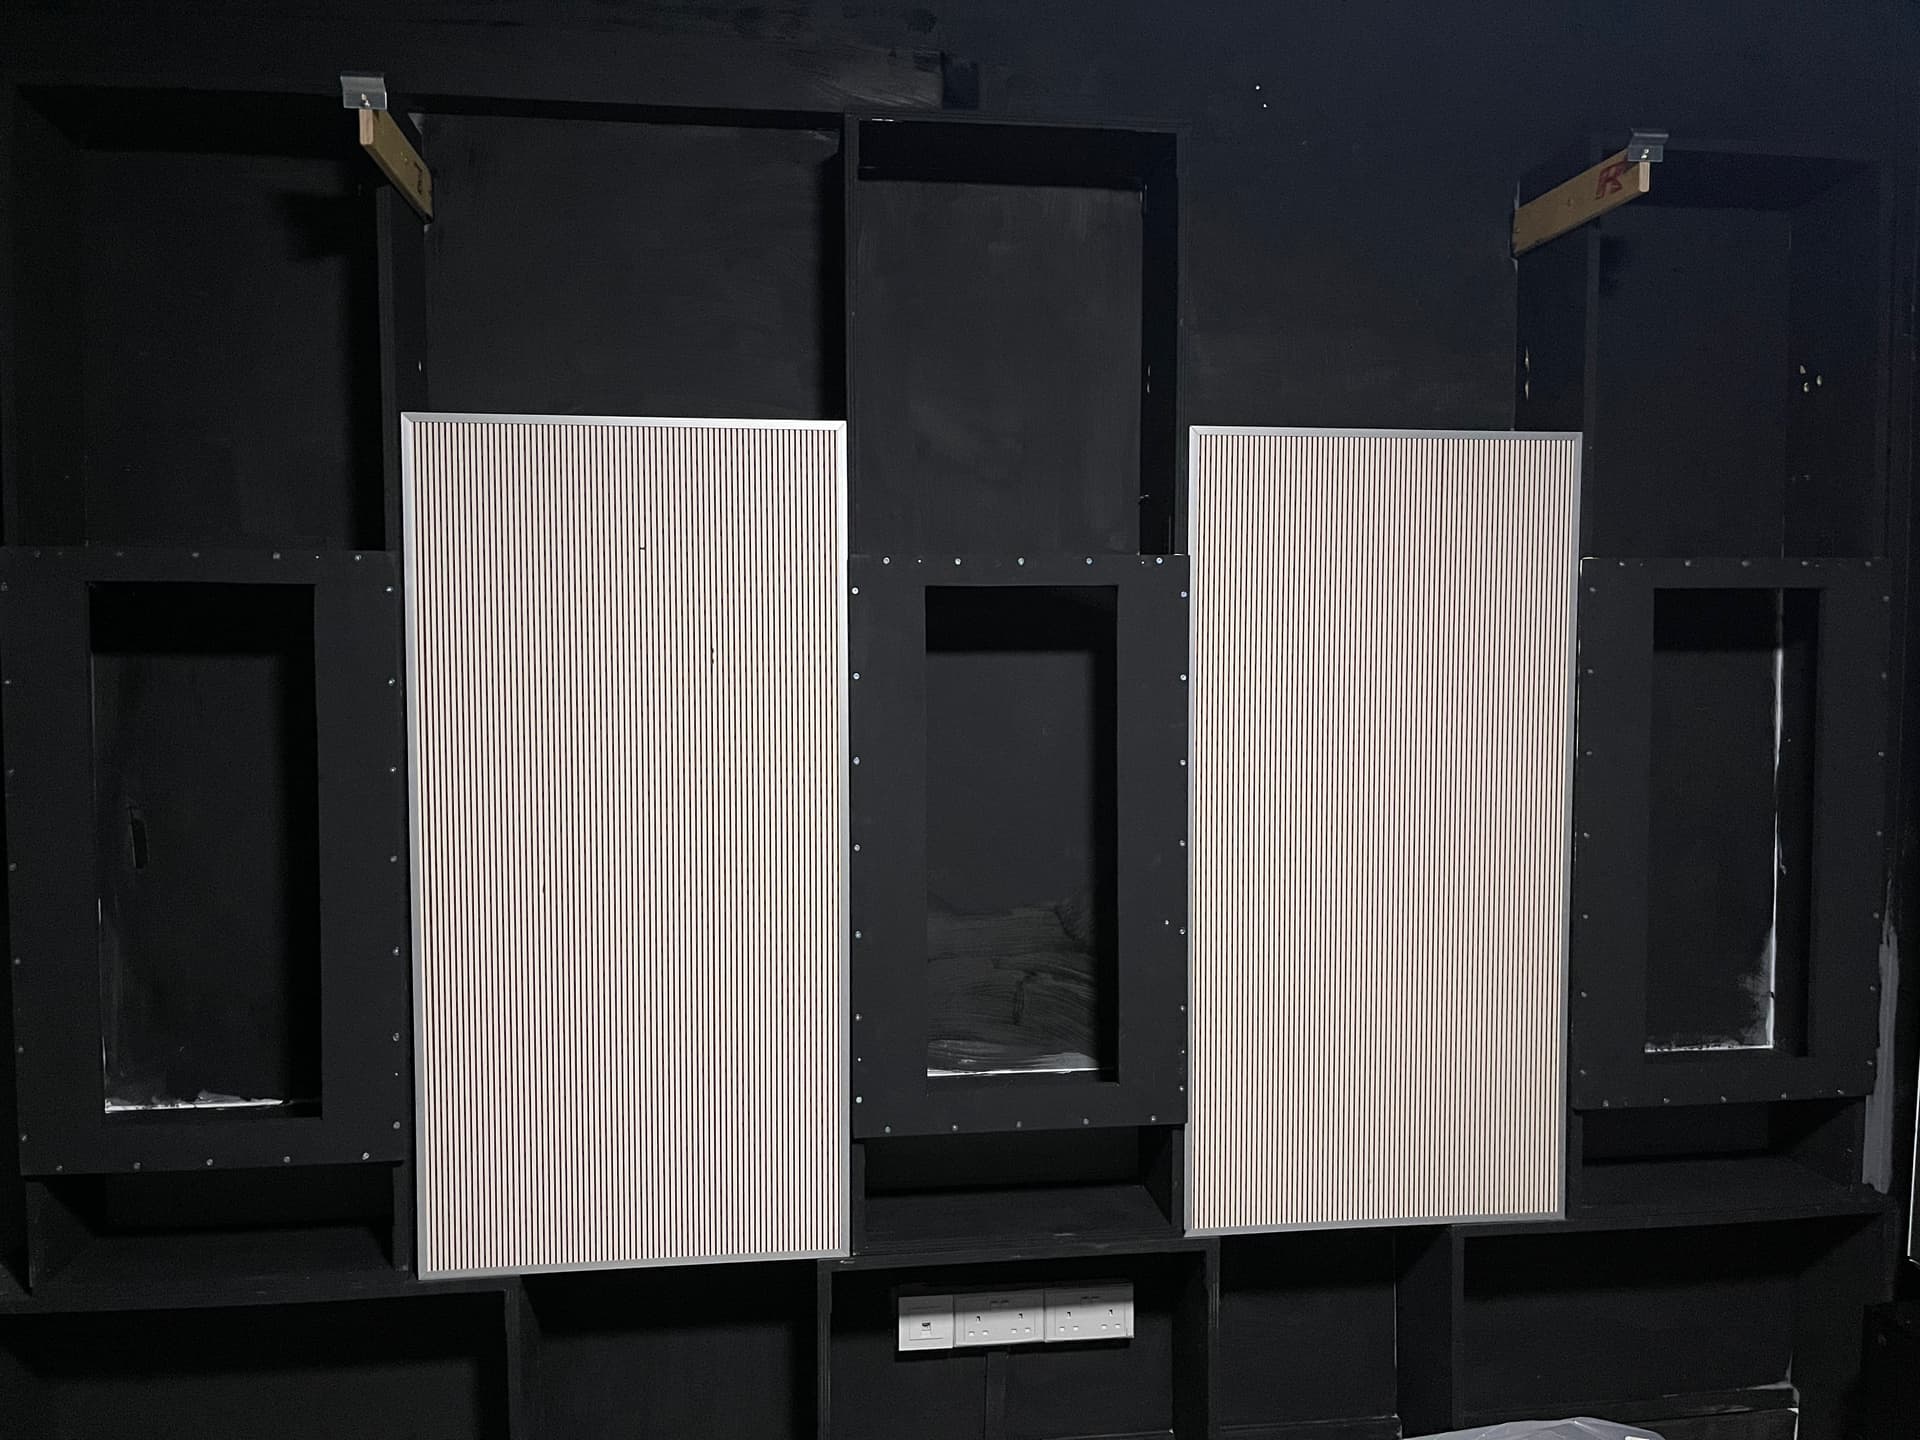
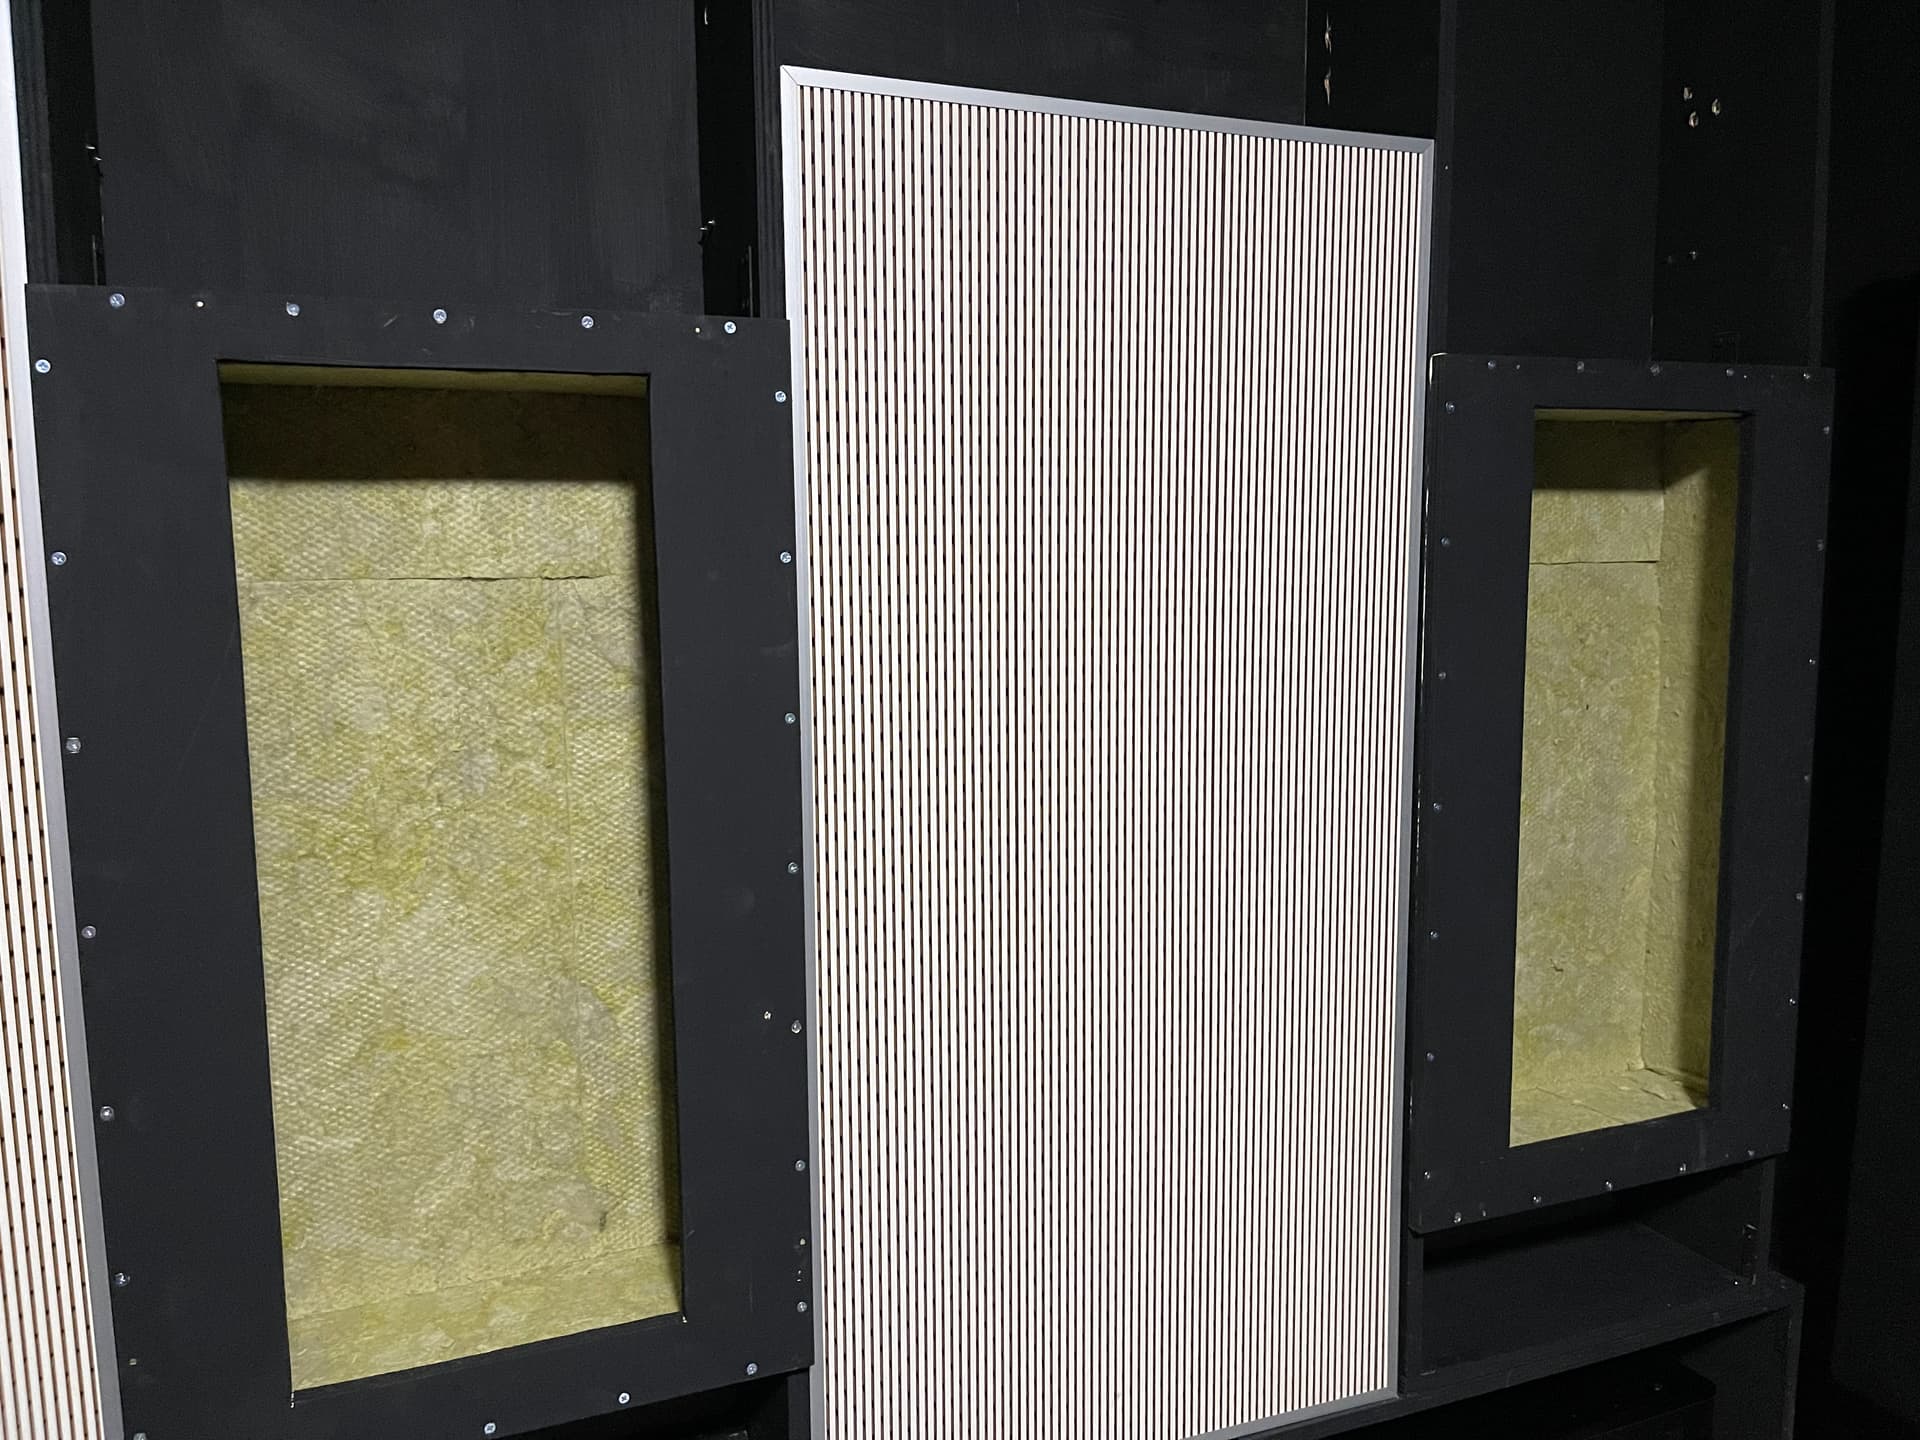
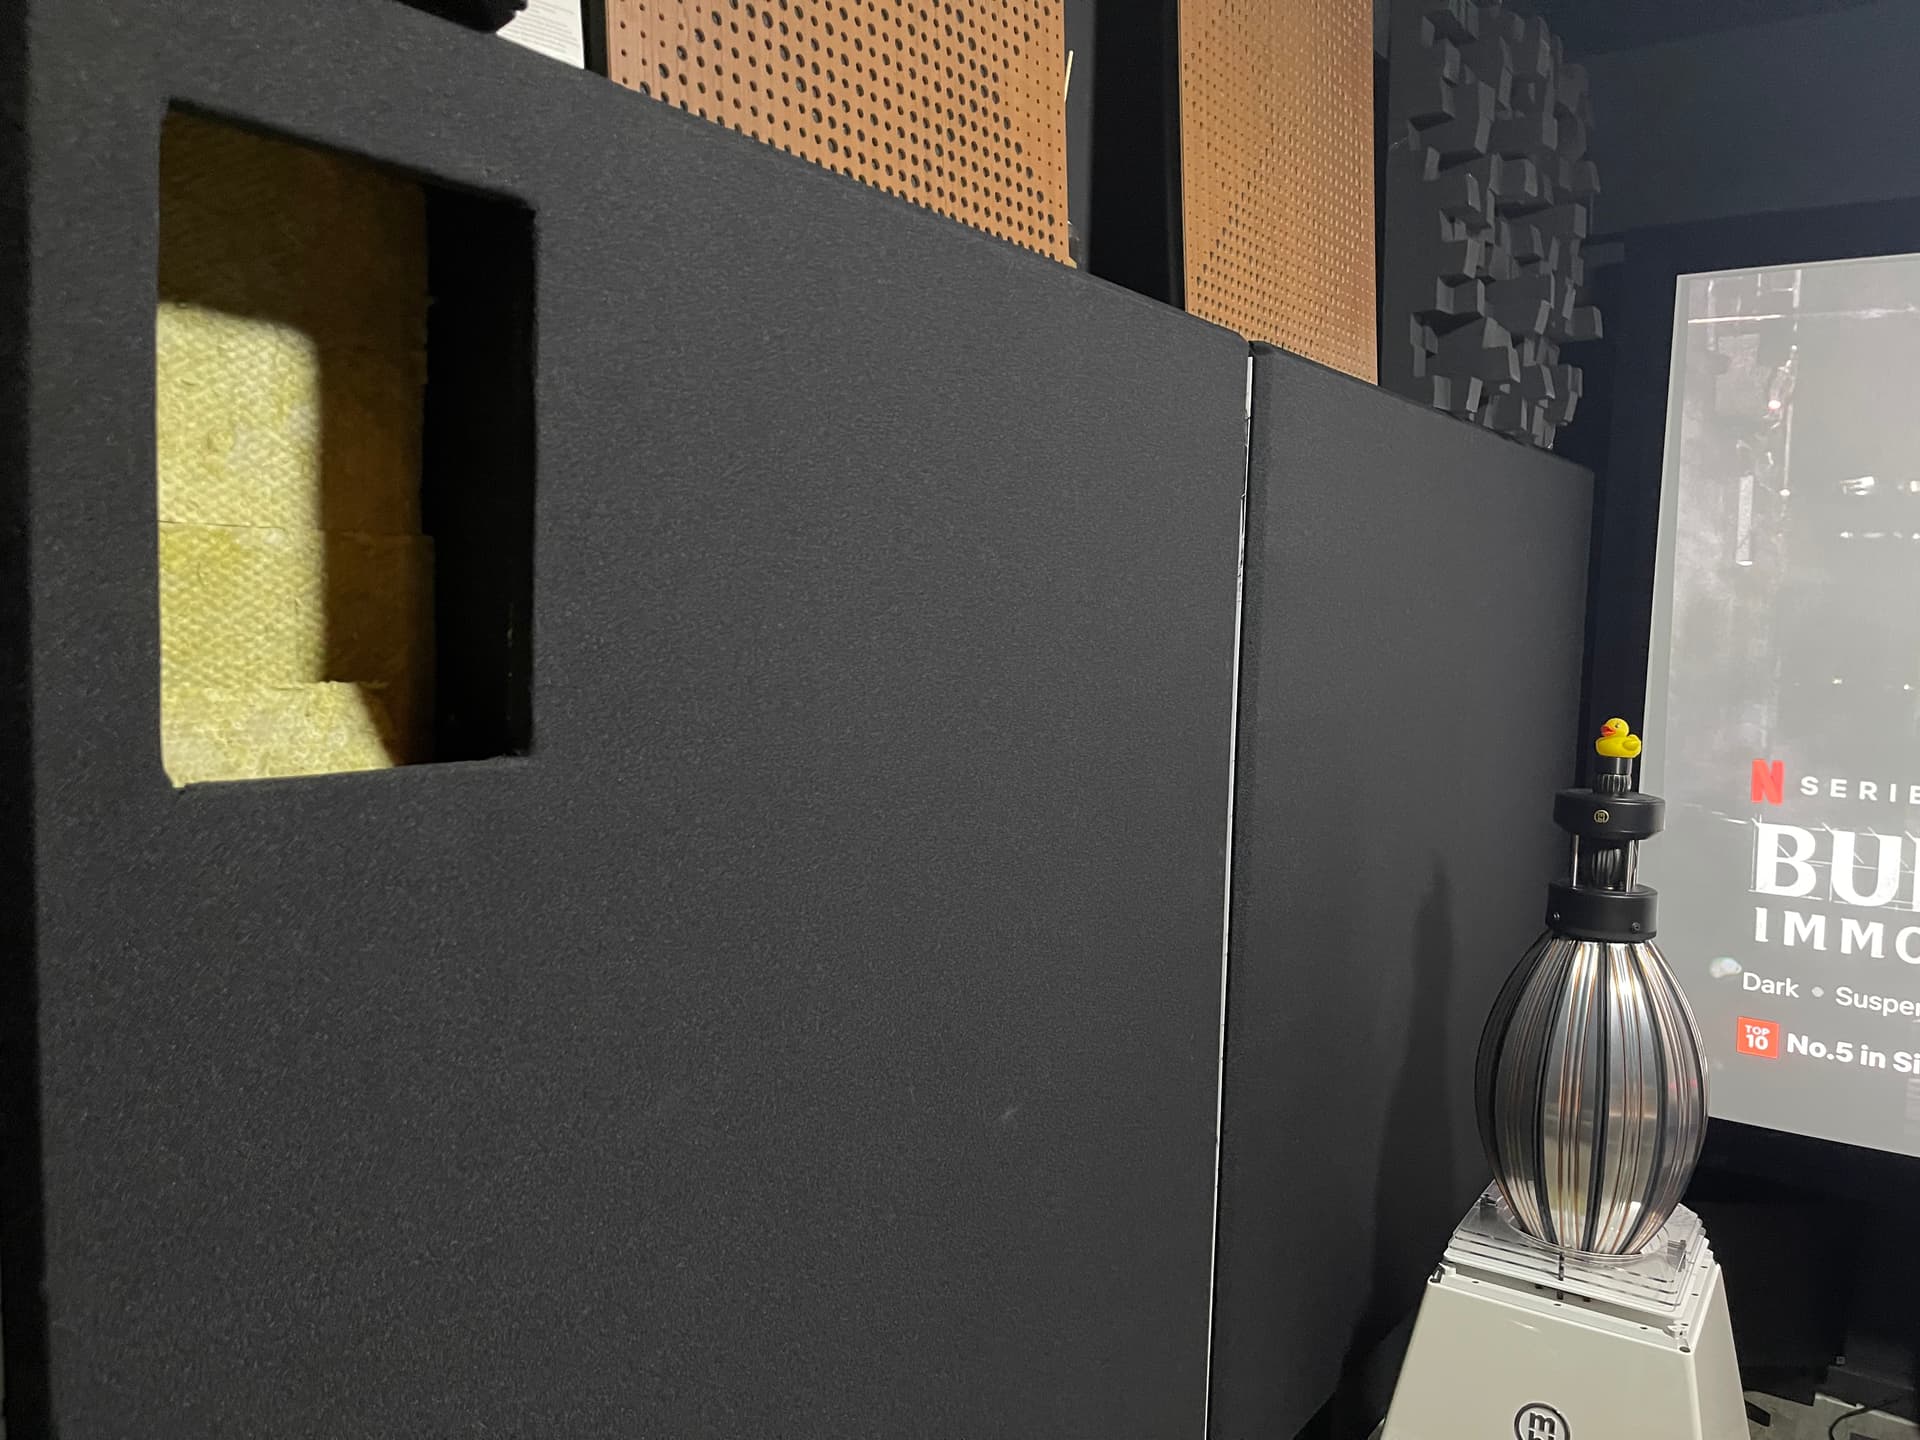
Here’s the front LCR with faceplate installed and stuffed with rockwool.
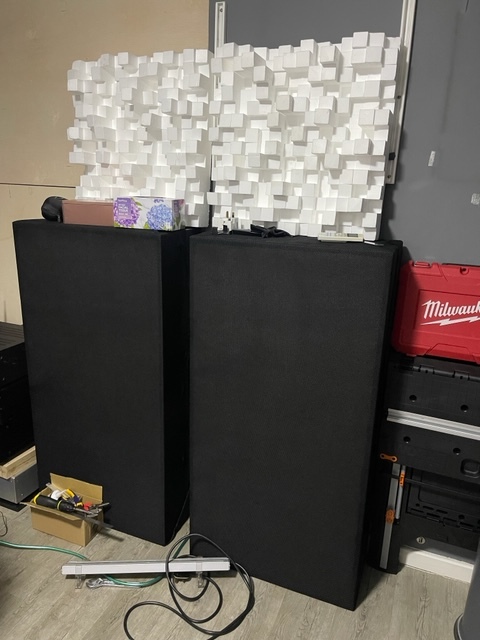
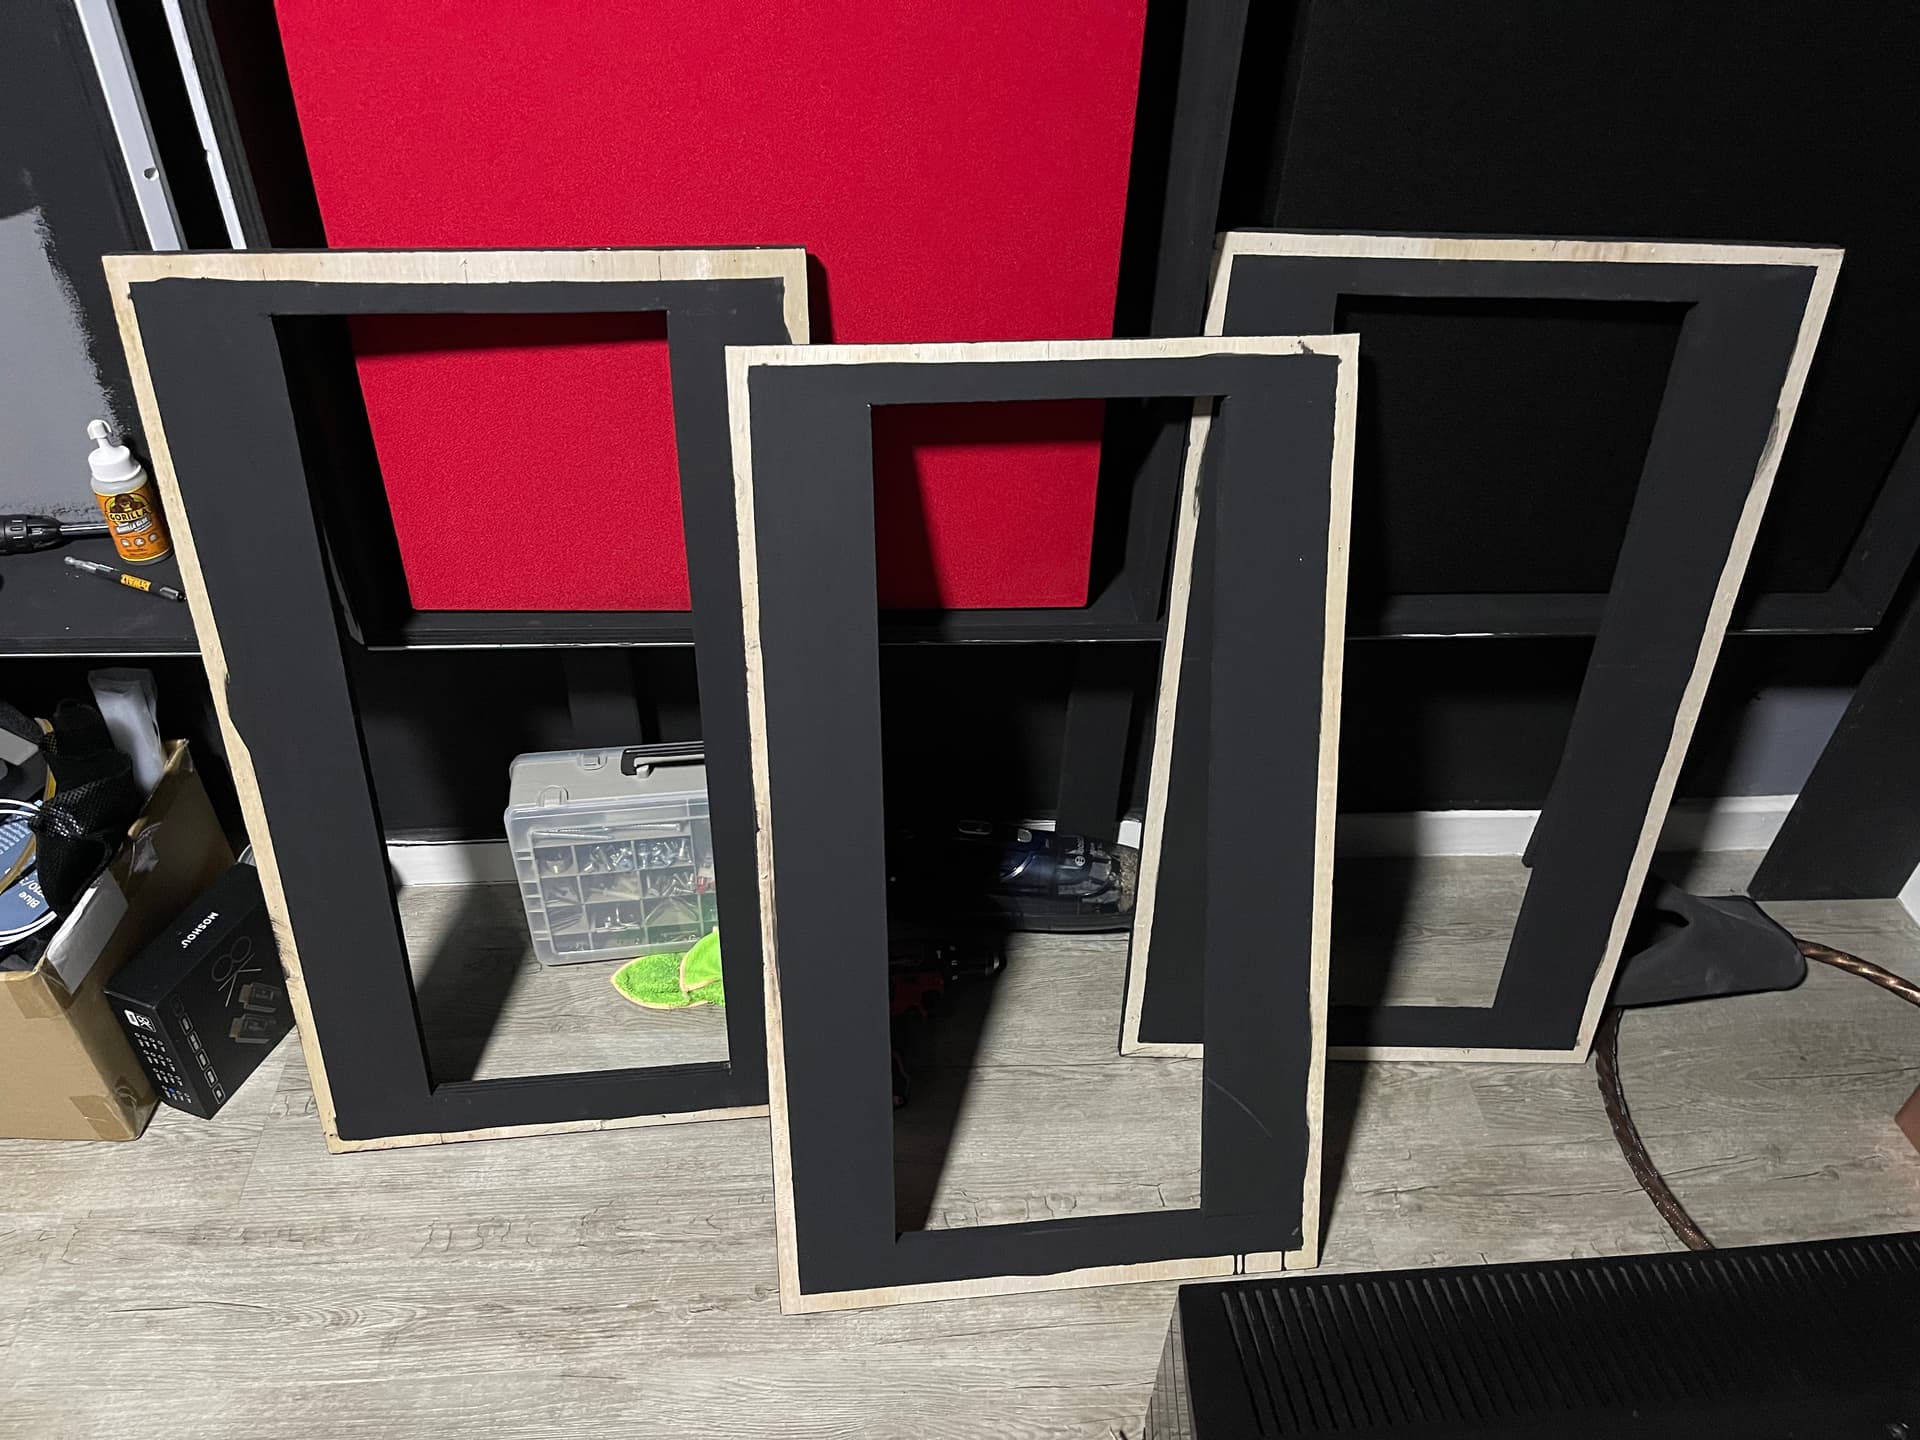
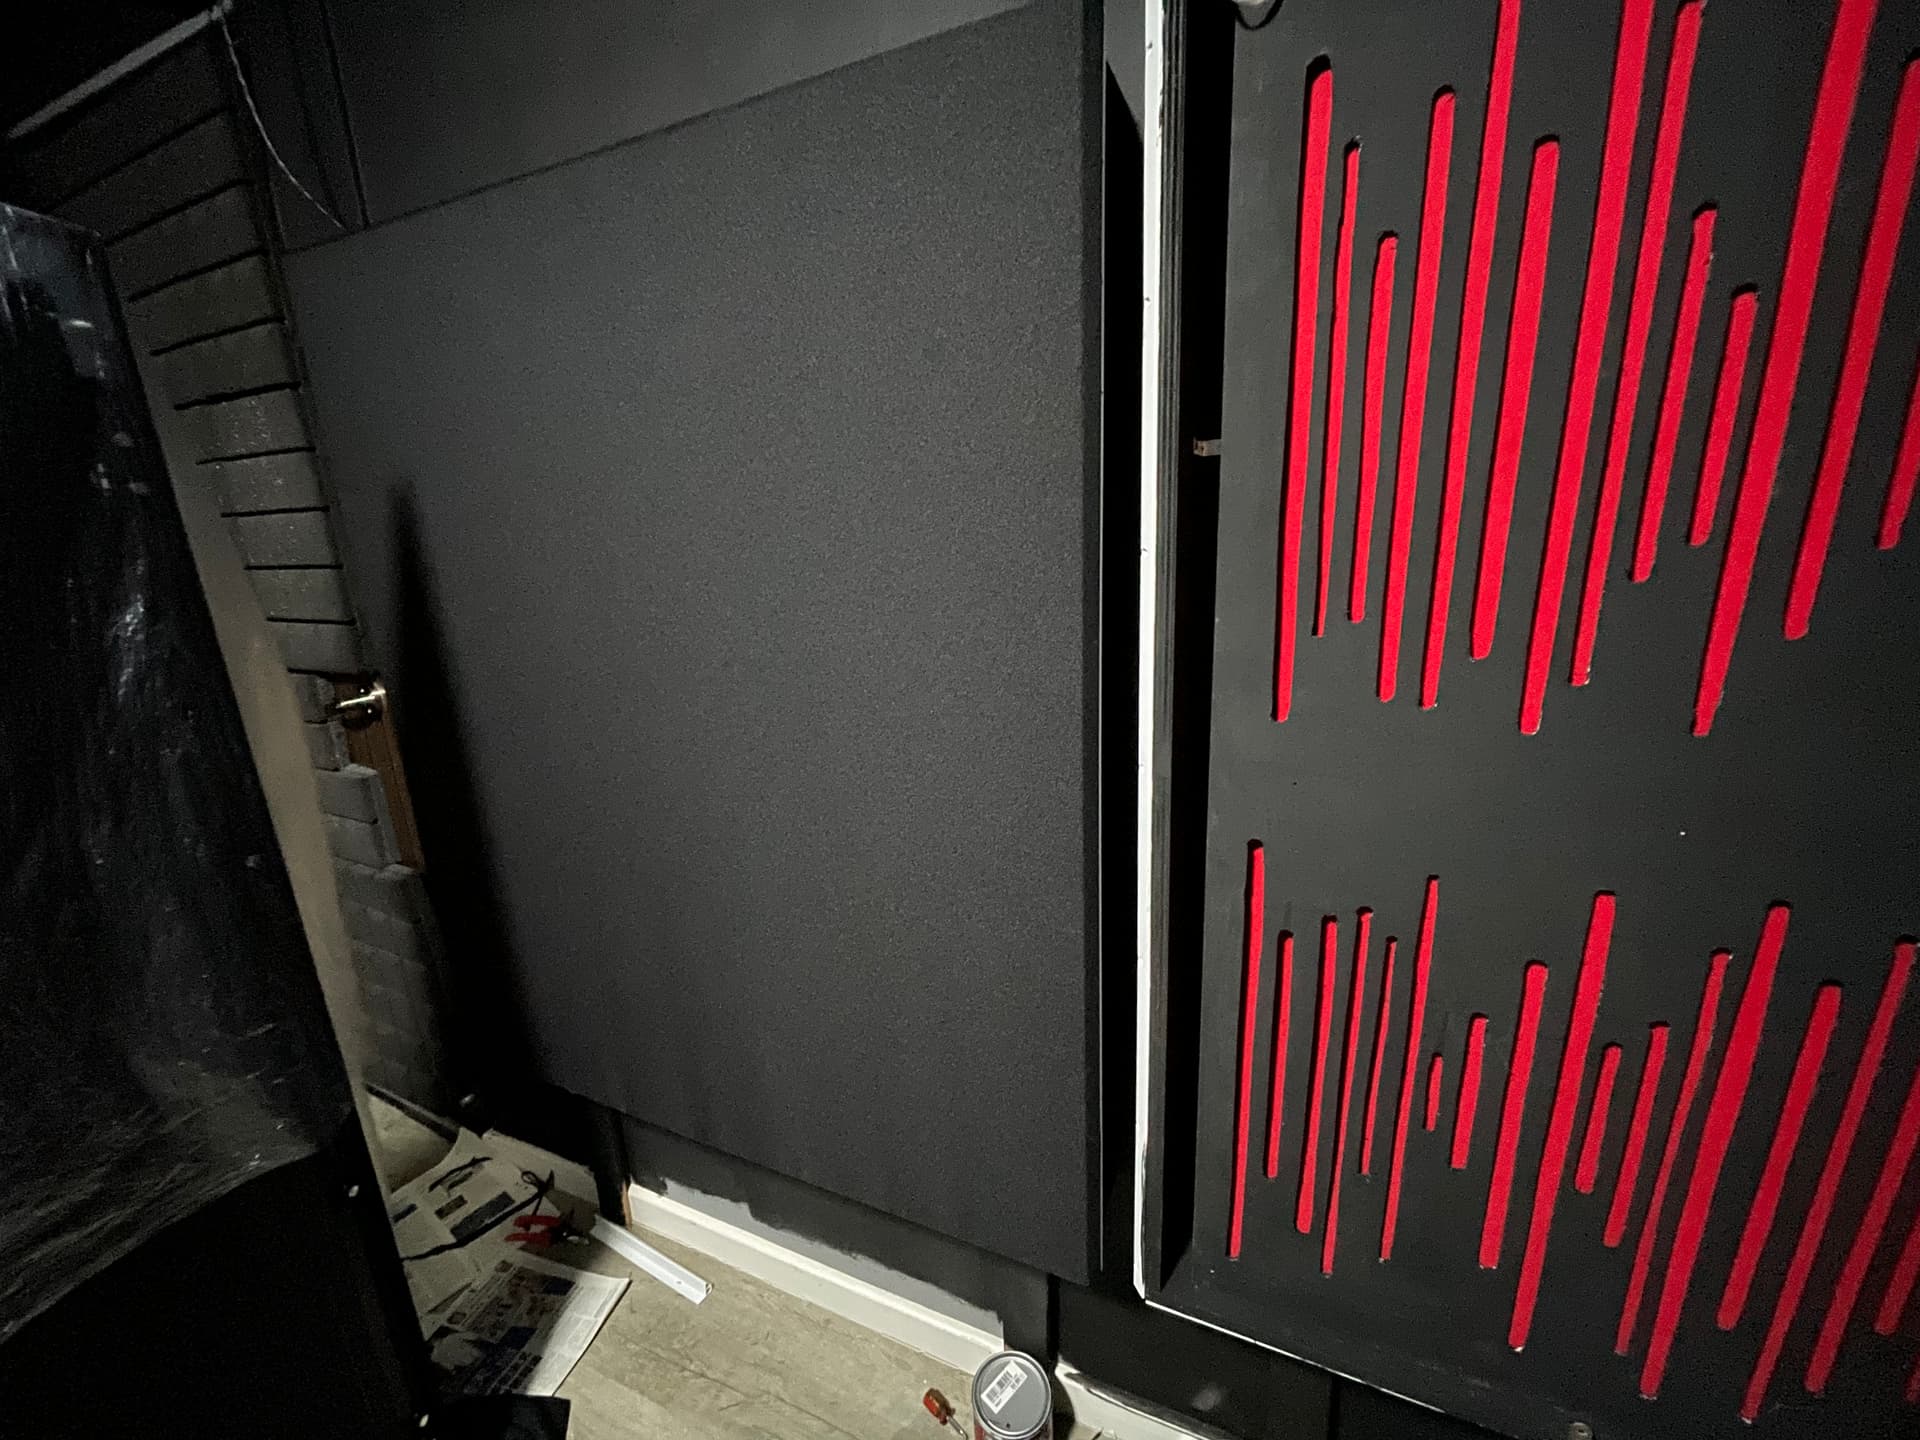
Below are the left side wall.
One panel filled with rockwool while the other I reuse the hybrid panel (red) from Aural Aid.This one cost me over $250/pc!

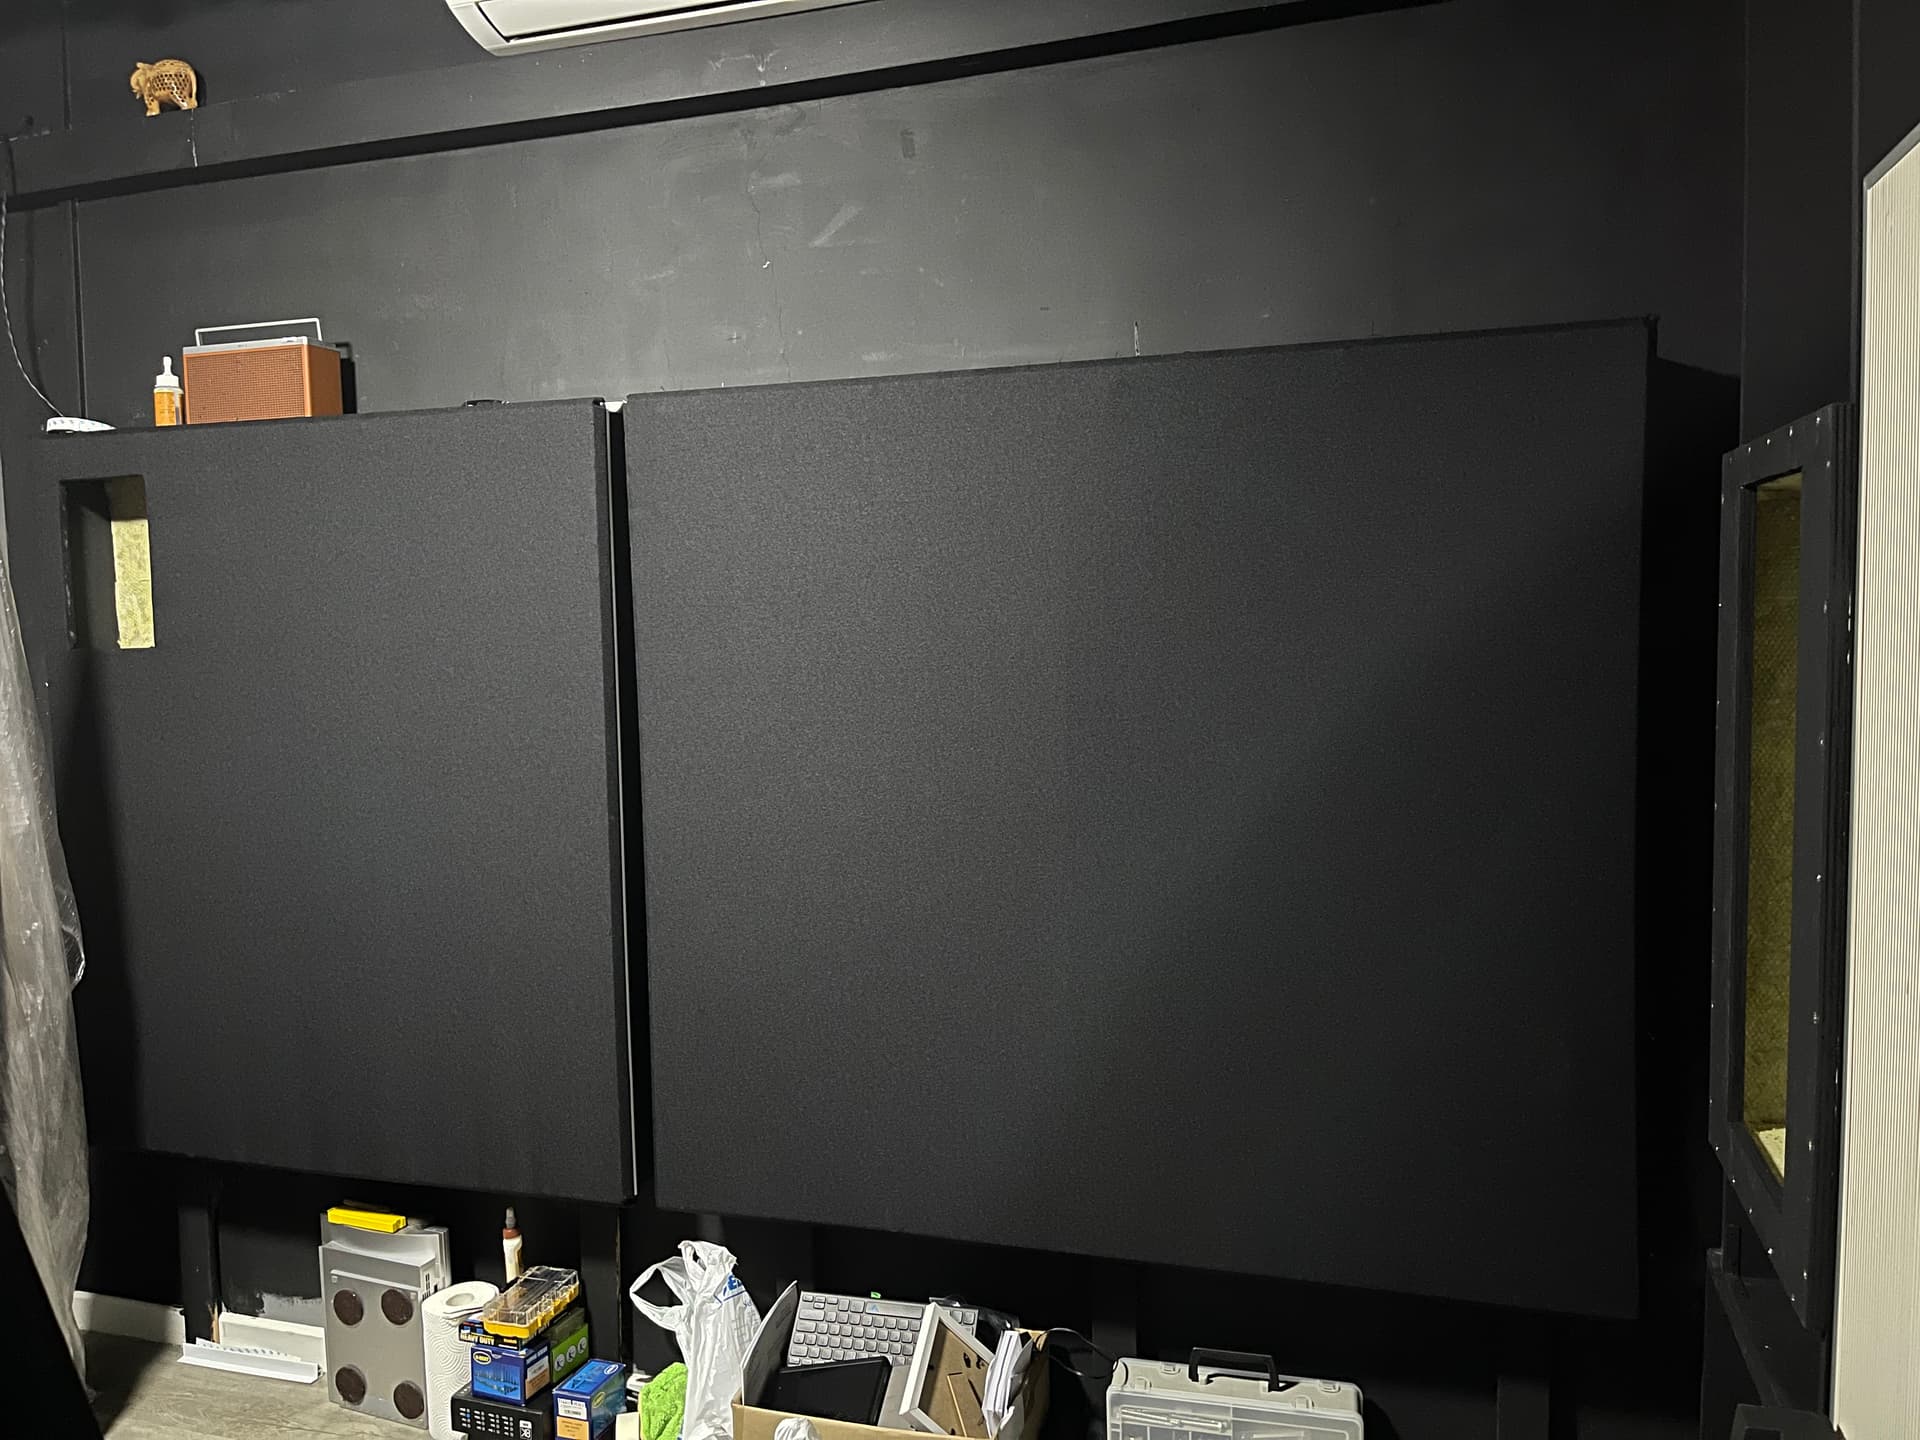
The last pic shows the panels nicely wrapped with acoustically transparent cloth from Twitch (Thanks to Synthesis for the source recommendation - very good quality).
1 Like
So good…
Not easy to do all these by yourself. Need to be super precise and hands on
1 Like
A lot of work, but it’s really no pain no gain… wanna reap the rewards, need to make an effort…
Well done !!
Initially I was given shipping estimate of up to 6 mths,… which means I won’t get to see the Focals till Mar/Apr or further.
Surprisingly I was notified that partial shipment is in port on the 15th!
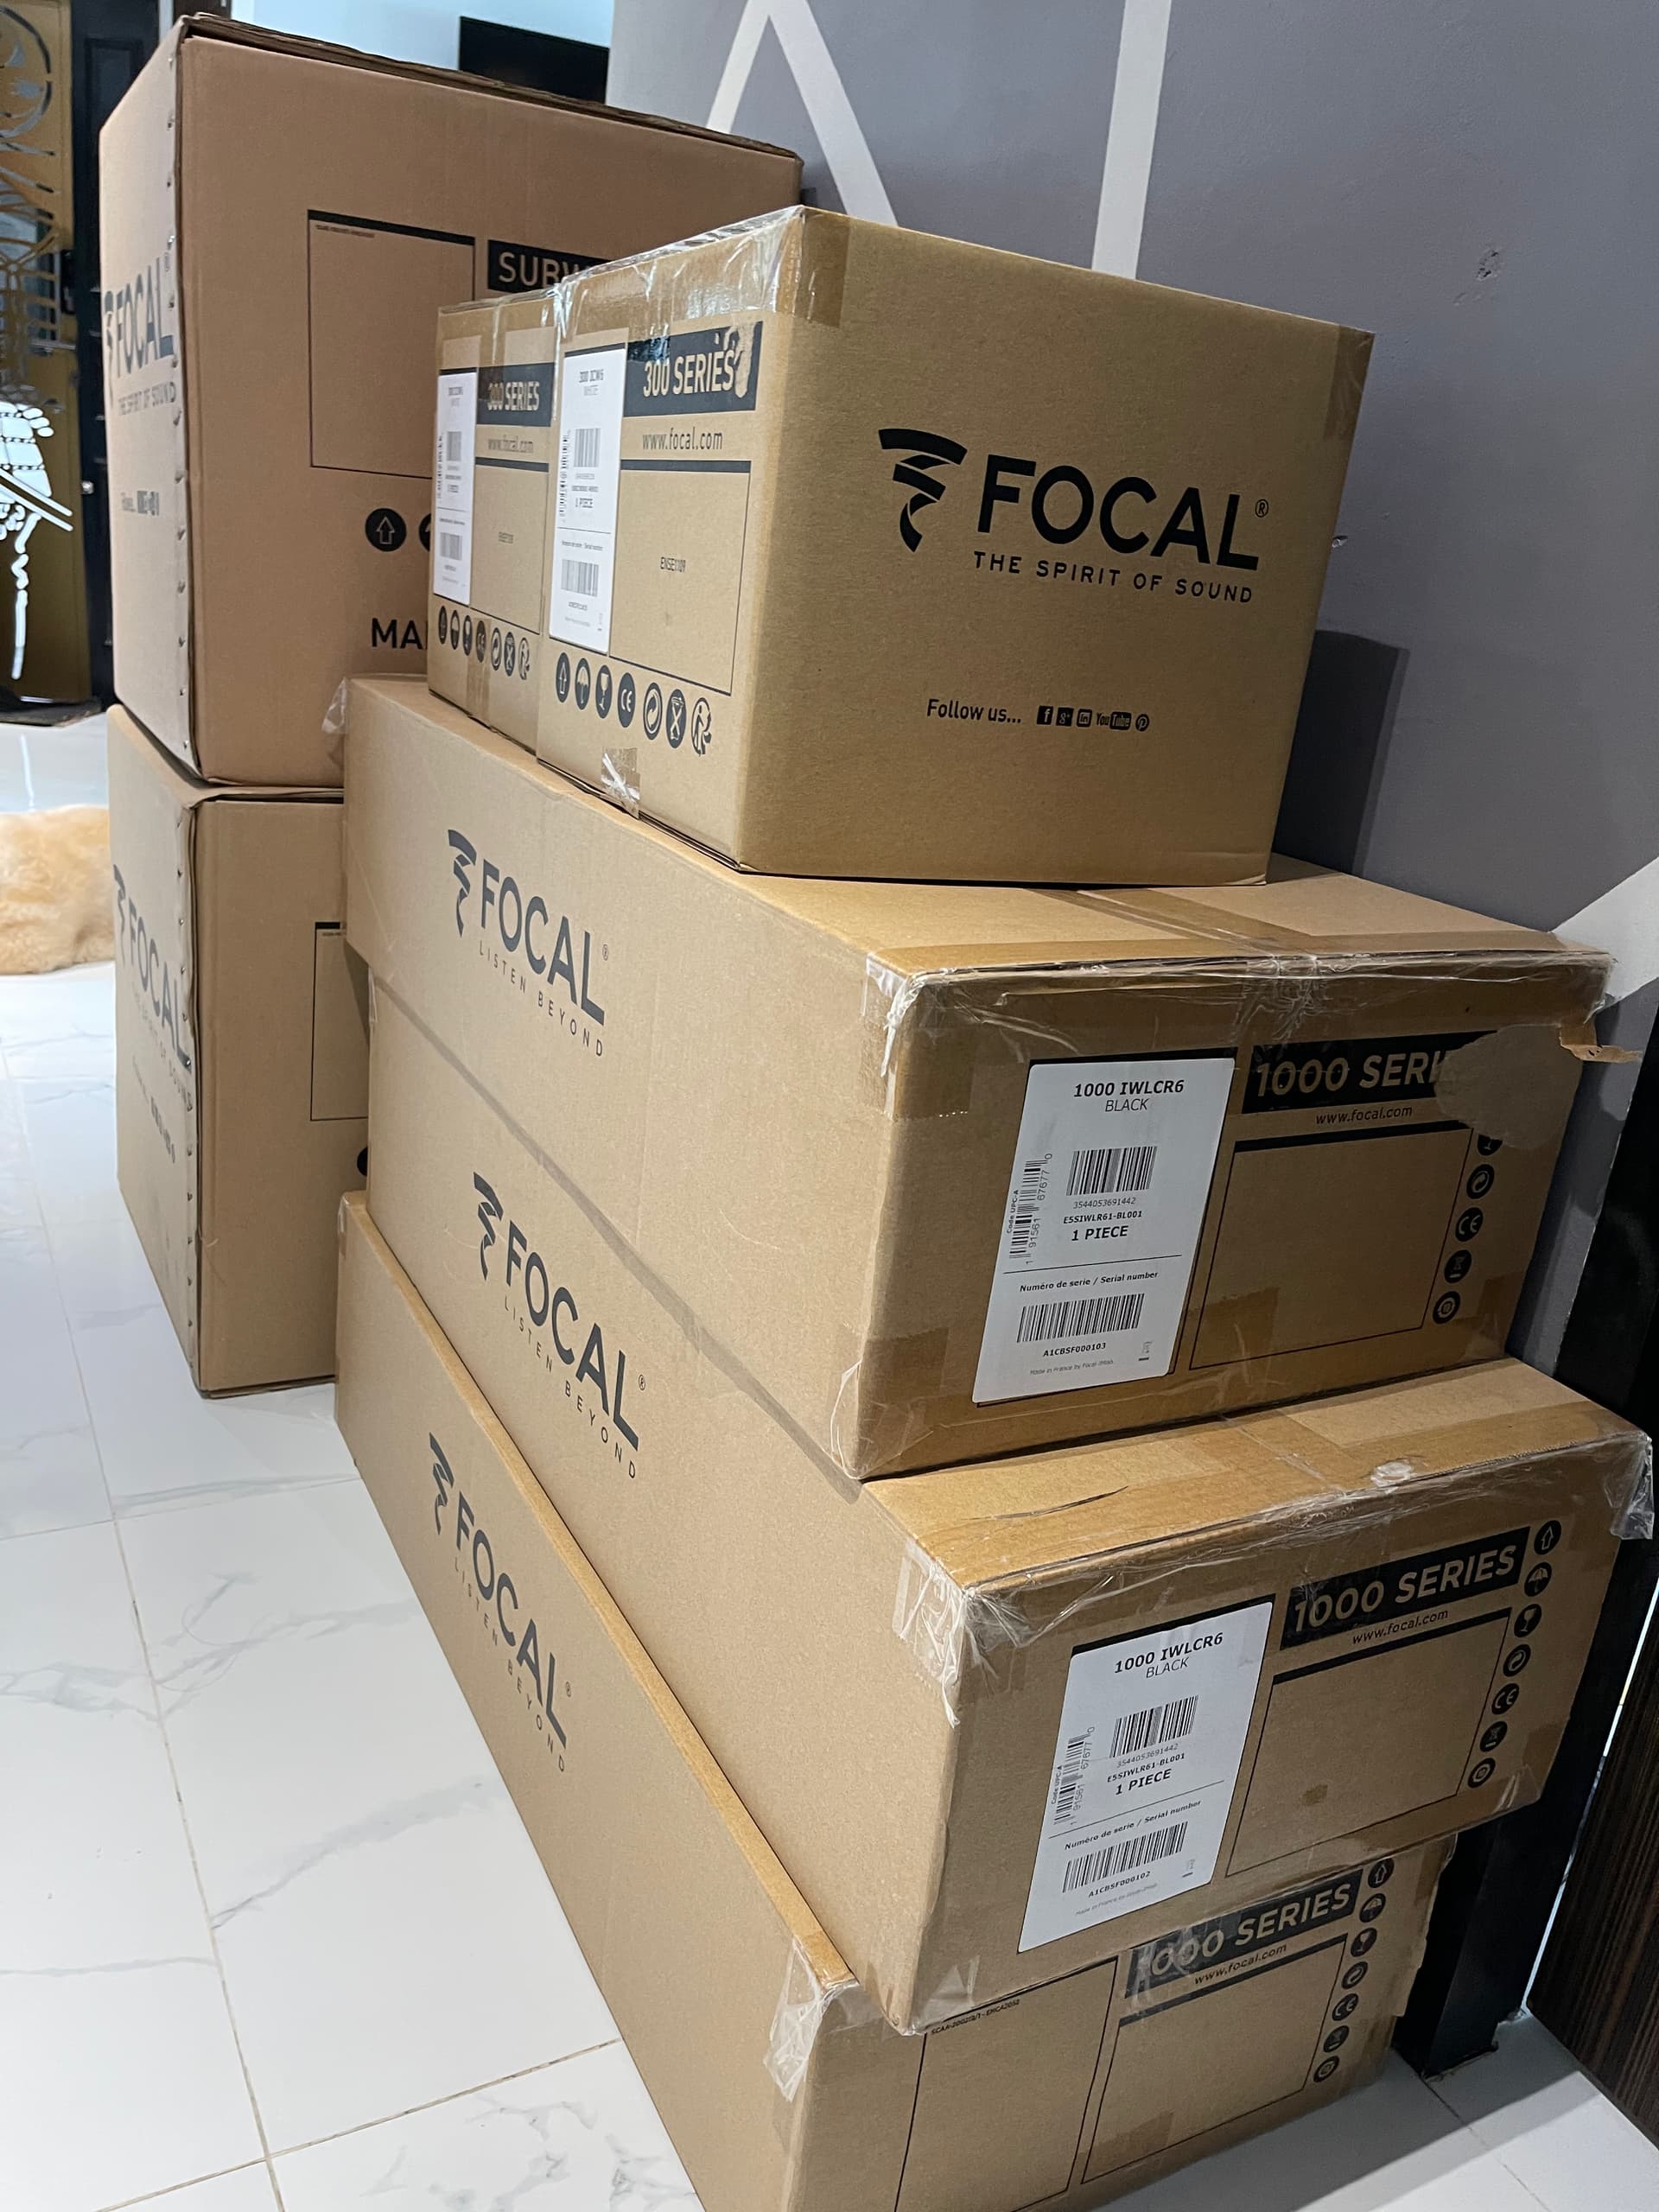
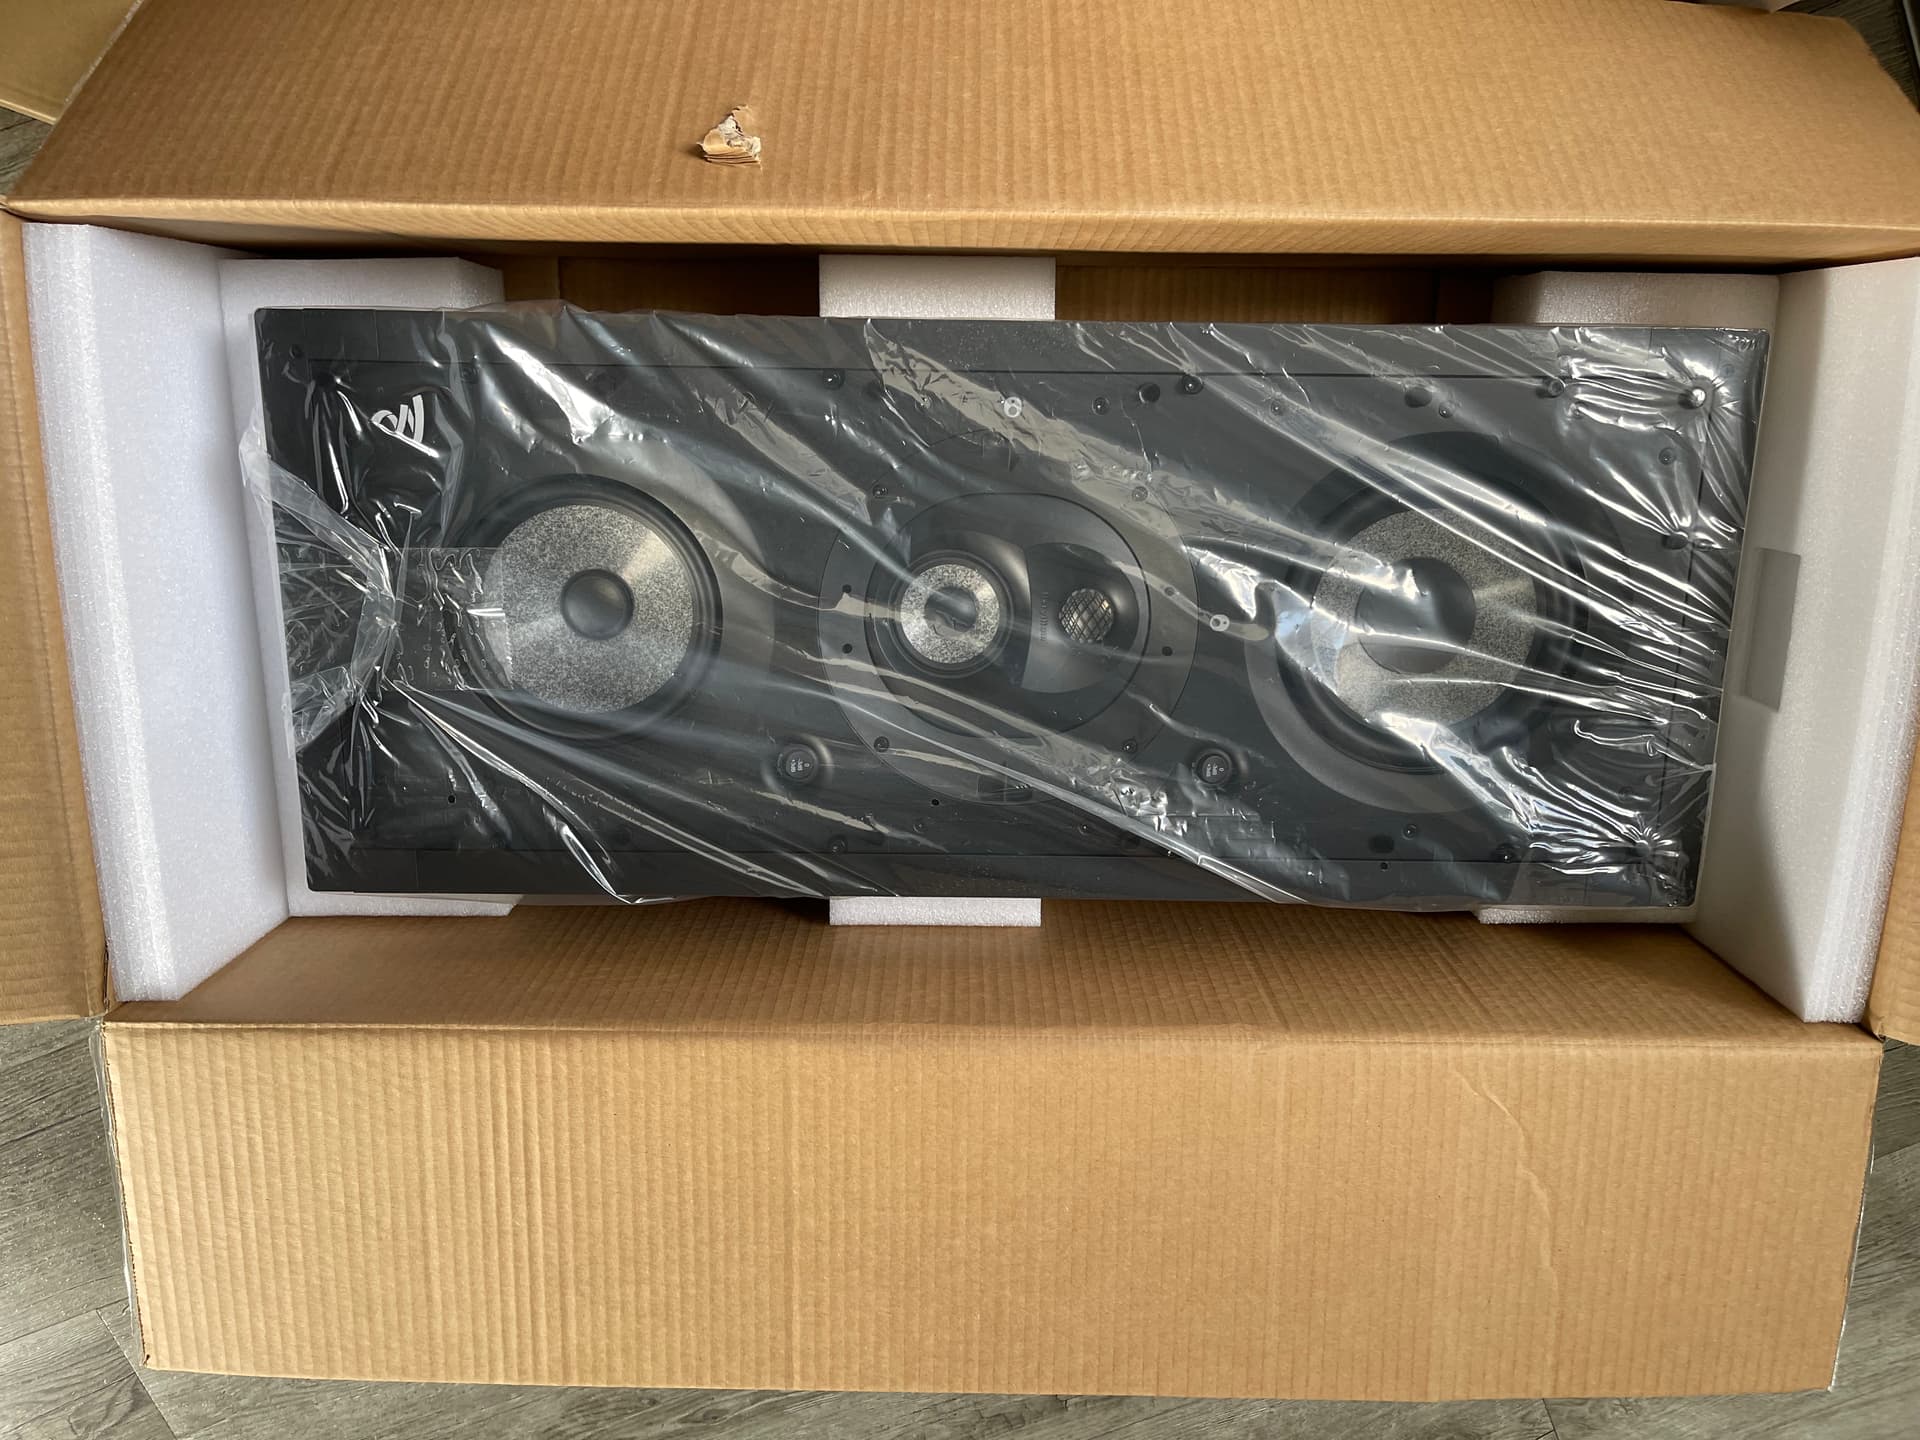
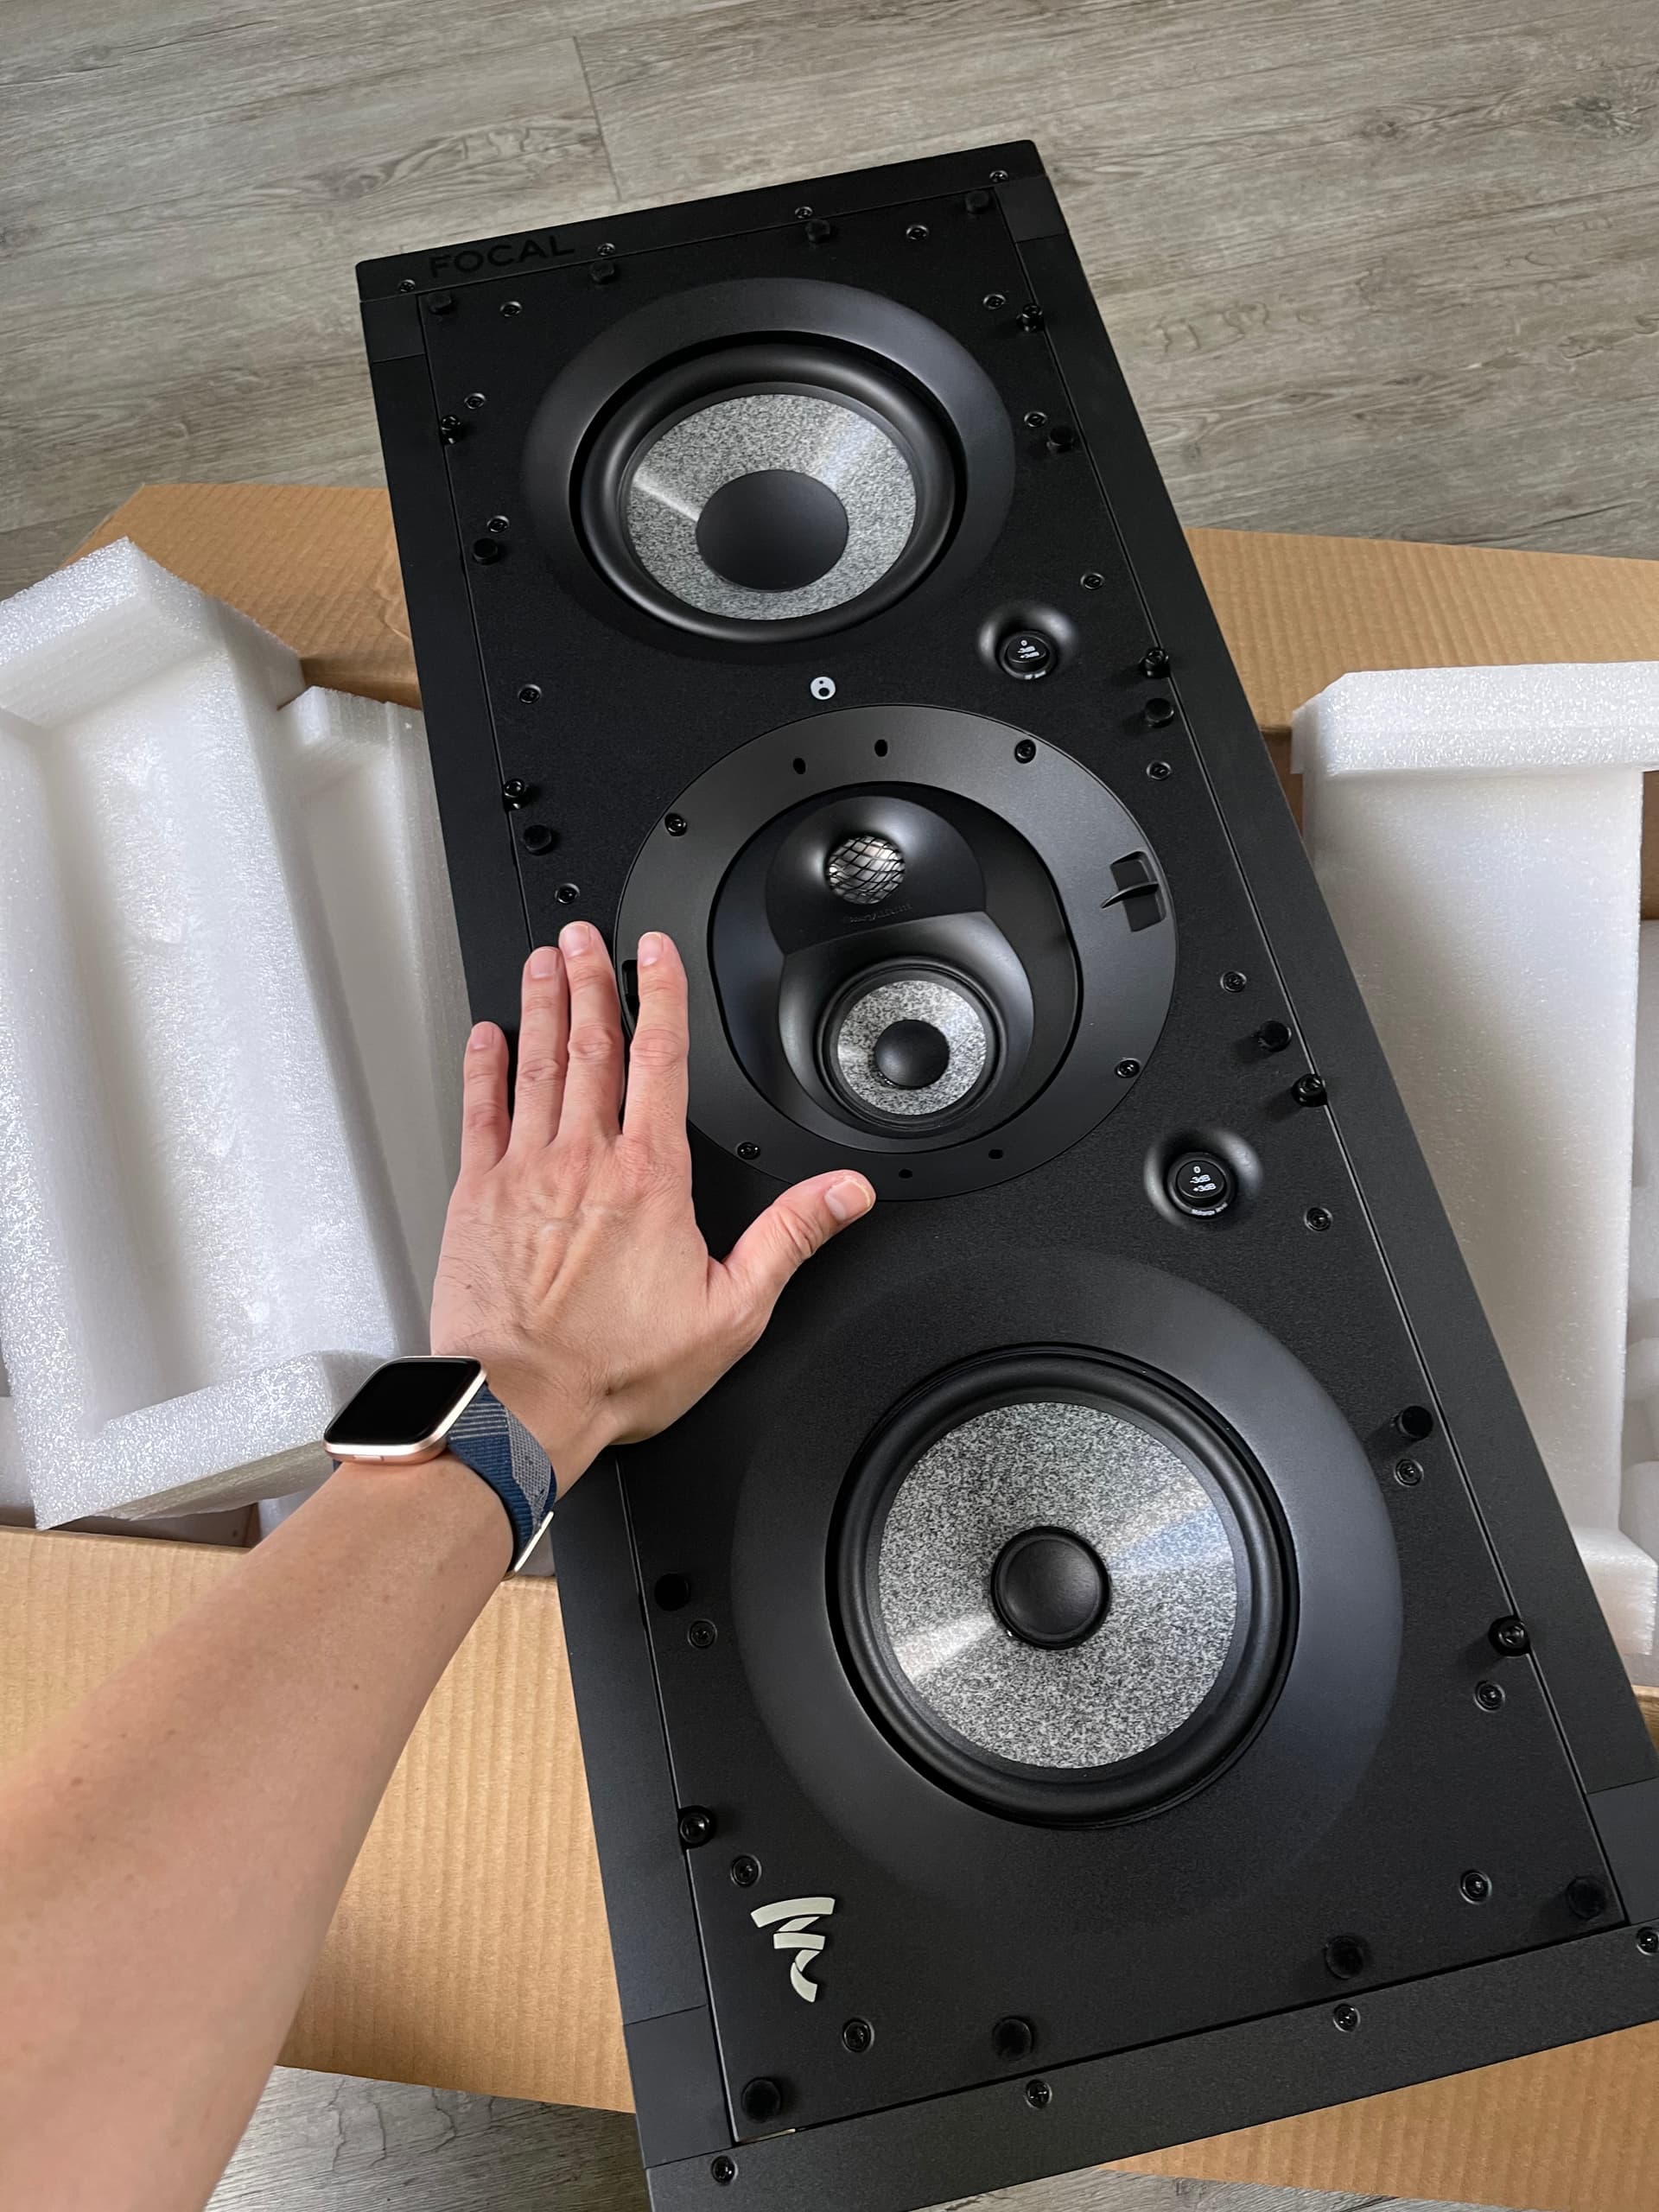
The 1000 series LCR is much larger in real life than expected;
3 Likes
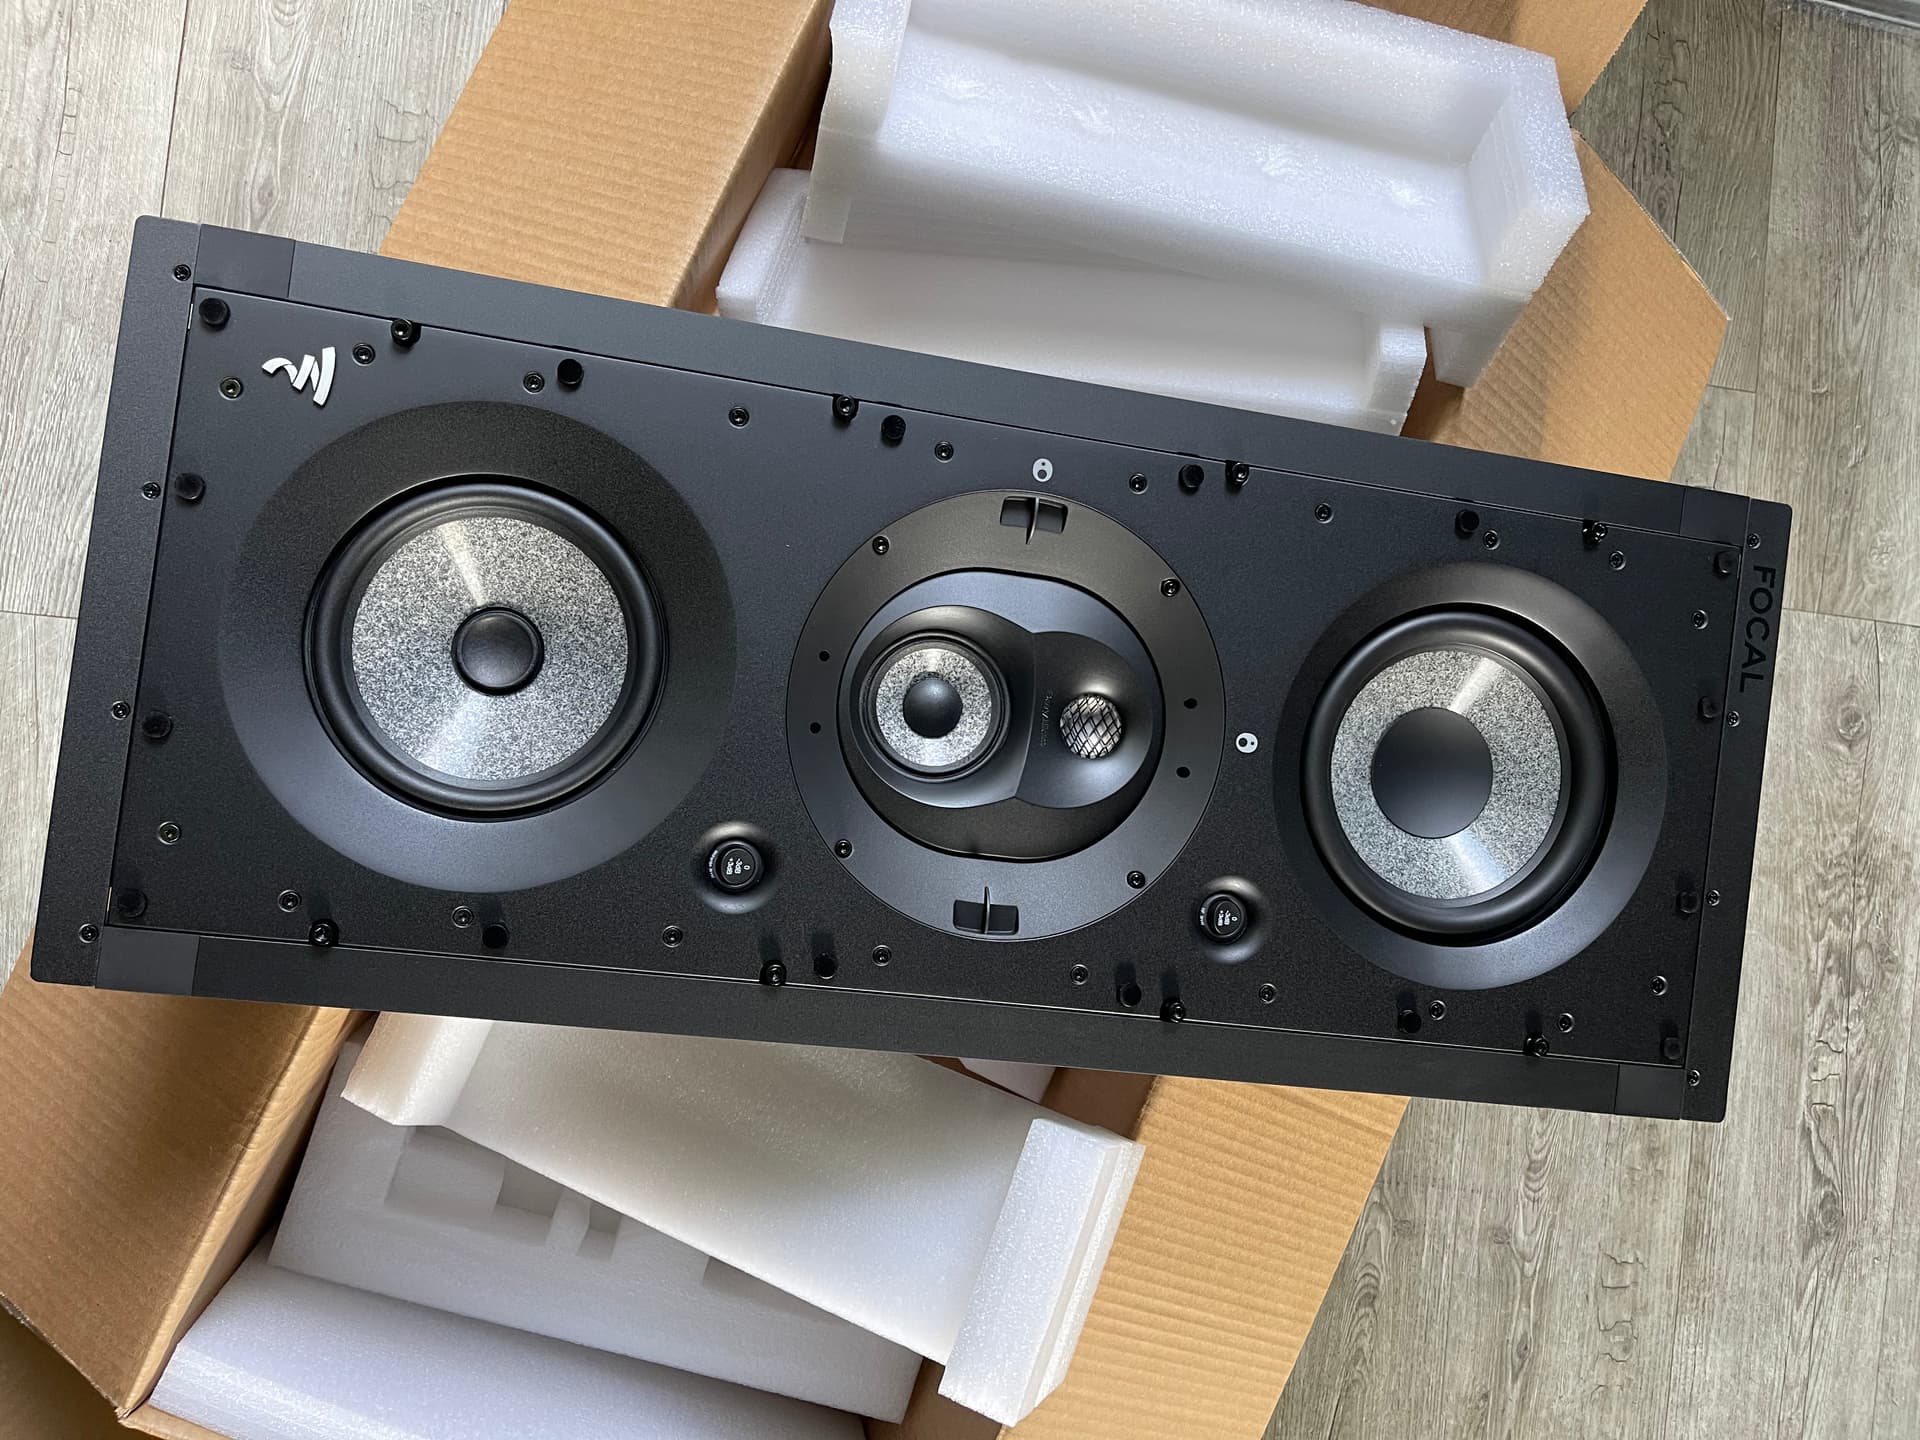
Took a whole day running the wires and hooking these babies up!
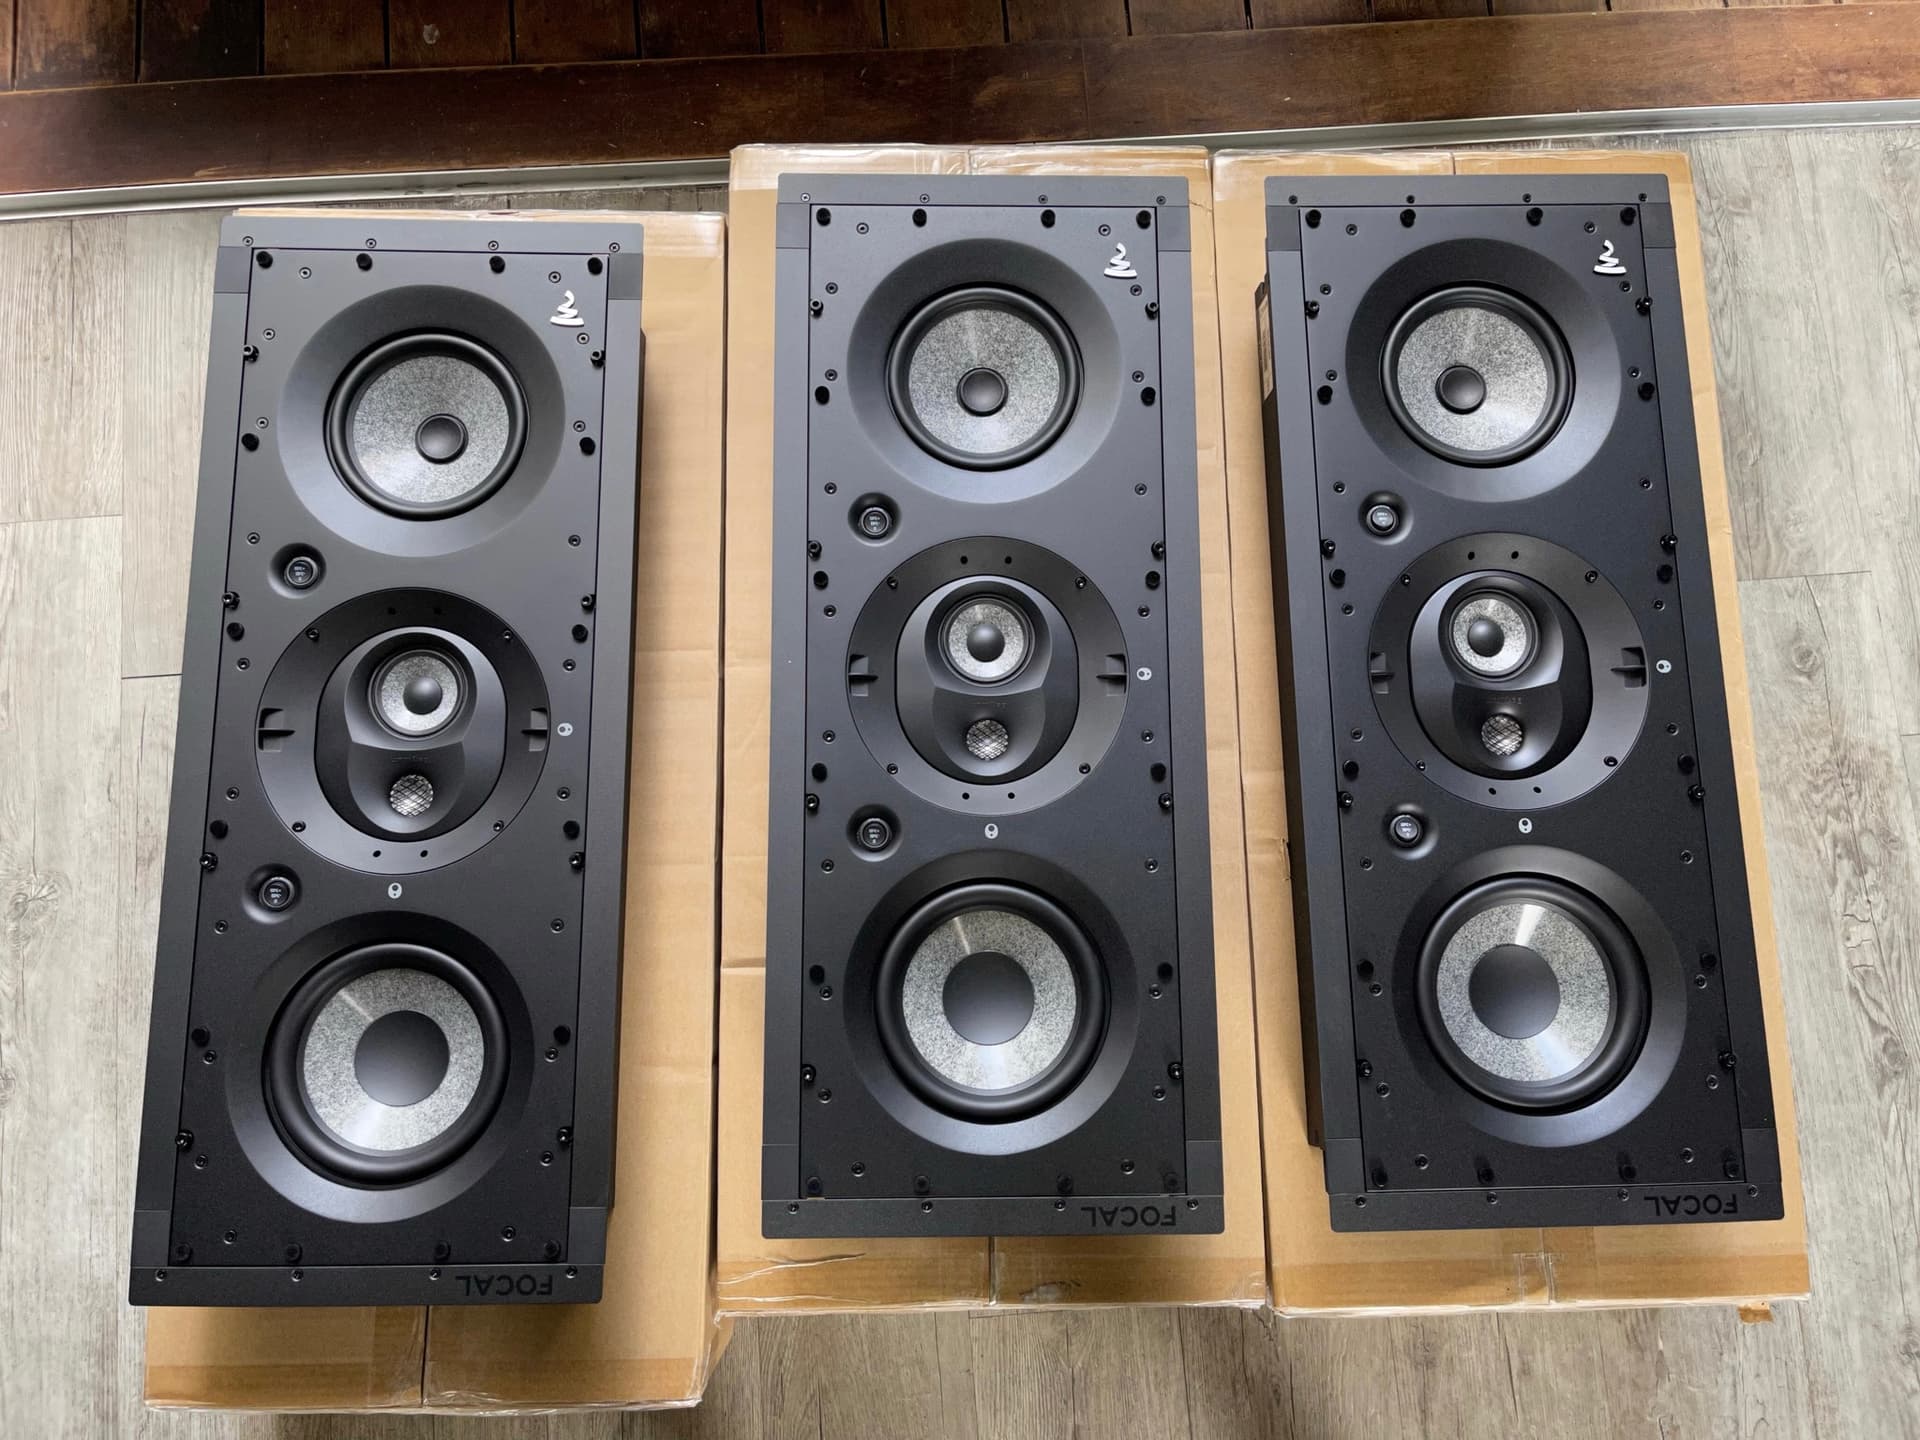
Side by side the look is awesome with very high quality build
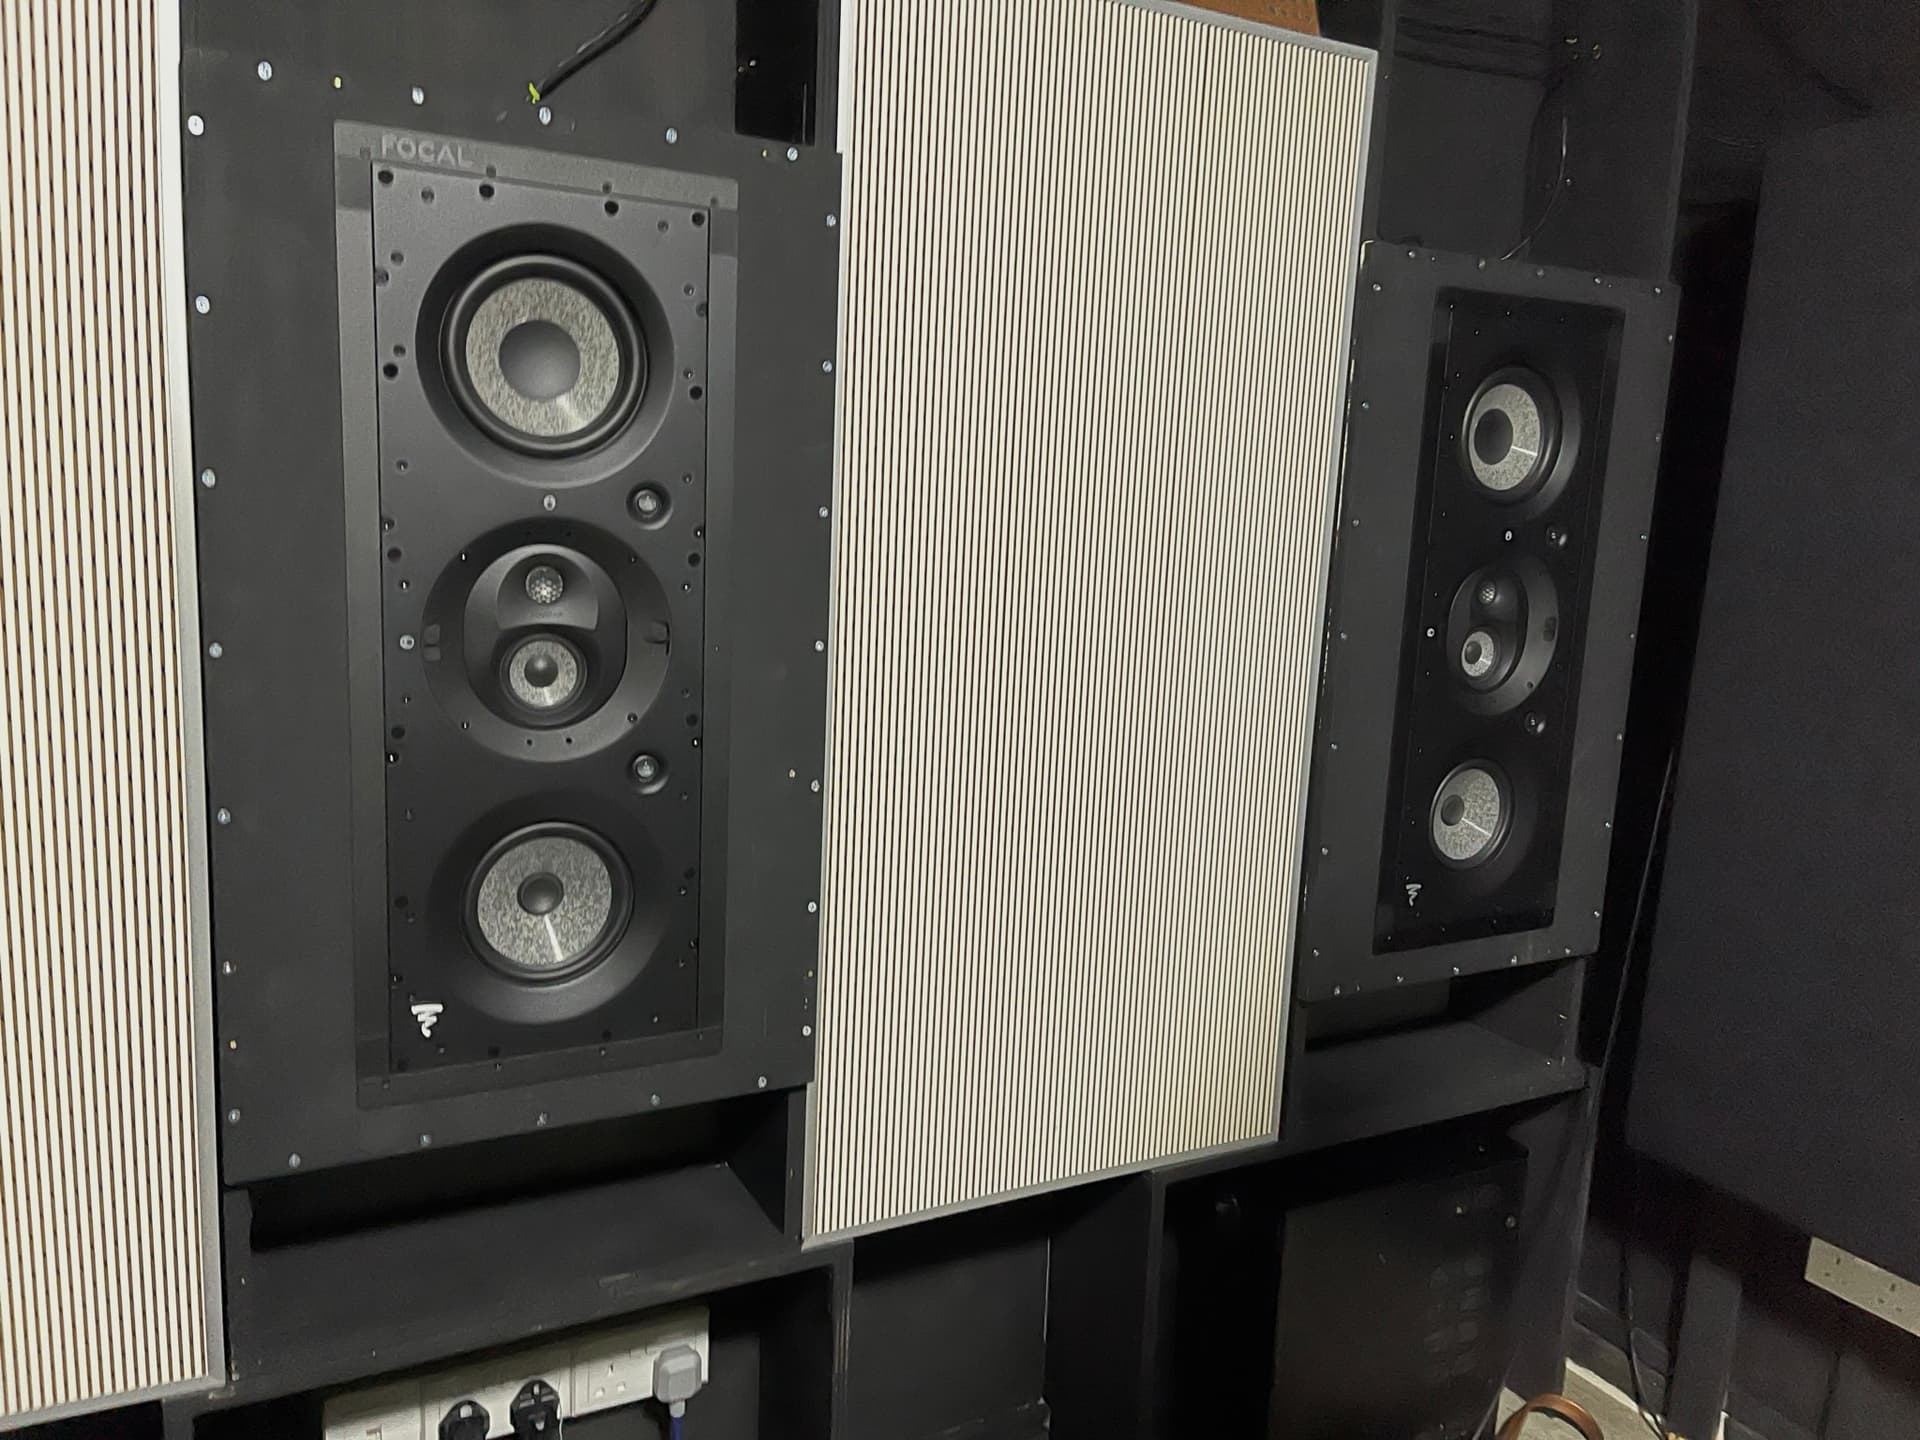
Luckily there’s no error in the dimensions. The fit is very snug with little margin for mistakes.
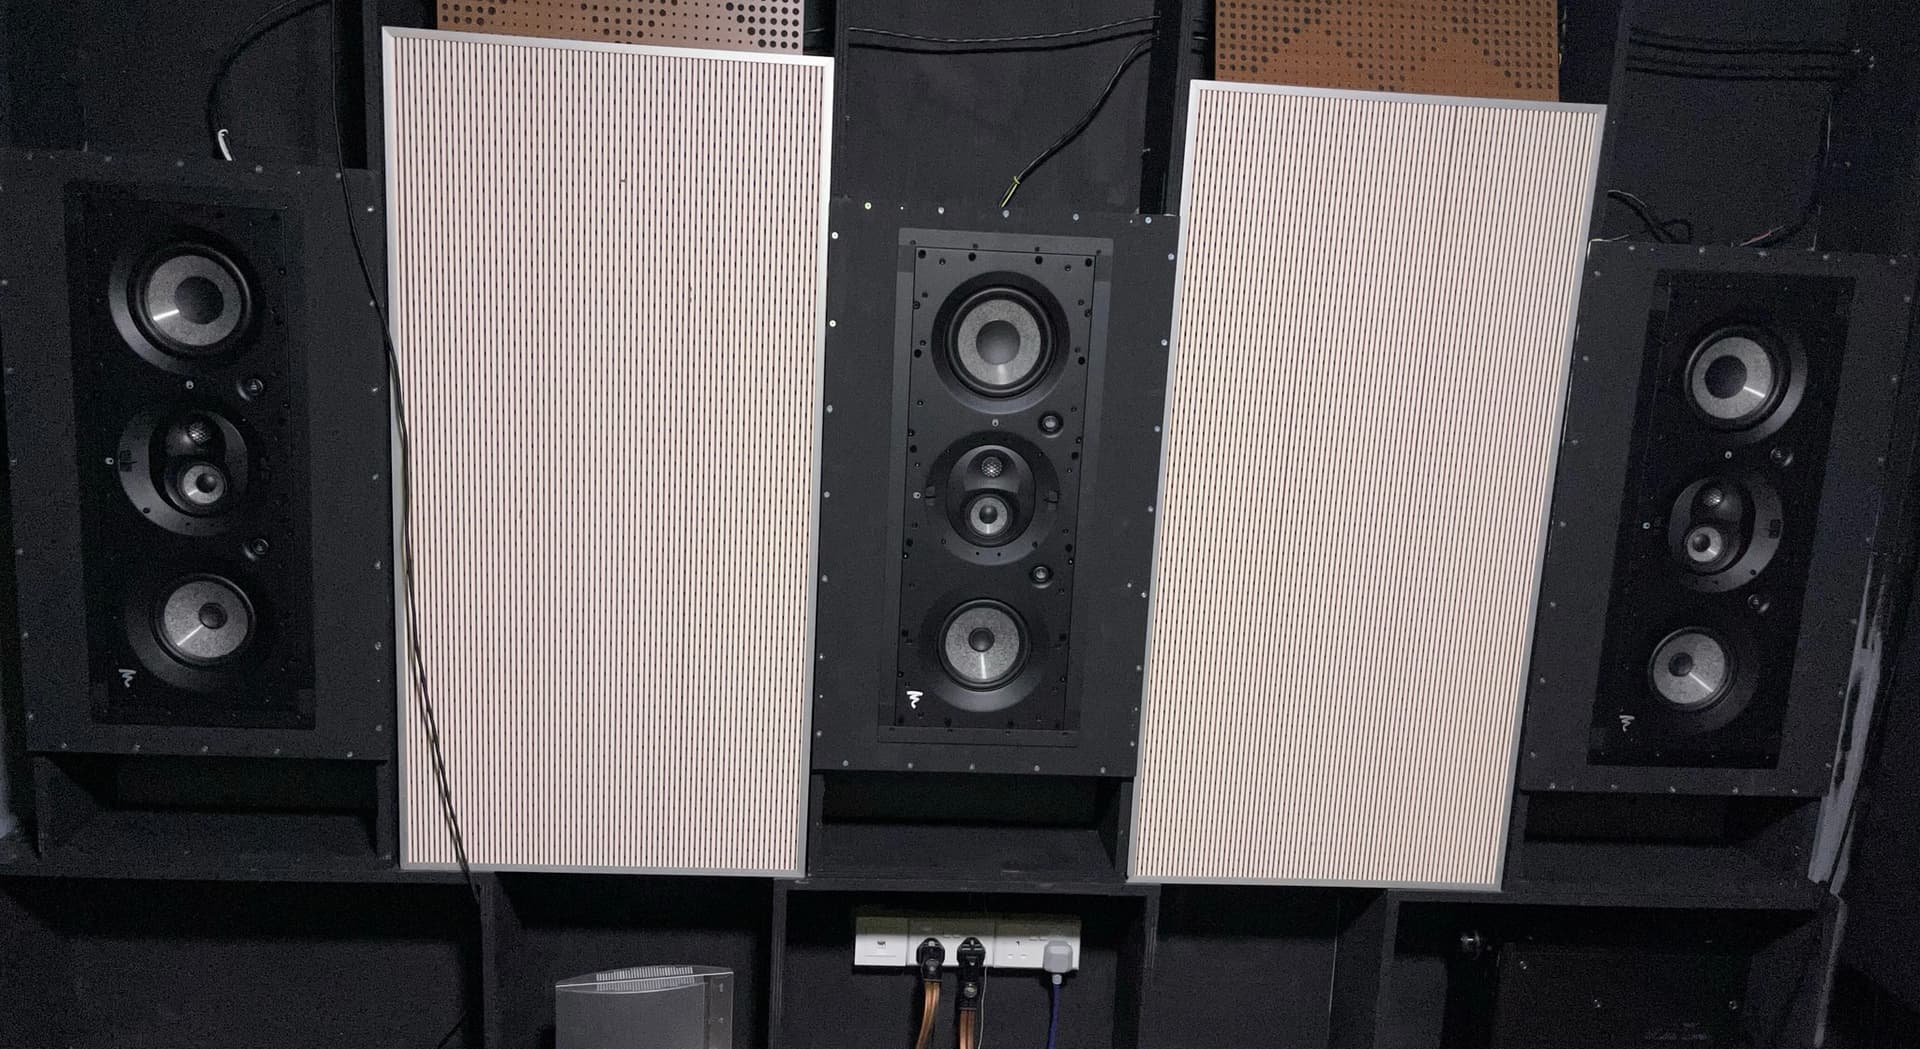
Full frontal


Initial impression upon demo, wow 


SQ is very good even cold from box n without any EQ. A very promising start.

Ready to rumble.
Hopefully they sound as good here as in the showroom.
4 Likes
Wah the LCR speakers look super chio
Yeah, these are gorgeous.
Unfortunately these will remain hidden behind the projector screen most of the time! 
1 Like
You sure are handy! It is Excellent work there! 
Thanks Bro Wind.
Your setup is very impressive too 
Looks like the new sofa  would be the last item before I can close this project!
Bro you too humble. Mine is just small fry. I see yours and bro synthesis one then is gao gao lat. Hope I’ll get invited one day.
Sure, once presentable, I welcome the many sifus here to critic and recommend improvements 
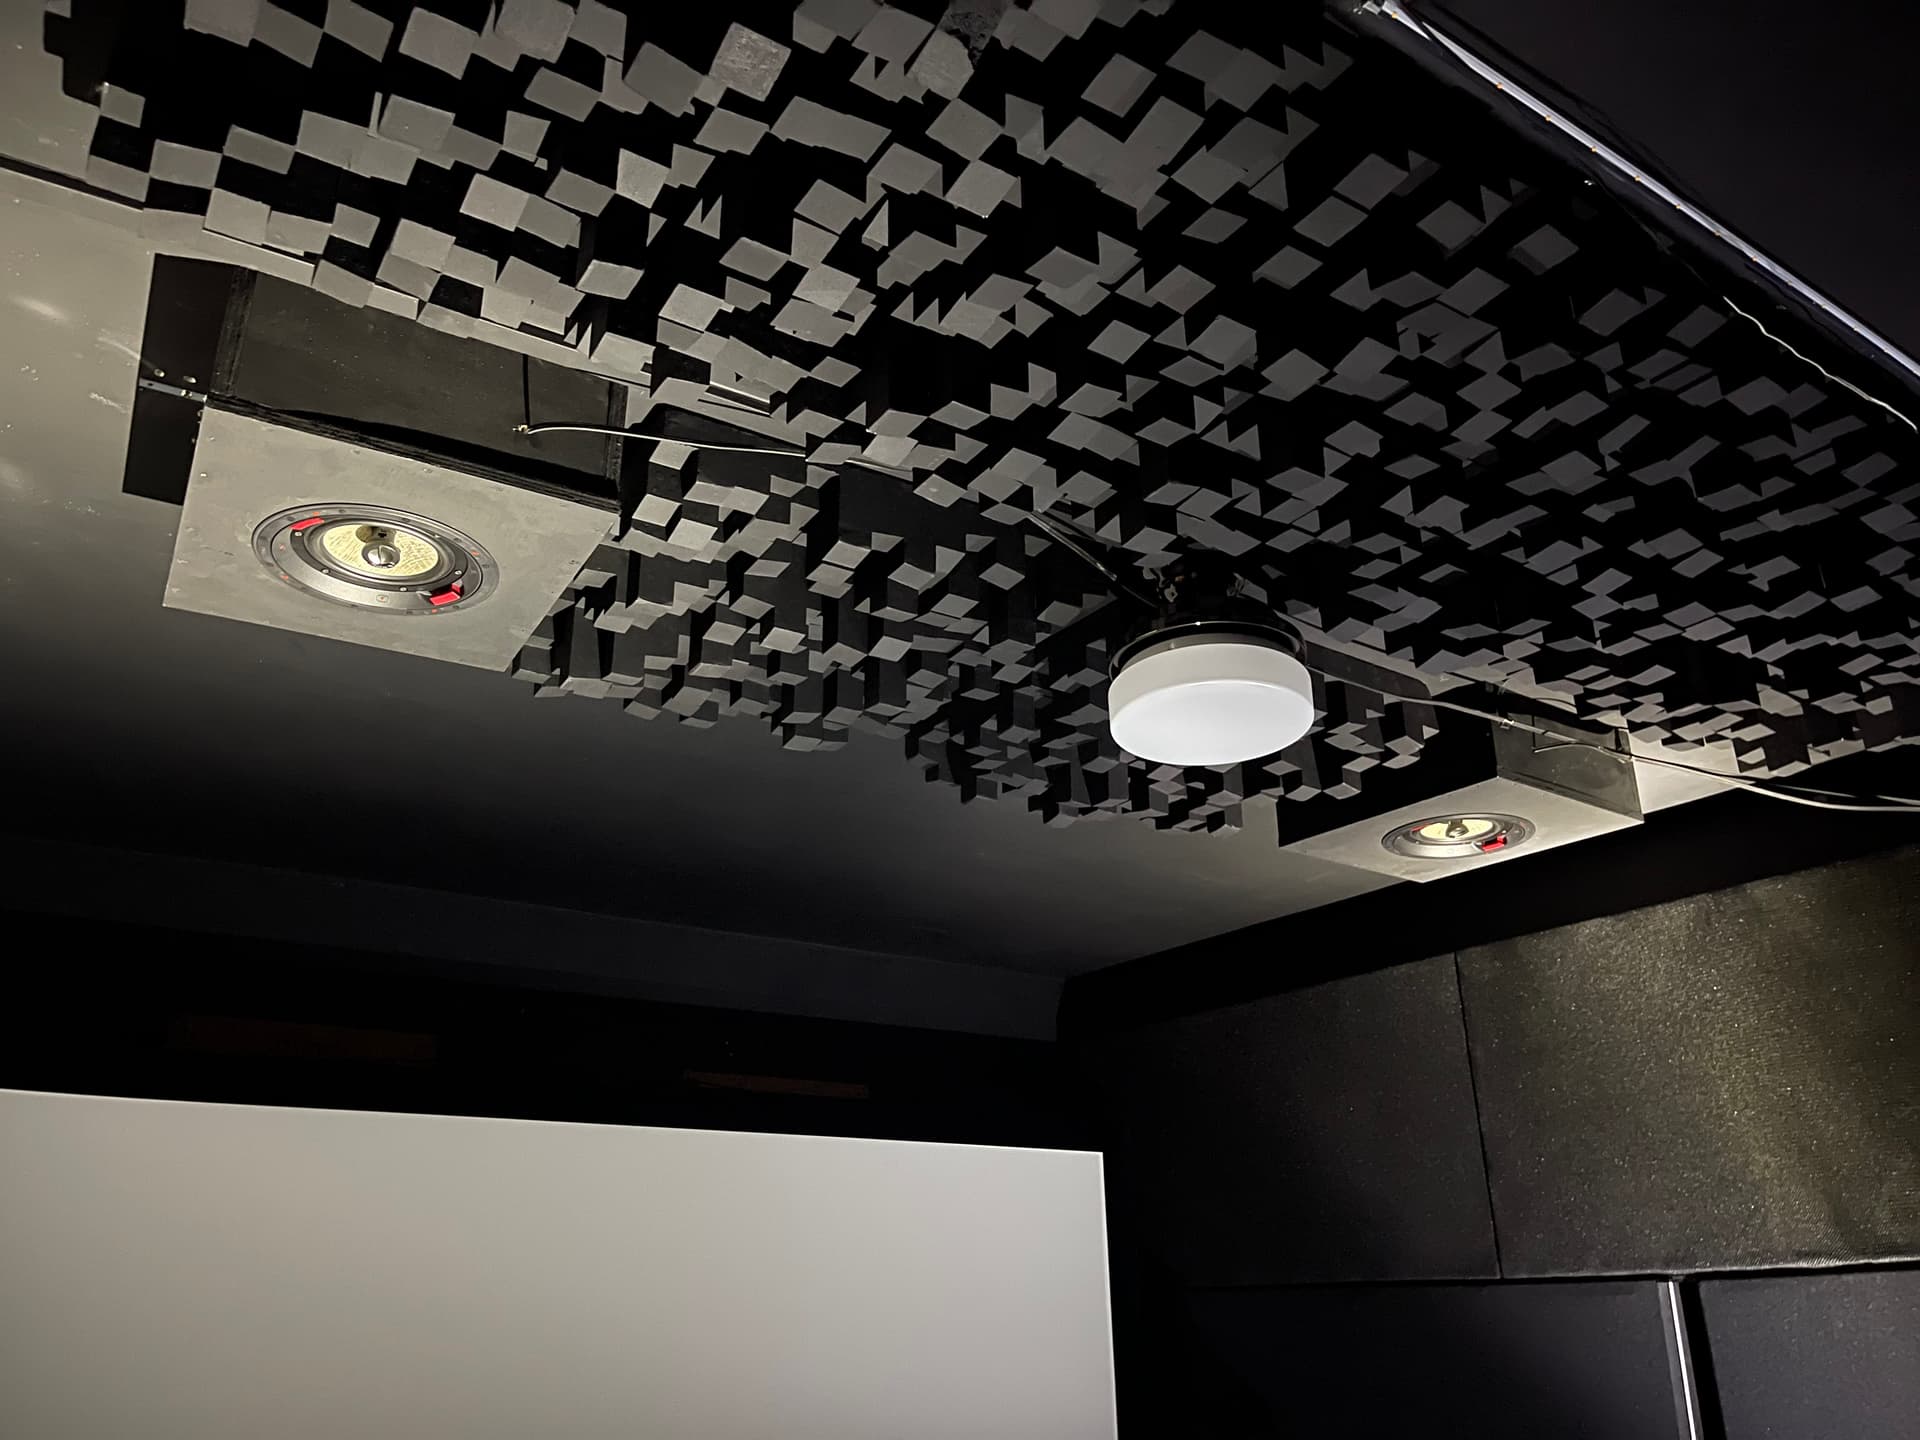
More pics update…
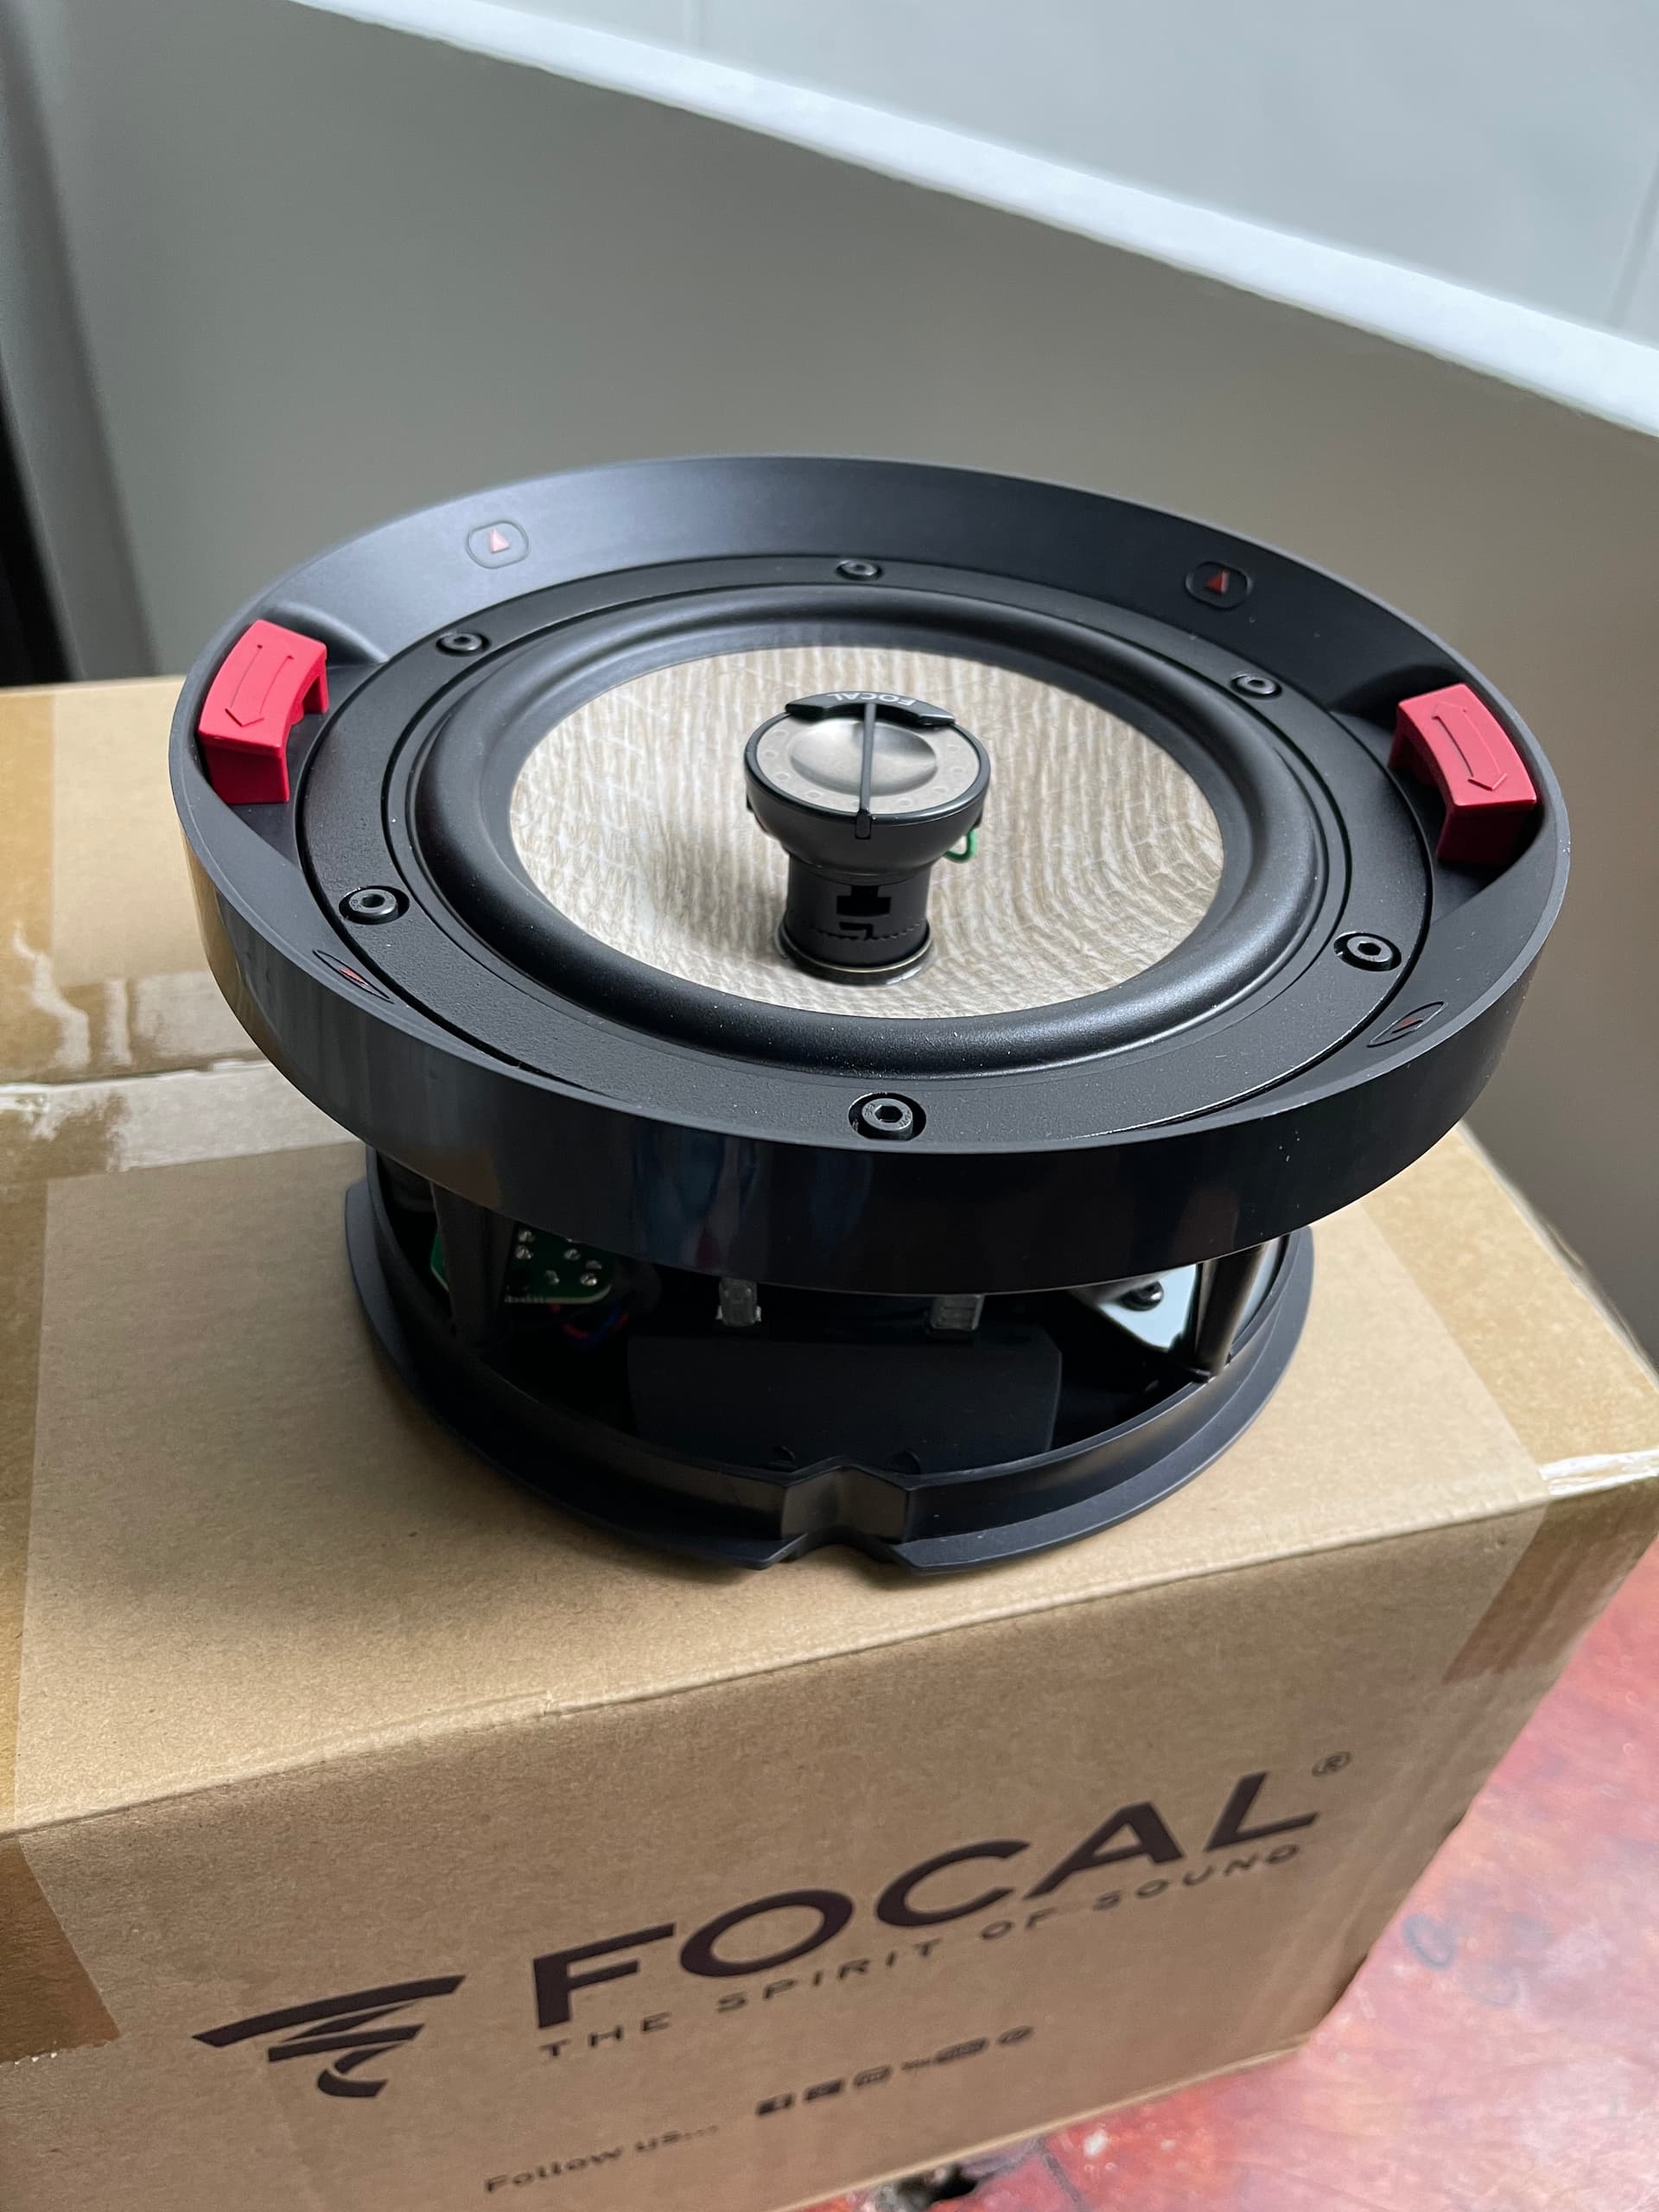
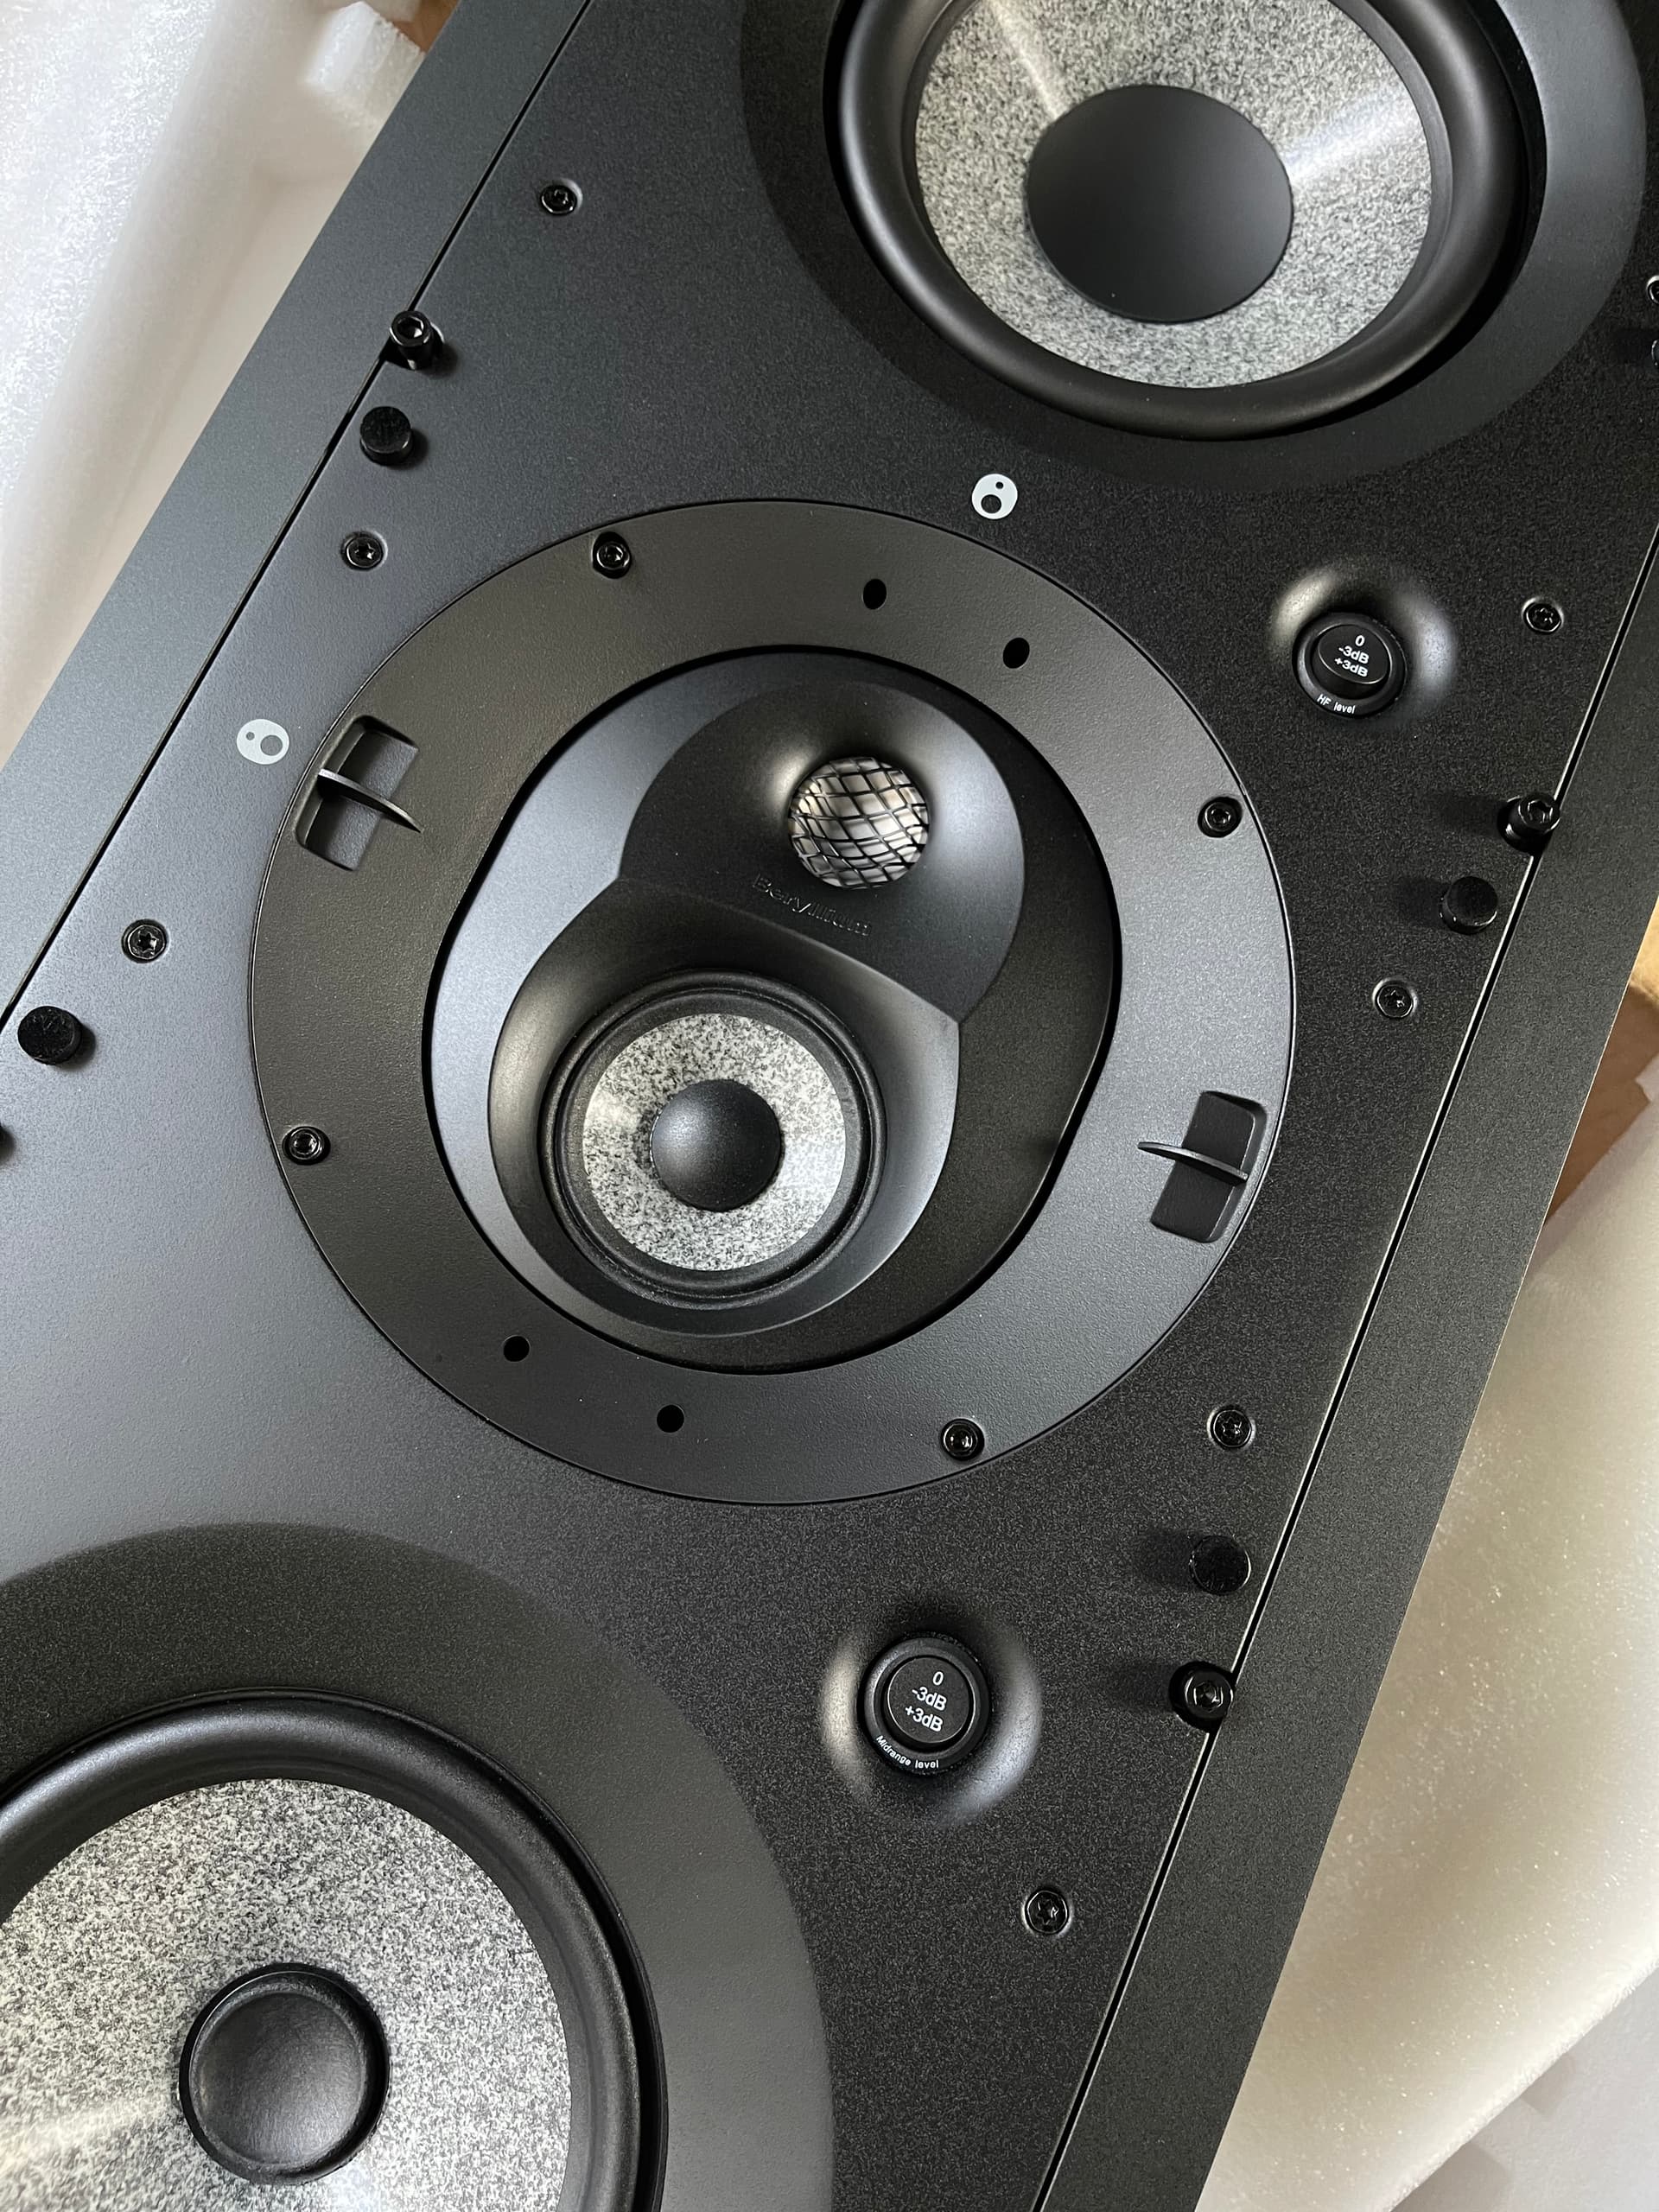
the ceiling speaker is quite substantial especially with the quick mount bracket.
I’m not so sure about the spring loaded catch… it doesn’t feel very grippy.
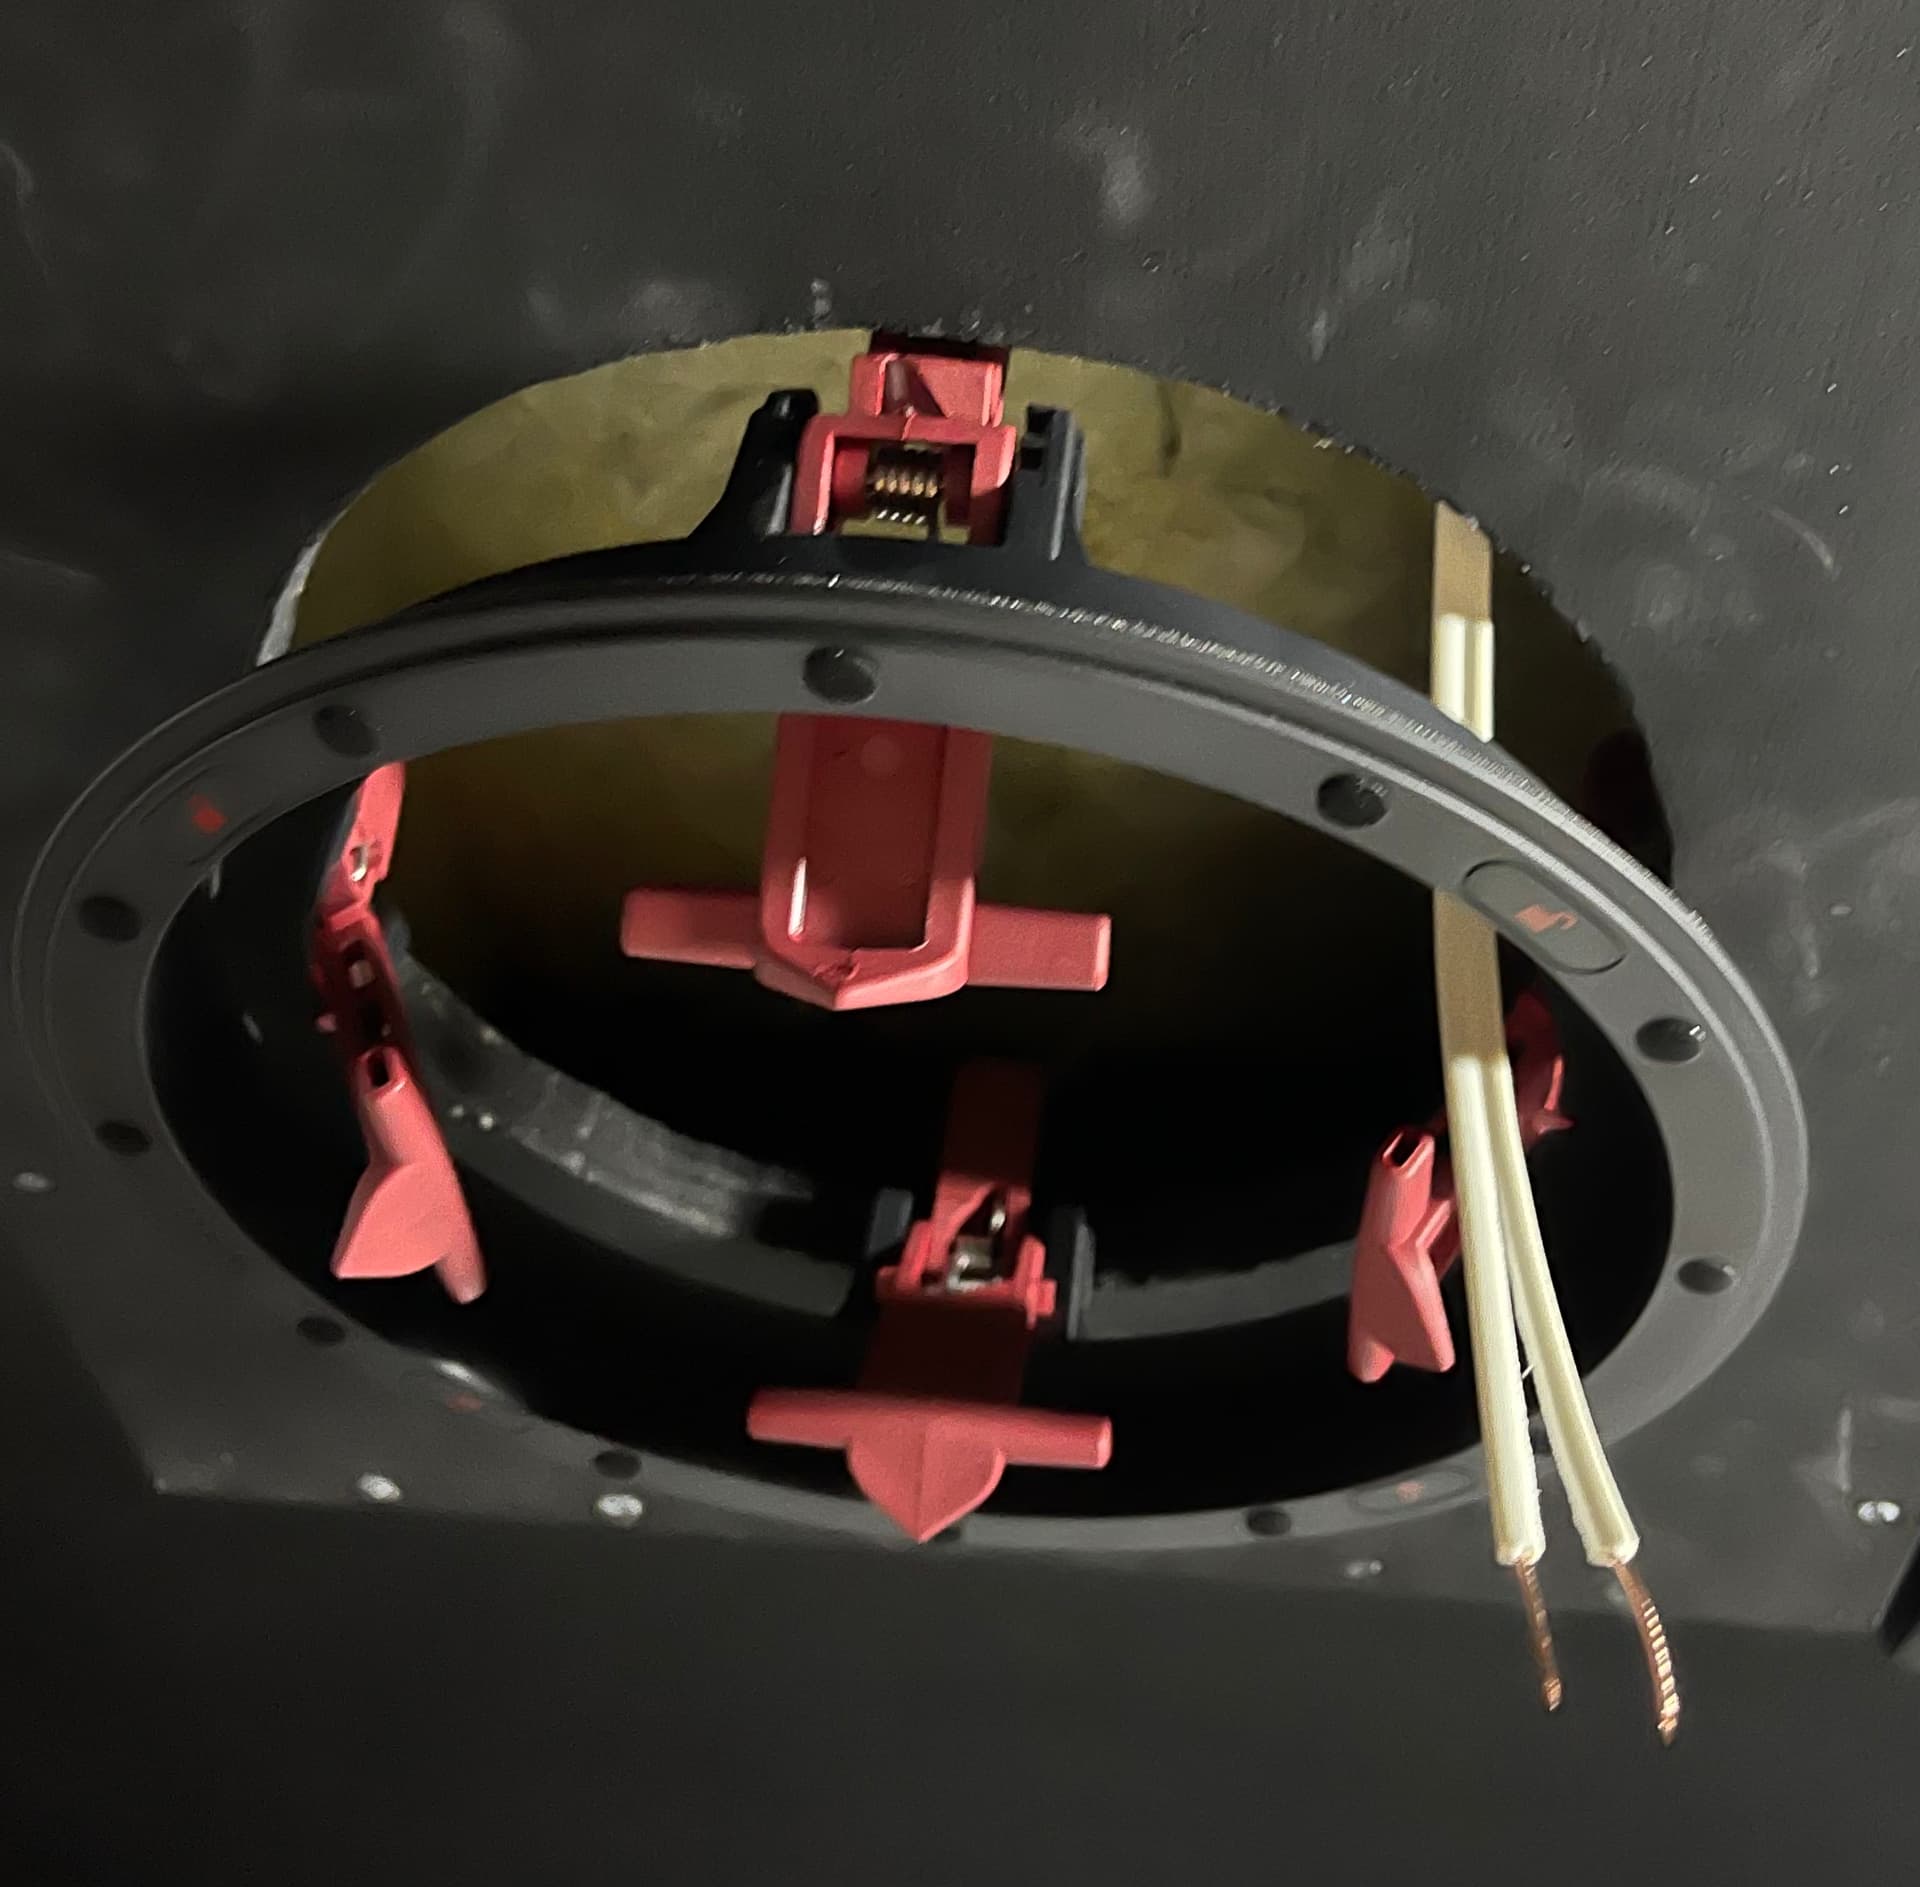
Super tight fit, has to put a bit of pressure just to fit thru the cut-out.
I should have given 2-3mm more tolerance. In any case, I’m glad I did not have to do any modification to get it to fit.
The locking takes quite a bit of effort to turn.
And I have to be super careful not to accidentall touch the tweeter when securing the speaker cable.
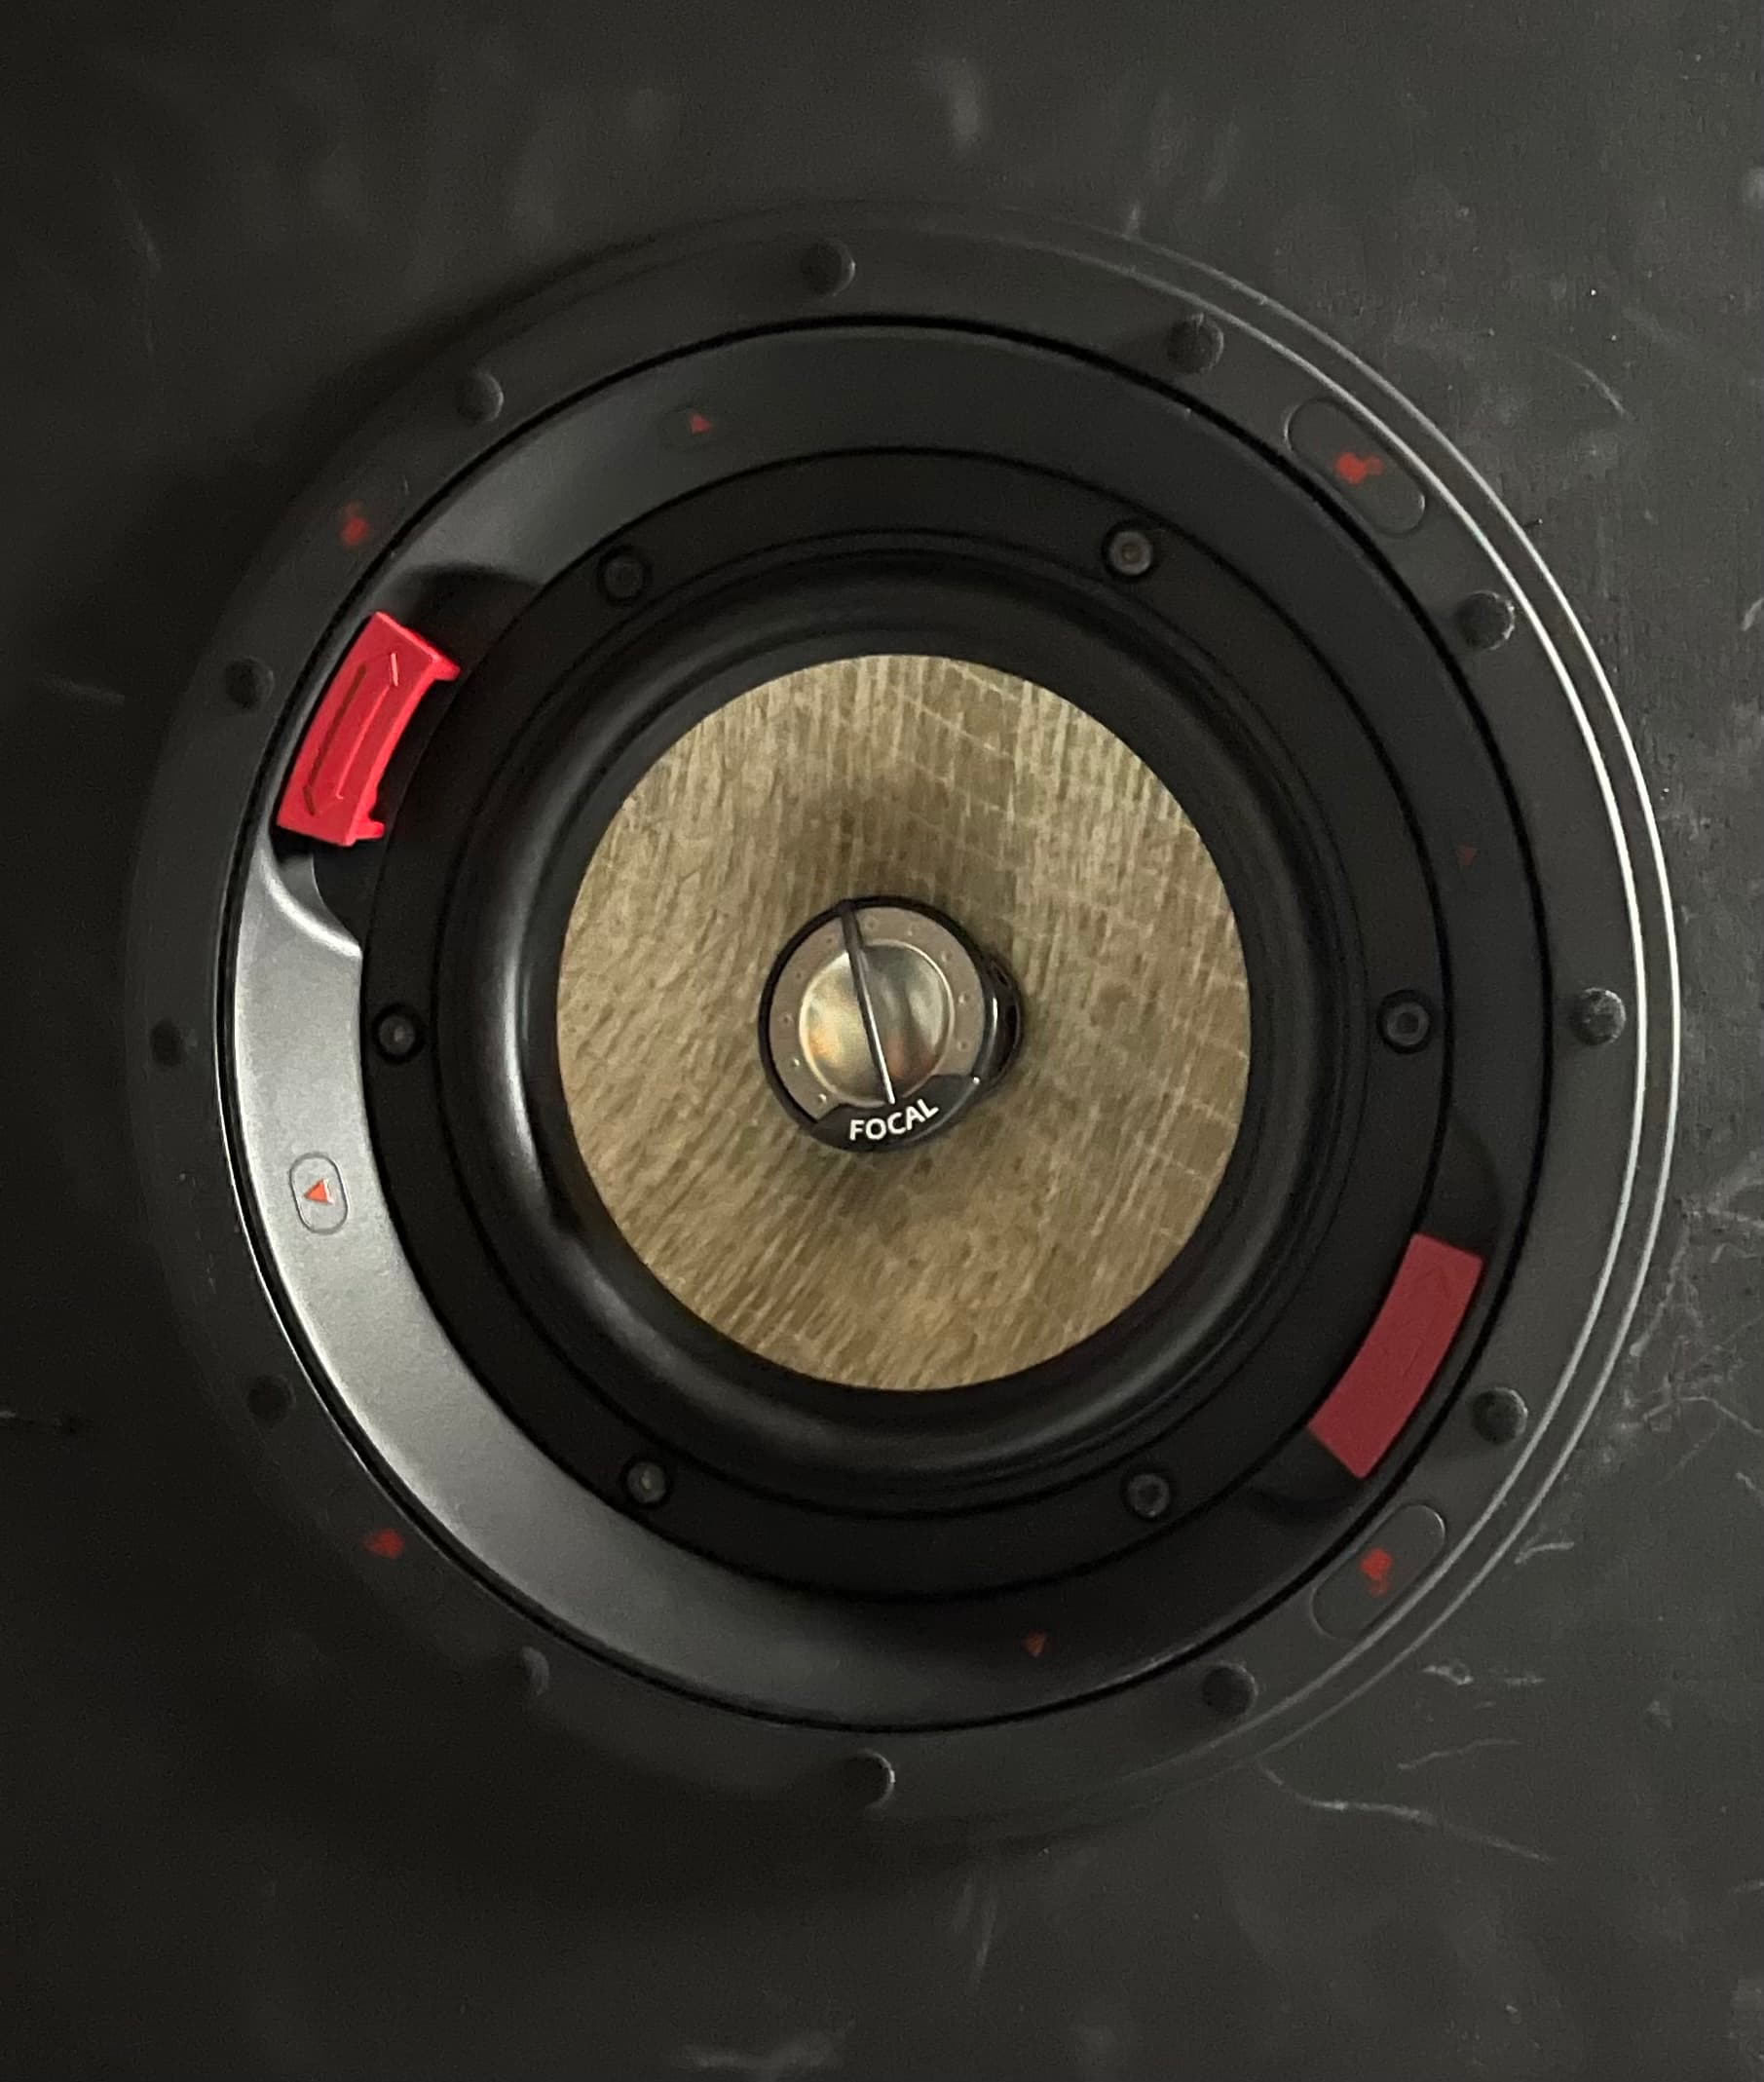
Looks ok all in all.
I will leave it in nude without the grills. No point really since dust should not settle on it.

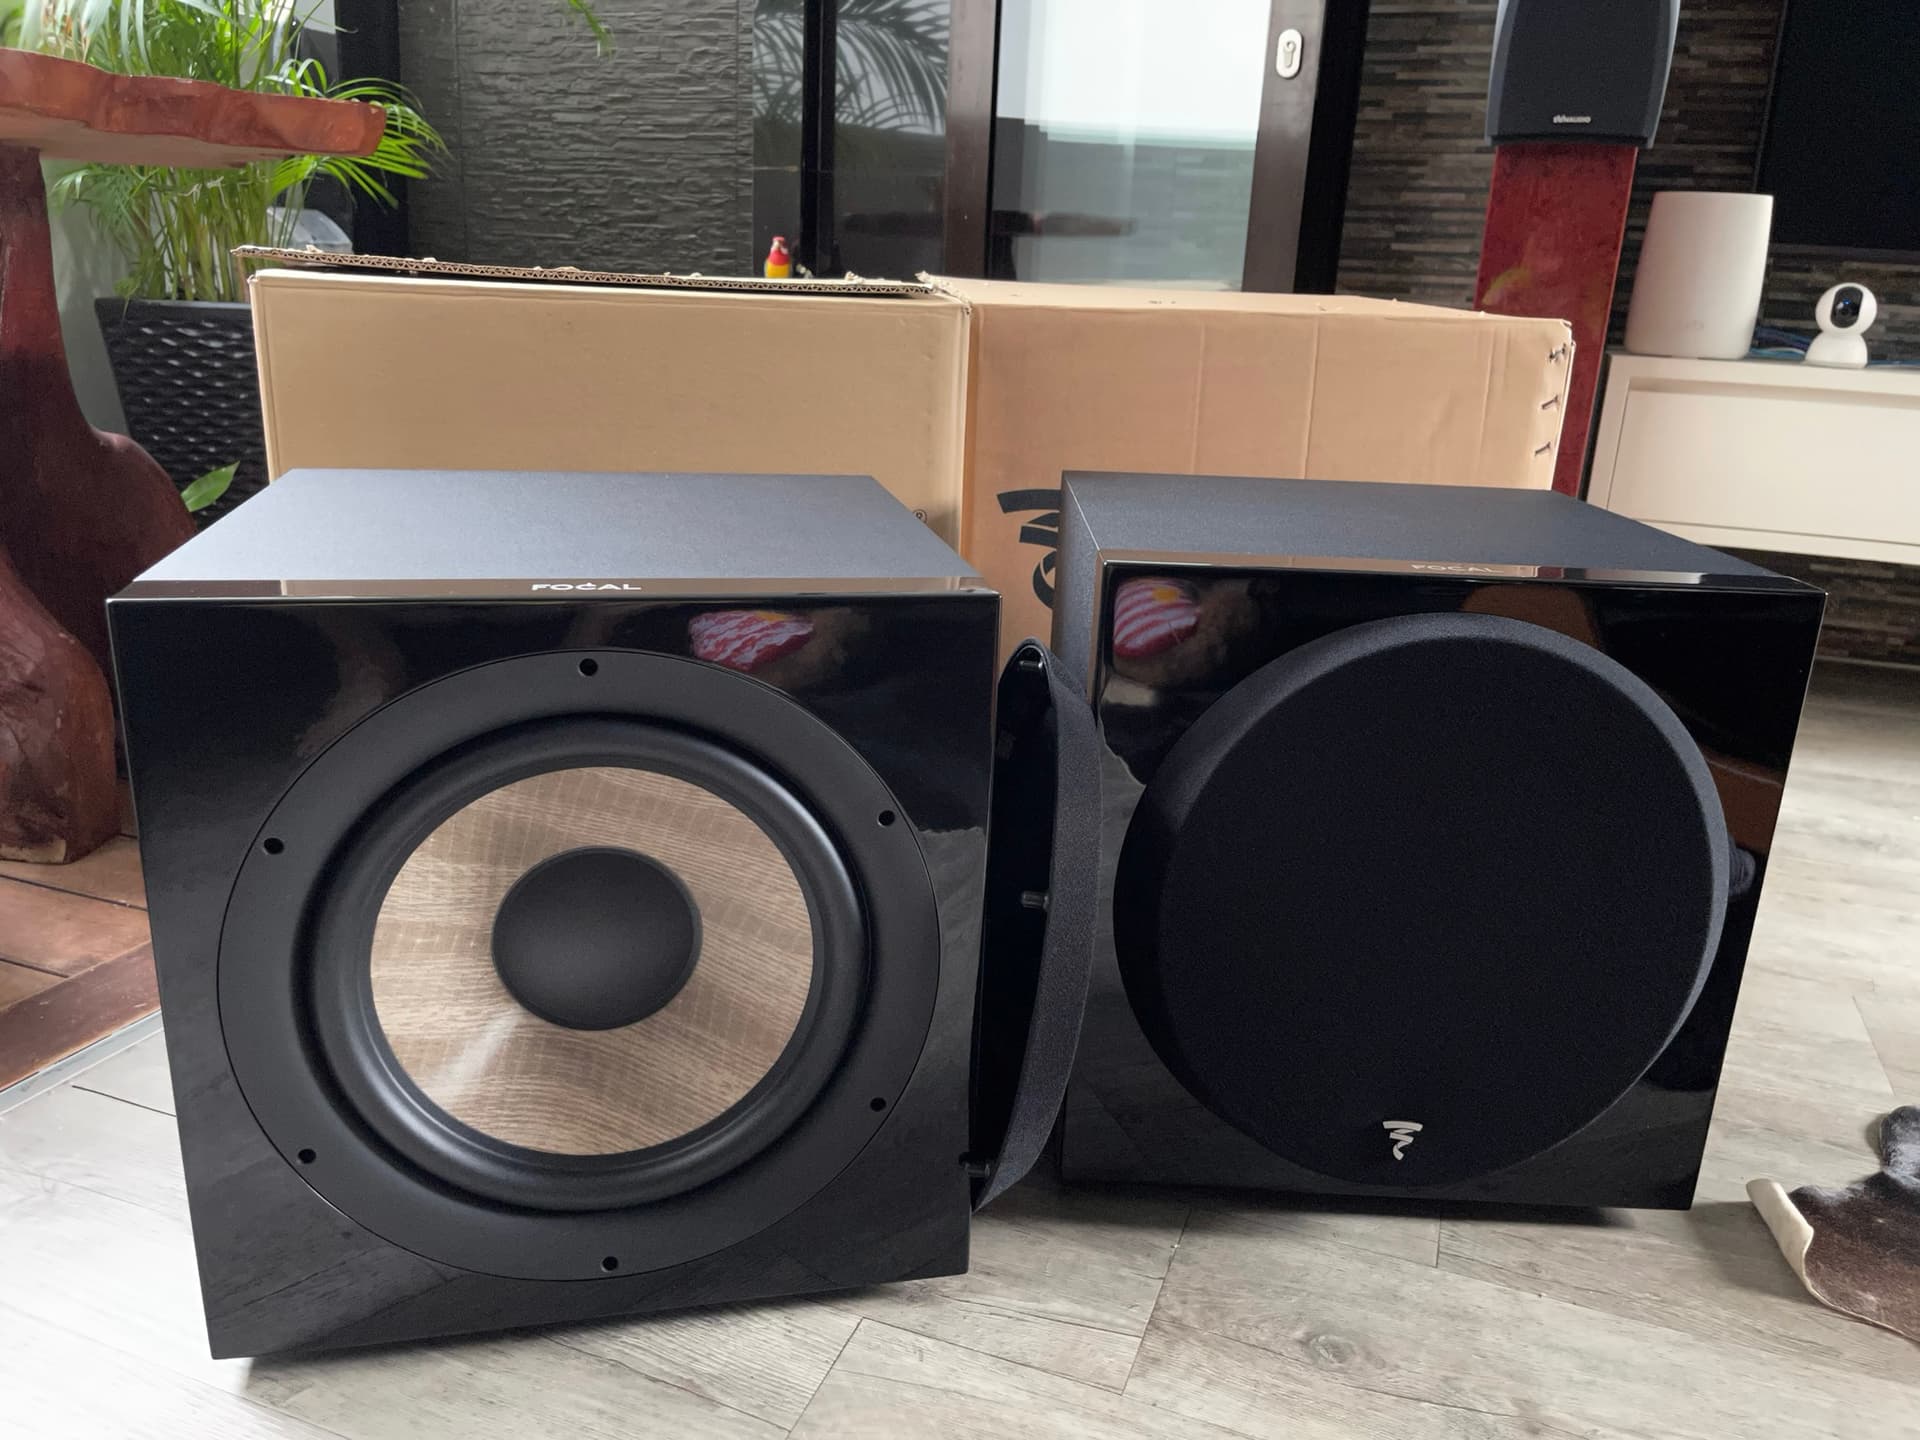
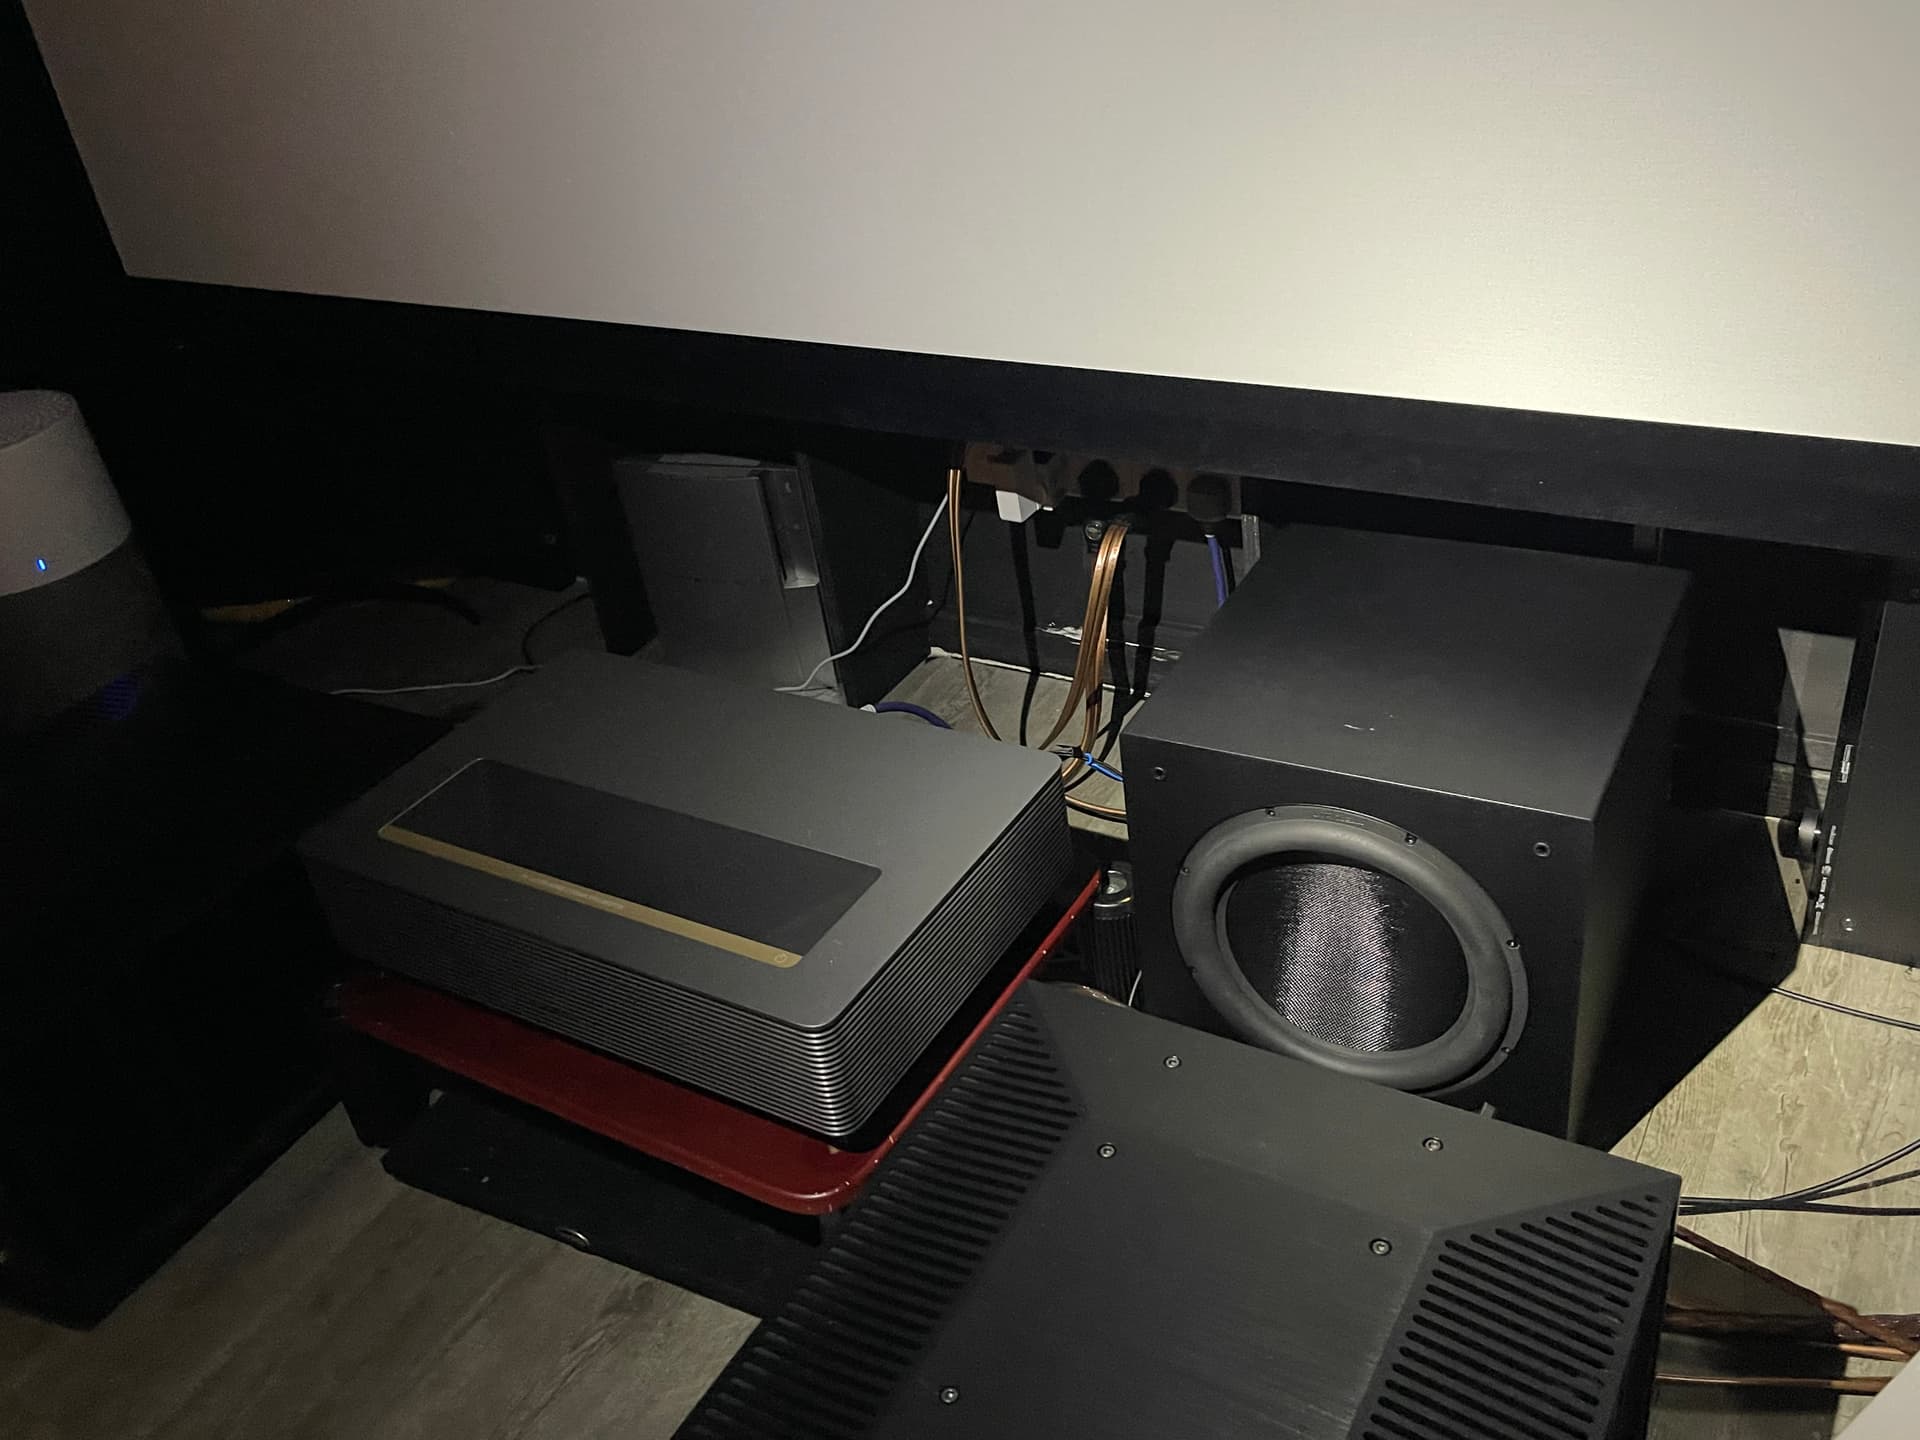
OK, next up is the subs.
These are quite easy, just have to hook up the cables and leave in place.
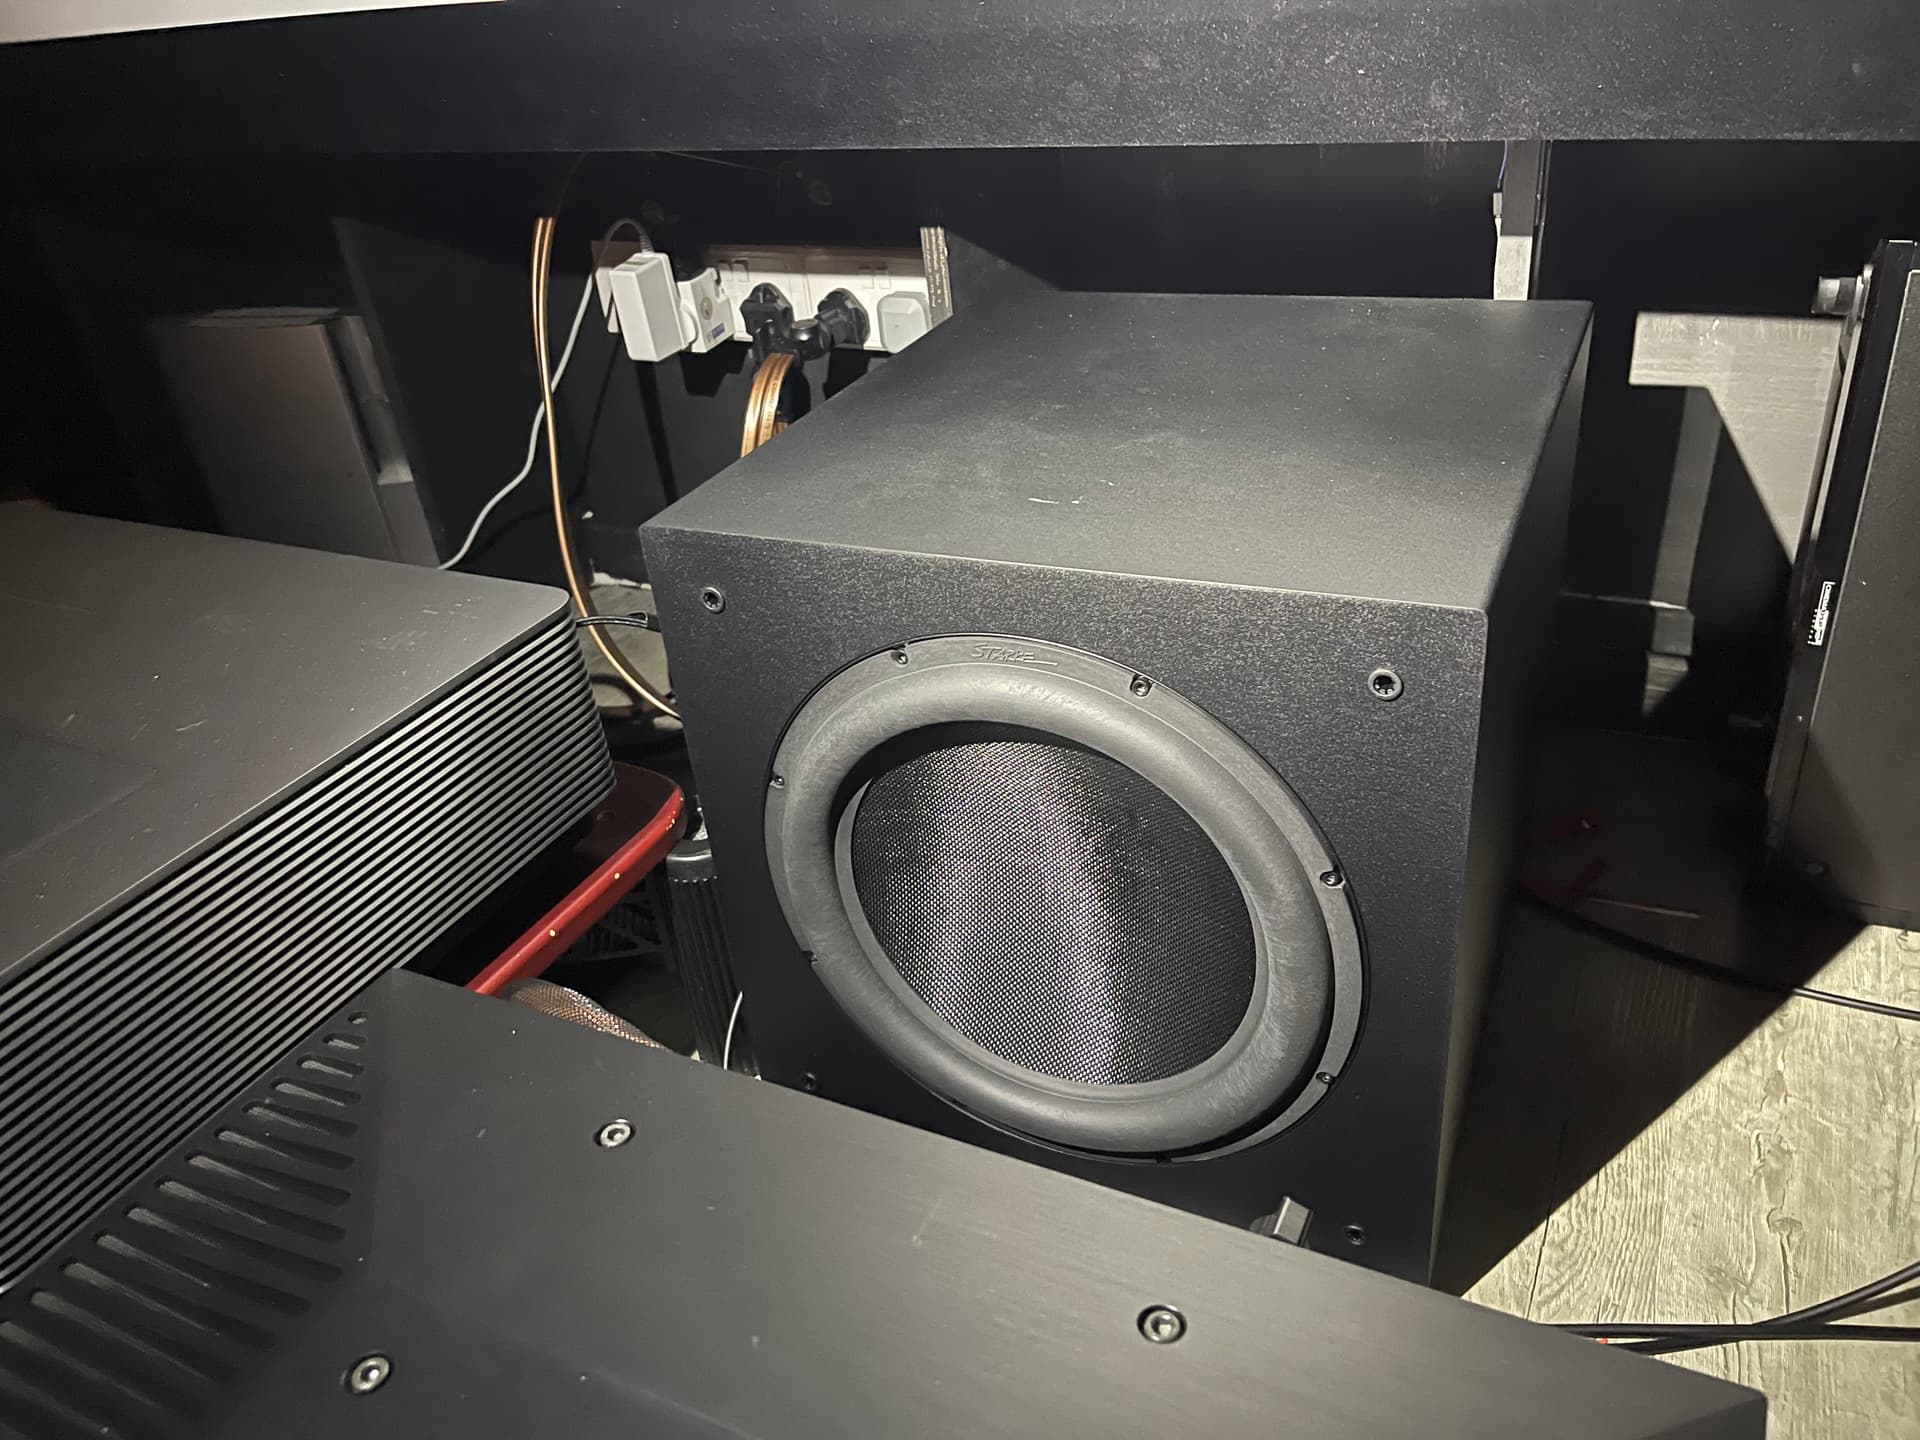
Below is the existing Starkesound SW12. This will be in front right corner.
Well not exactly corner, about 80cm from the right wall.
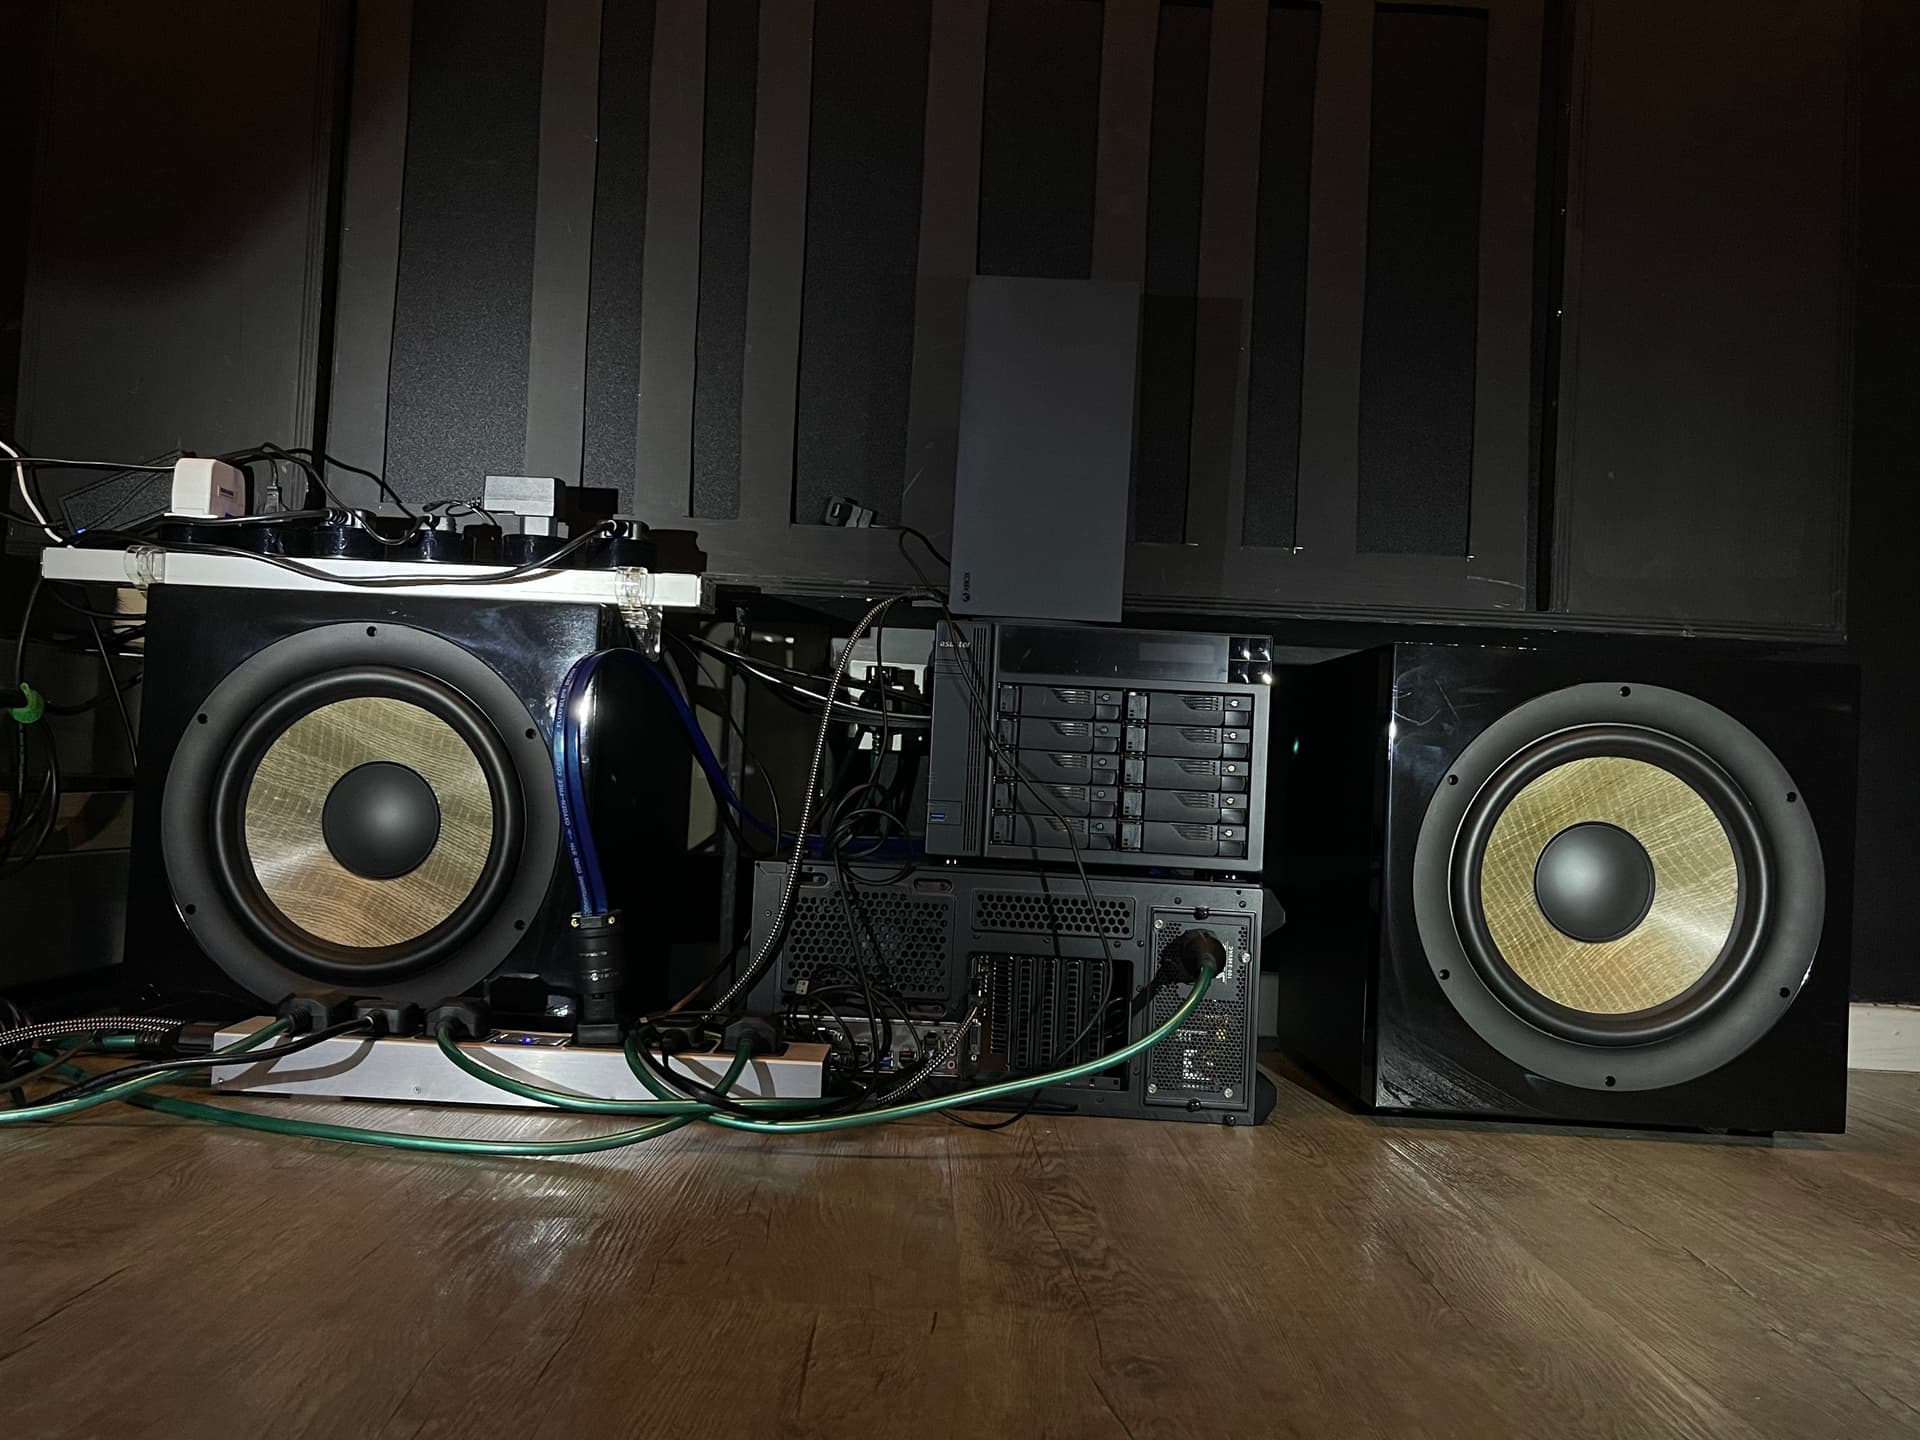
The Focals are placed at the back wall.
I’ve to figure out exactly where to arrange and orient my eletronic components.
The wiring is a huge mess…
The side walls cloth wrapping is now all done.
Very clean and flat mimicking cinema look and feel.
(surround side and back units still pending arrival).

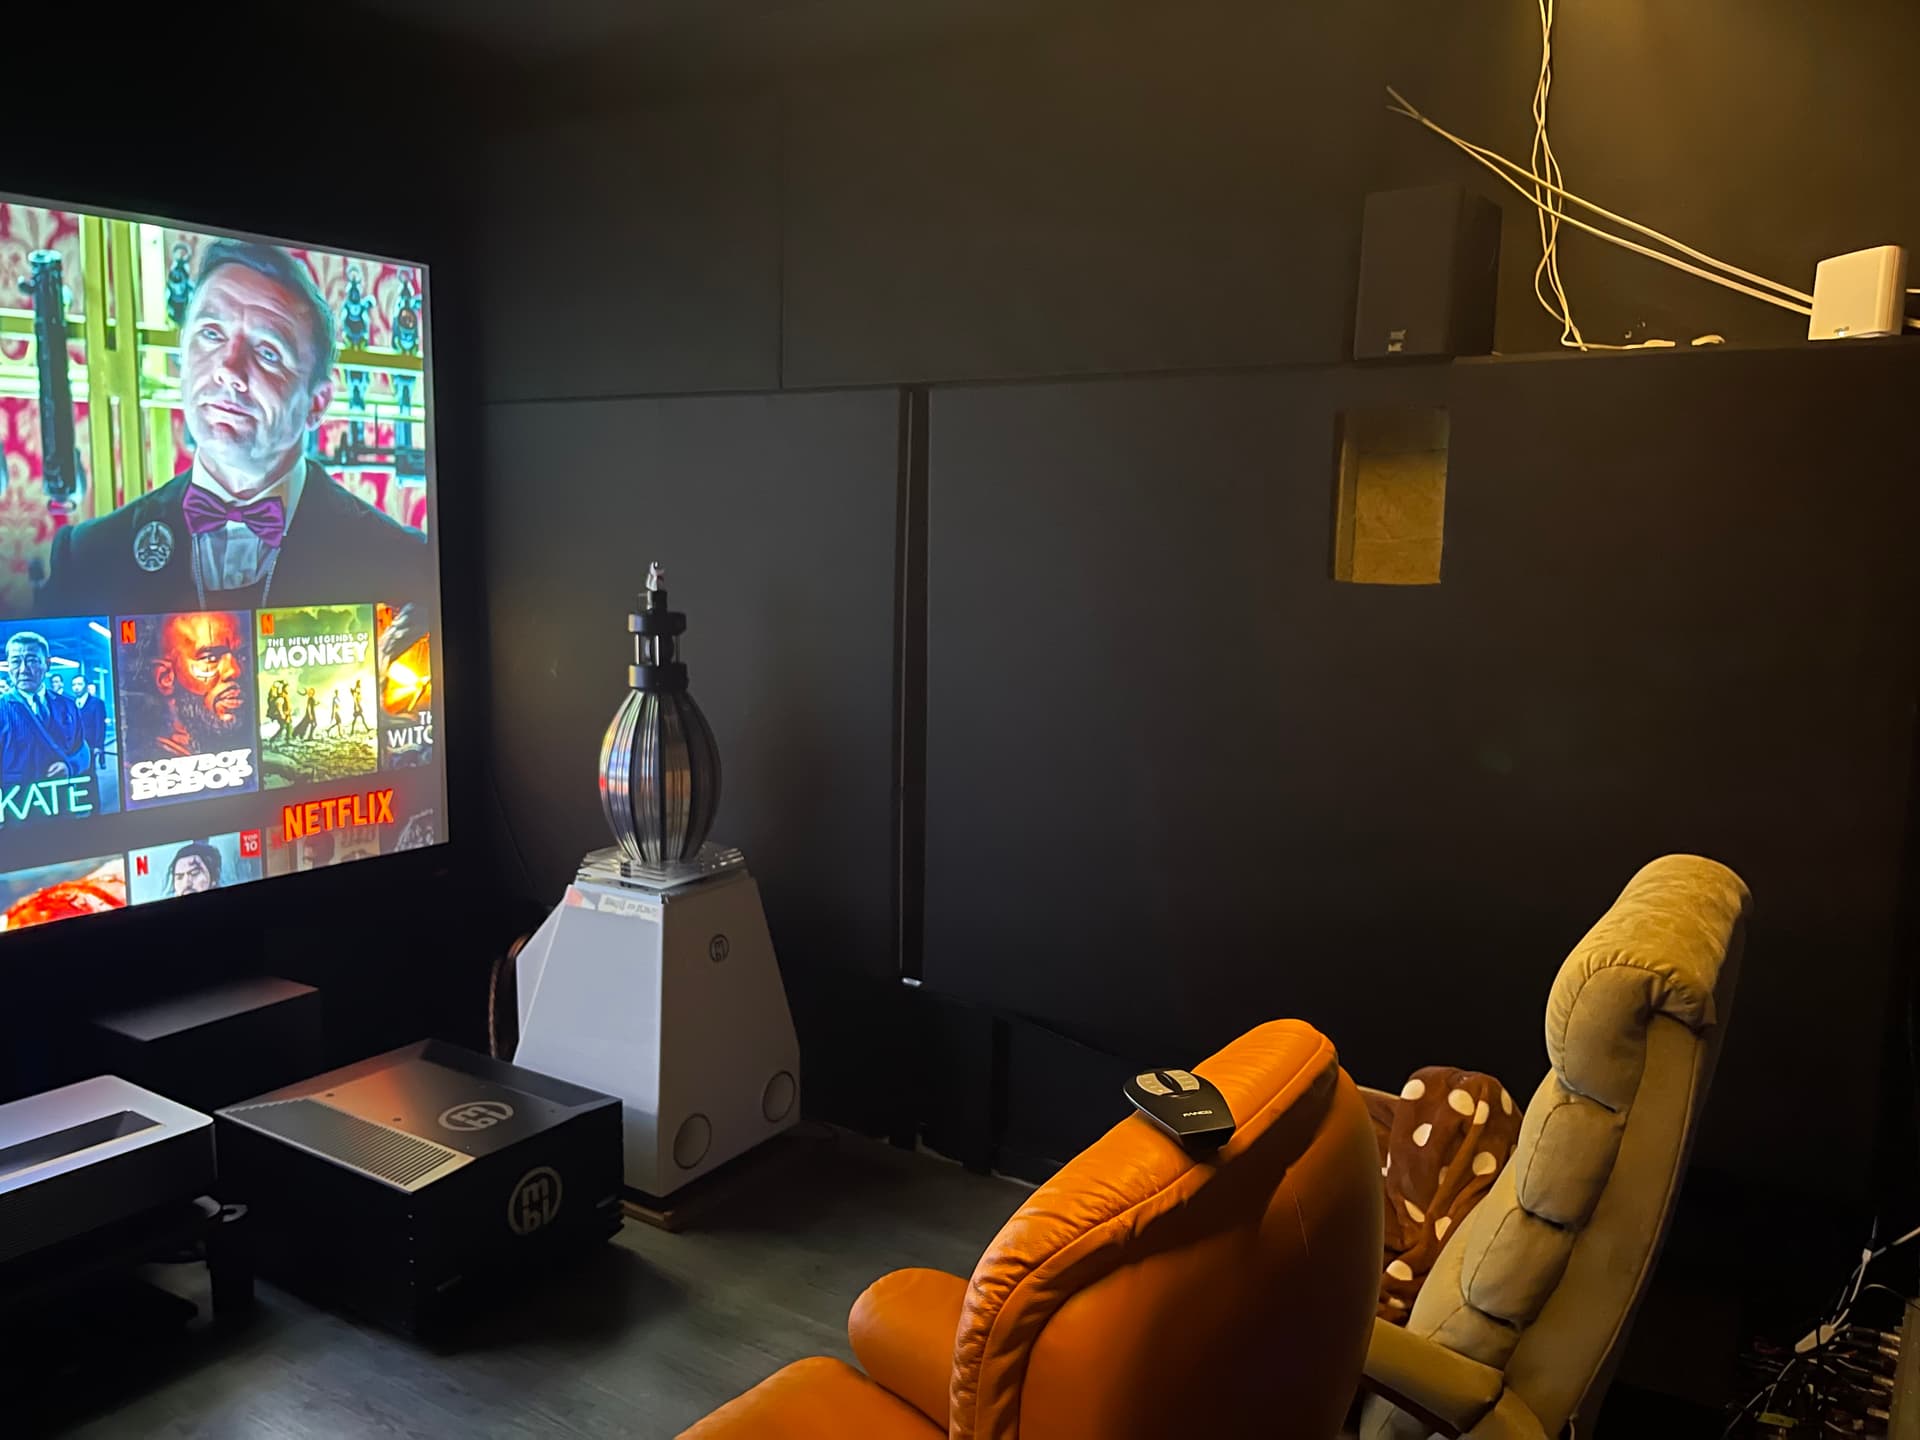
Overall I am quite happy with the outcome!
How’s the stark sound sub? Choosing between these and SVS 1000 pro or 2000 pro
For the price it is real good.
It performed better than the MK Sound x12 that it replaced. That one has 2x 12” in push pull configuration.
I’ve no experience with the SVS.
I have the 1000 non pro b4 but that was a totally different setup in a different location. So cannot compare.
Wow Ricky, Gavin here. I commented on your post in FB, thought you are in Malaysia. Didn’t know in Sg here also.
Awesome build especially all DIY. Did you buy all those tools just for this build? Battery powered ones are super convenient. I know what you mean about the time and effort of setup and cleaning, eats into the building time haha.
Did you end up with 2 or 4 ceiling speakers? In a bedroom setup definitely able to accommodate 4 atmos, placement can be front and rear height vs tops.
Those focal in wall screen channels look amazing. How much are they?
Cheers!!