Welcome to the forum. And yes, the Vertex 2 with LLDV for DV content in Netflix is a bit dim. Lumagen’s DTM engine is the way to go if you are using Projector.
Glad I stumbled across this forum, lots of good info here. I already have the Chromapure so maybe getting the Lumagen with it’s autocal will be wort it but gosh it’s expensive. lol
1 Like
A couple of shots from Avengers the End Game (source from Disney Plus on my Apple TV).

Professor Hulk (DCI-P3). It has a wider color gamut than Rec 709.

Professor Hulk (HDR2020). It has the Rec 2020 color gamut.

Old Steve Roger (DCI-P3).

Old Steve Roger (HDR2020).
There are so many details (in HDR2020) in the cloud linings but when it comes to “realism” like the greenery and the surface of the lake reflecting off from the sun, DCI-P3 are close to what we see in real life. It really depends on what you prefer…stronger hues that make the scene “pop” or you prefer a more photo-realistic image.
Would you say the manual calibration is better than the autocal from Chromapure? I’m currently waiting for my Lumagen to be delivered.
Thanks,
U need both for best results imo.
1 Like
I’m testing an alpha firmware right now.
The first Alpha release for the Radiance Pro pipeline enhancements is now available. Feedback from a couple of engineering-release testers says the improvements are at “jaw on the floor” level, and “making the best dramatically better” (my paraphrase) - from Jim Peterson, CEO of Lumagen
What is in this release:
1. Large improvement for all content output as 4k60, or 4K50, for both 3840 and 4096 wide output
2. Significant improvement for interlaced sources (we plan more deinterlacing work at a later date)
3. Significant improvement for 16:9 content downscaling on a 2.40 screen (4k24, 4k50, 4k60)
4. I mentioned that there were some math improvements for 4k24 in and out. I was not sure how visible these would be, but early testing says there is a noticeable improvement for all 4k24 content.
The timing synthesis for the FPGA in this release is good, but not at the production level standard. This Alpha release should work in most Radiance Pro units, but I want to note there might be an exception or two.
This release will not change your configuration.
1 Like
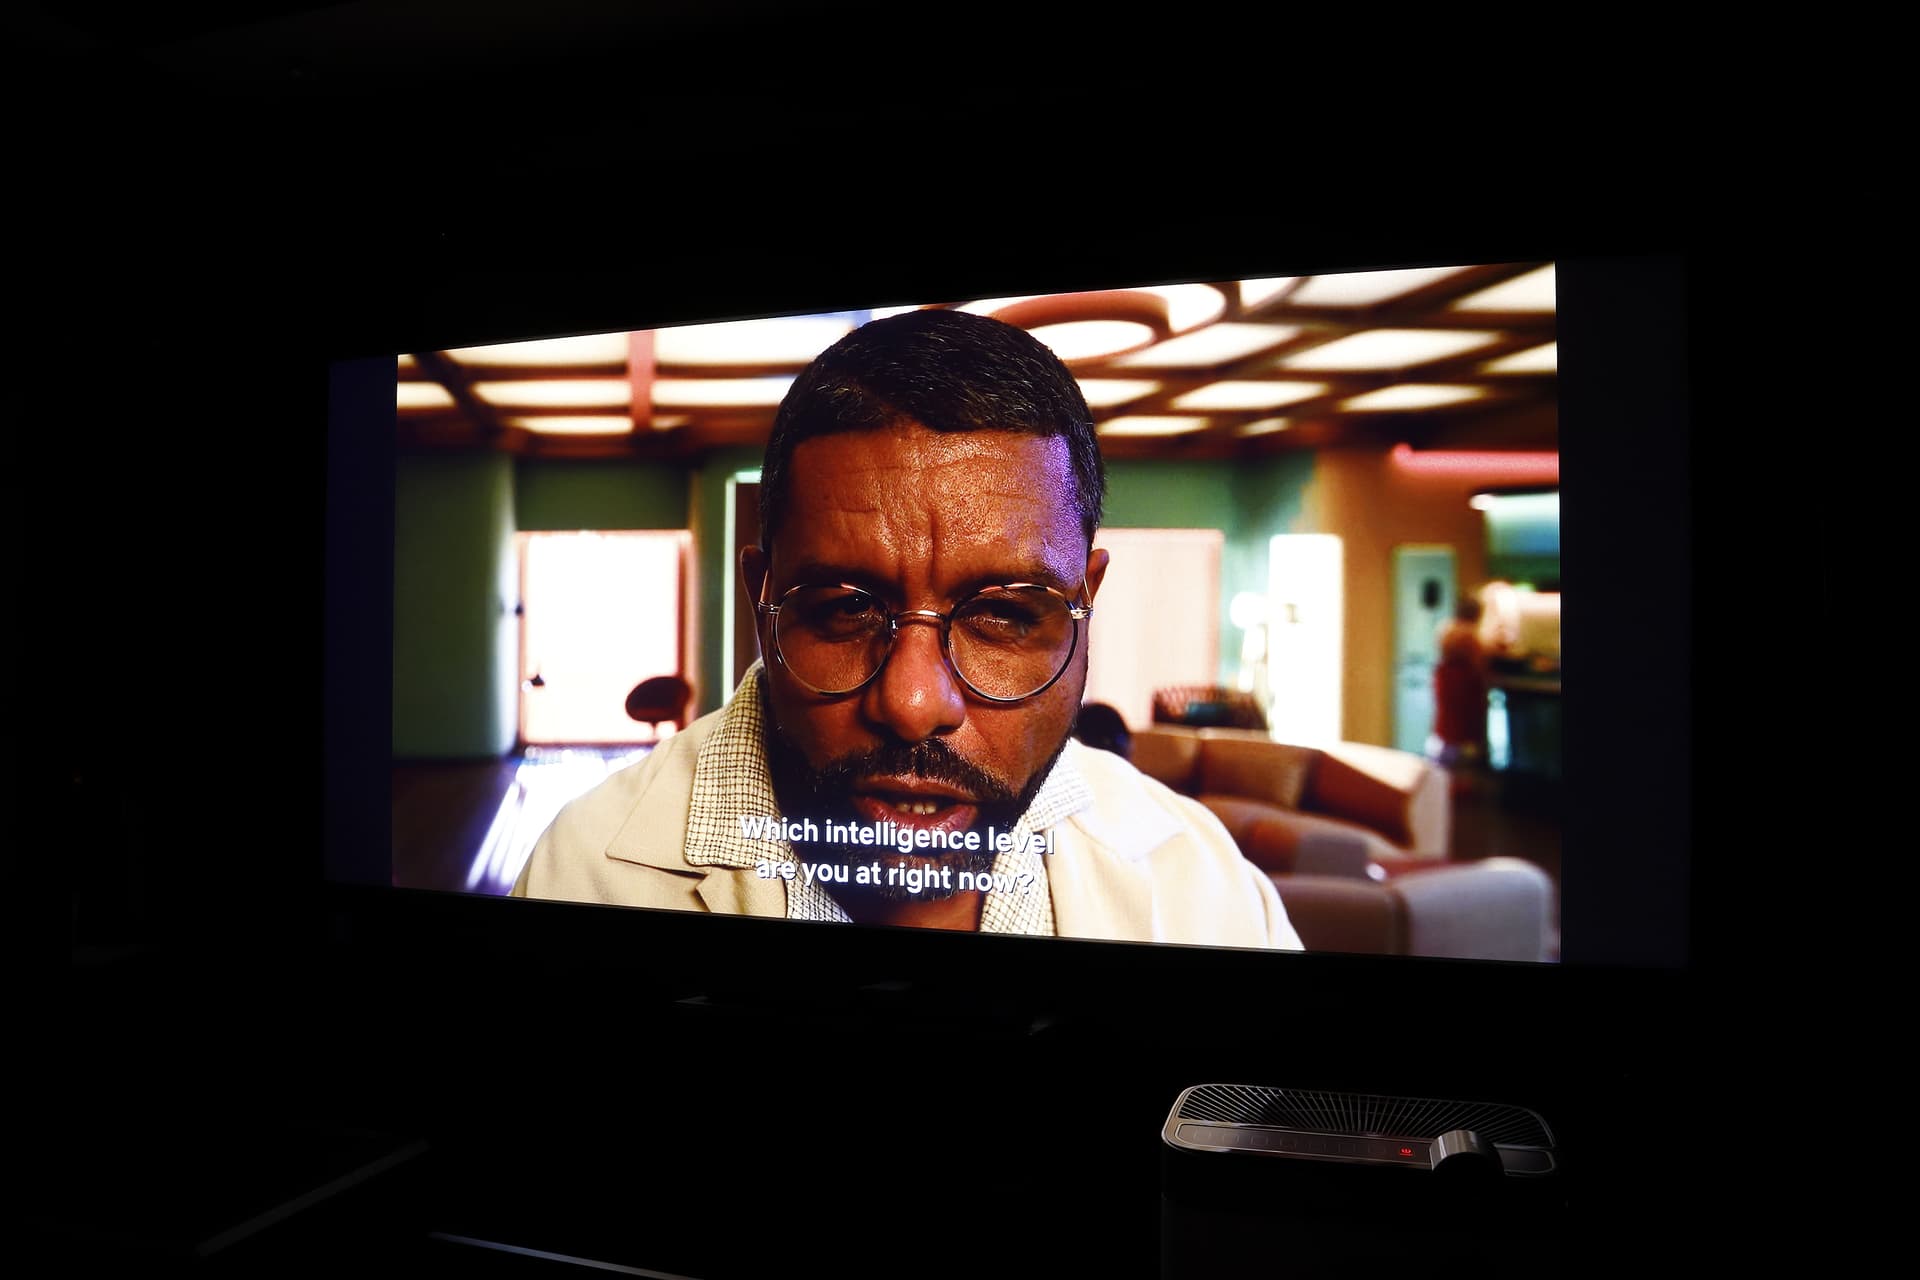
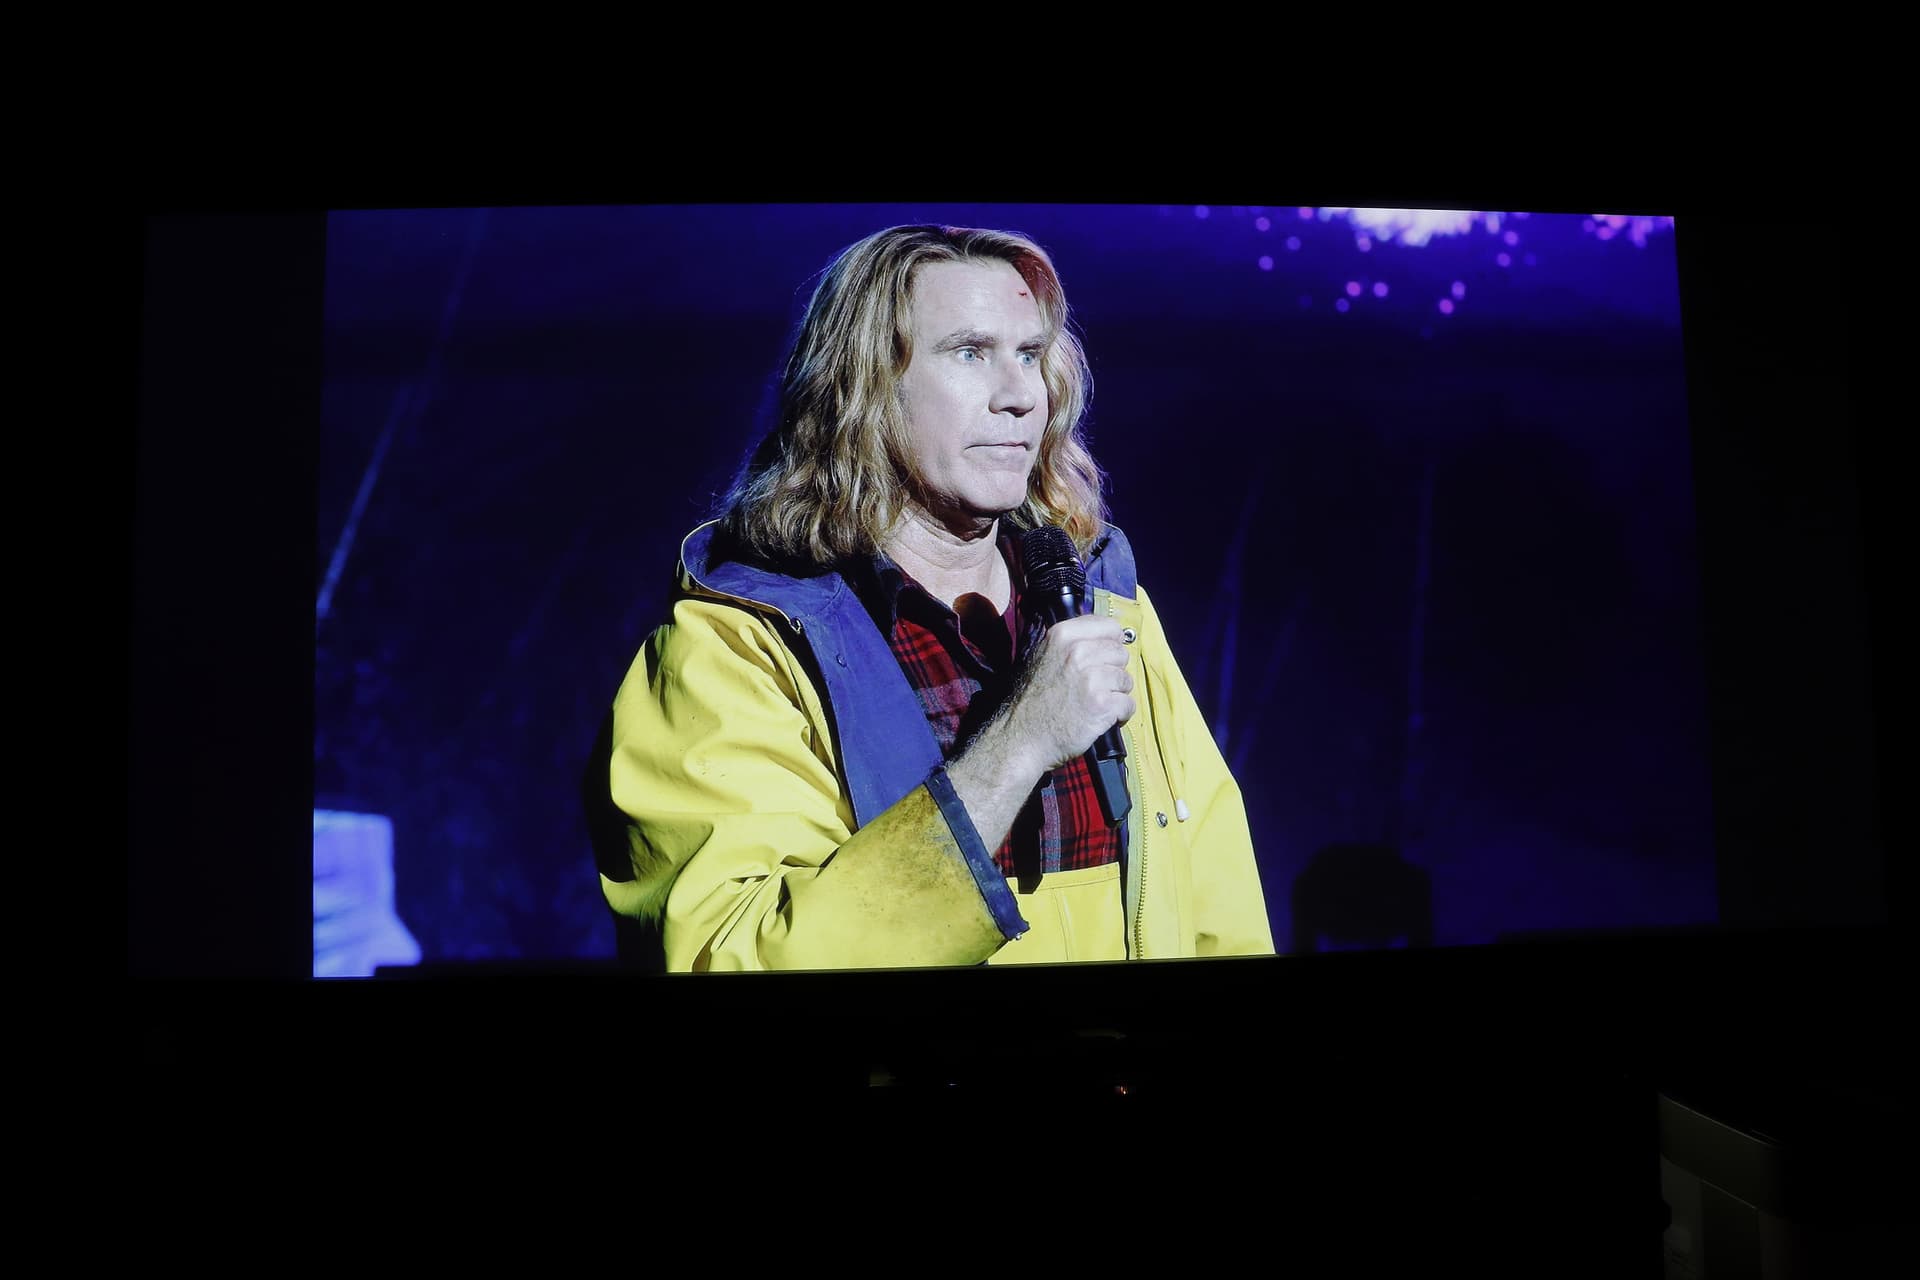
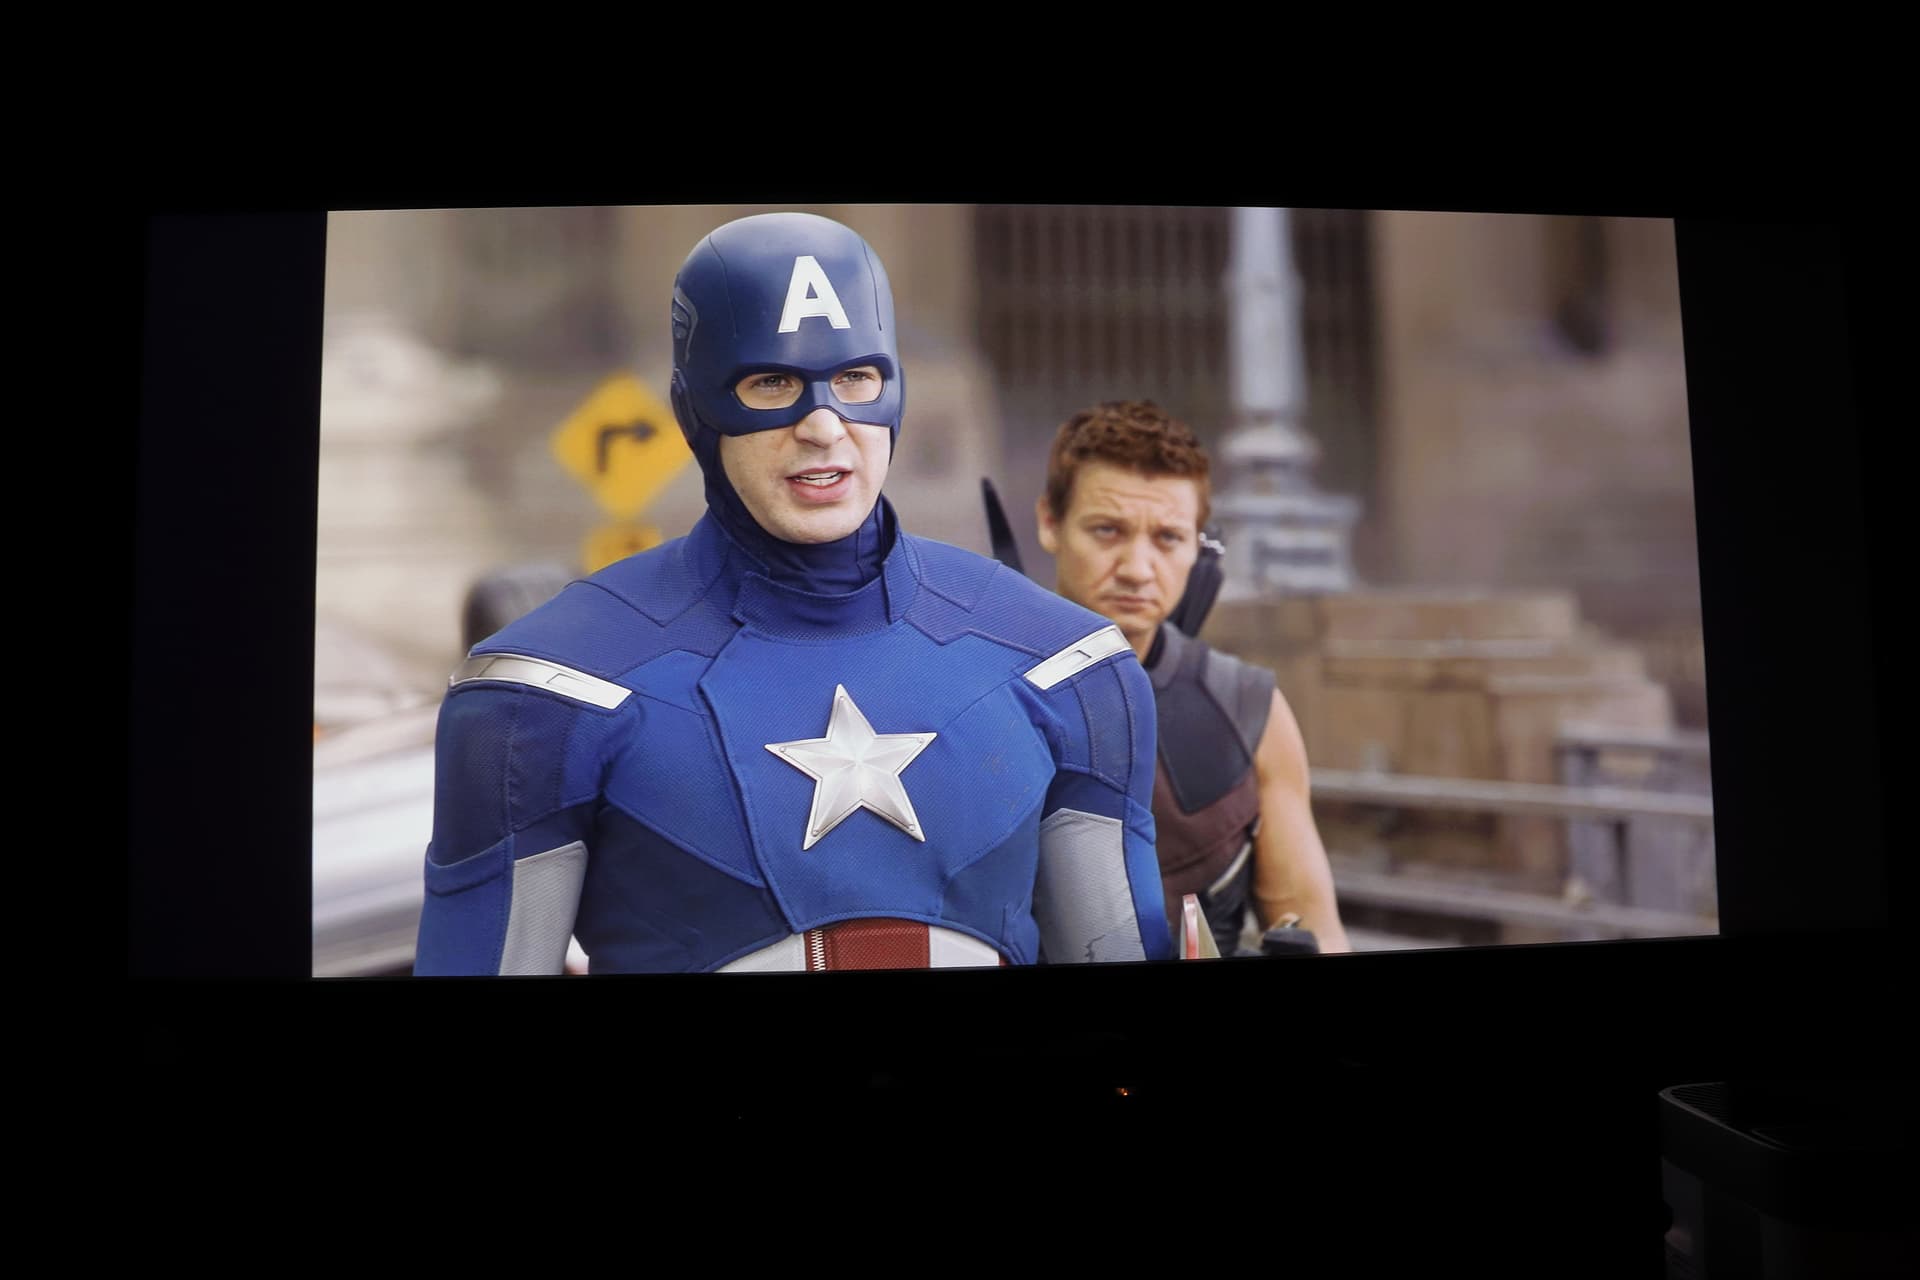
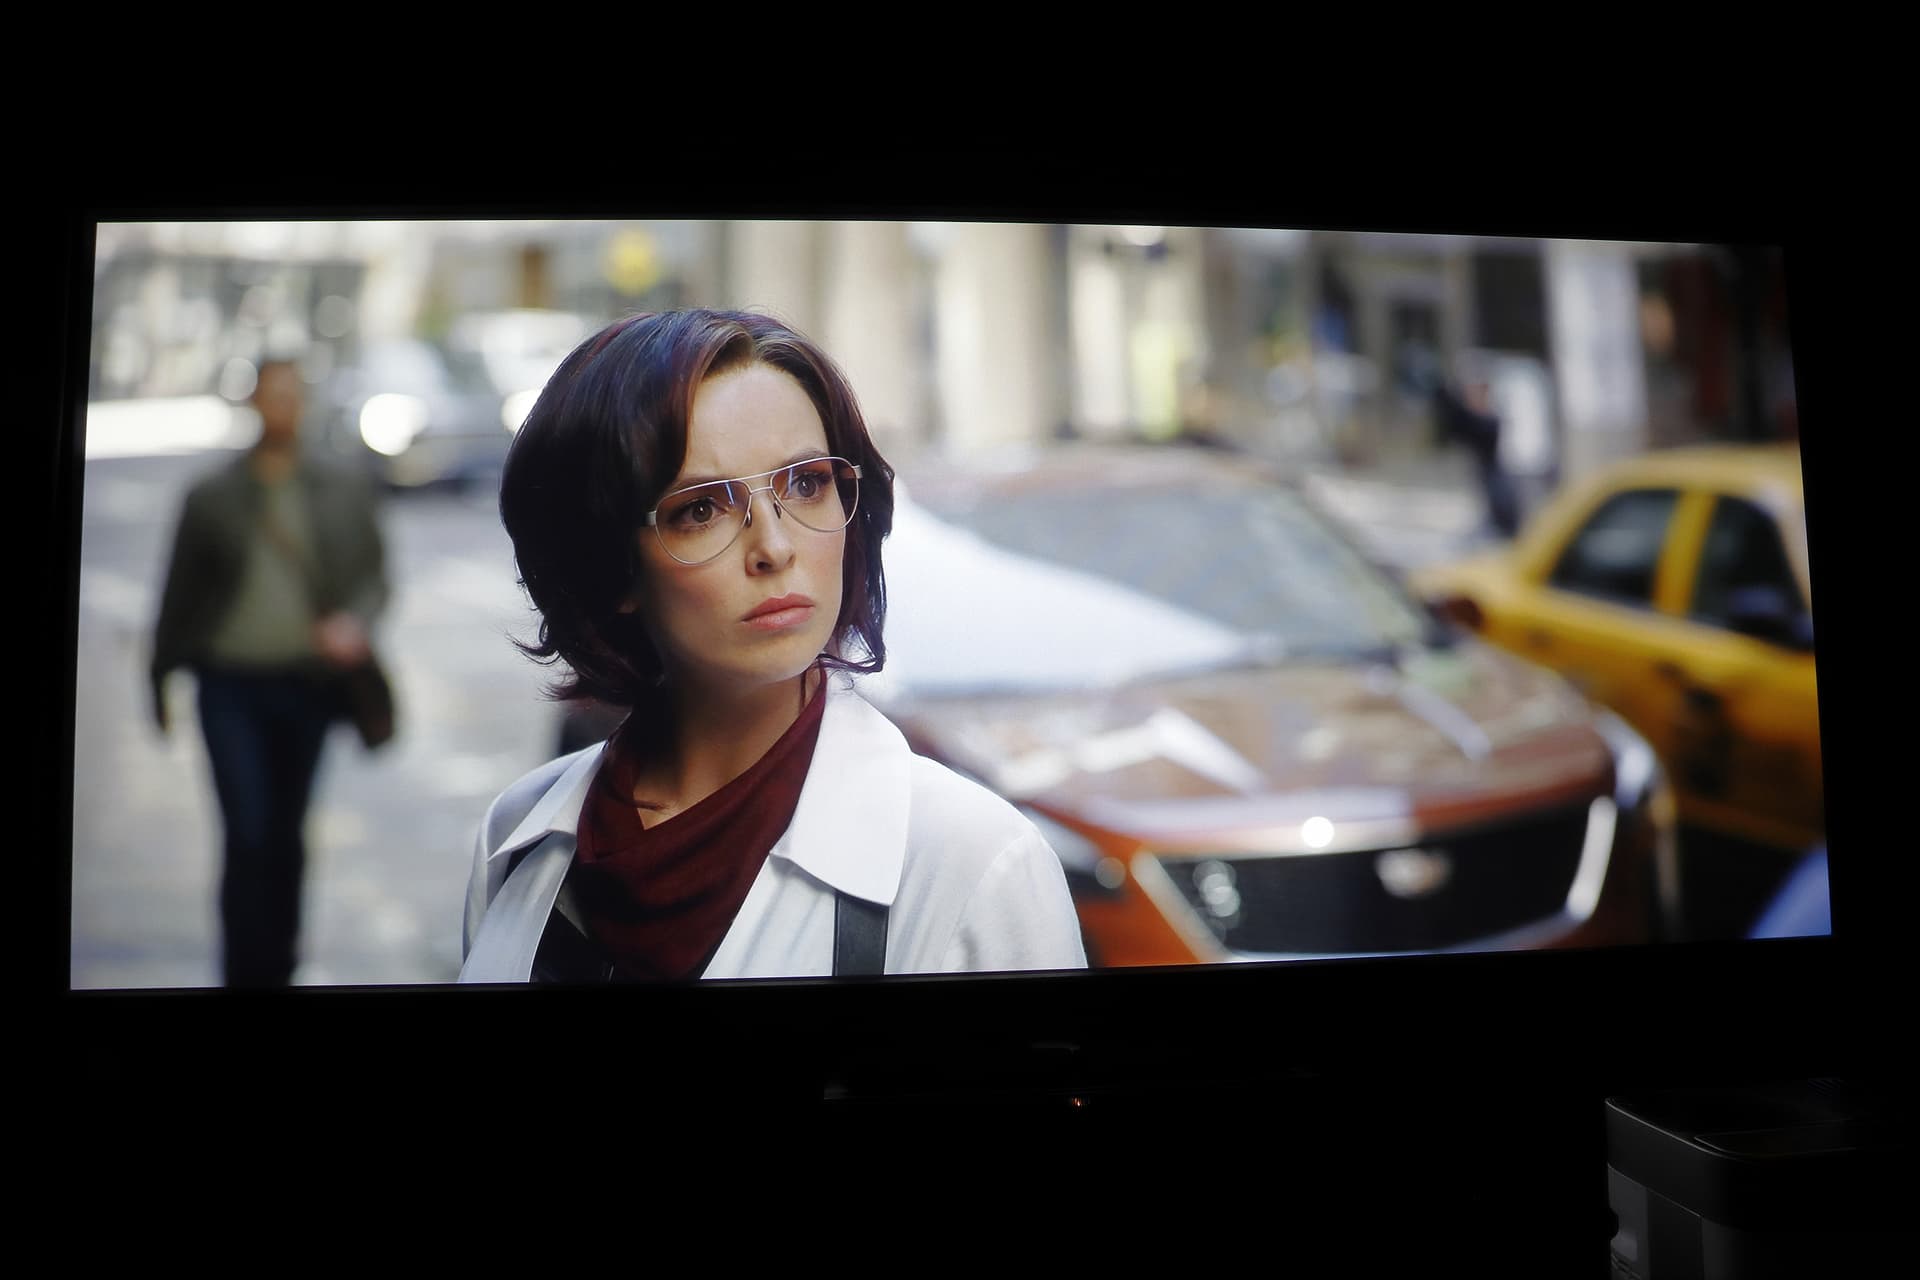
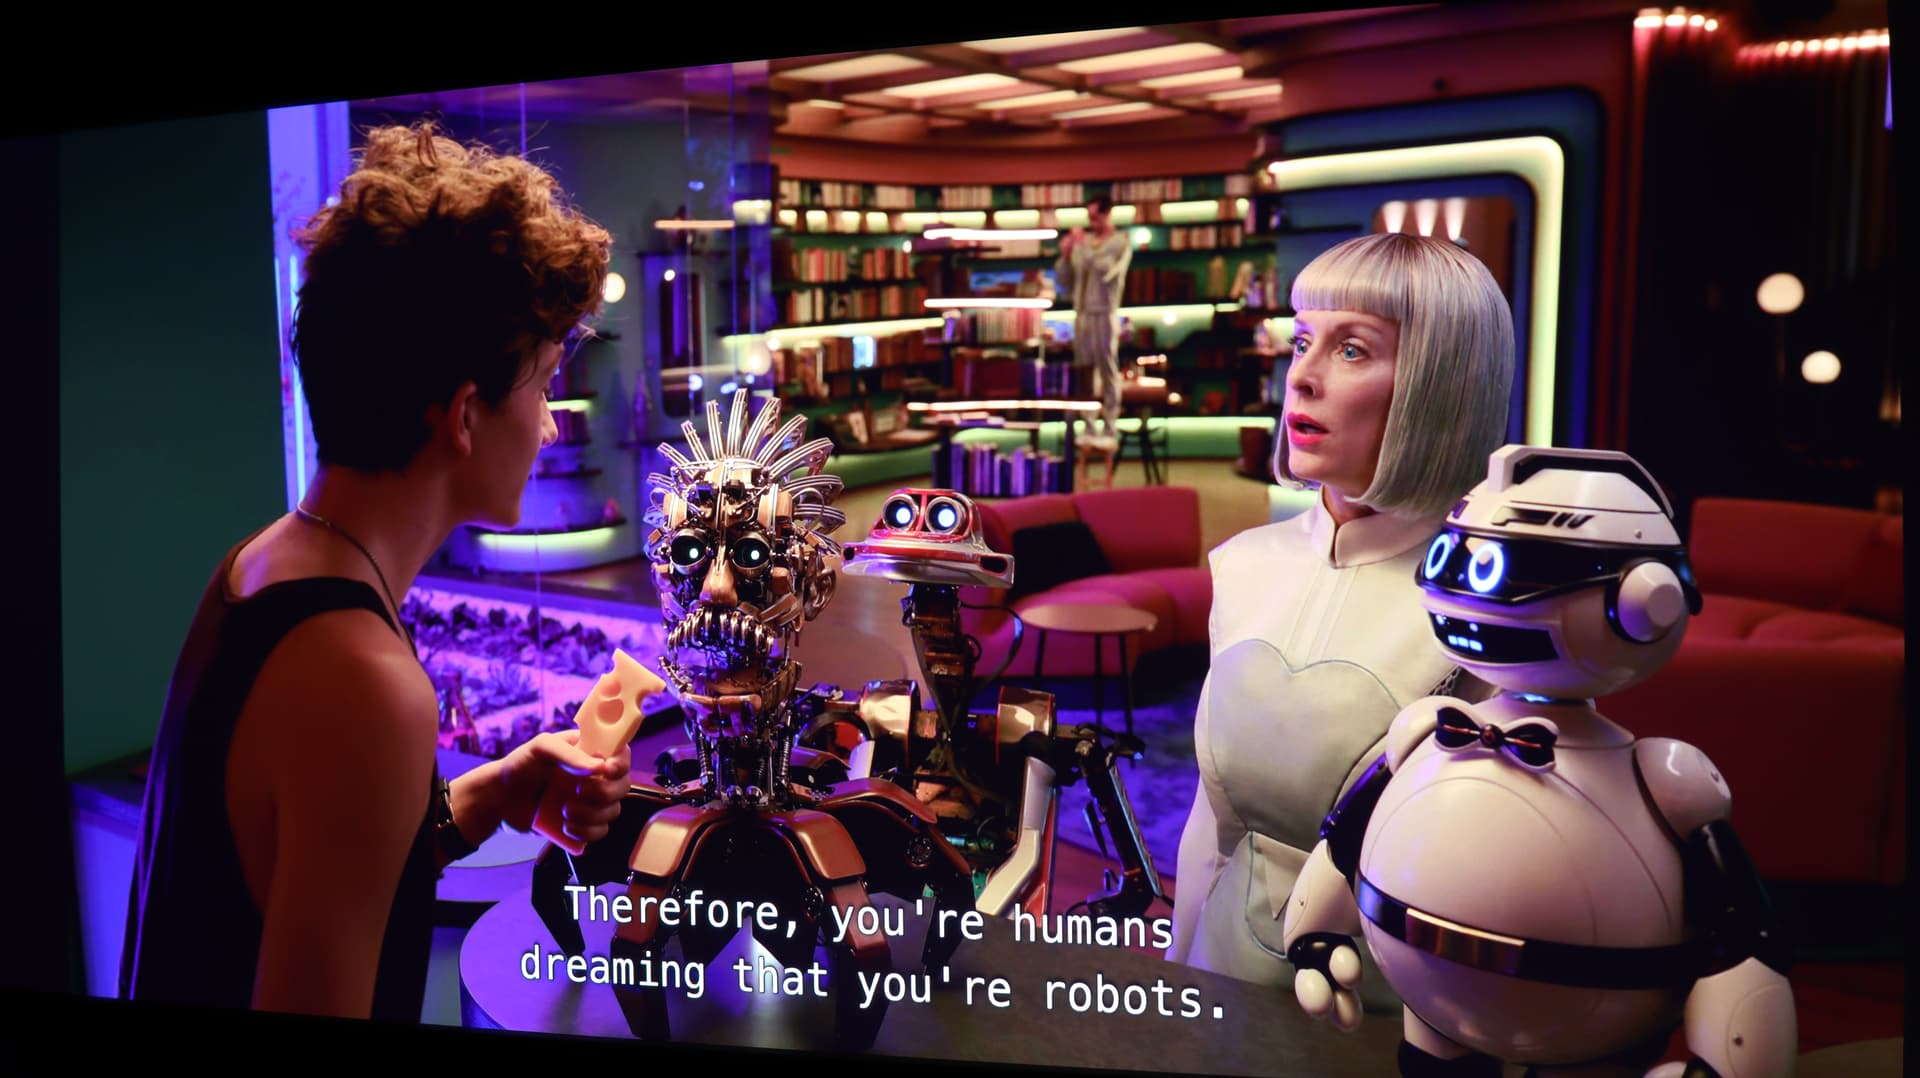
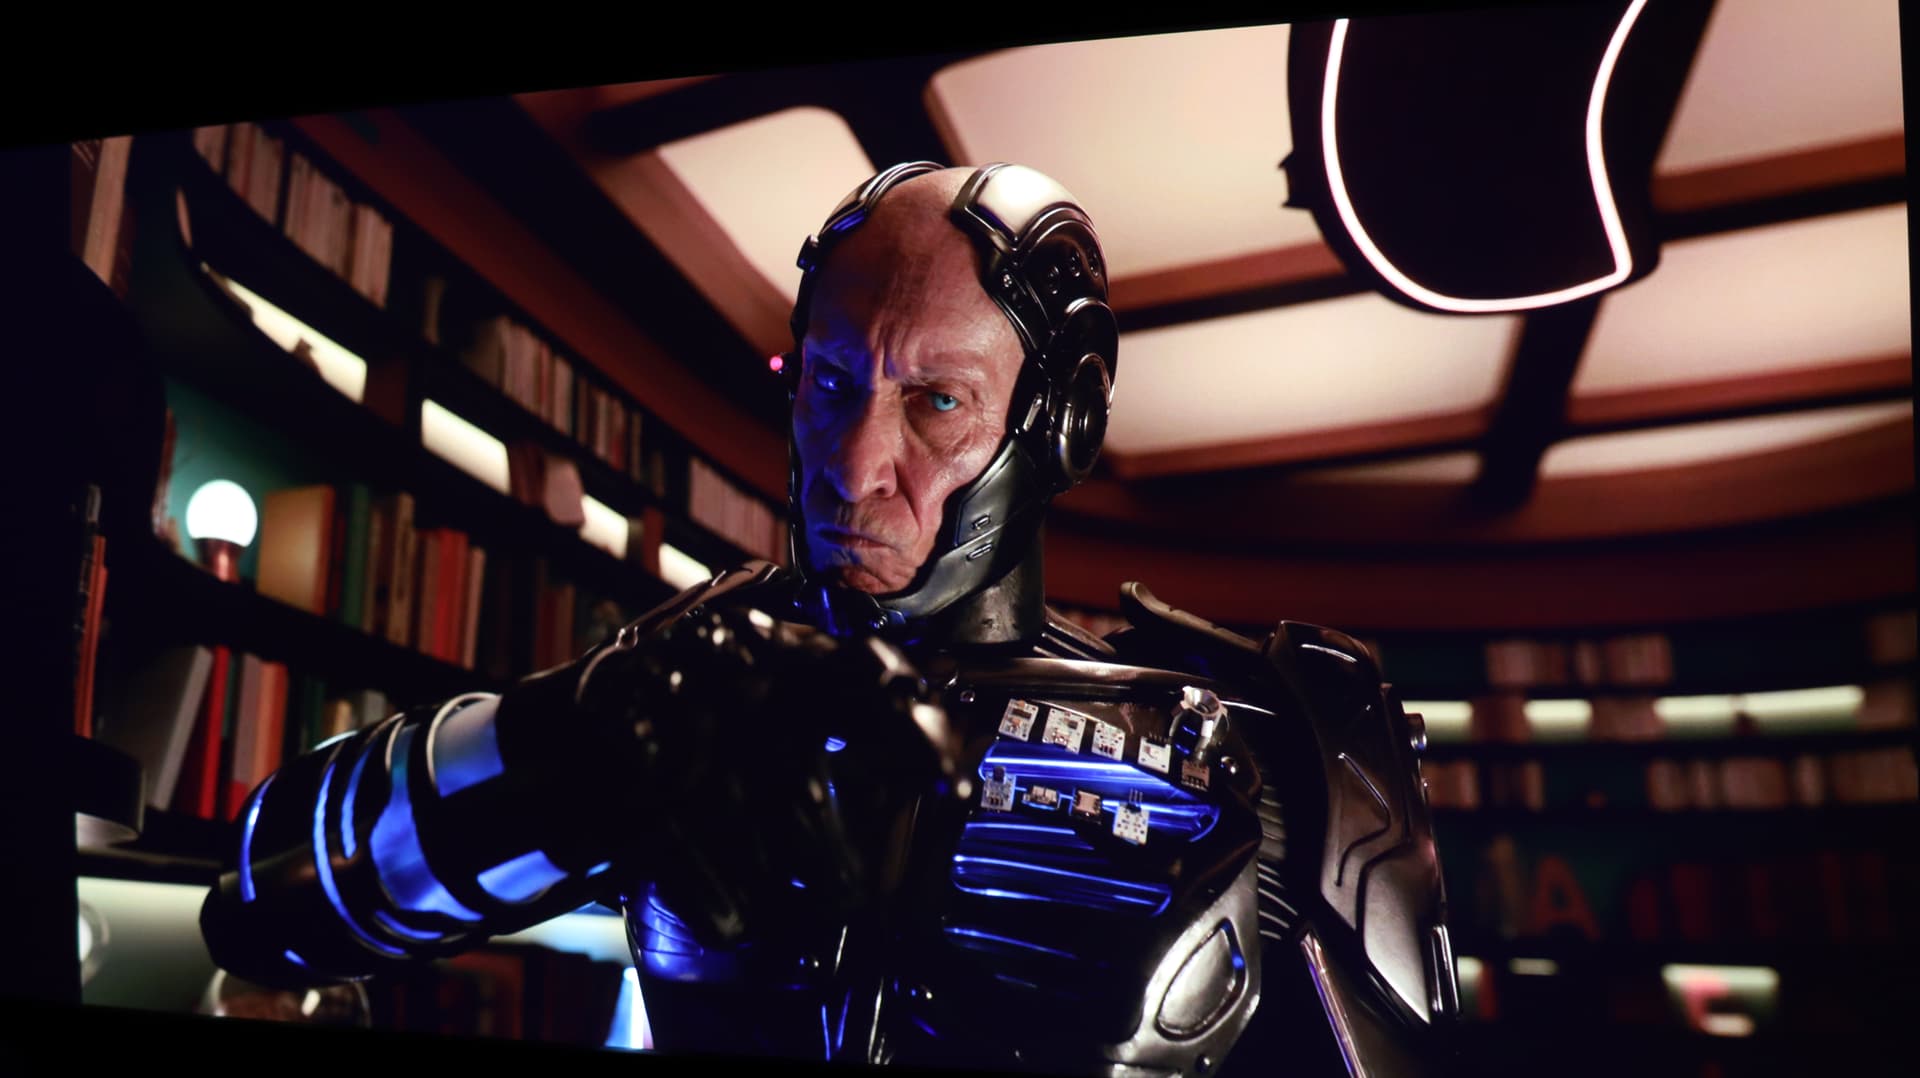
Re-do my HDR calibration to SDR2020 instead of DCI-P3 which tends to give our a “red tint”. Used Gamma 2.4 (for 12 pts grayscale - i.e. 10 IRE to 100 IRE) and used a 125pts (5x5x5) 3D LUT for the color calibration and setting the HDR intensity to 400. Result is a much more pleasing and natural HDR presentation. The source of these screencaps is derived from 4K HDR teaser clips from Netflix (Big Bug and Eurovision: The story of Fire Saga) and YouTube (Avengers and Free Guy).
2 Likes
Looks very good. Natural colours with good image pop.
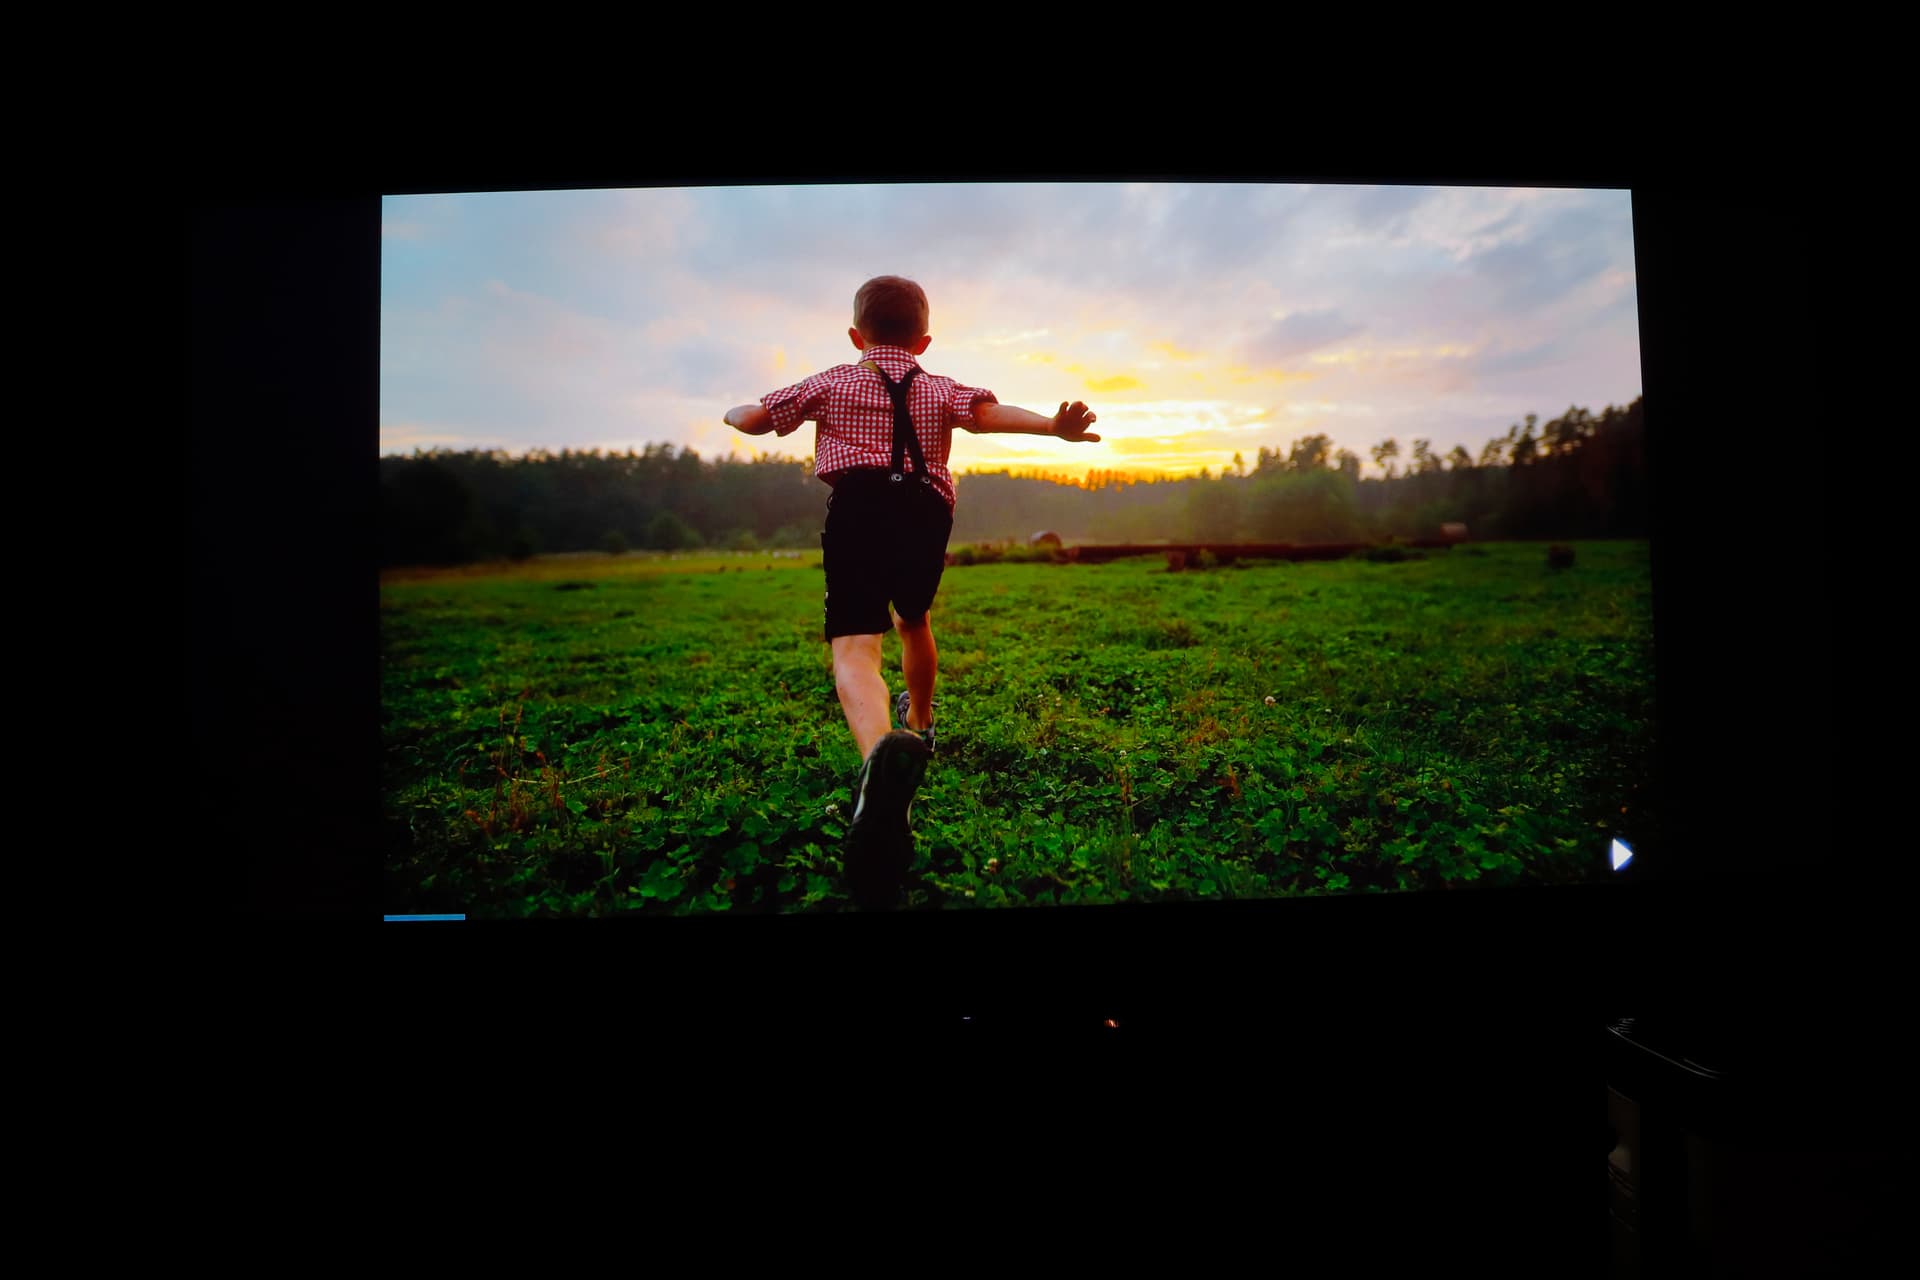
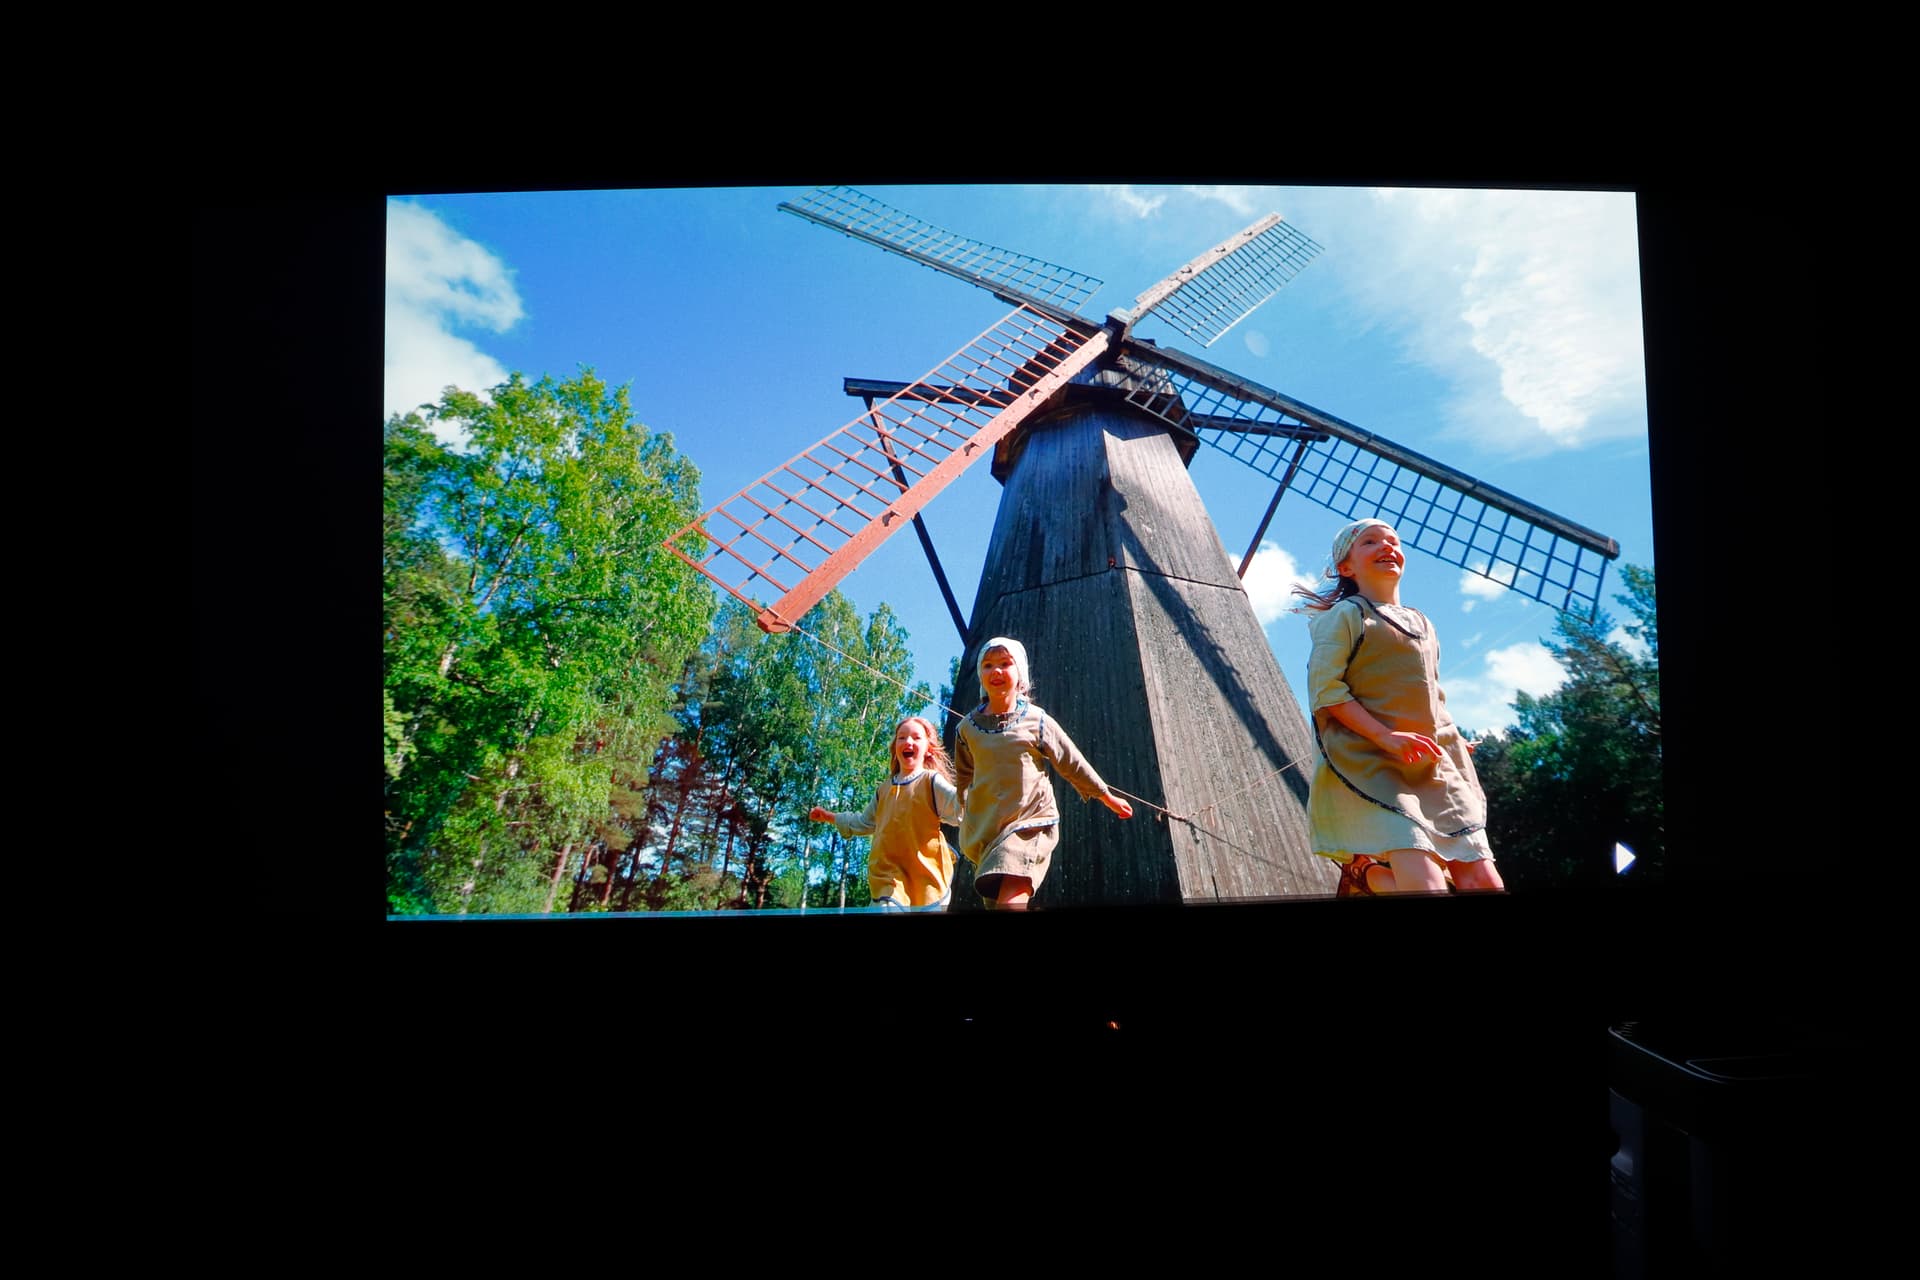
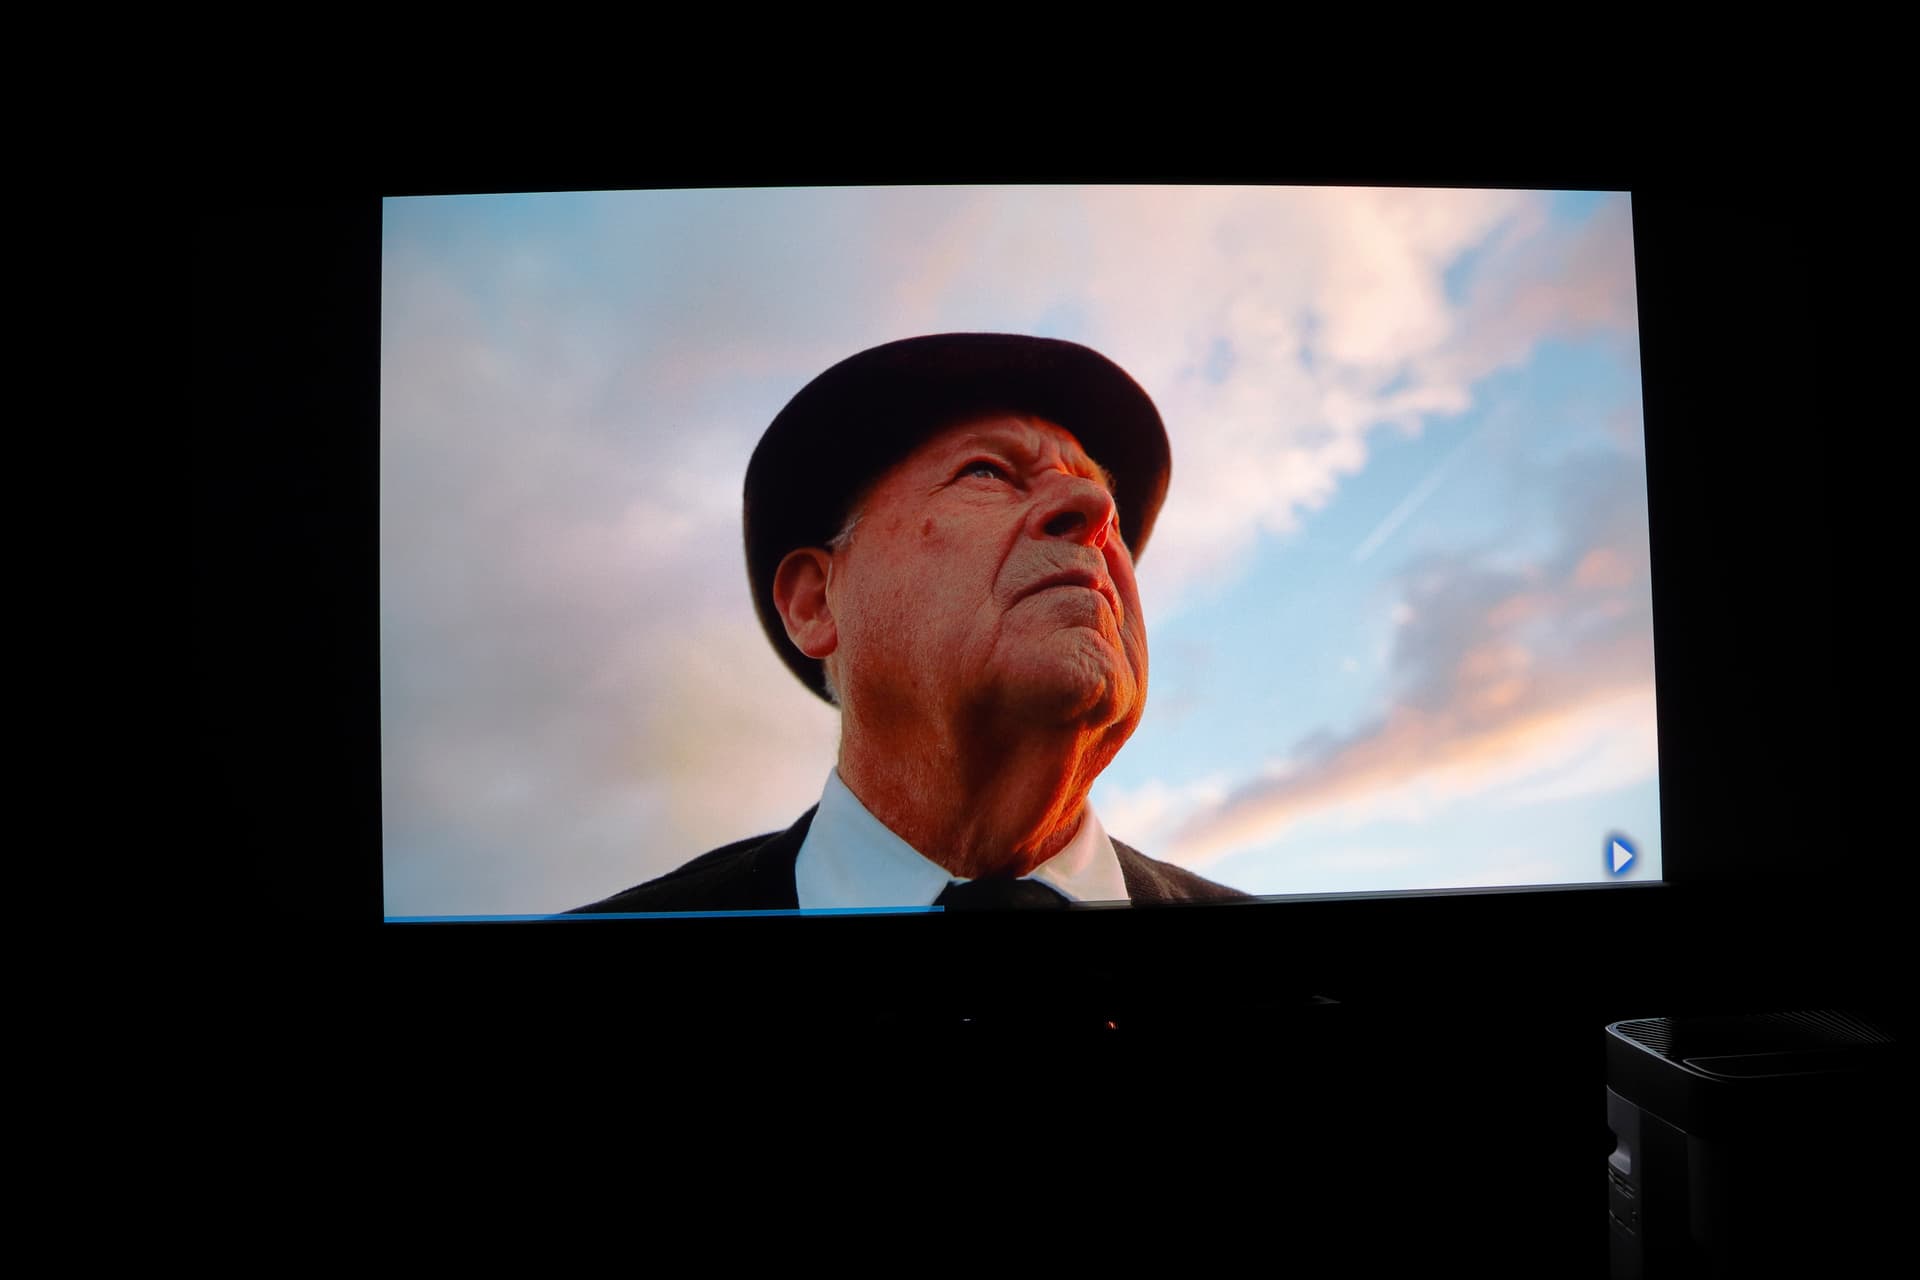
Awaken 4K UHD bluray is now my go to demo disc for everything Dolby Vision/HDR10.

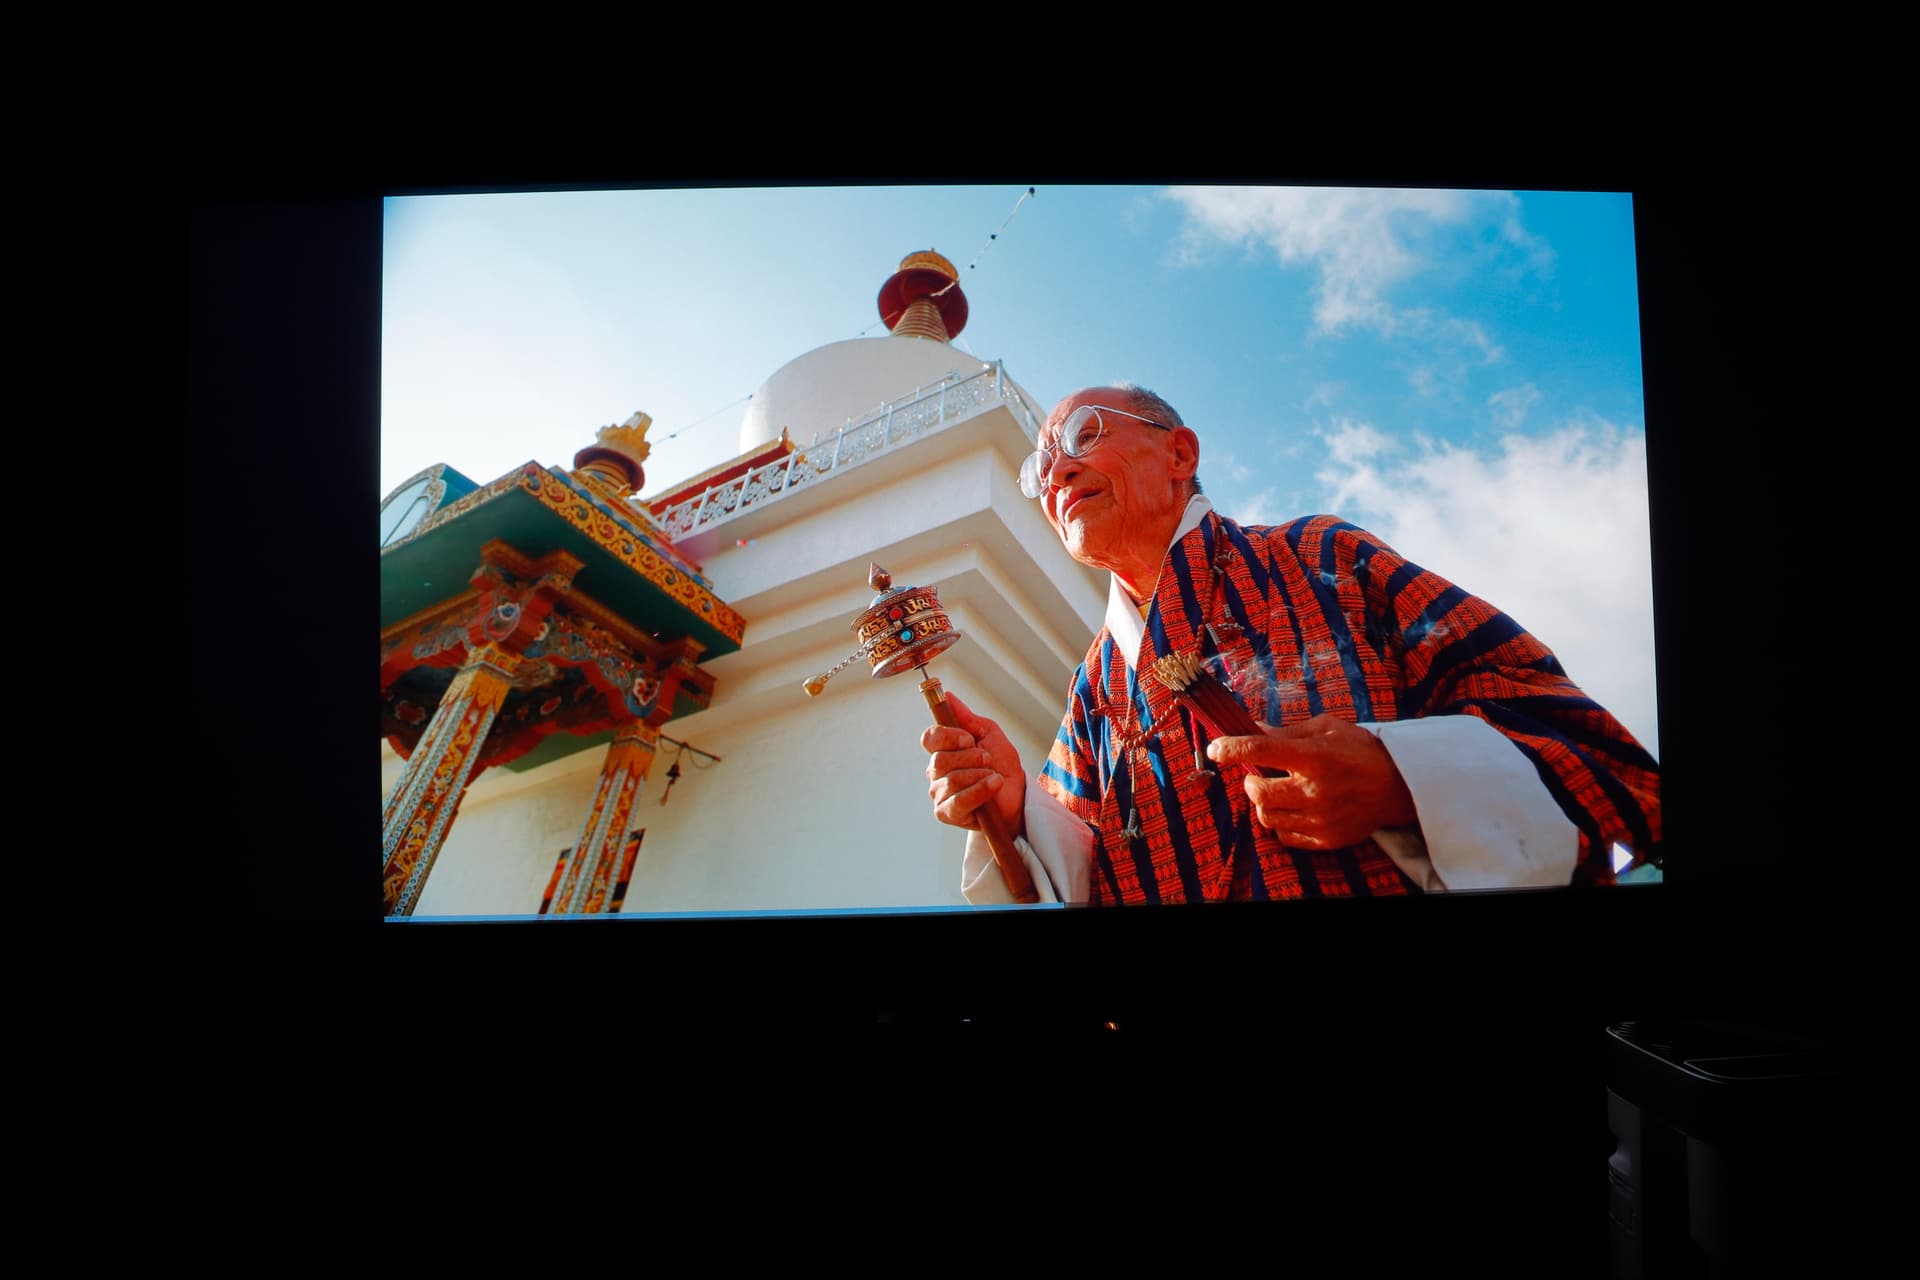
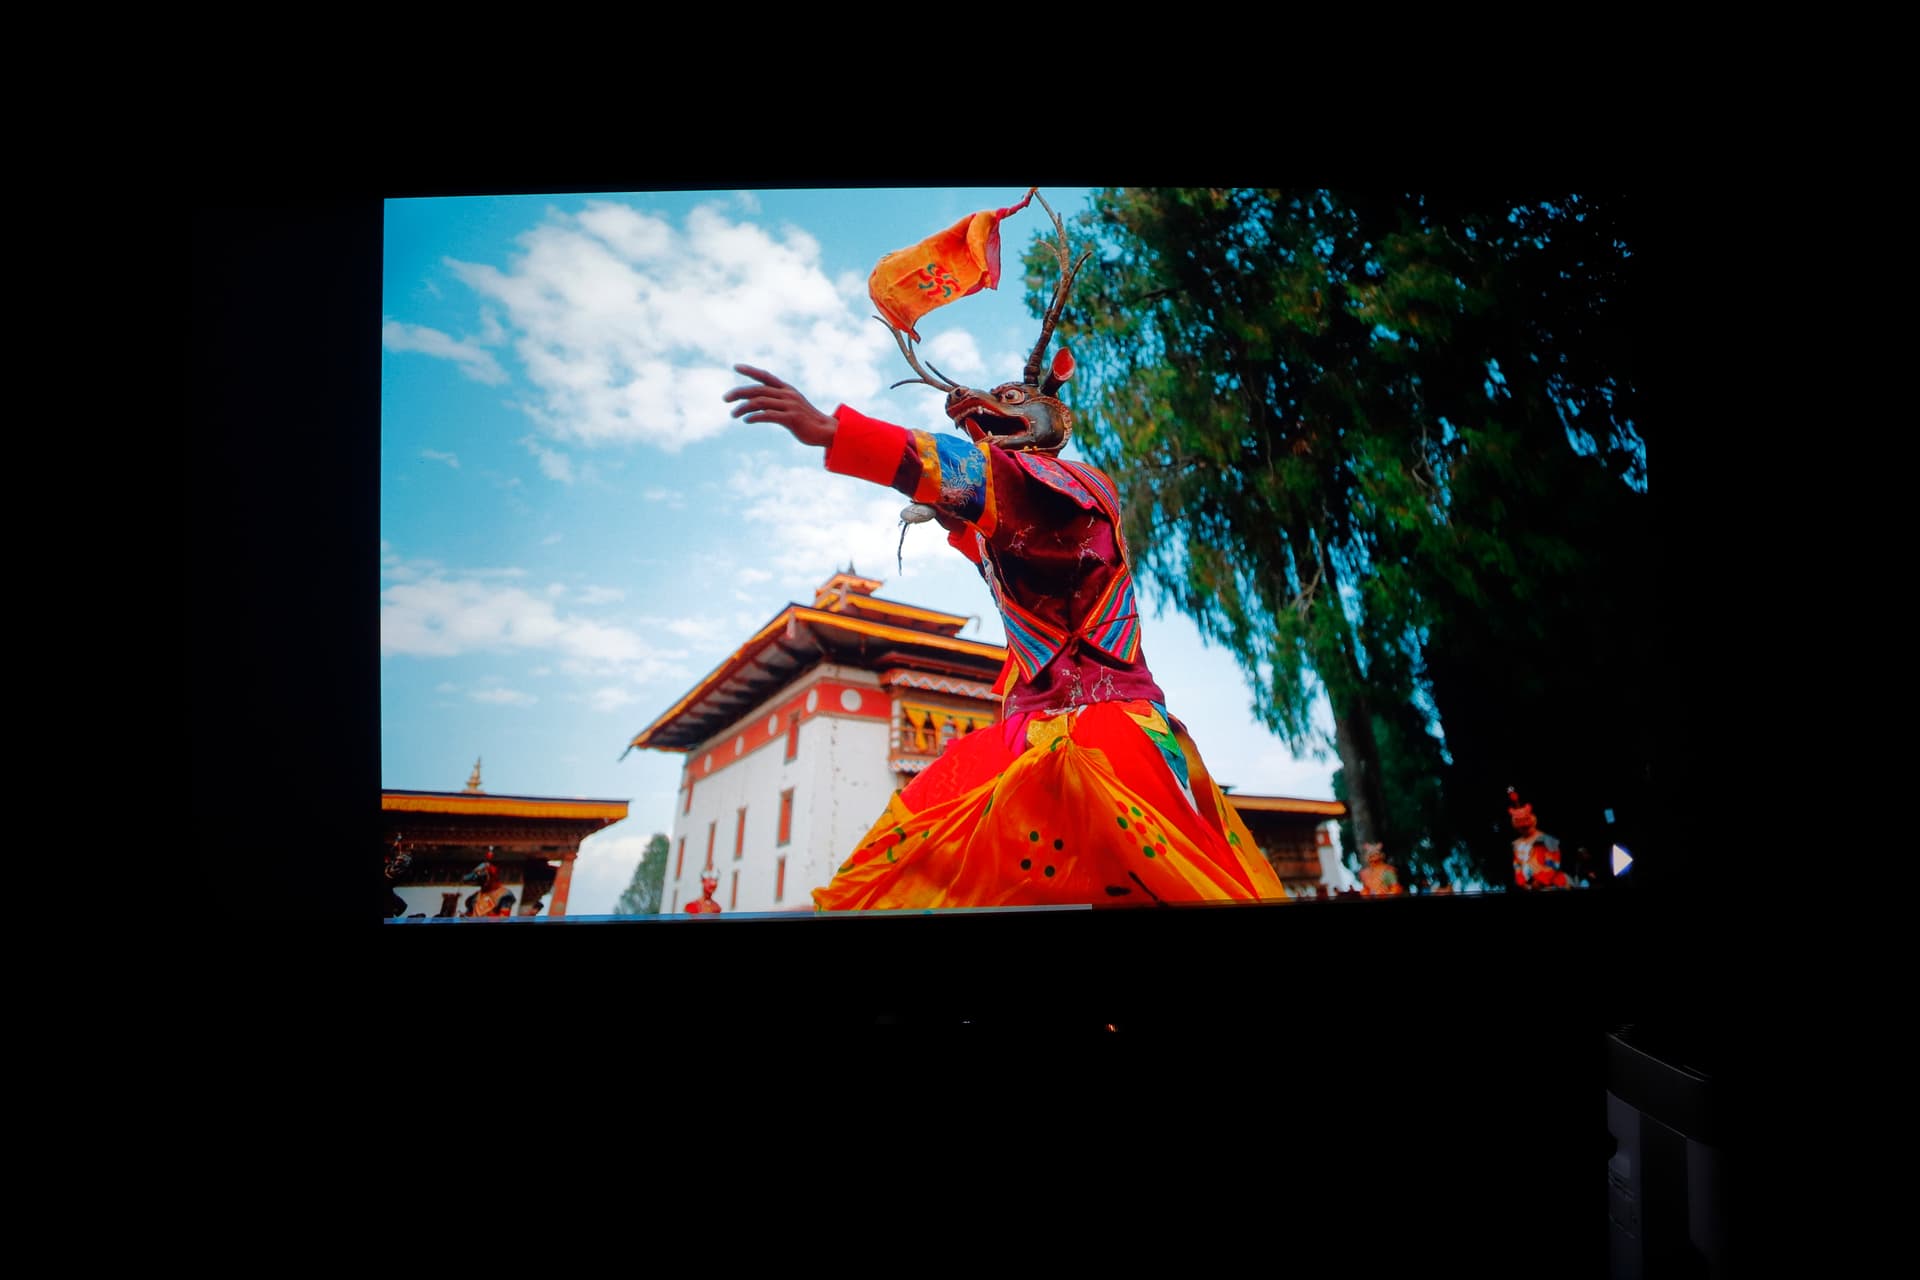
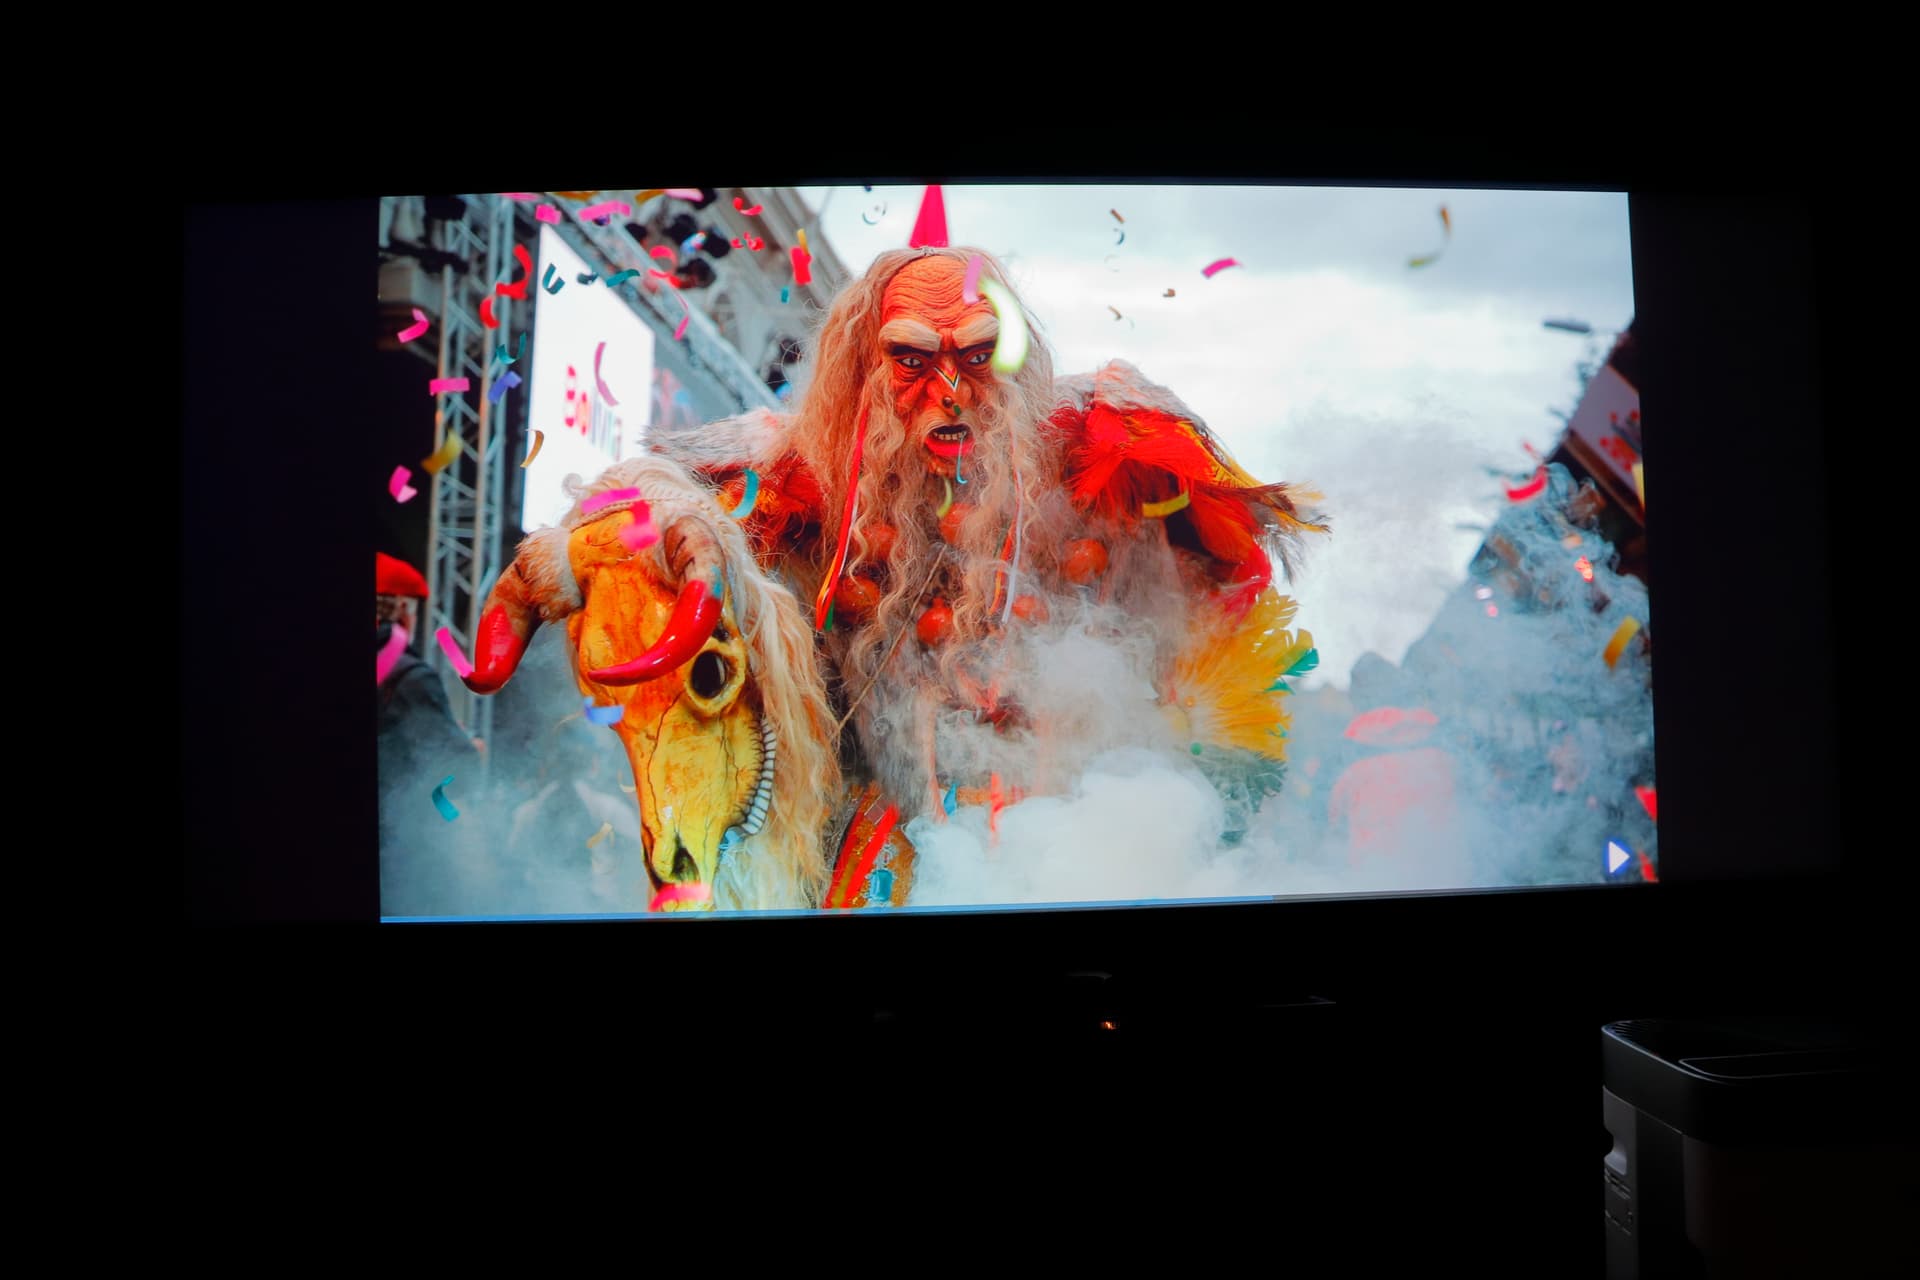
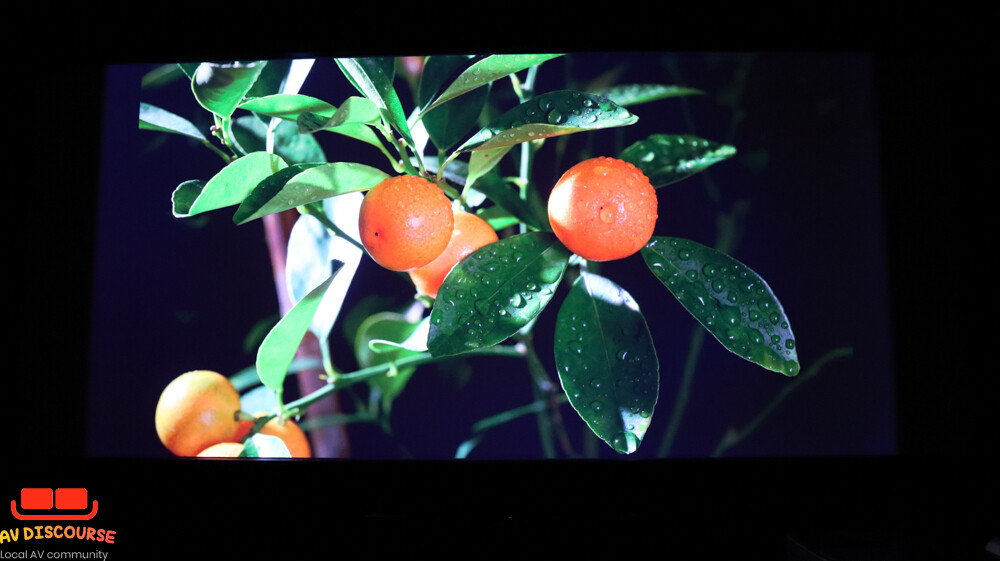
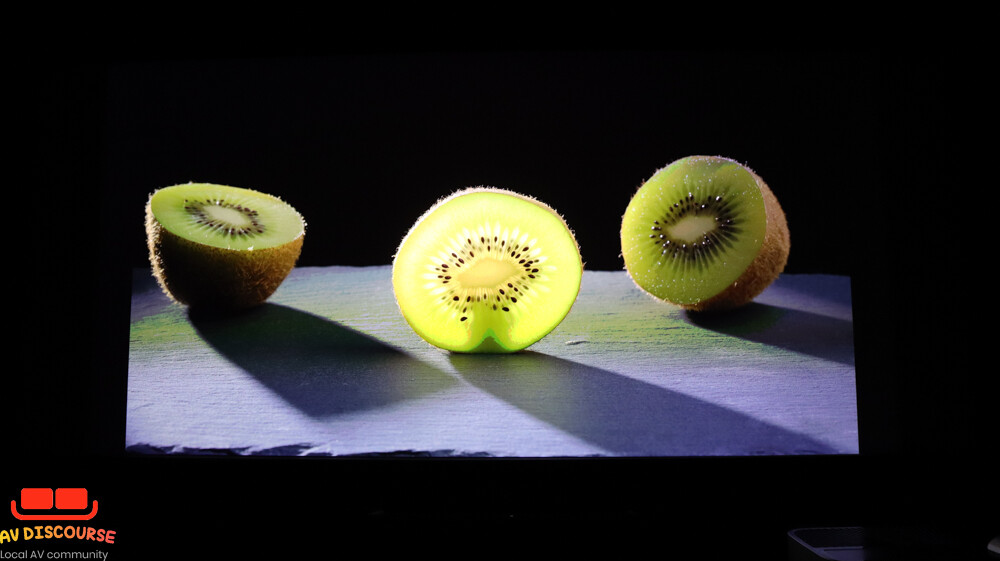
Here are some of the amazing screencaps I have captured using my Canon M50 MKII EOS-M camera. It takes amazing images in my dark home theatre room. The color rendition is faithfully reproduced at ISO400 and F.8.0.
This is a 4K UHD ISO playback on a Zidoo UHD3000 using Dolby Vision (LLDV-VS10 engine) BT2020 colorspace at YUV444 @12bit. The video bitrate is very high at 90Mb/s.
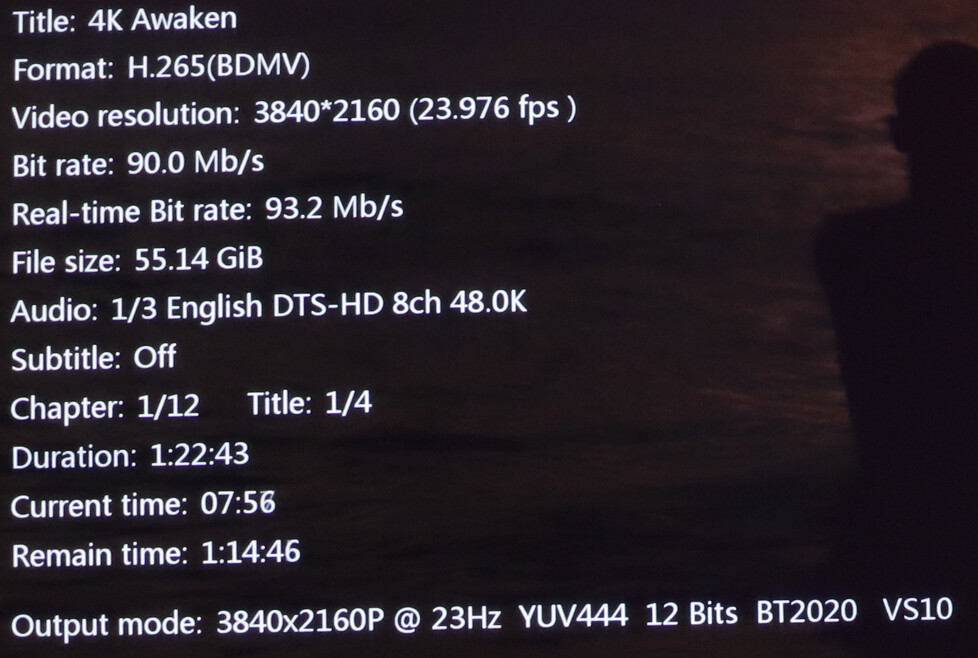
Note: Sadly, the raw files are too big to upload as such the images have been heavily compressed into JPG for uploading to the web. The images in real-time are far sharper and more brilliant in colors.


1 Like
No competition with this picture quality, stunning!!! ![]()
![]()
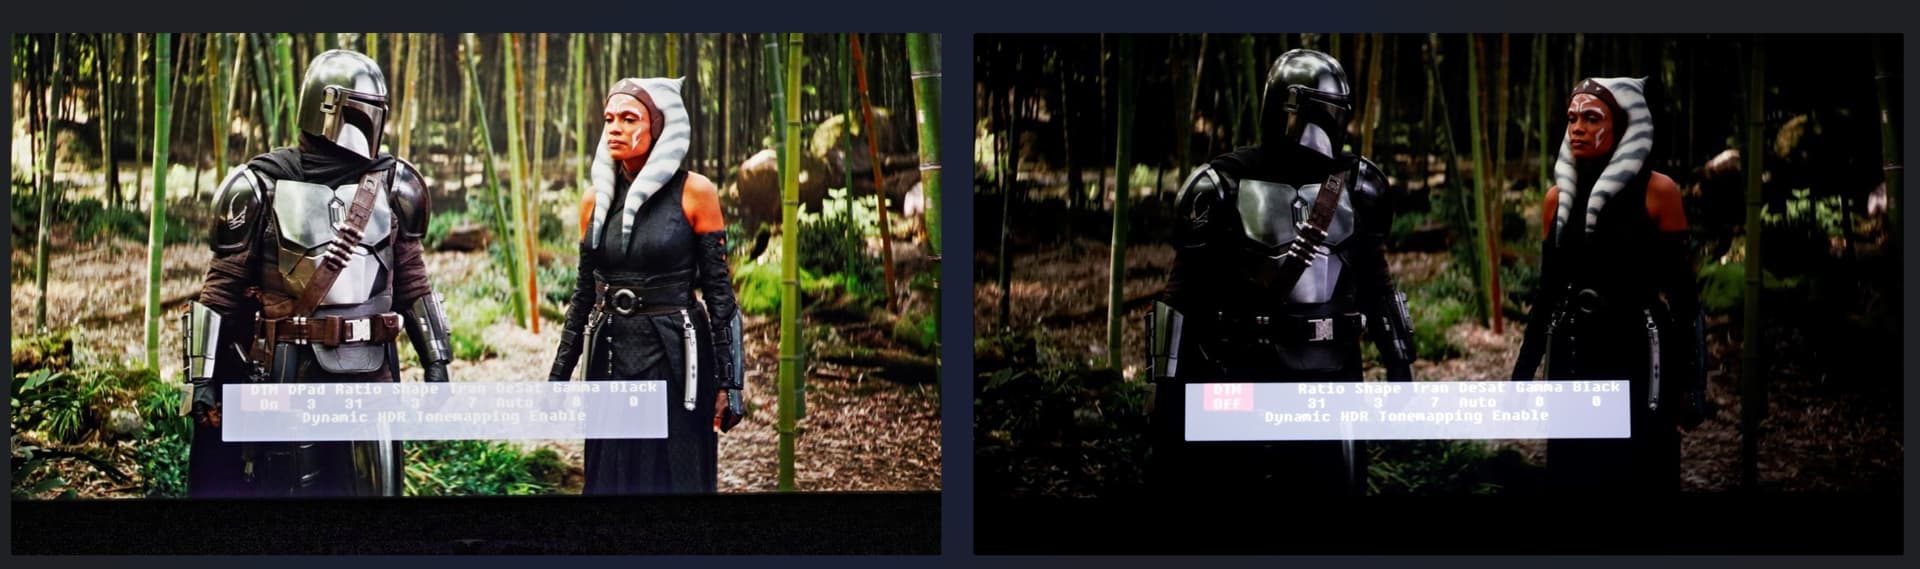
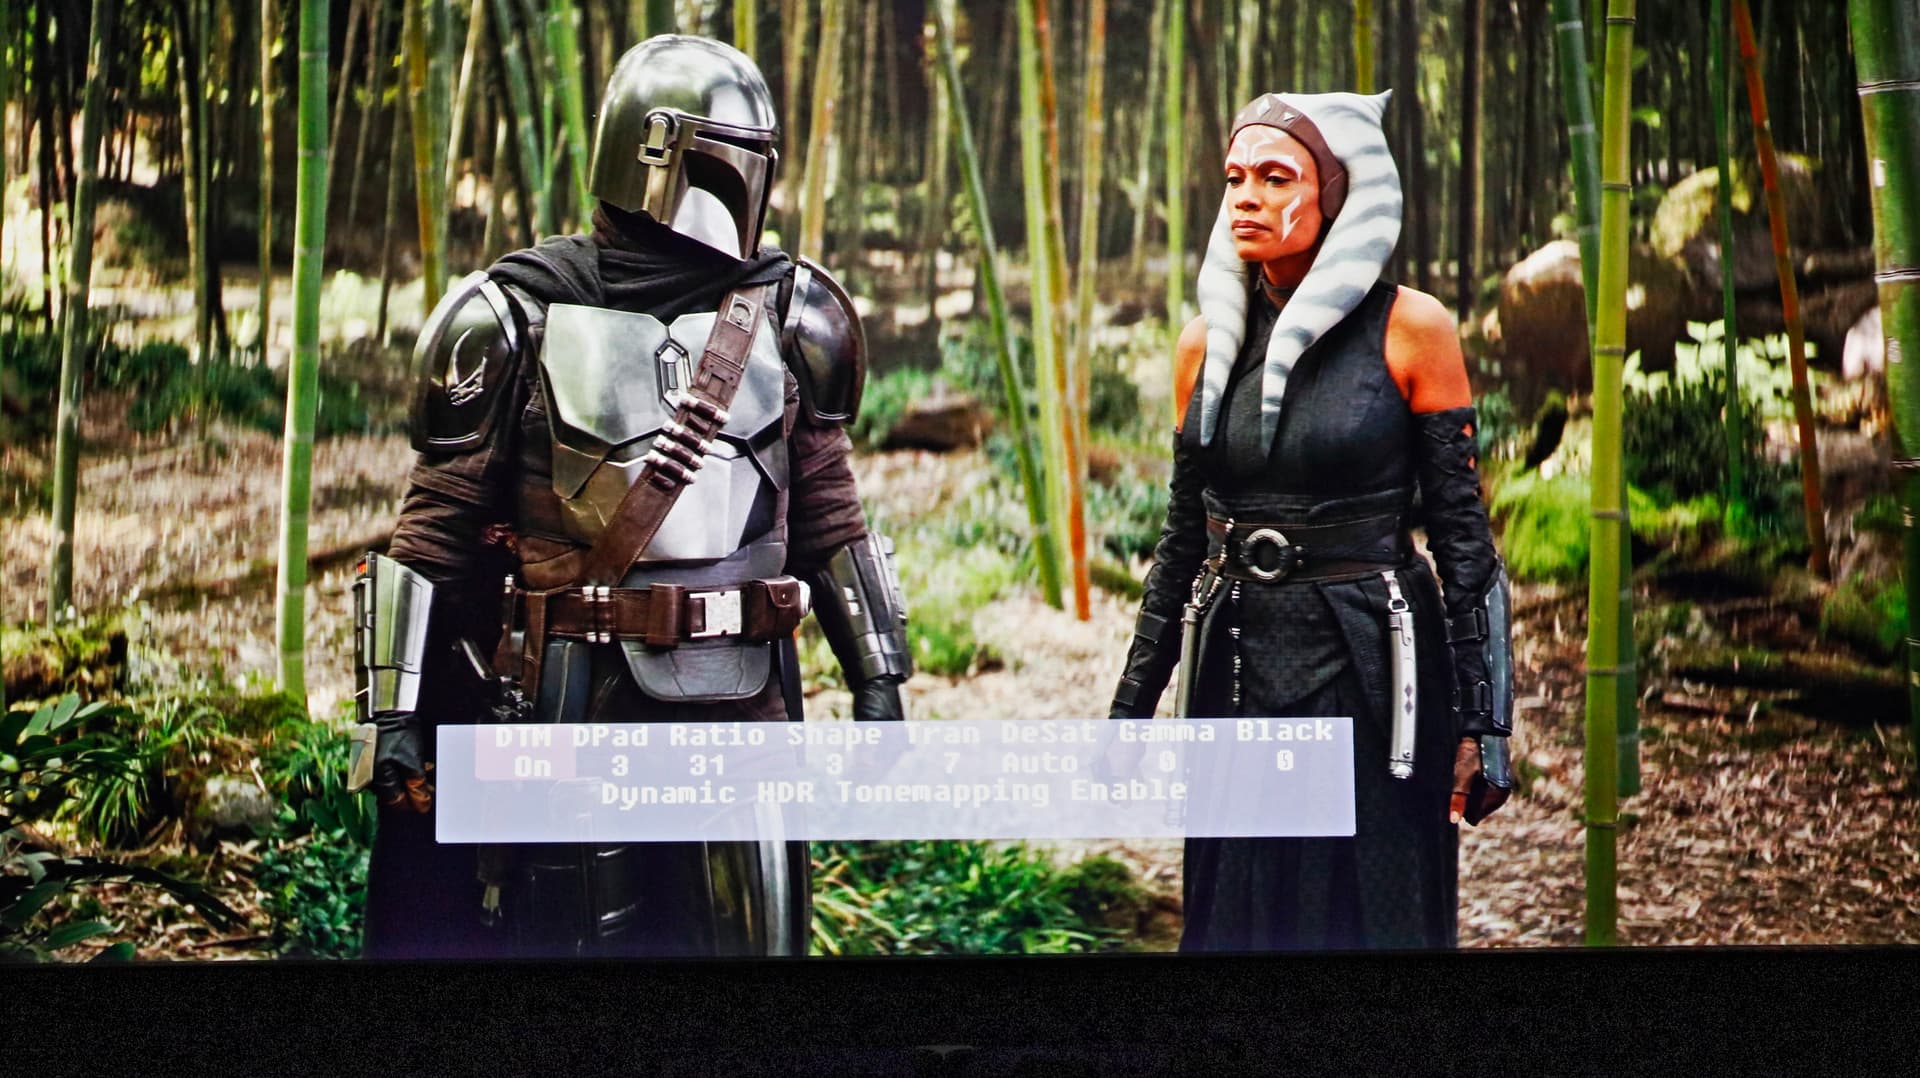
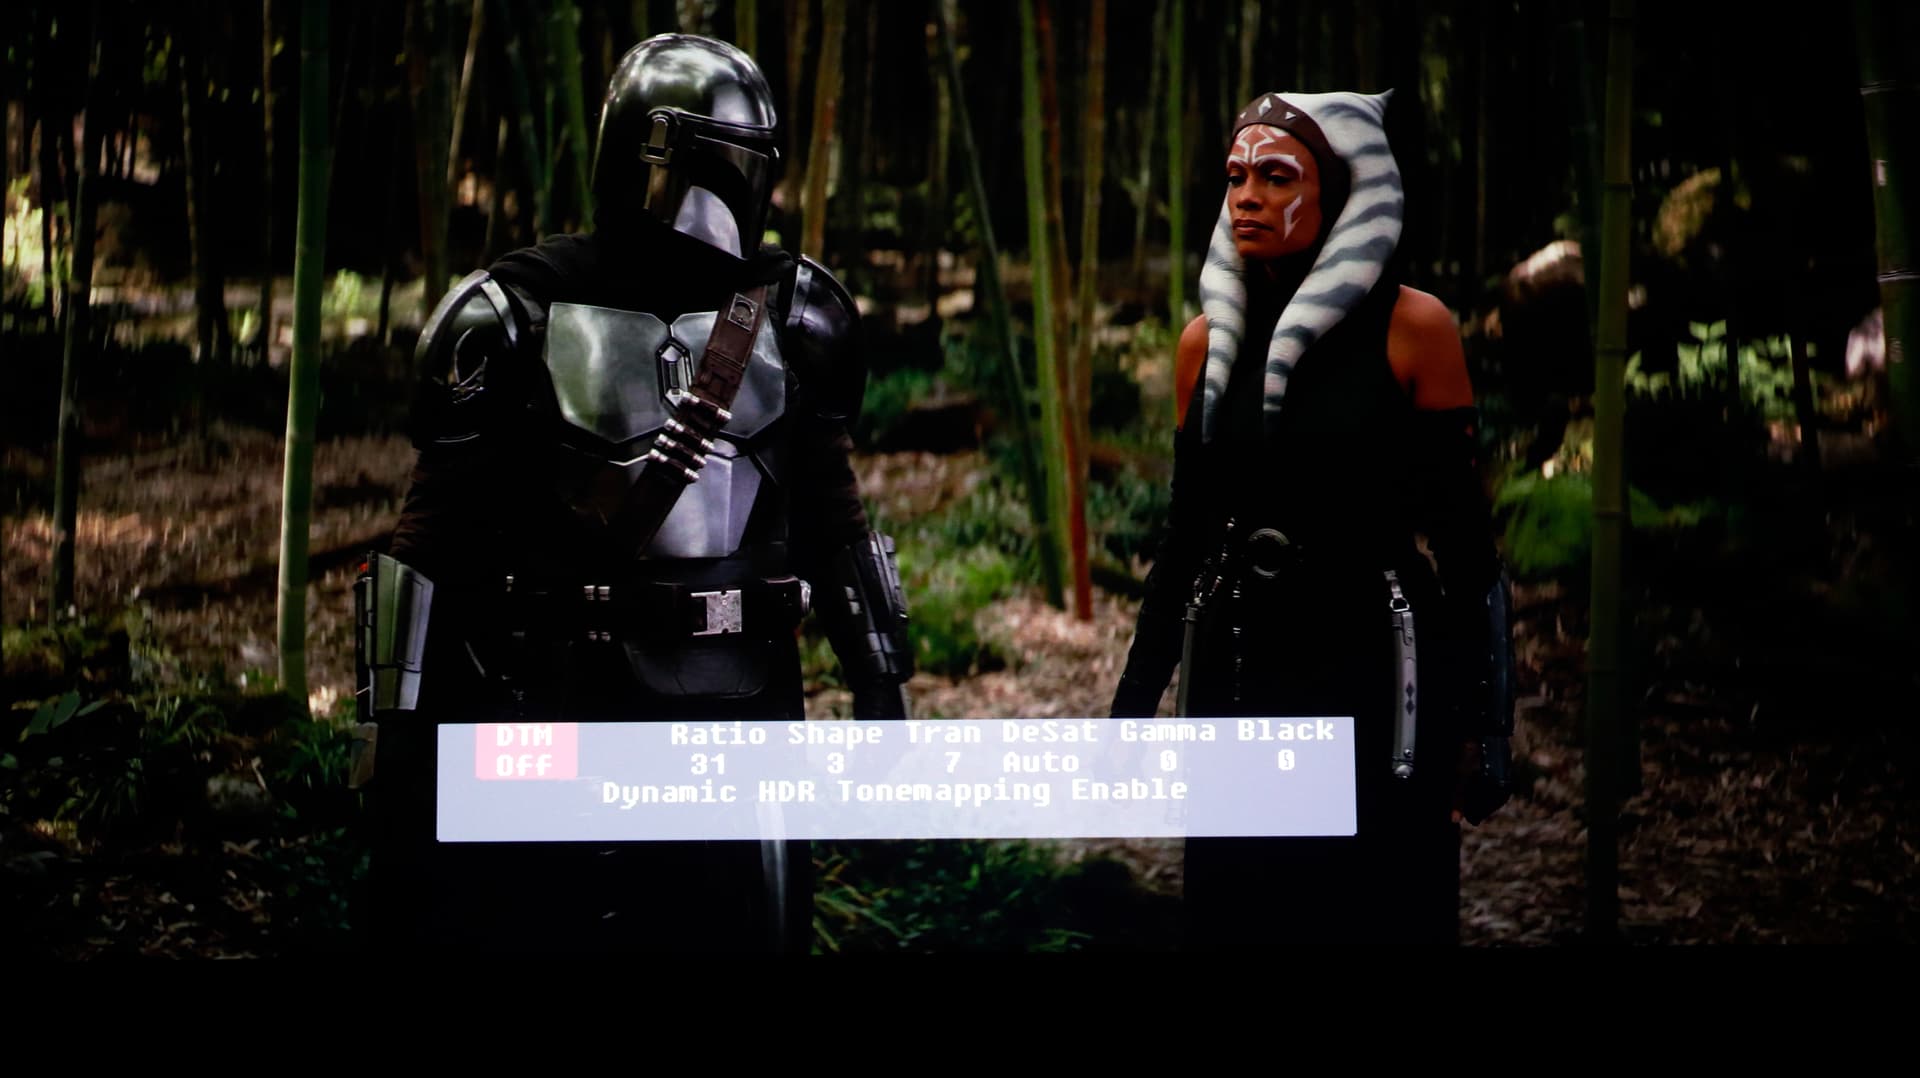
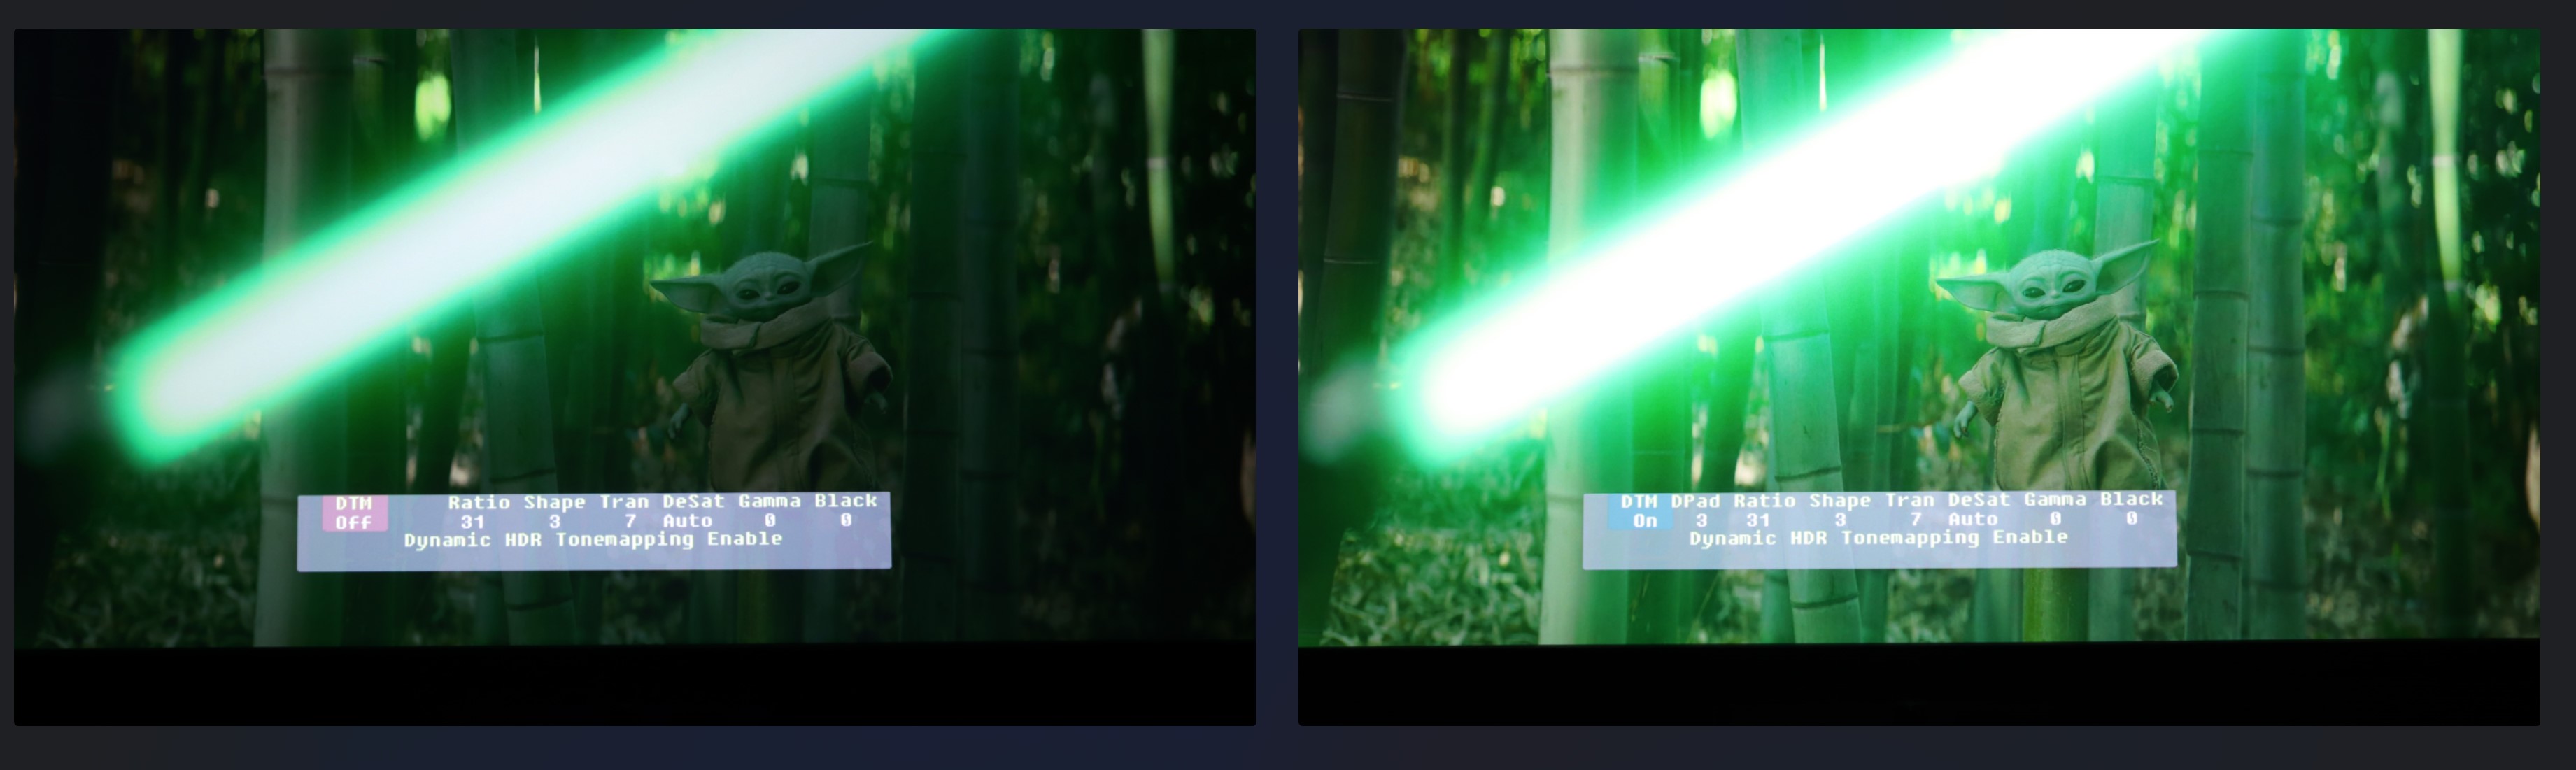
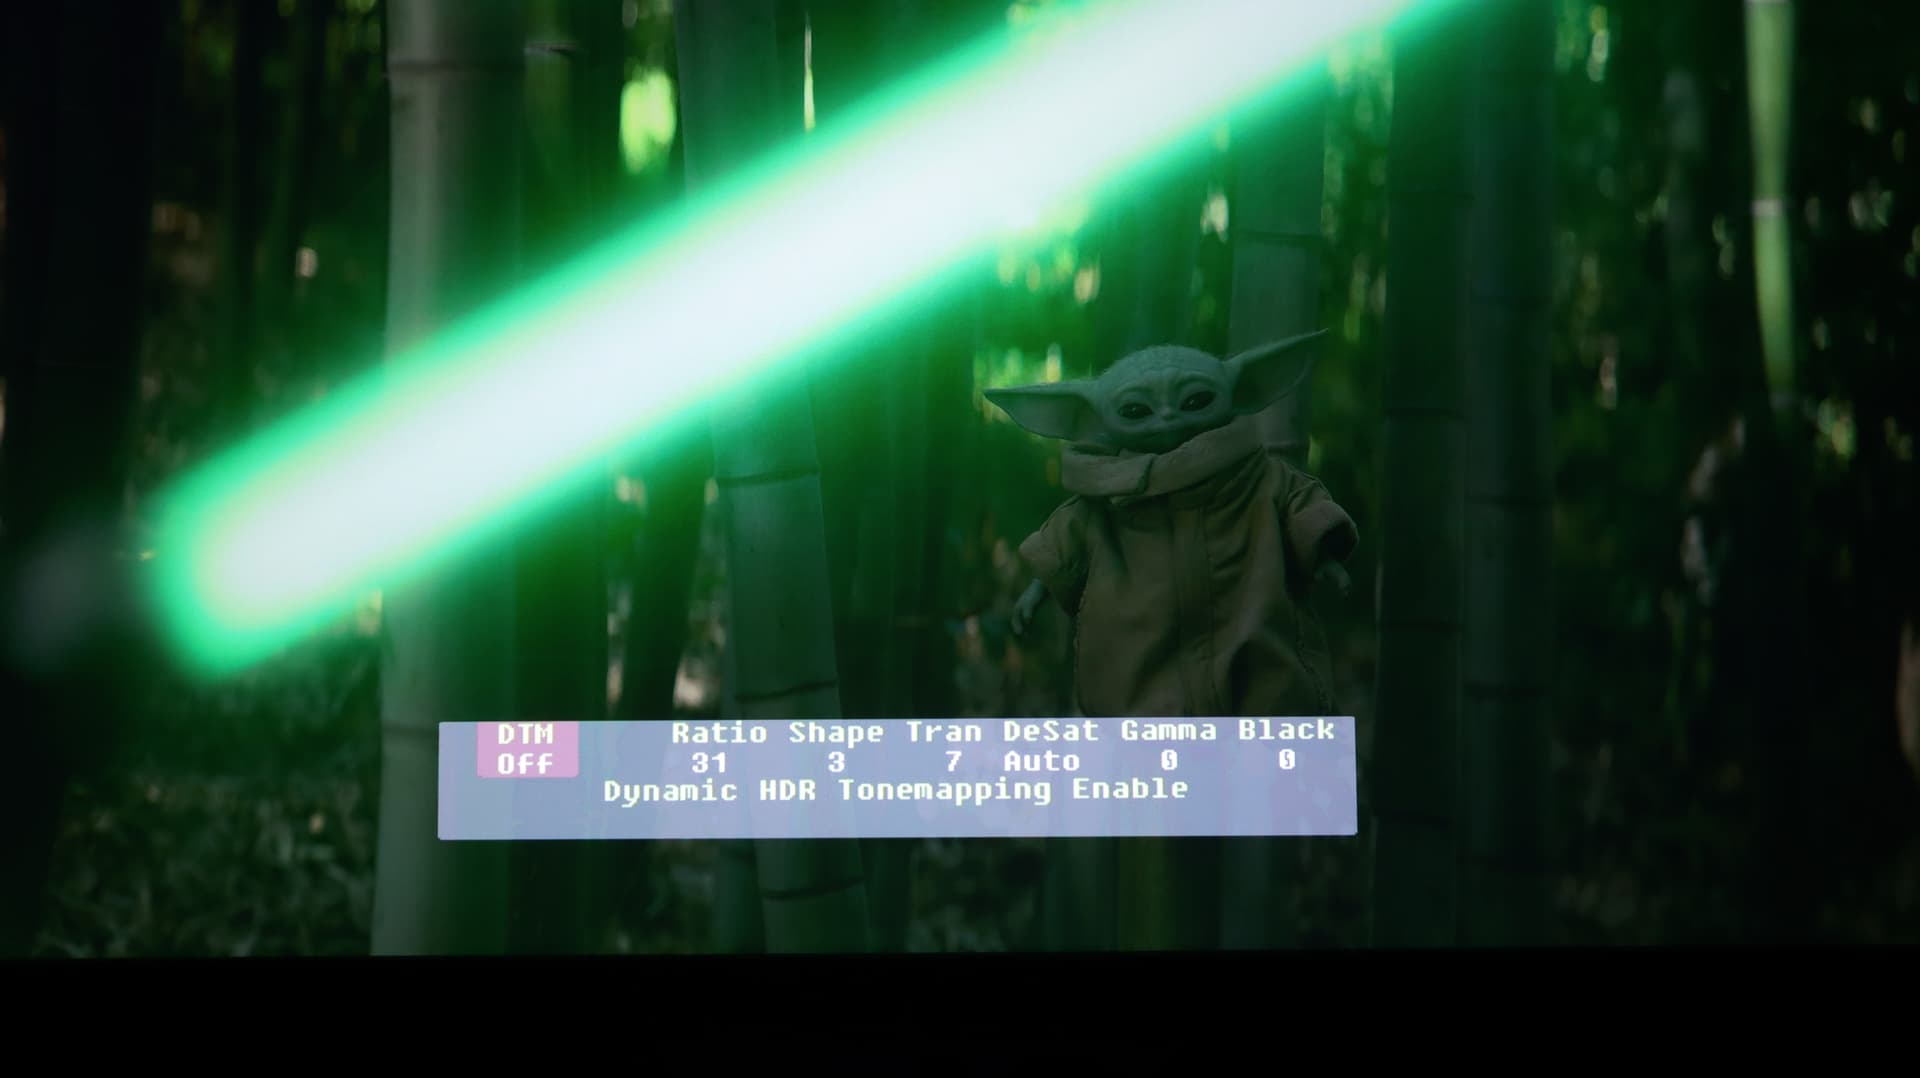
Lumagen’s Dynamic Tone Mapping turned on and off. A scene from The Book of Bobafett.
More stunning images from some of the streaming platforms on my Apple TV 4K.

1 Like
Desray, without your Lumagen, its definitely too dark. I think there may still be some red push as well. Was this set to P3 or BT2020?. Ahsoka Tano looks a bit red and the leather over Mando’s Bheskar armor looks a little purple. The image below is just from an old Samsung 4K TV’s Disney Plus app. It doesn’t have the red push.
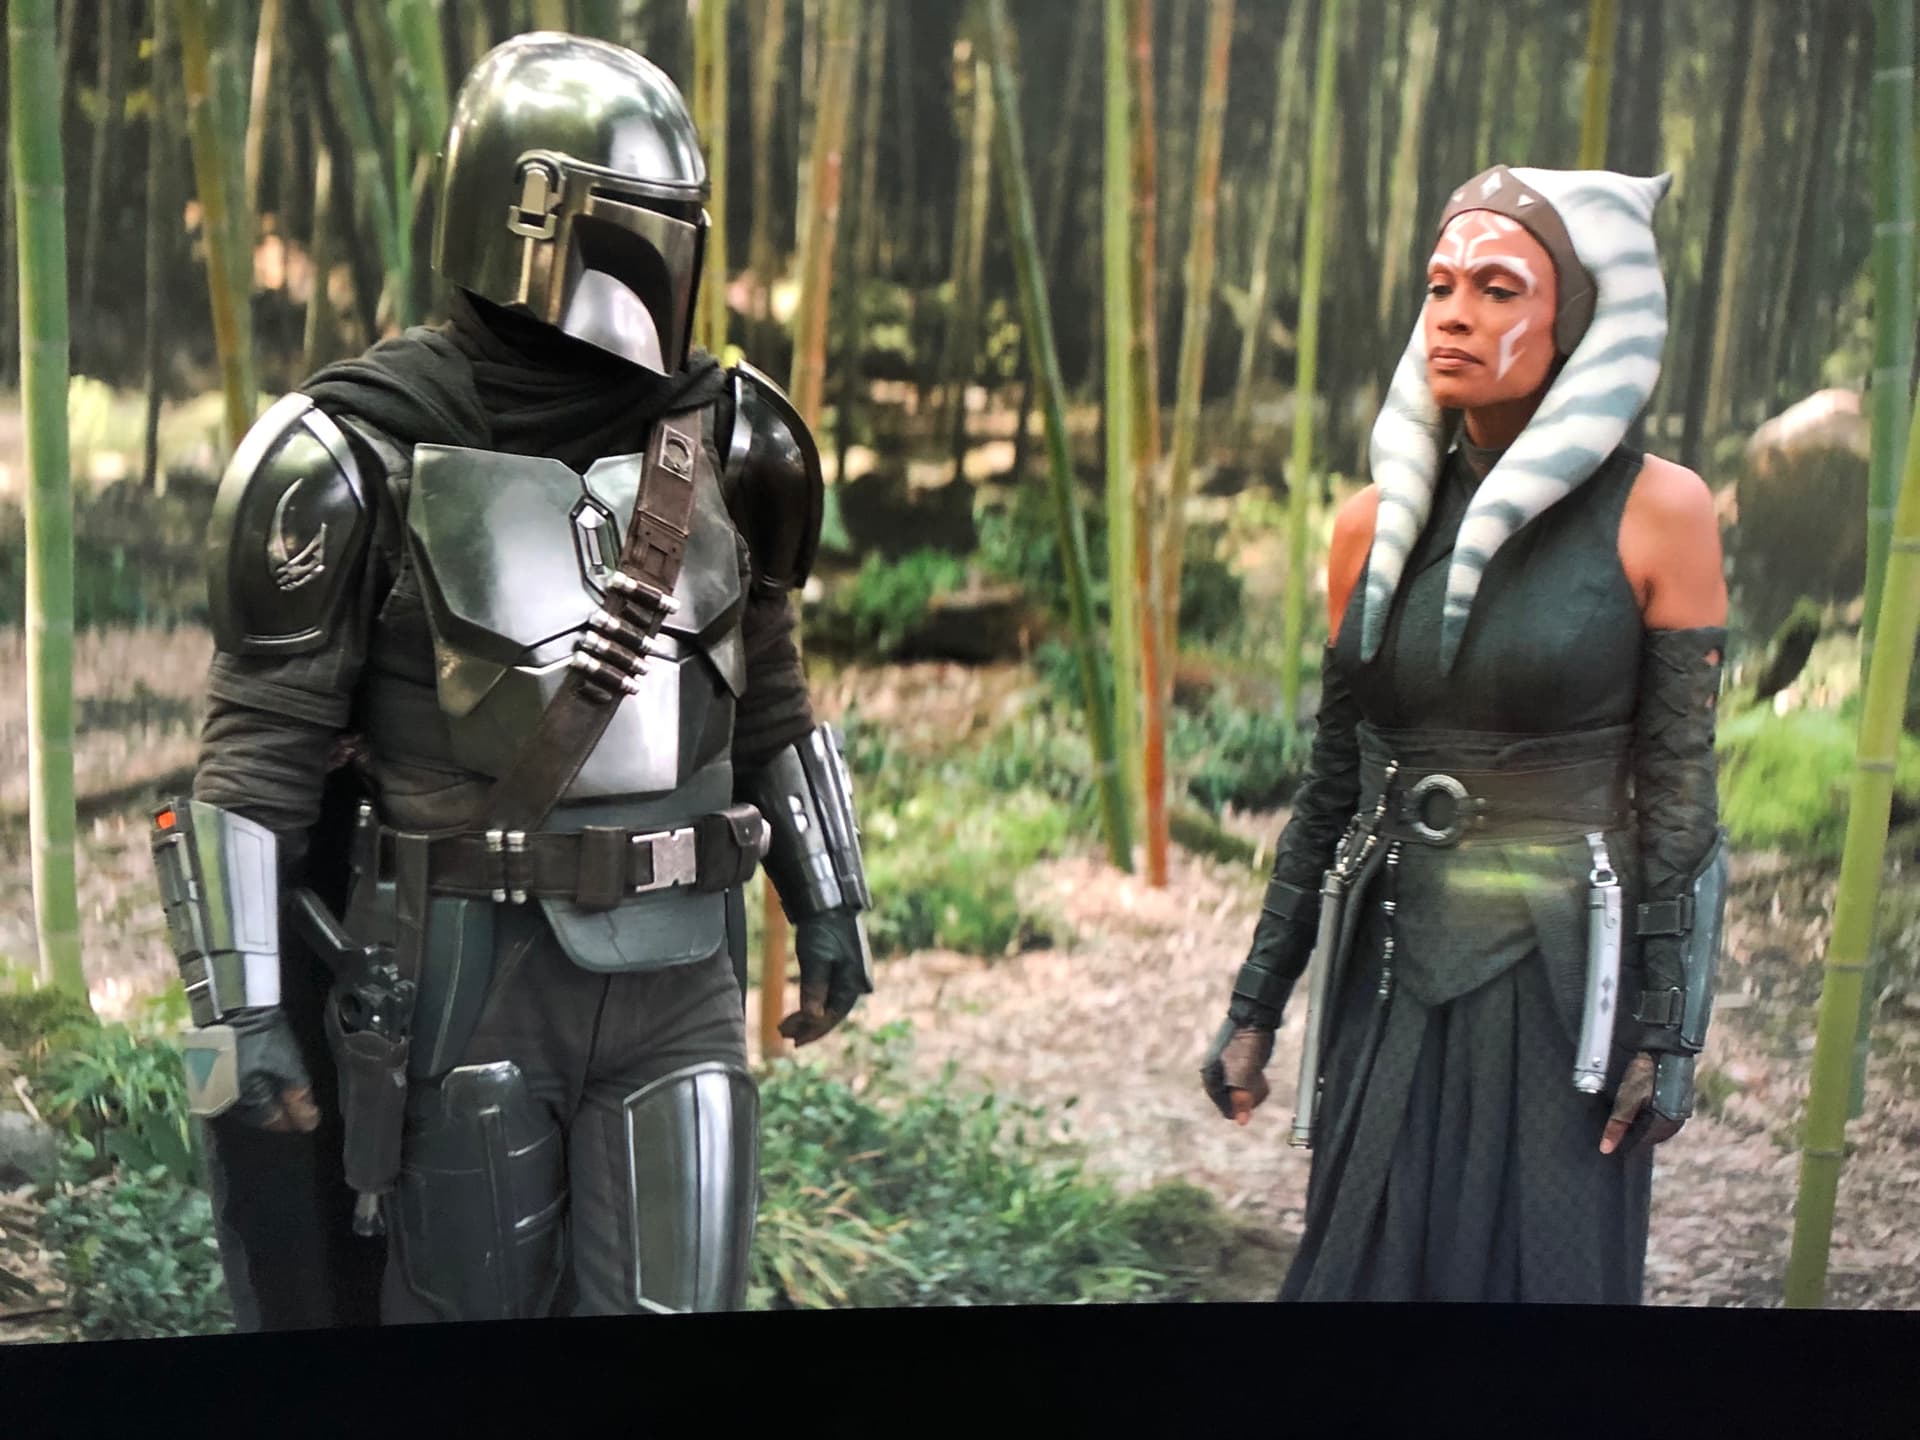
My projector is calibrated in accordance with the BT2020 color gamut. The difference you are seeing has nothing to do with the colors (dE for the colors is around 1.3 on average for the primaries and secondaries). It is the result of the difference in gamma tracking that our displays are using. A higher gamma (2.4 - 2.6) will push the contrast higher which resulted in a change in colors. What is your TV gamma setting? Yours look more like 2.2 - 2.3. For projector, we will usually for 2.35 - 2.4, sometimes even higher if we have a well-controlled room. ![]()
Previously I’ve calibrated my projector to DCI-P3 color gamut which does give a “red push” n general and it is fairly apparent when it comes to skin tone but otherwise, DCI-P3 is fantastic for “real life” documentary content where there is no bias in color manipulation by Hollywood filmmakers, it provides that “extra punch” to the overall contrast and depth. The shot using Asoka is clearly not a good depiction of what a human flesh tone should look like. to begin with. ![]()
Lastly, we should never use screenshots to make a conclusion of how the display looks like in real time. It is used more on what to expect from dynamic tone mapping, whether are we able to see more hues of green, red or blue in certain scenes (the clear benefits of HDR at work) and also the preservation of specular highlights in brighter scenes and how well it can retain shadow details in darker scenes. That’s what we are trying to showcase. But sometimes it can be hard to translate into print because of the different camera we use. Of late, I decided to take up some photography lessons using the Skills Future credits to learn more about photography. Just bought a Canon M50 Mark II EOS camera in X’mas and decided to put it into use since I can’t travel these days.
2 movie stills from this funny French movie, Big Bug…The images depicted here are “as close to the real image” of what I am seeing on my screen. The Lumagen Radiance Pro DTM is exceptional.
Exif Info for those interested:
Camera: Canon EOS M50 Mark II
Len Type: Sigma 30mm f/1.4
ISO: 200
Aperture: f/2.8
Shutter Speed: 1/5 sec
Exif Info for those interested:
Camera: Canon EOS M50 Mark II
Len Type: Sigma 30mm f/1.4
ISO: 800
Aperture: f/2.0
Shutter Speed: 1/40 sec
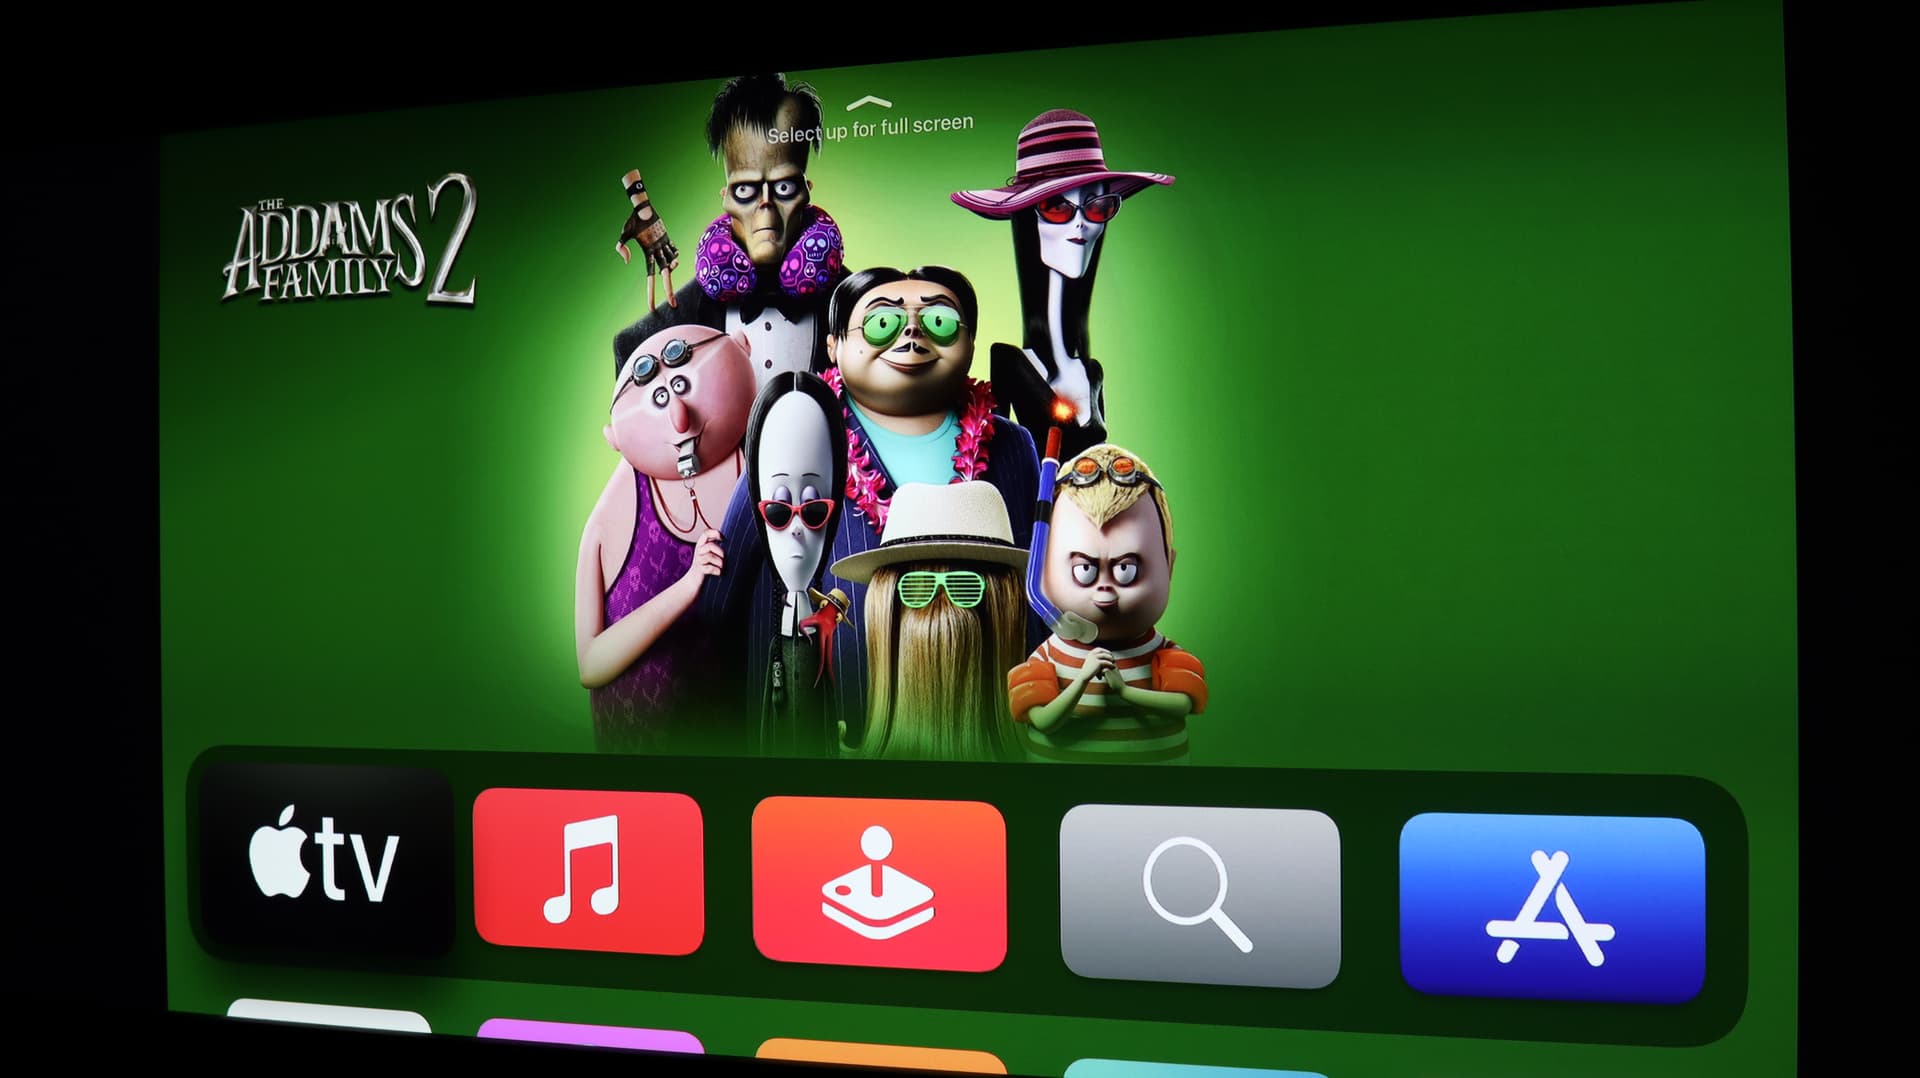
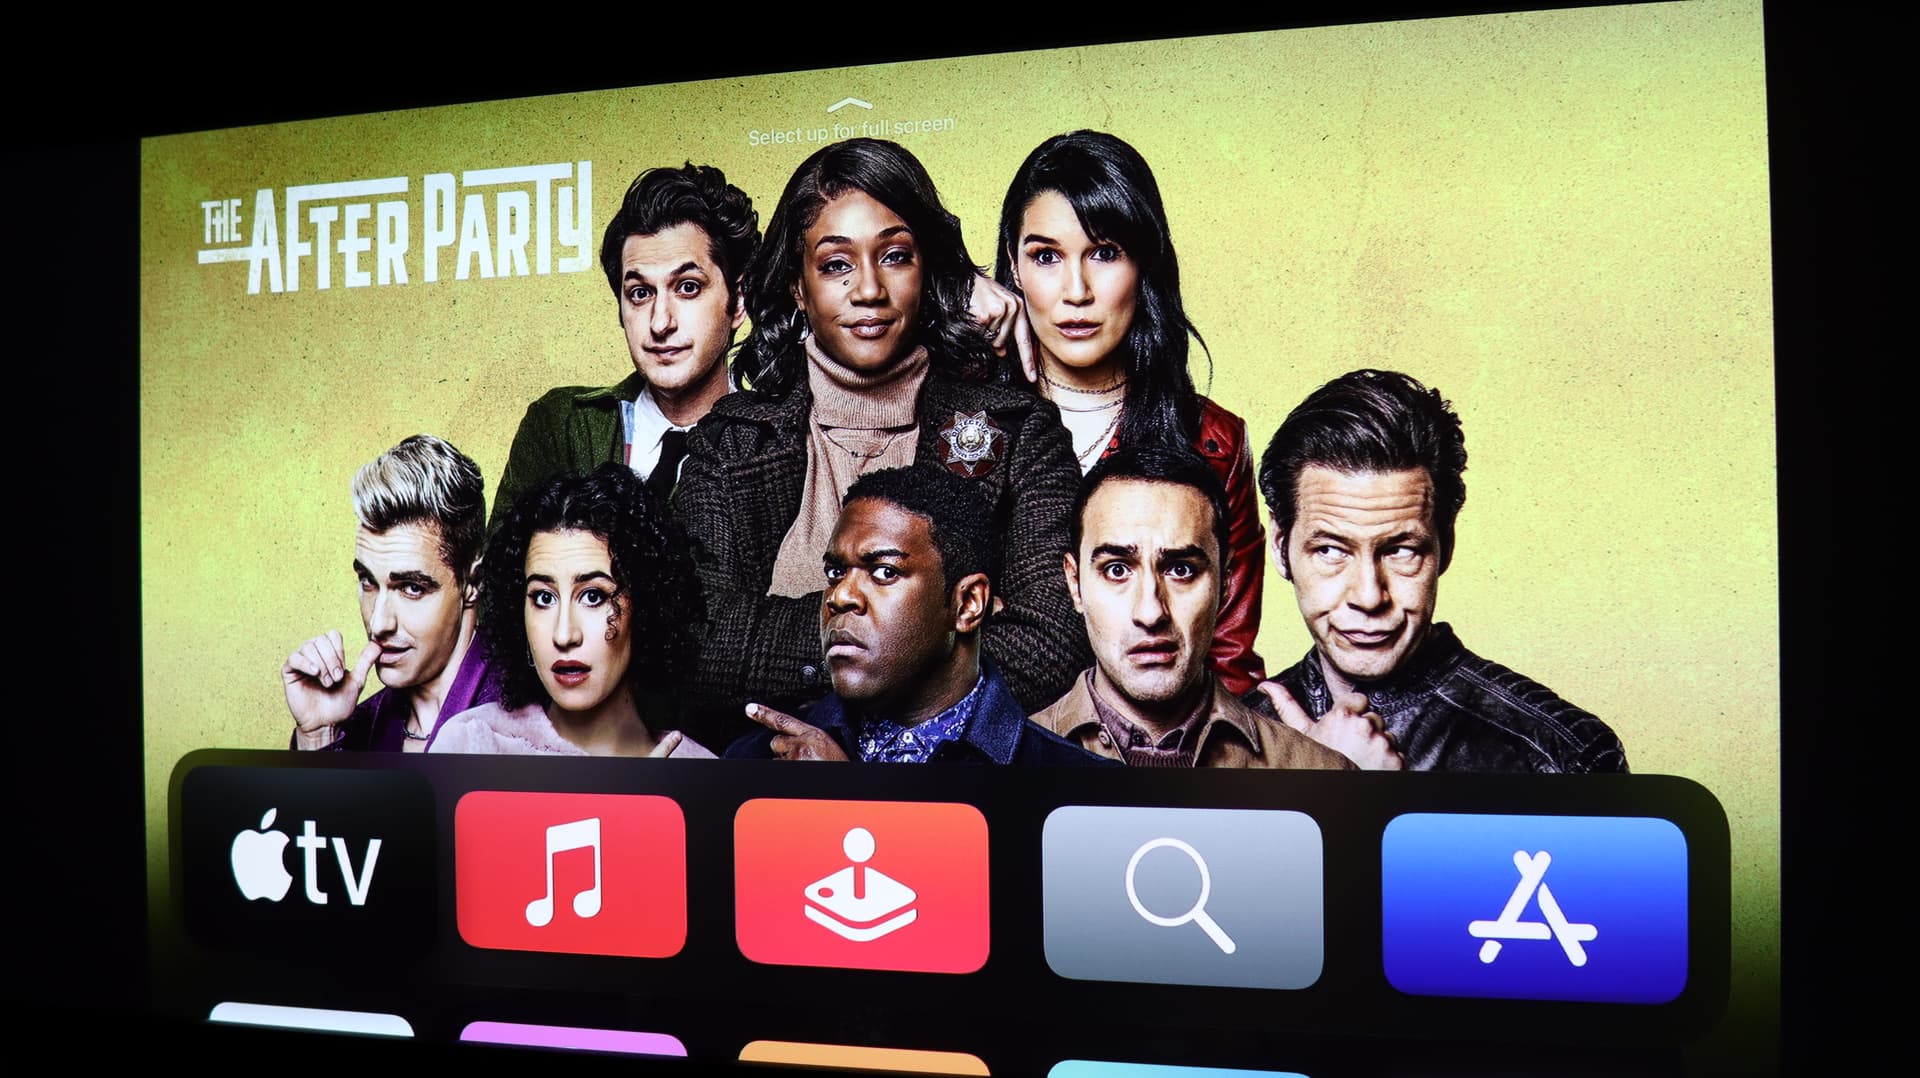
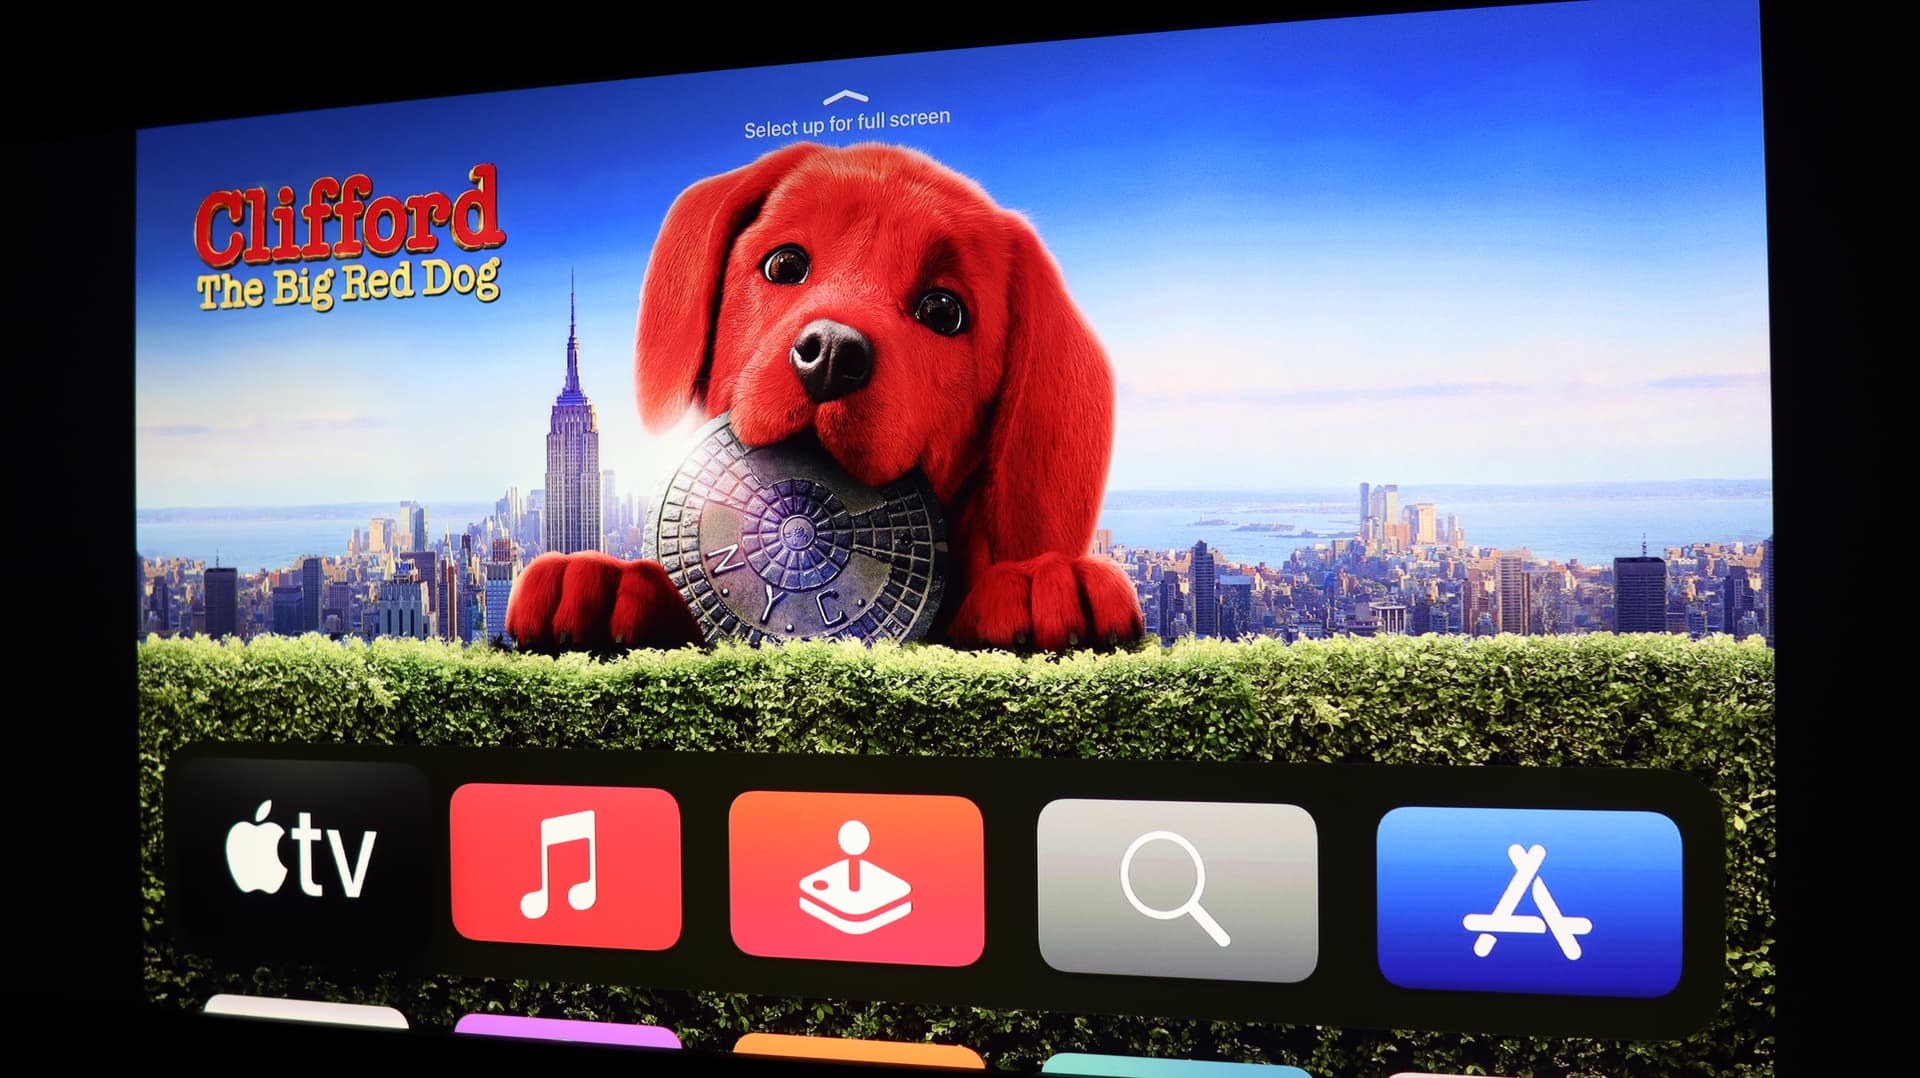
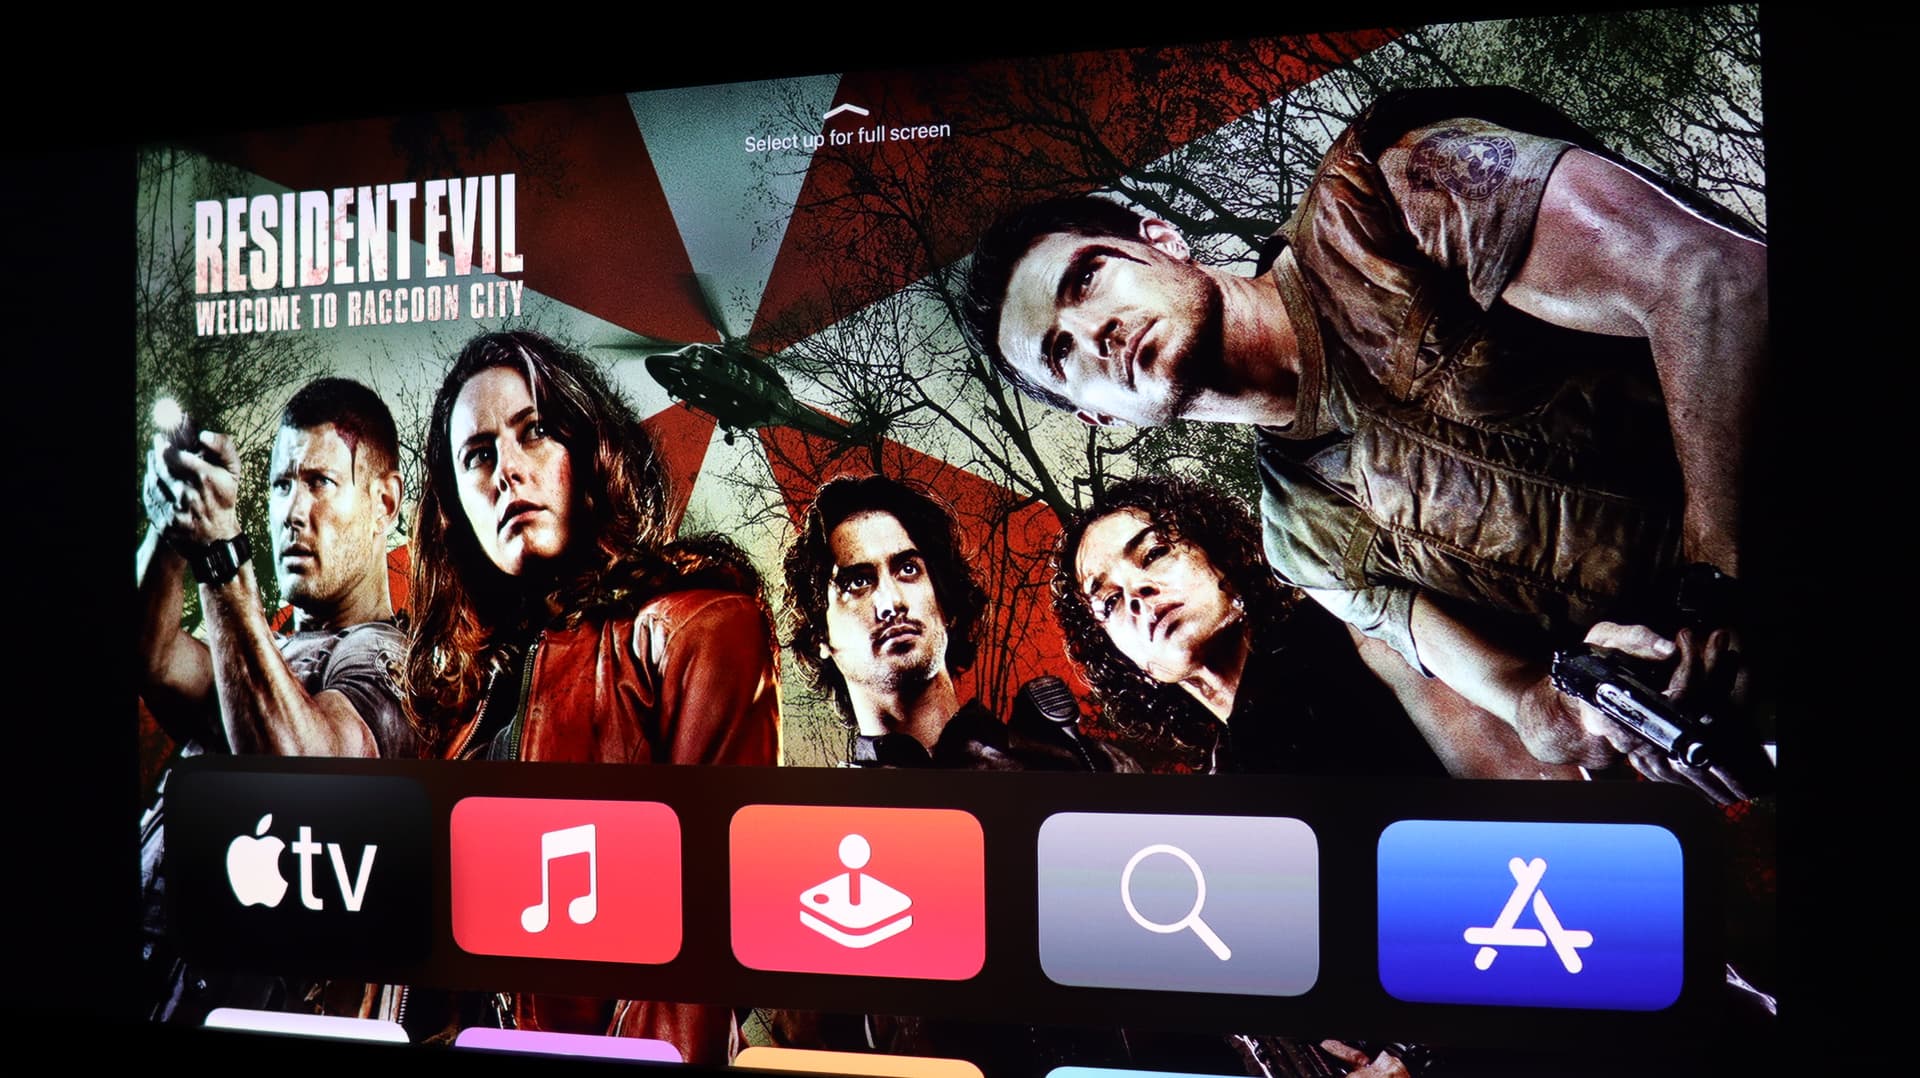
I loved Lumagen’s clean outlook when it comes to scaling…Here are some of the screenshots from Apple TV’s landing page. The resolution is in 4K SDR.
1 Like
My thanks to bro Wind for lending me his HDFury Vertex 2 to pit against the Lumagen Radiance Pro DTM. I will report on the findings soon.
2 Likes
Pls play till heart content. Should there be any settings that will yield good result close to lumagen, do share settings and what to change so folks who got the HDFury from me can also test. Hee hee.
Have a great weekend bro!
1 Like
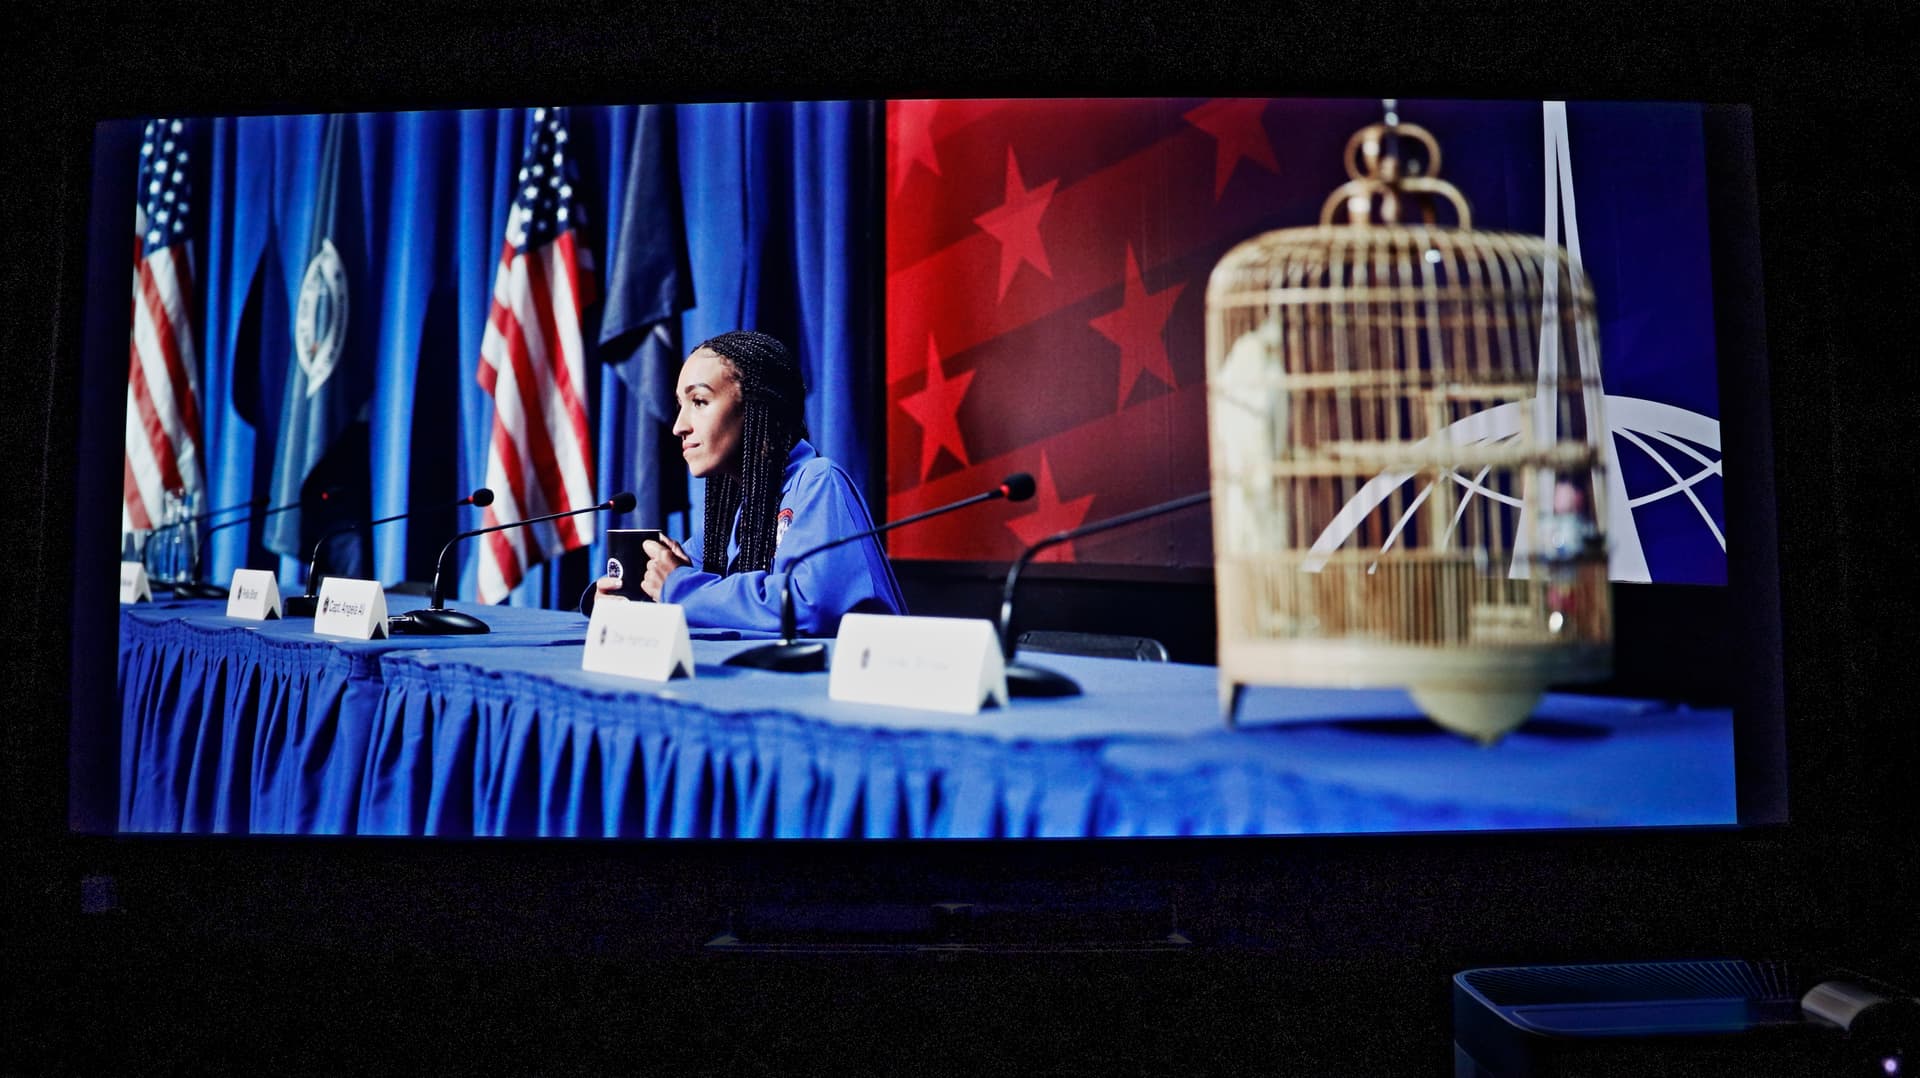
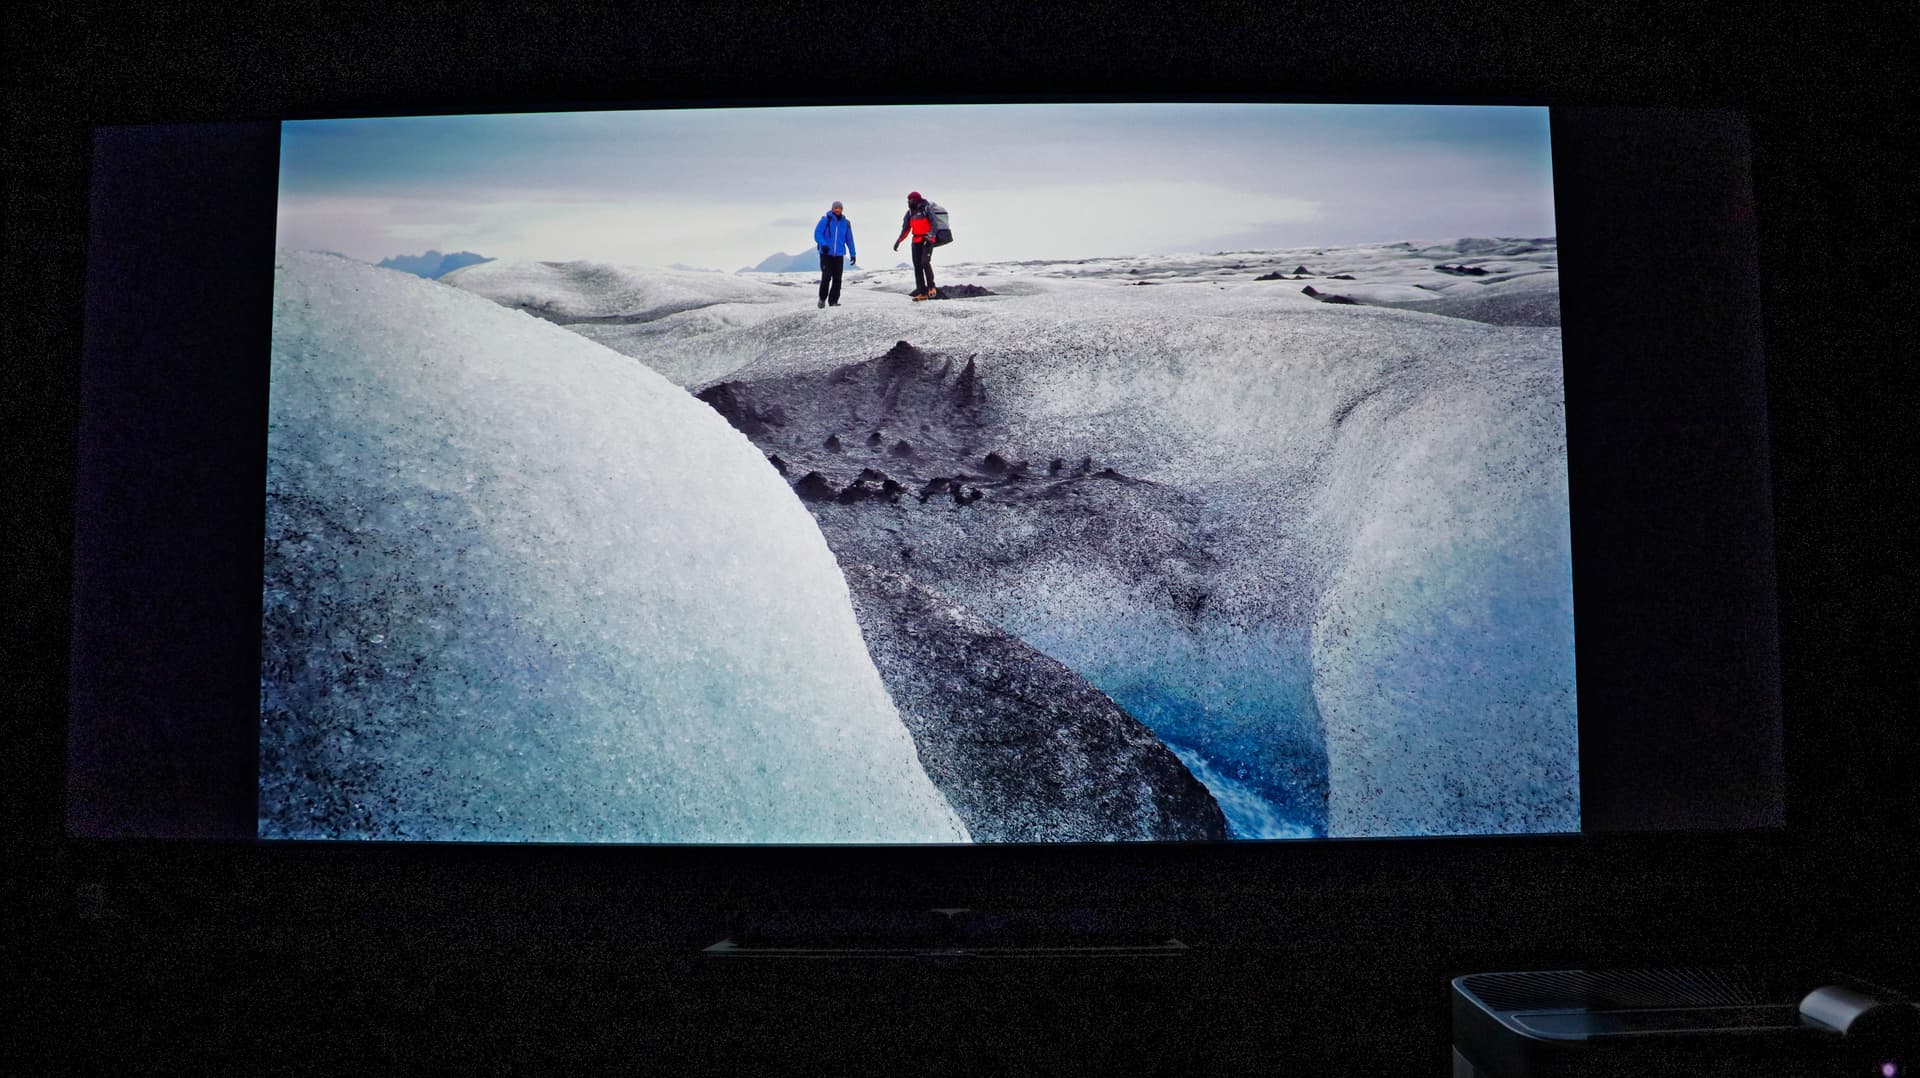
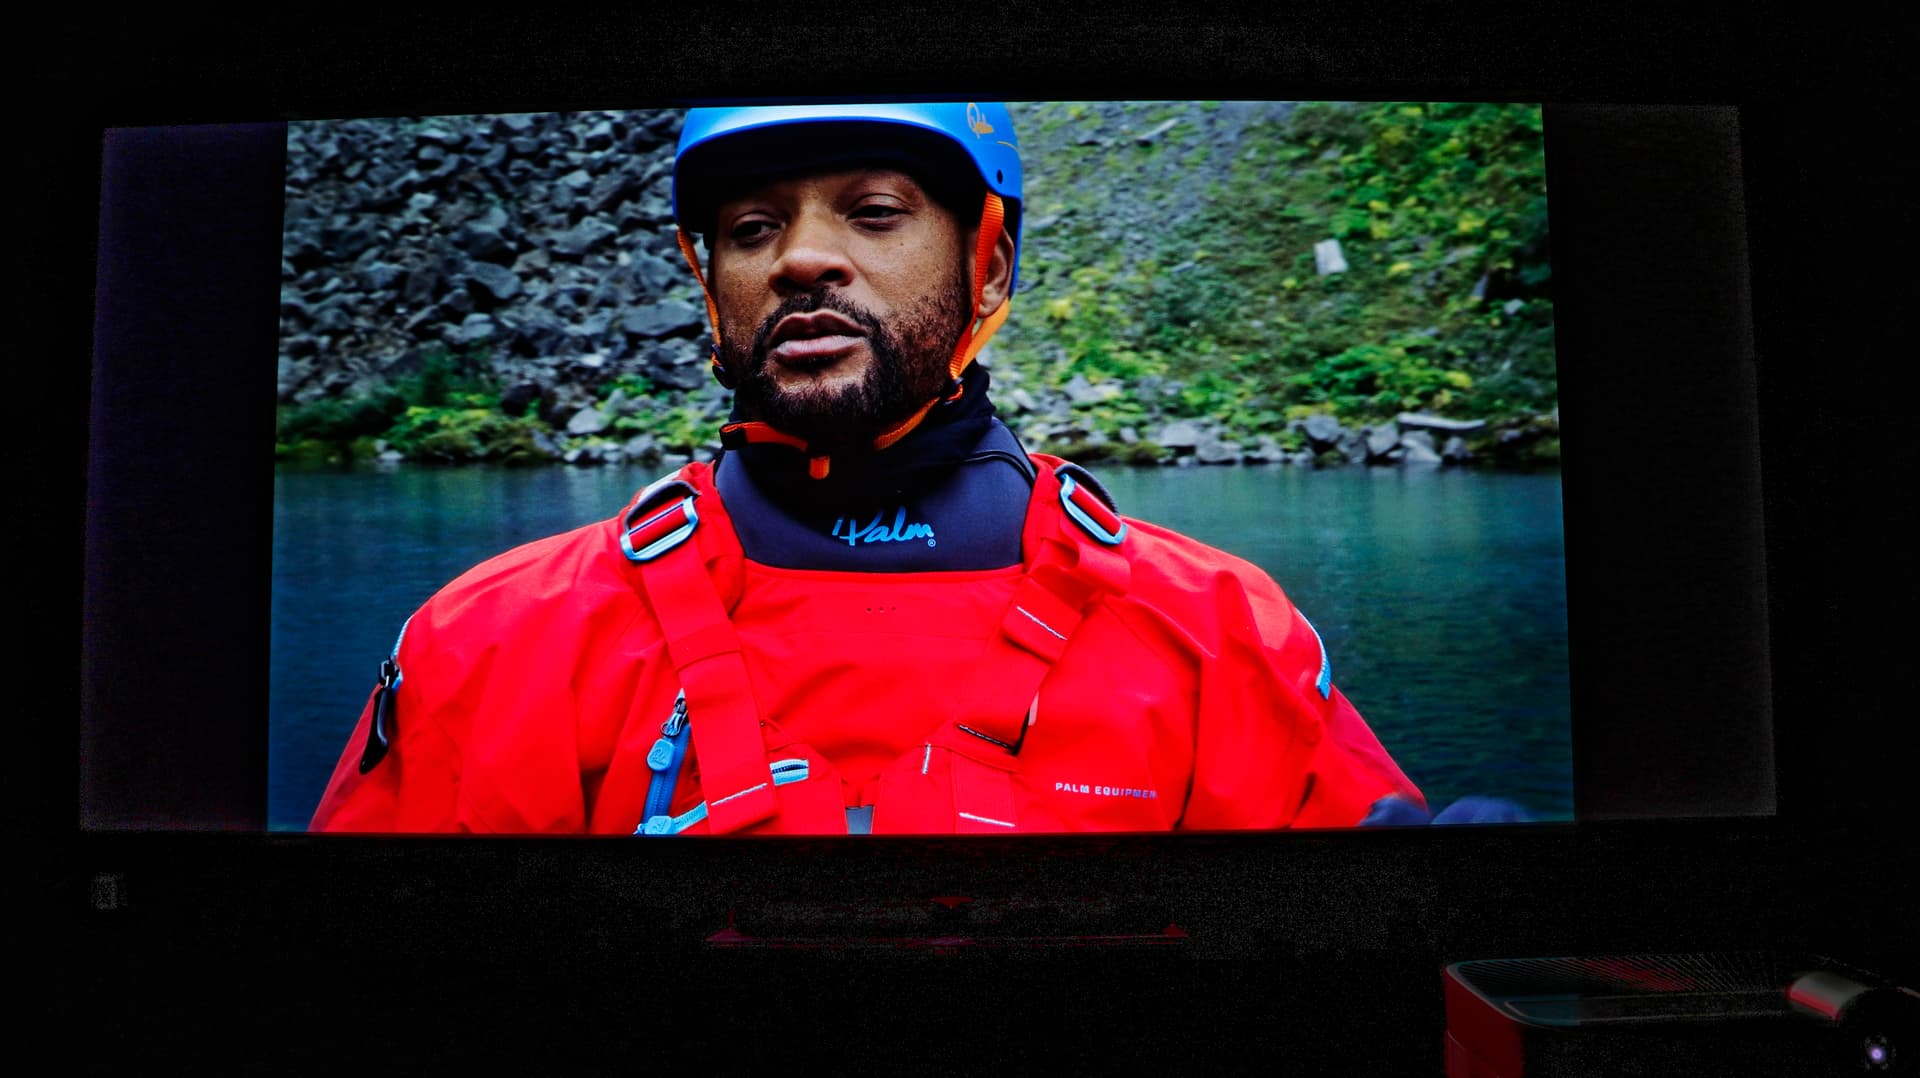
Played around a bit for about an hour or so…it sure brings back those memories. Here are some sample screenshots which I took with the HDFury Vertex 2 connected to my Sony 4K laser projector. As you can see, although in HDR, the picture did not look anything like HDR. This is perfectly normal but rather pay attention to how clean, sharp, and near-artifact-free image quality. I’m pretty impressed, to say the least.
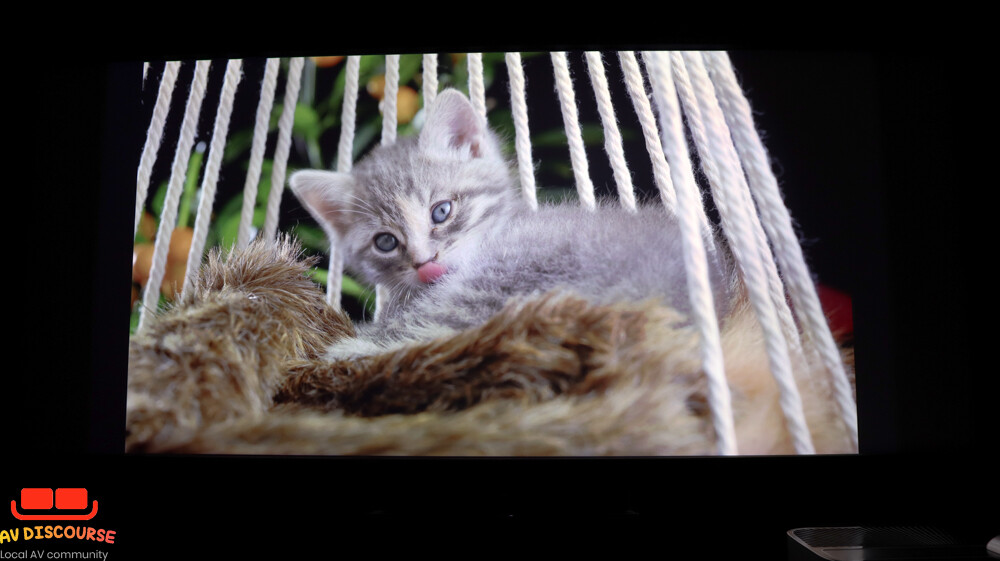

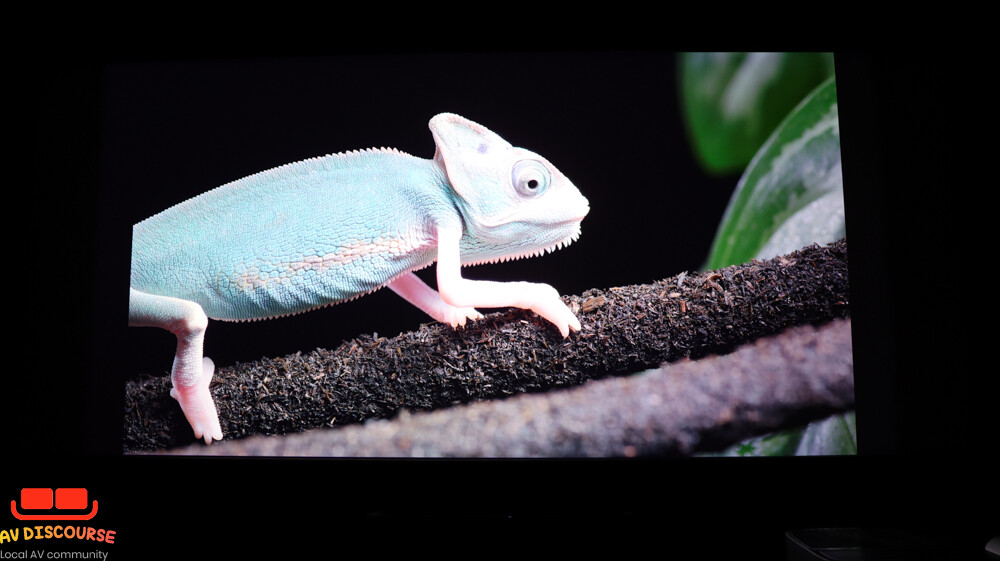
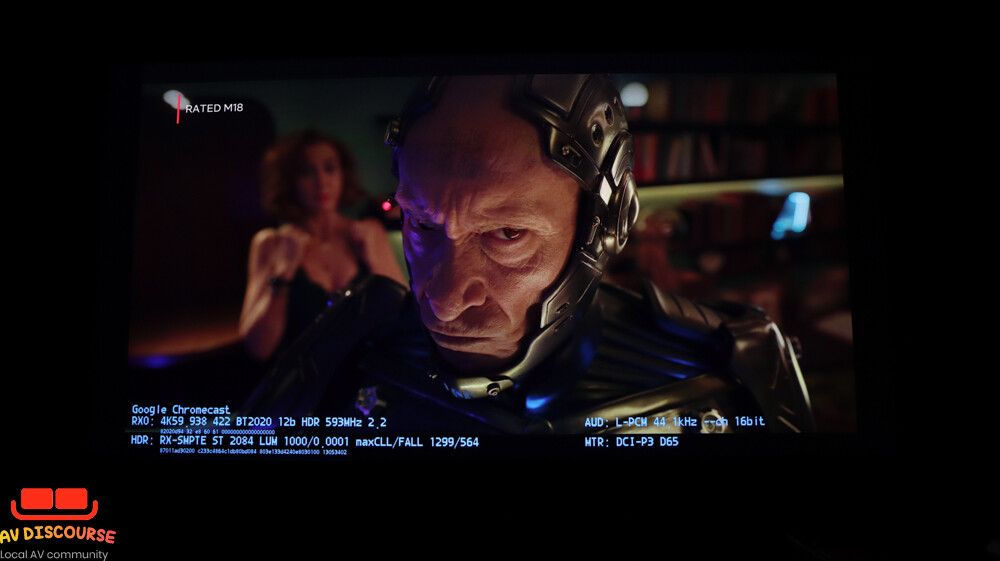
First and foremost, we are not comparing apples to apples here because my calibrated settings are stored in the Lumagen Radiance Pro. Hence any disconnection from my LPR will not result in good colors and black levels and this is to be expected. My objective here is NOT to evaluate the colors and black levels but to see how well HDFury Vertex 2 can do dynamic tone mapping using LLDV spoofing algorithm. Without going too much into details, I’m happy to report that in terms of DTM, Vertex 2 does hold its candle against the LRP albeit a certain level of softness in the overall image quality is present when compared to the LRP which has a far more superior onboard video scaling. The video scaling on LRP is one of the best in class that I have seen.
The Vertex 2 will engage the HDR mode on my Sony 4K laser projector when playing back HDR content and this is to be expected. While the Vertex 2 does a decent job in the tone mapping for HDR content, it will require the owner’s ability to calibrate HDR10 in accordance with the SMPTE 2086 colorimetry. This proves to be a challenge for most of us since one will need to possess the technical know-how and the necessary hardware like colorimeter and calibration s/w (CalMan or Chromapure) to really take advantage of it. If you are using a projector as I do, you will need to do a proper calibration to get the best out of Vertex 2. If somehow, you are able to nail the HDR calibration, you will be happy with the end results. What impressed me the most is how clean and solid the image is. There are literally no video artifacts that I can spot and furthermore Vertex 2 cycling/syncing between HDR>SDR and different refresh rates (e.g. 60fps > 24fps > 60fps) is way faster and more responsive than LRP, making navigating a joy.
Unlike Vertex 2 which simply send the HDR flag to the display (projector or TV) to activate the HDR mode. The LRP uses inverse SMPTE 2084 (EOTF) and use BT2020 in SDR container instead of HDR. This is a clever way to achieve both SDR (BT 709) and BT2020 (HDR) colorimetry with ease. The reason why LRP is such an expensive piece of gear is the amount of computing power that it does in the background by analyzing the EOTF values of various scenes and frames on the fly and sending it over to the display (projector or TV).
As I have mentioned earlier, it is not possible for me to make any meaningful comparison of the overall HDR image quality since my projector is calibrated to conform to SDR BT2020 container with LRP taking in all the HDR metadata and doing all the necessary conversions for EOTF values whereas, for the Vertex 2, it simply spoofs the display to be LLDV compatible. This will benefit devices like Zidoo Z9X and Oppo Bluray players which allows for player-led DV to occur at the device level. If we think about it, both LRP and Vertex 2 are in fact using player-led methods to do dynamic tone mapping (DTM) but the execution is different. Think of LRP as a dedicated video scaler device with a lot of computing power while Vertex 2 simply does a “passthrough” of the HDR metadata and forward it to the display to handle the tone mapping - e.g. JVC frameAdapt HDR mode that occurs at the projector. If your display is calibrated to proper HDR level, it will not look good even if it retains plenty of specular highlights and shadow details.
Another question that many would like to know. Can I connect Vertex 2 to a LRP? The simple answer is no. It simply does not make any sense. The reason is actually very simple and logical. The way the 2 devices worked is different, there is no “common ground” to begin with.
My advice is to get either one for better HDR tone mapping. Vertex 2 will not get you better 4K colors or deeper blacks and better shadow details. That will depend on how good your display is in handling HDR. If you go the Vertex 2 or VRRoom route, pls ensure to do a proper calibration for your display to reap the benefits of Vertex 2. If you have the money to spend, Lumagen RP will be one fantastic piece of hardware to own. It is a 3-in-1 one-box solution for exception video scaling for your 1080p content to upscale to near 4K-like, it also work with calibration s/w like CalMan and Chromapure and lastly, it is able to do DTM on the fly!
Awesome comparison! Did you use calman to calibrate?
It’s undeniable fact that calibration is inevitable. Am more interested how the calibration is being done for lumagen
No. I’m using Chromapure. Actually I intend to conduct a calibration tutorial at my place to teach member on the basics of video calibration and how to use Chromapure using Lumagen RP. Unfortunately, I have to abort the idea due to the Omicron wave.
1 Like