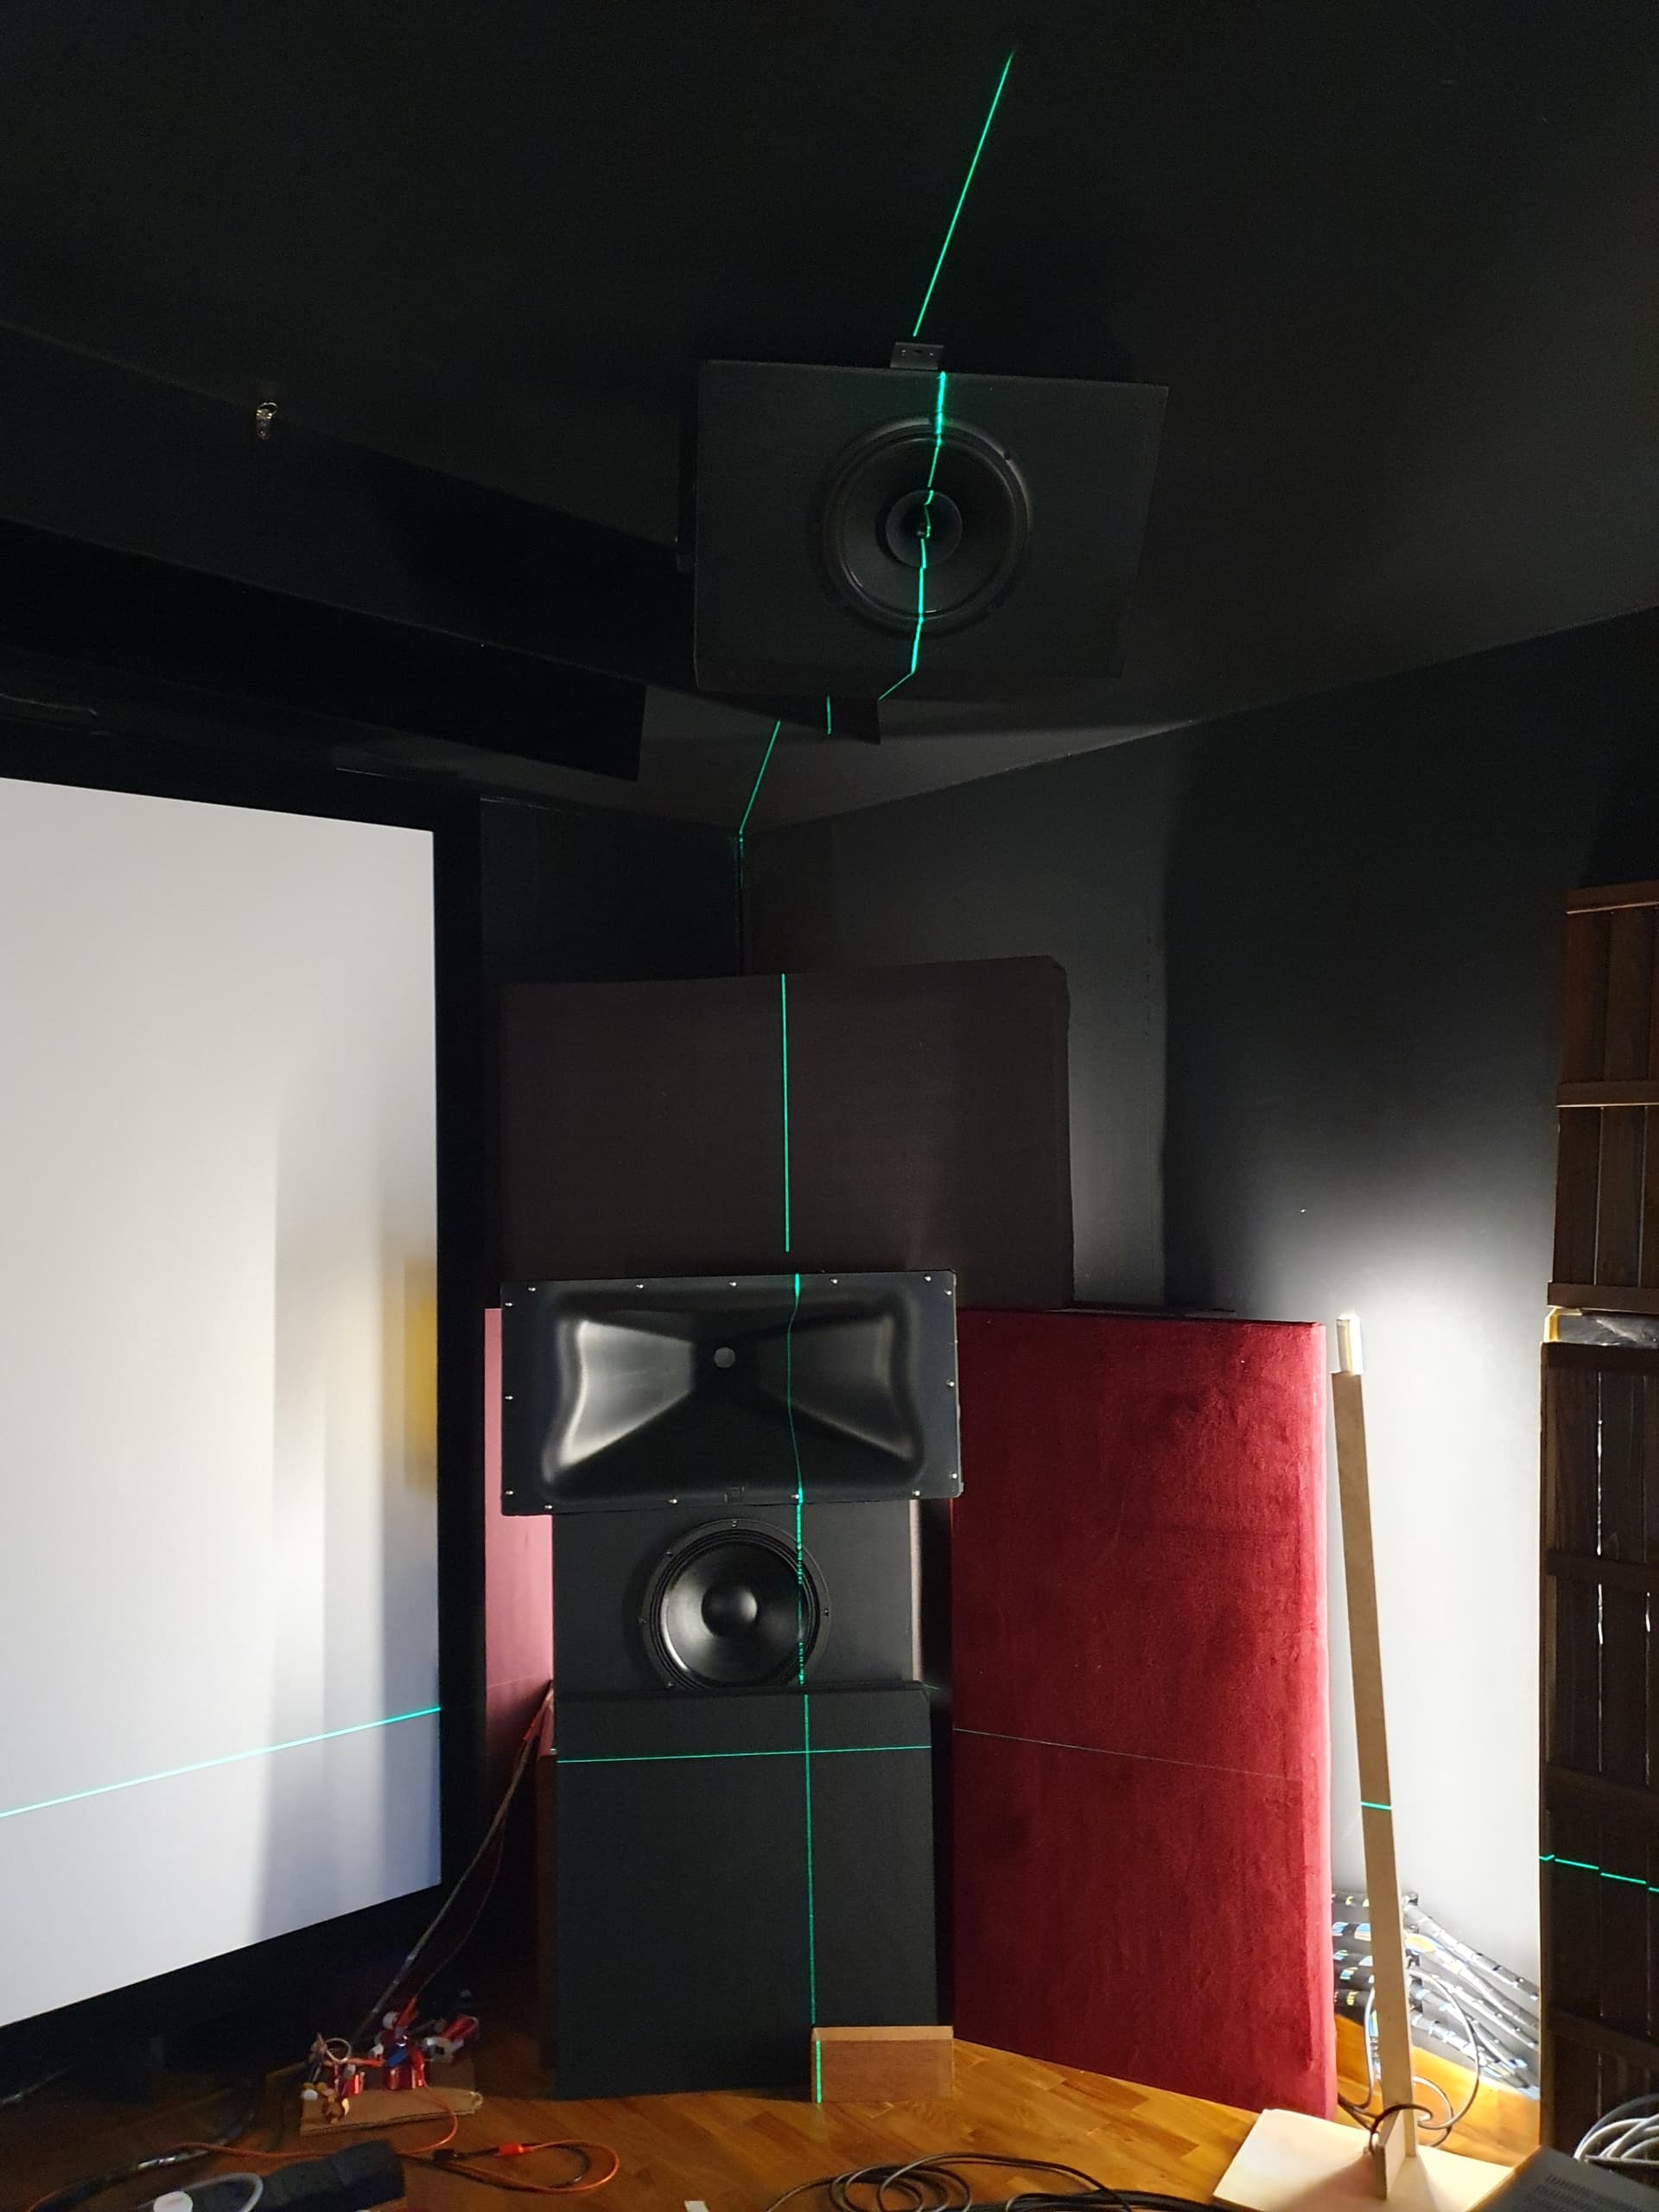
After a few rounds of calibrations and ironing out some mistakes, finally starting to realize the potential of the system. Quite satisfied with the bass performance, it it feels little value at this stage to work further on the full range channels aspects. Currently crossed at 60hz bass management.
Currently building up the 4 pre-cut woofer cabs for the 2x12 for each LR mains. But really the 1x18 is working very well. Should really maximise return on efforts, ie starting on the atmos build.
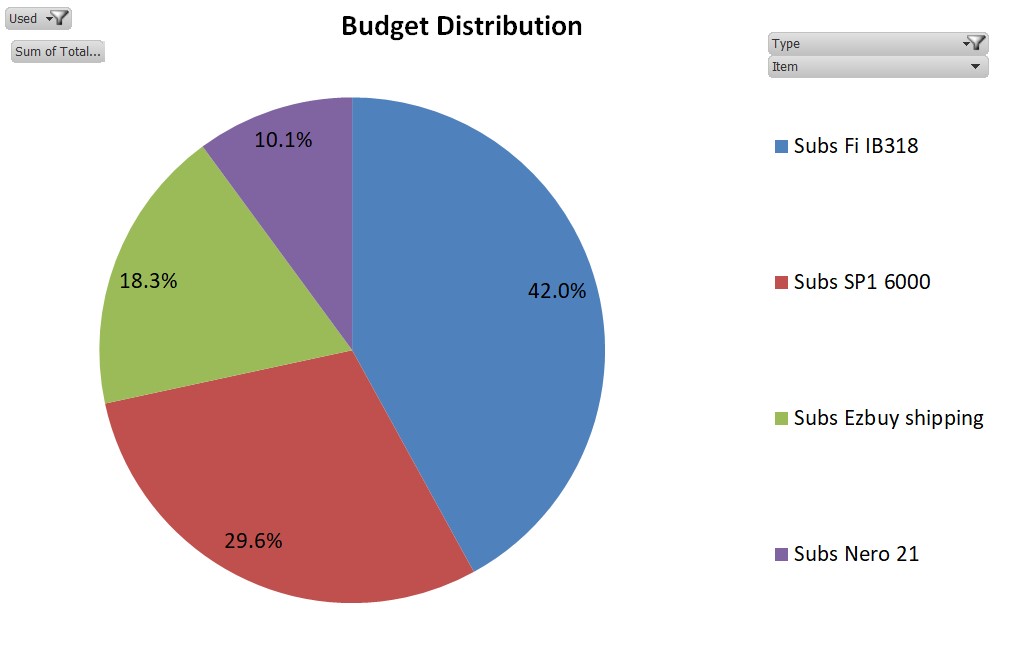
With this chapter complete, too the opportunity to document and update a bit of details on the resources spent on the room so far. Have it broken down by major categories.
Biggest chunk by far is the AVM90 processor, that one was a leap of faith. Given the rest of my gear decisions, the natural choice would have been the AVM70 hehe.
Next is the Subs, a inescapable part of the room. Further breakdown of the details - shipping was a big ouch!!
Just sharing what the Taiwanese are doing. They say the atmos sounds fuller and scenes like airplane flying overhead sounded more realistic. I watch a Chinese calibrator named Ken also promoted this idea, he mentioned he saw it done in a Dolby atmos cinema in US. So sharing with bros here who has the hardware n space to try it.
I know everyone says bass is Omni directional, but ever since I experienced a jet plane flying over me and hearing the roar/bass tracking overhead with the plane, I believe there’s more to it then that. Just can’t forget that feeling lol
It’s possible for the “same” reason…“bass is omni-directional”. If can blend in well with the “other” speakers, I believe it will indeed be something scintillating.
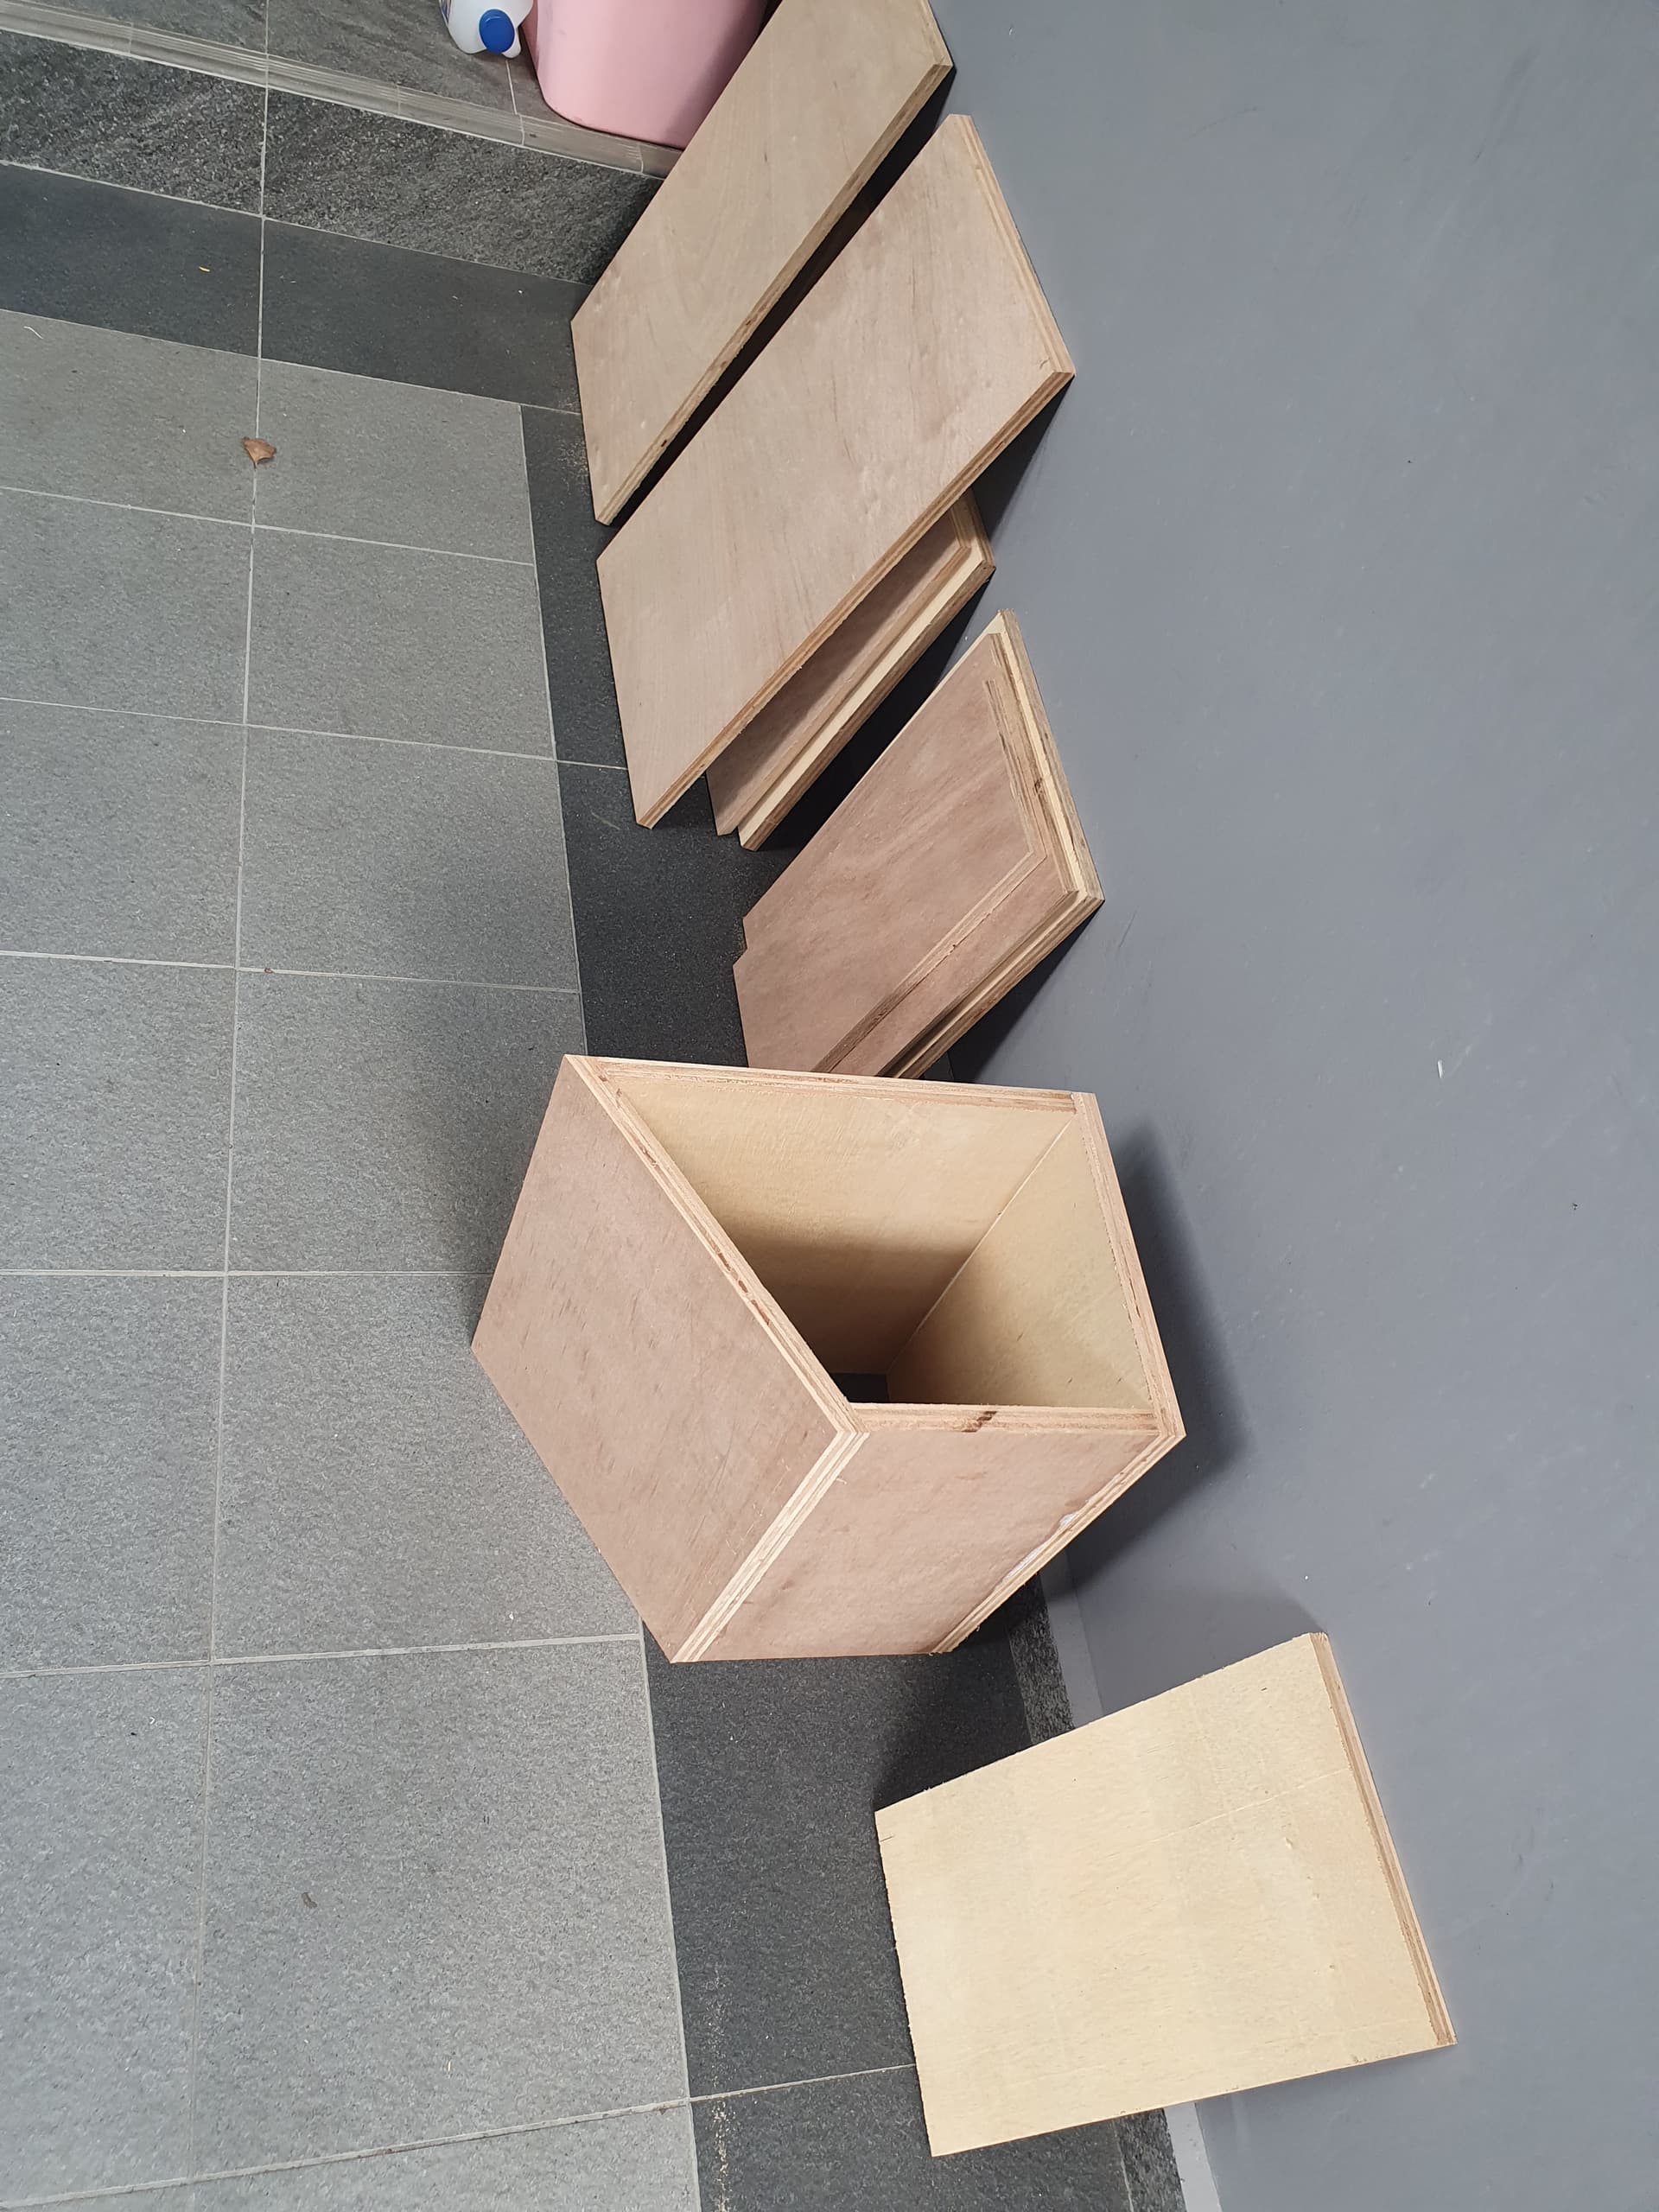
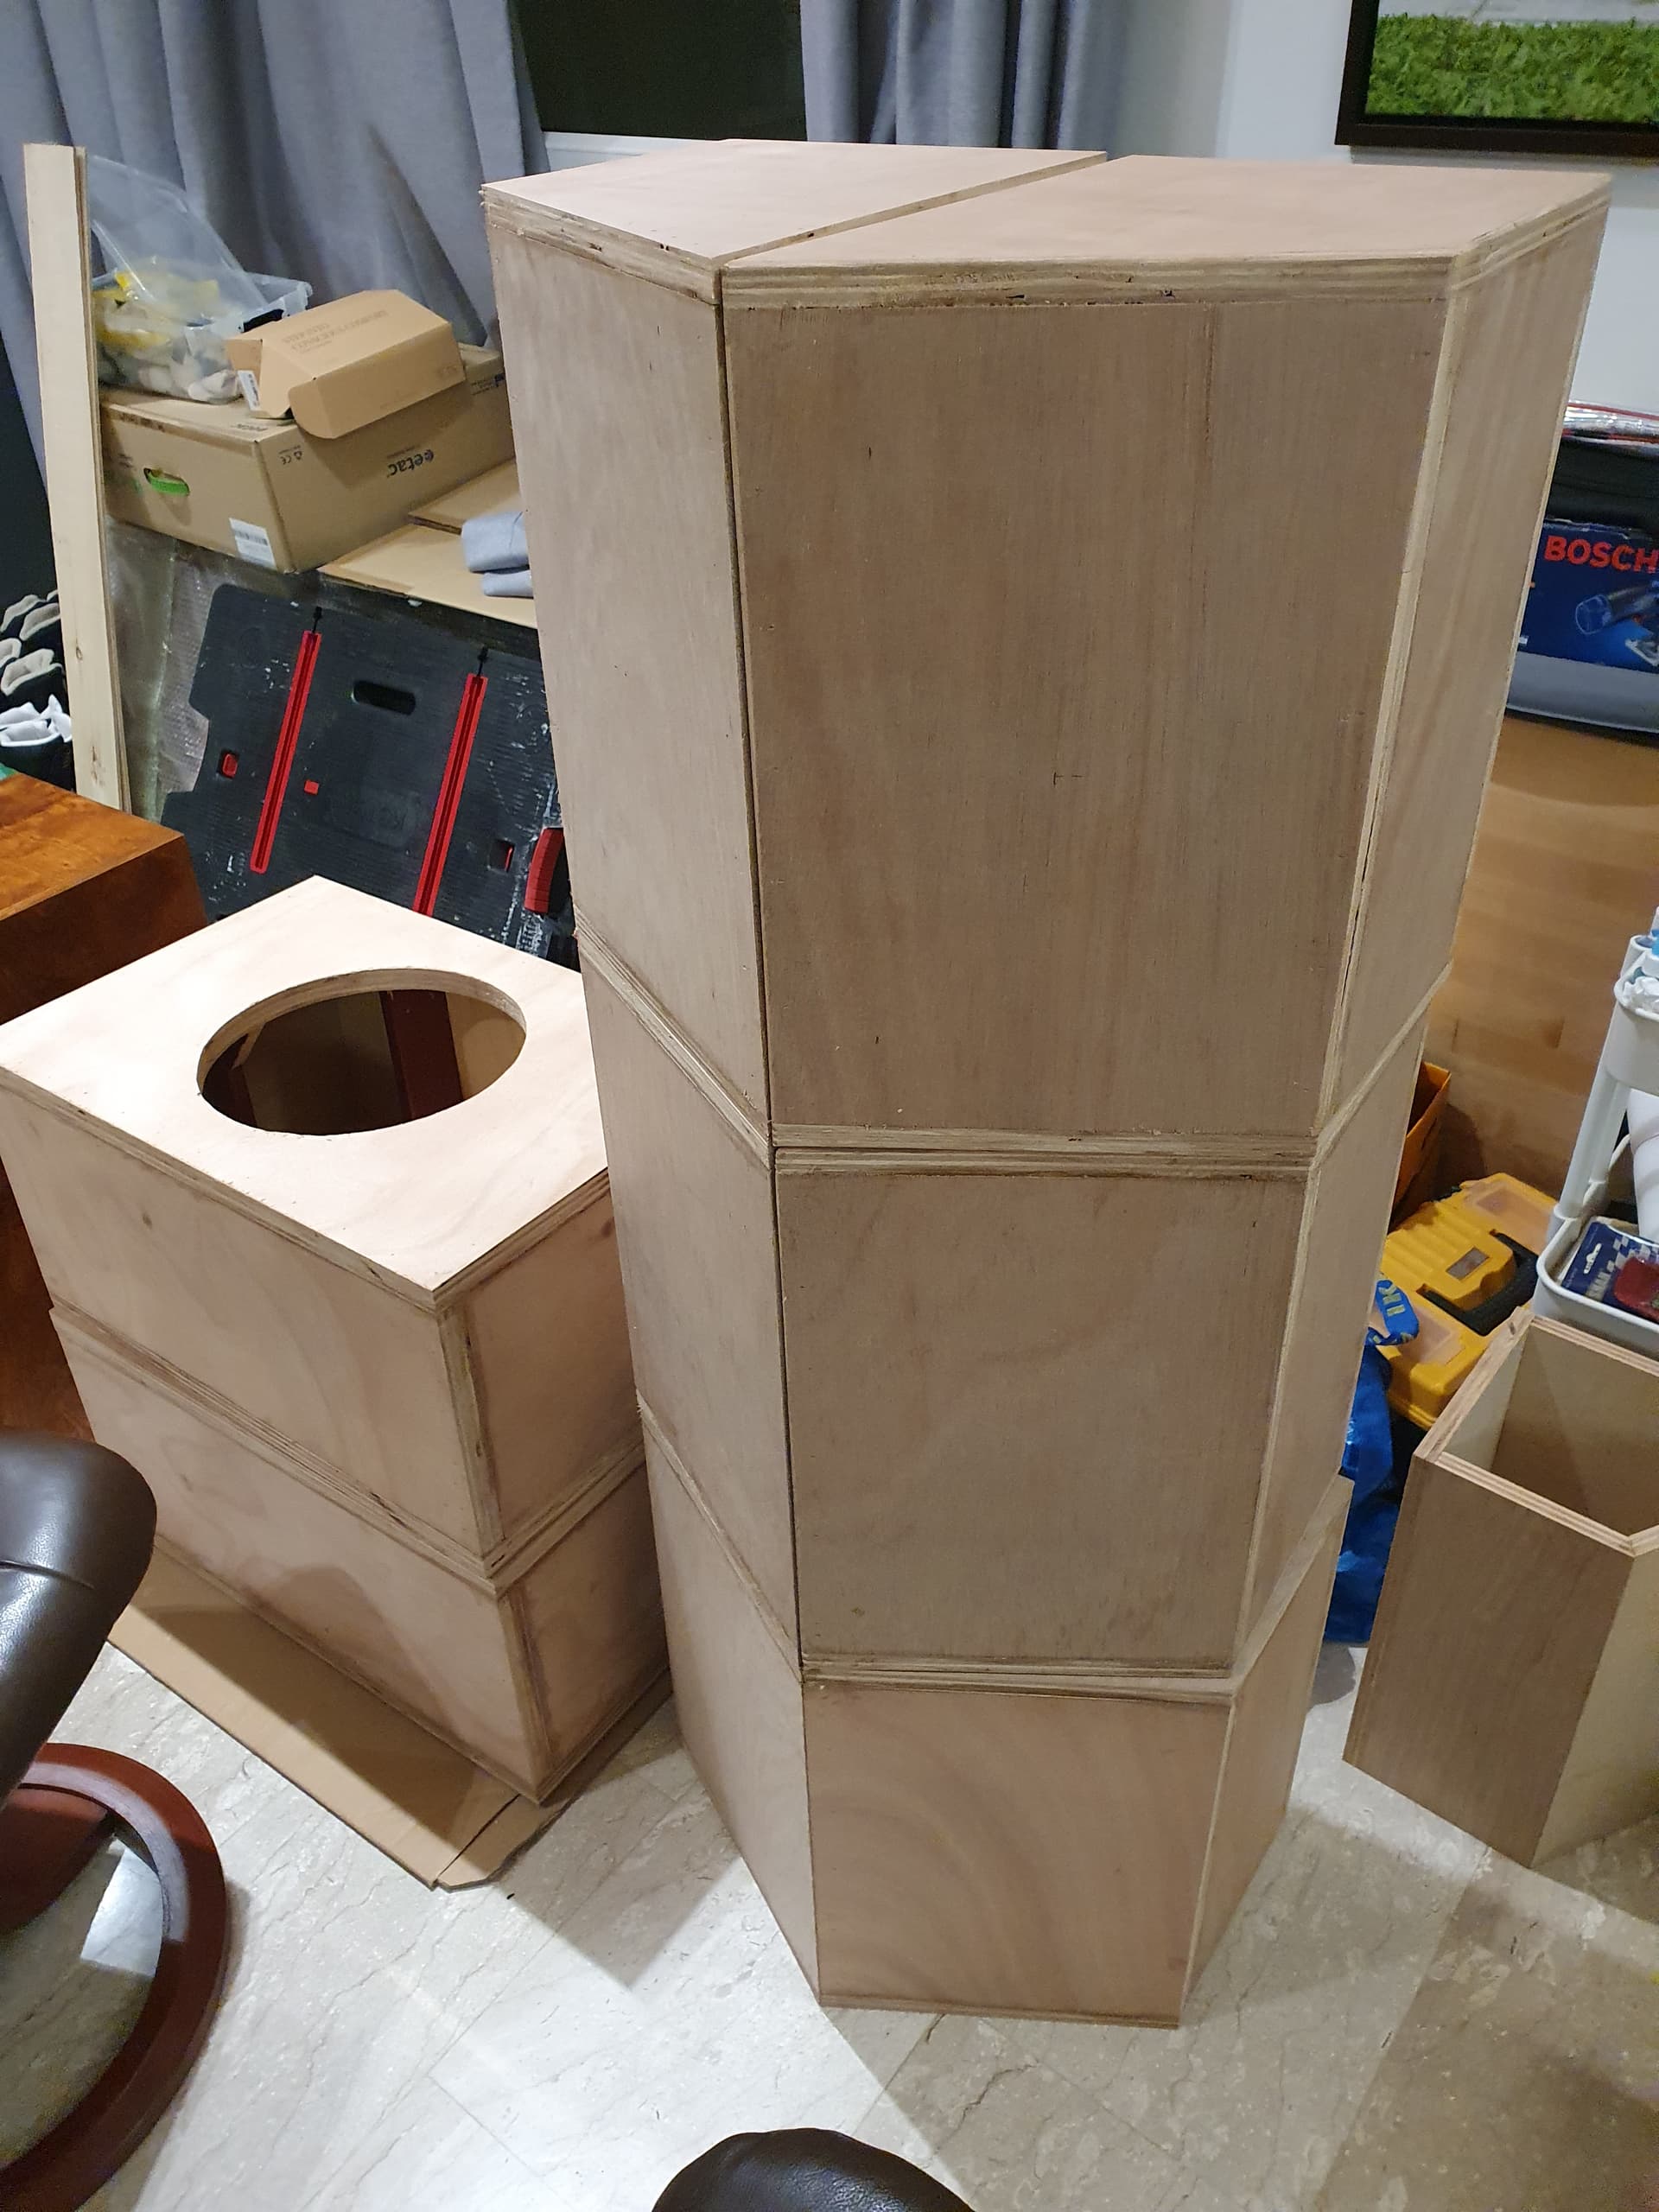
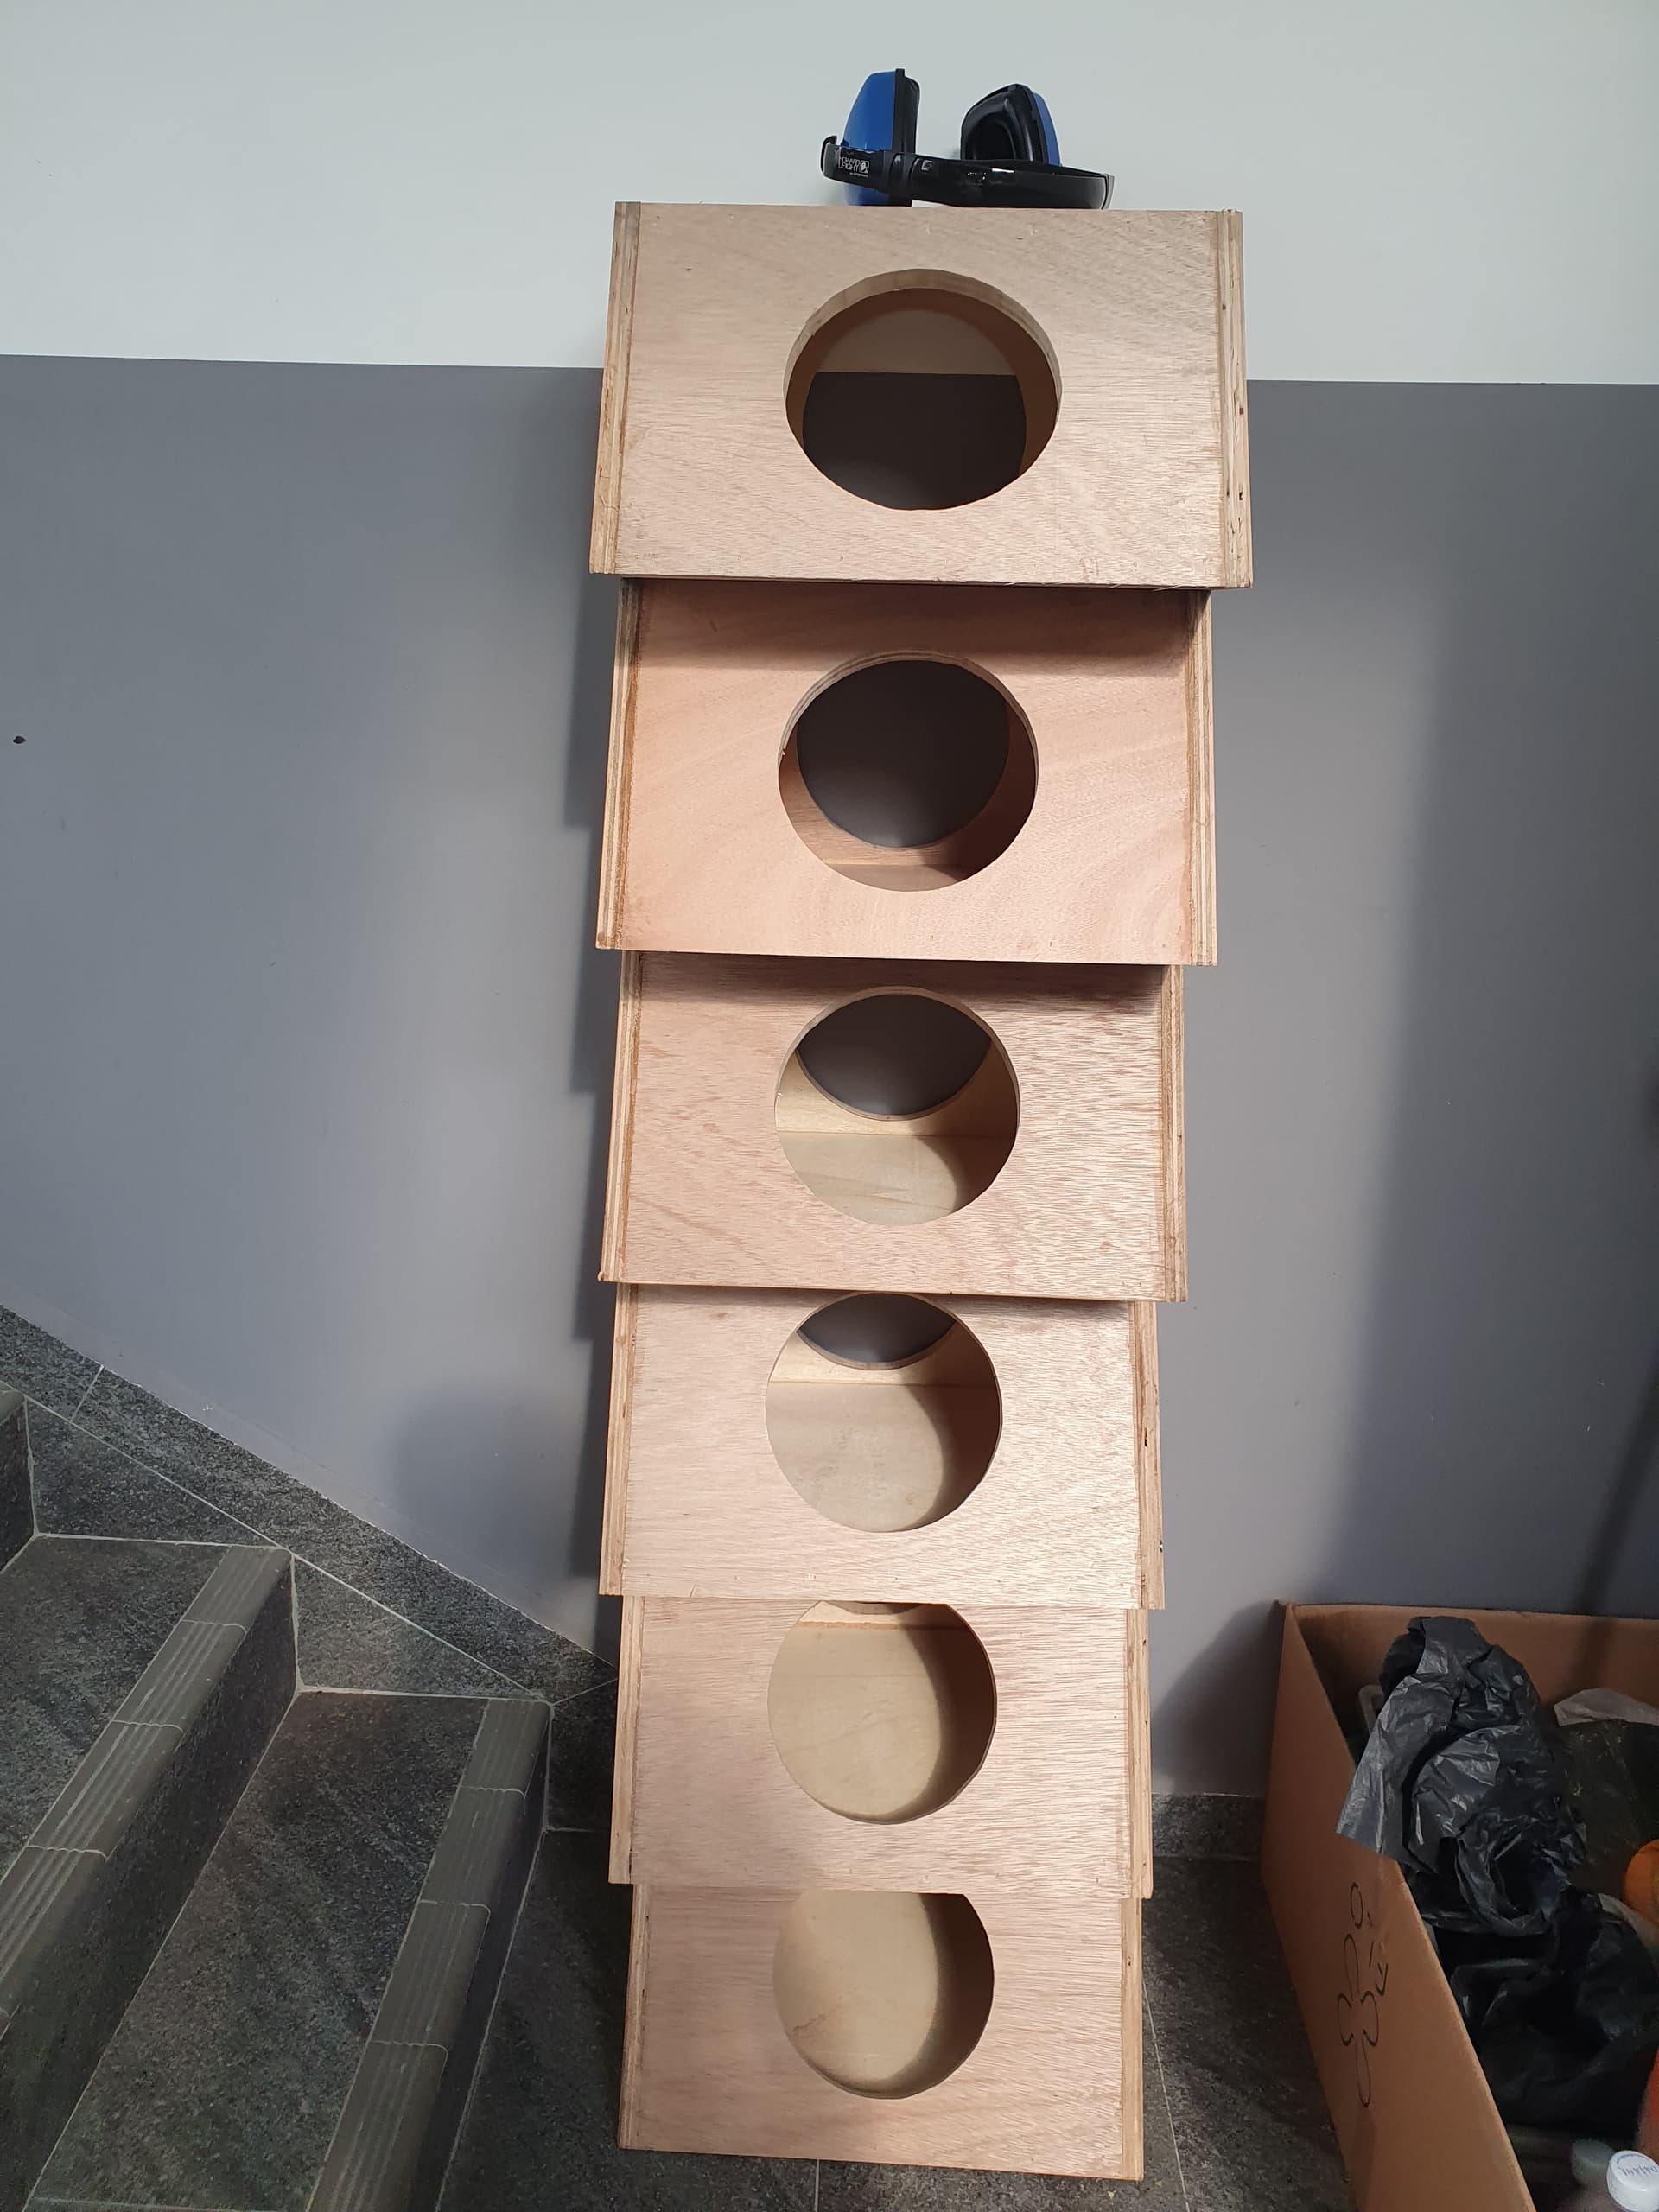
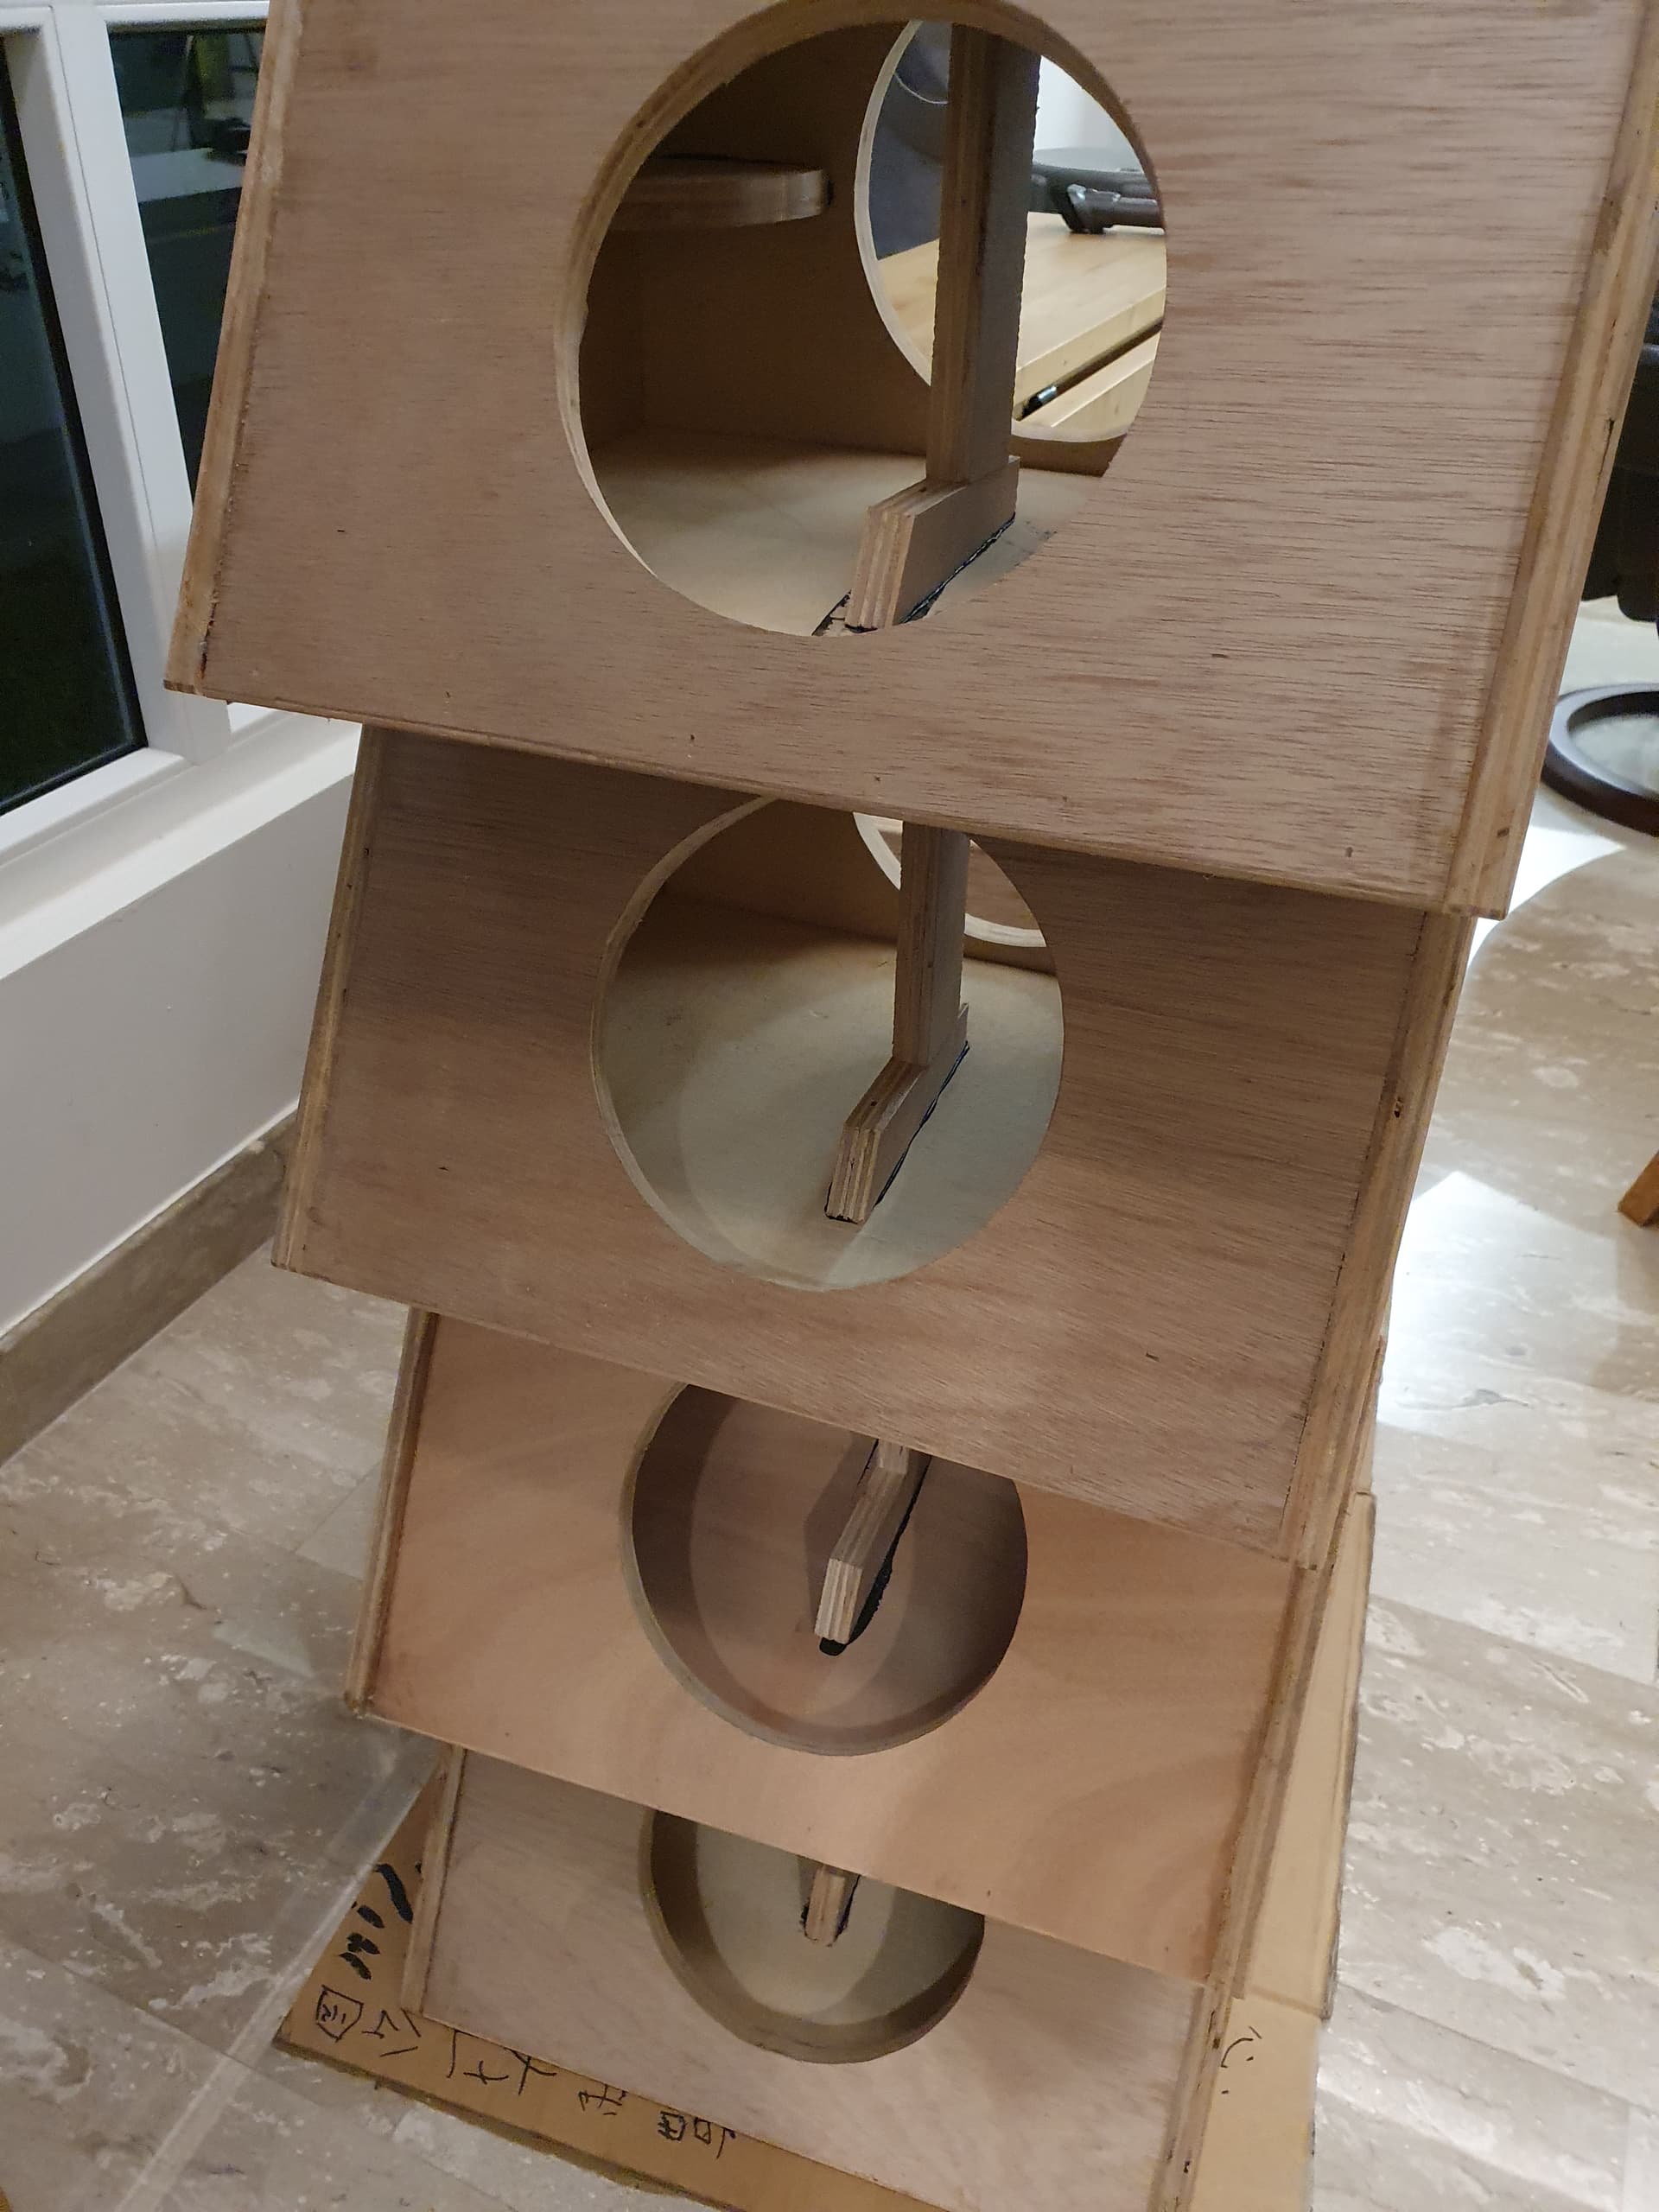
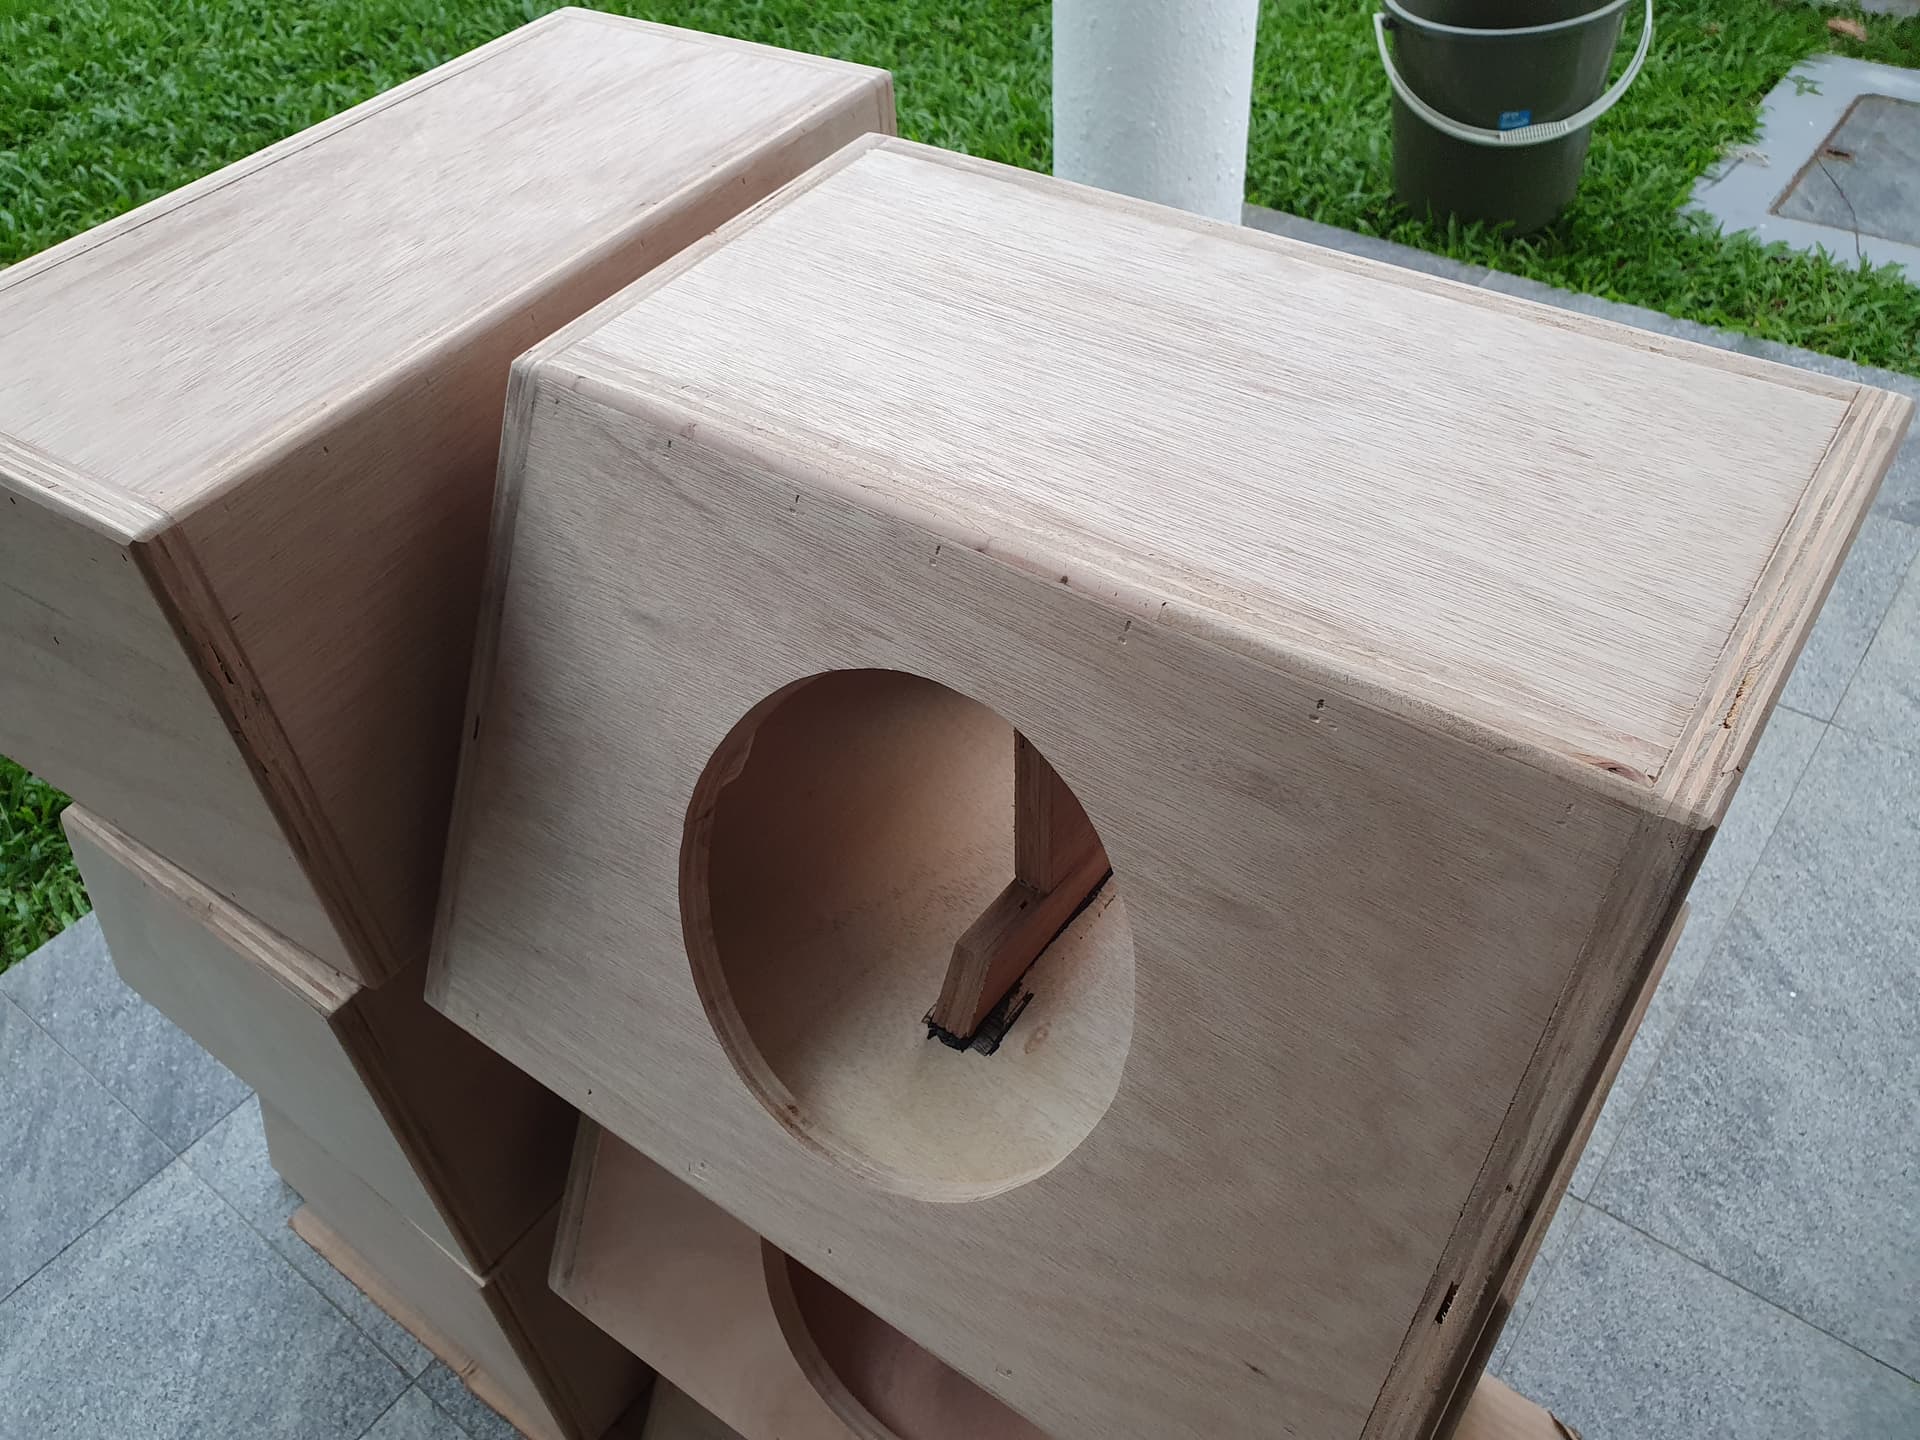
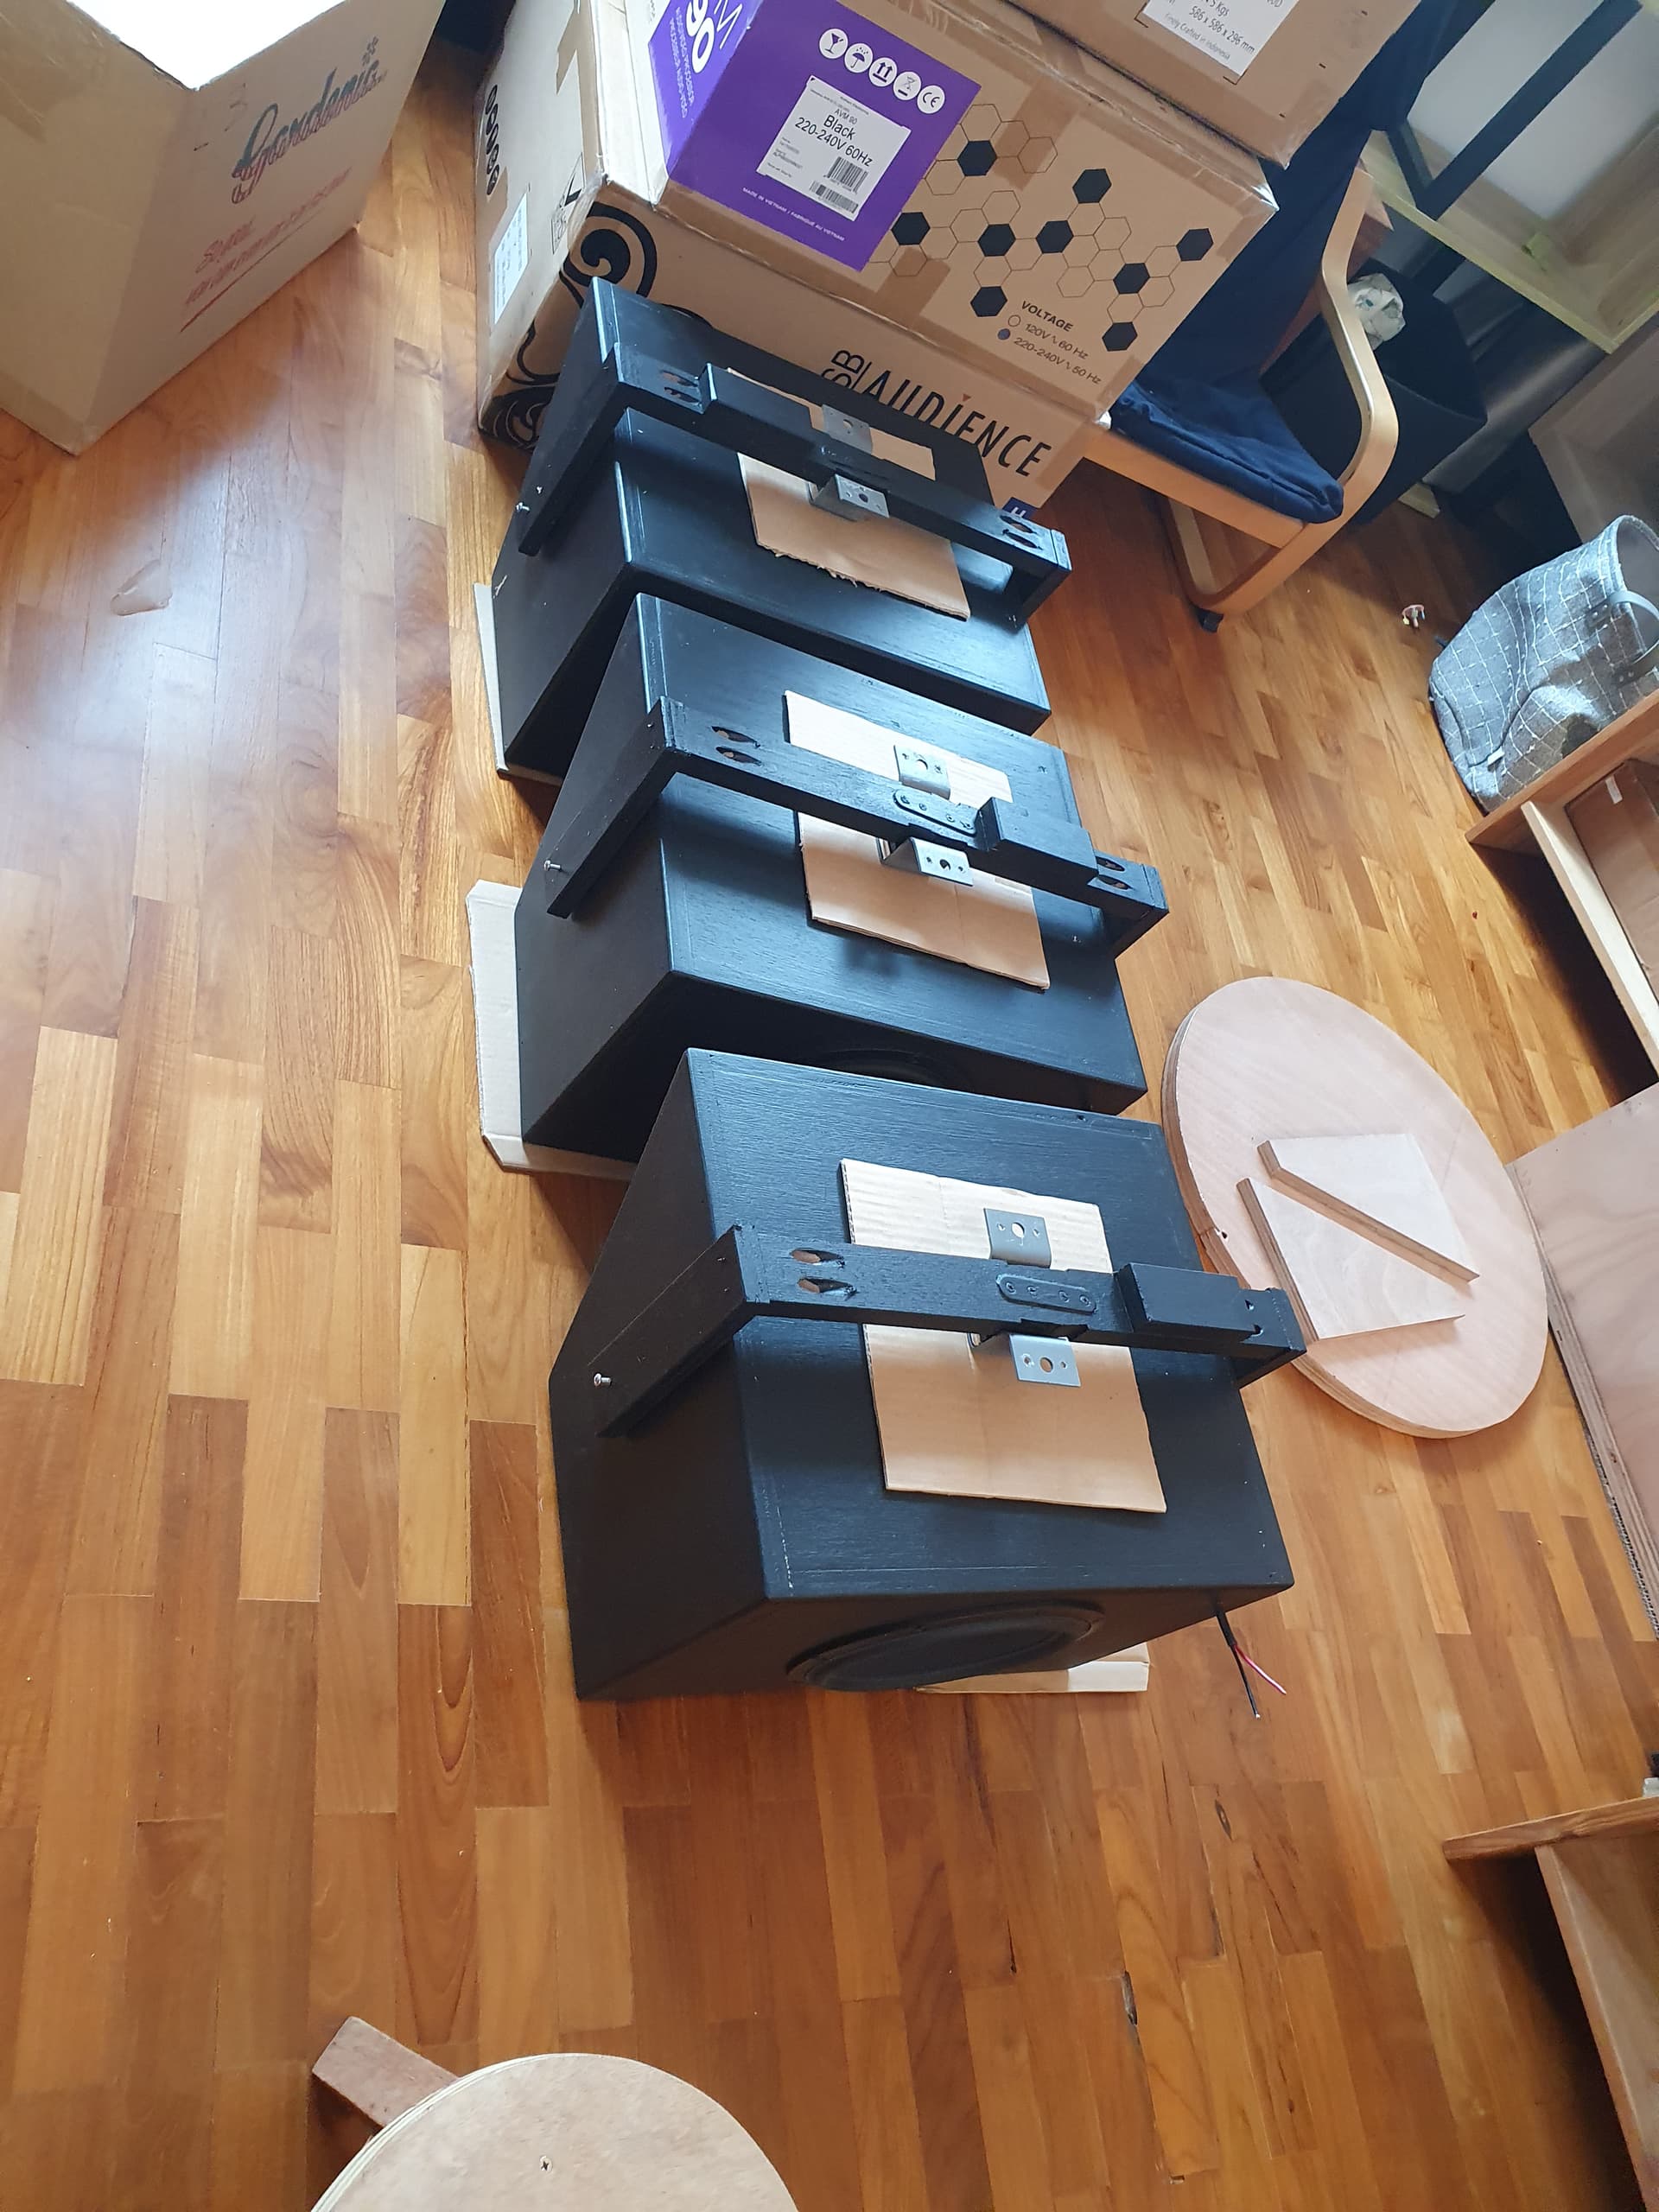
Update a bit of work done. The cabinet building continues. As I had the cabinet panels cut, I completed the assembly for the 4x 12in woofer modules originally planned for the front LR.
As these are bass only cabs, the bracing damping is not so critical - don’t need to cover midrange frequency. Good opportunity to try something different.
This round using some ikea bed slats that I free-cycled from somewhere hehe.
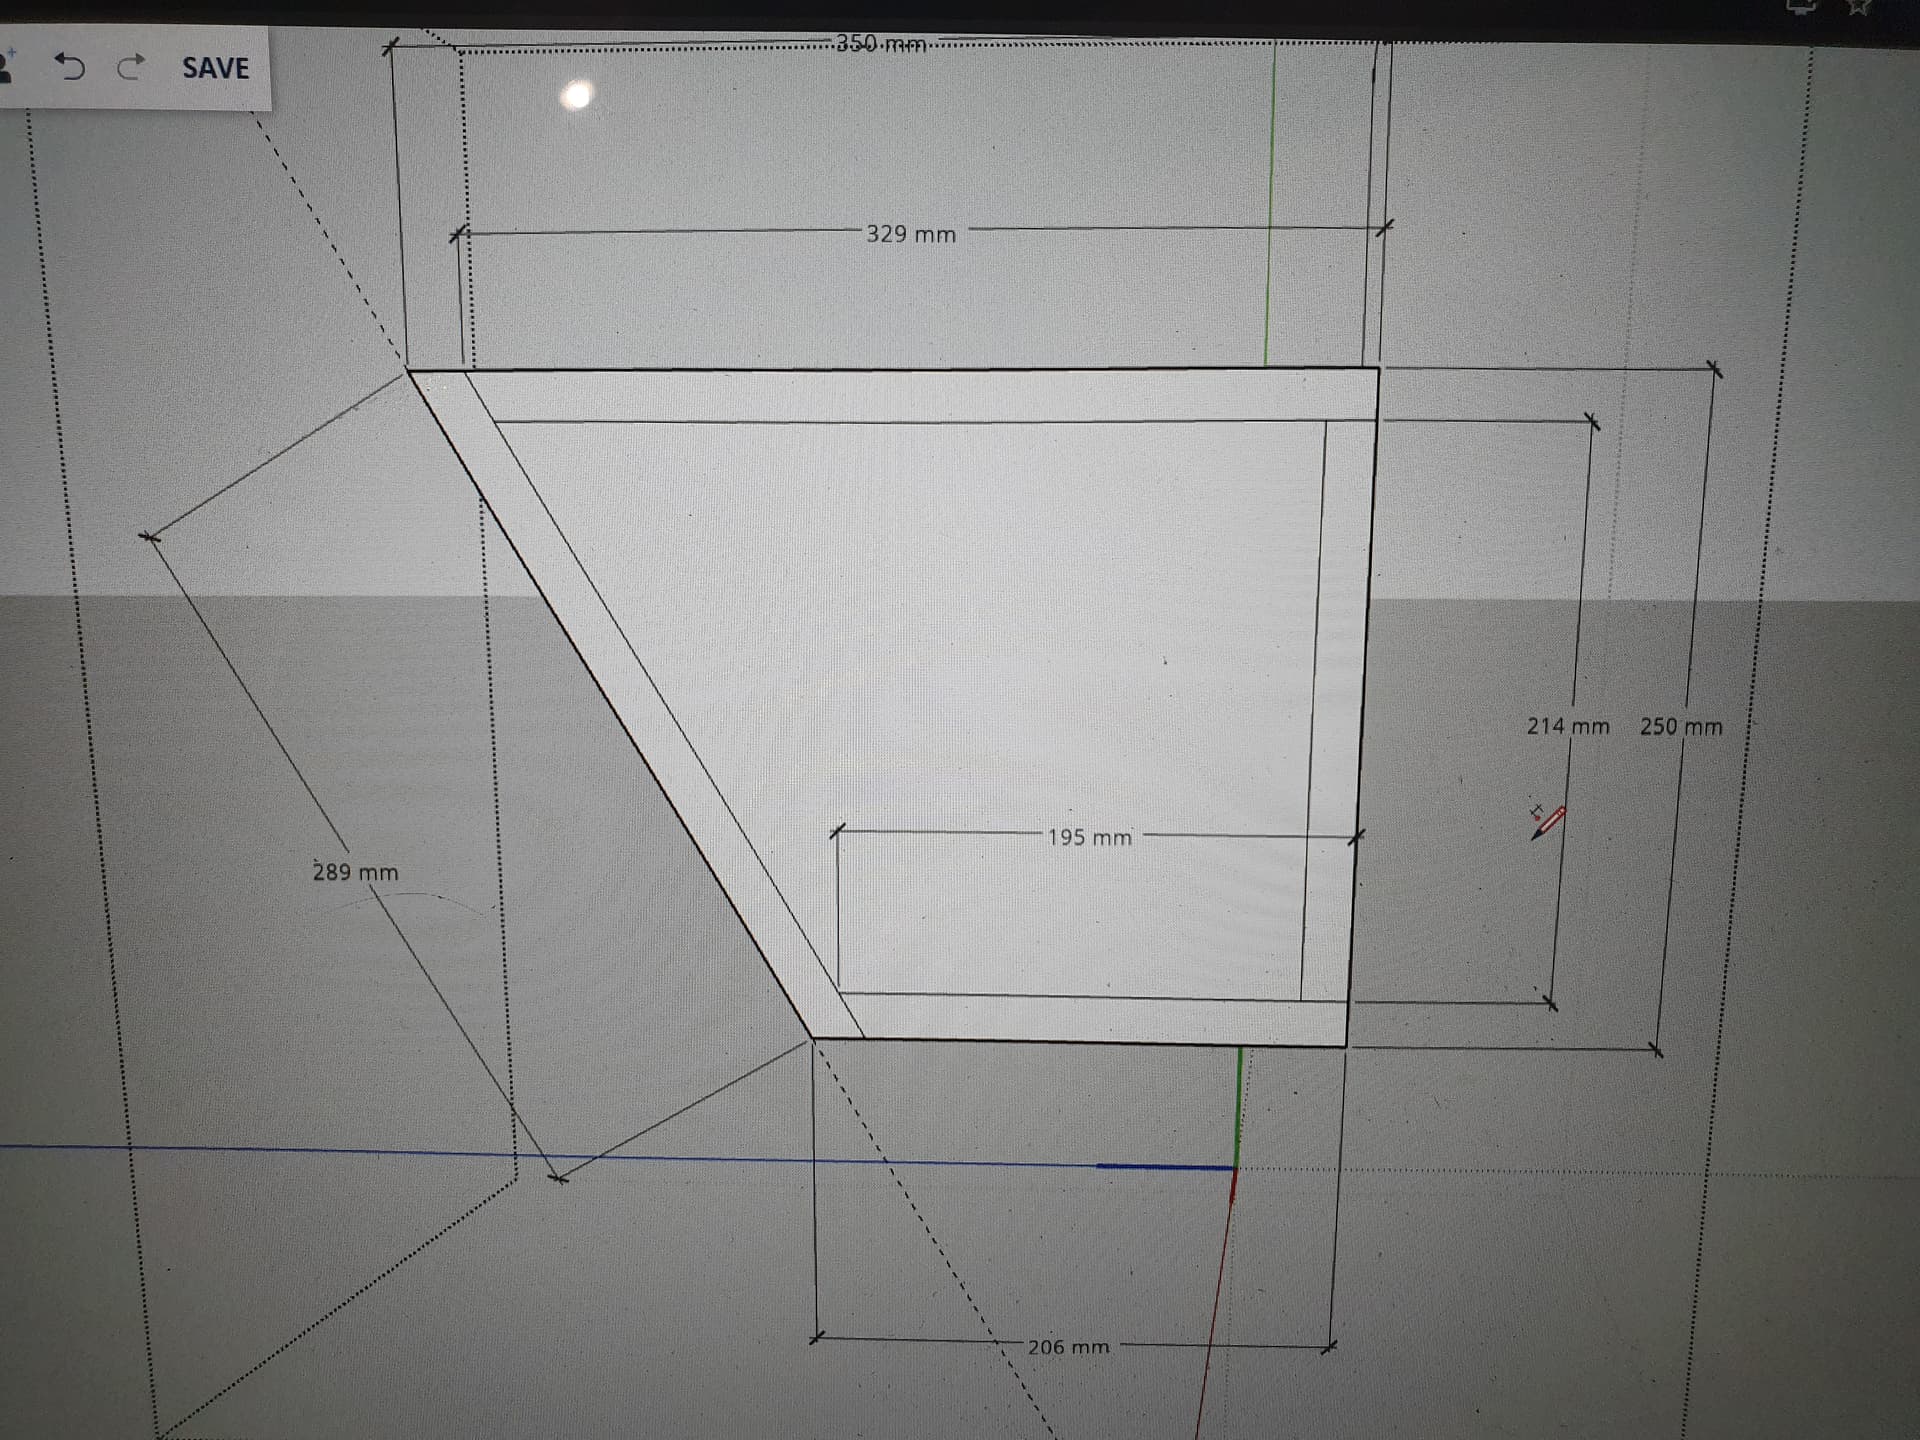
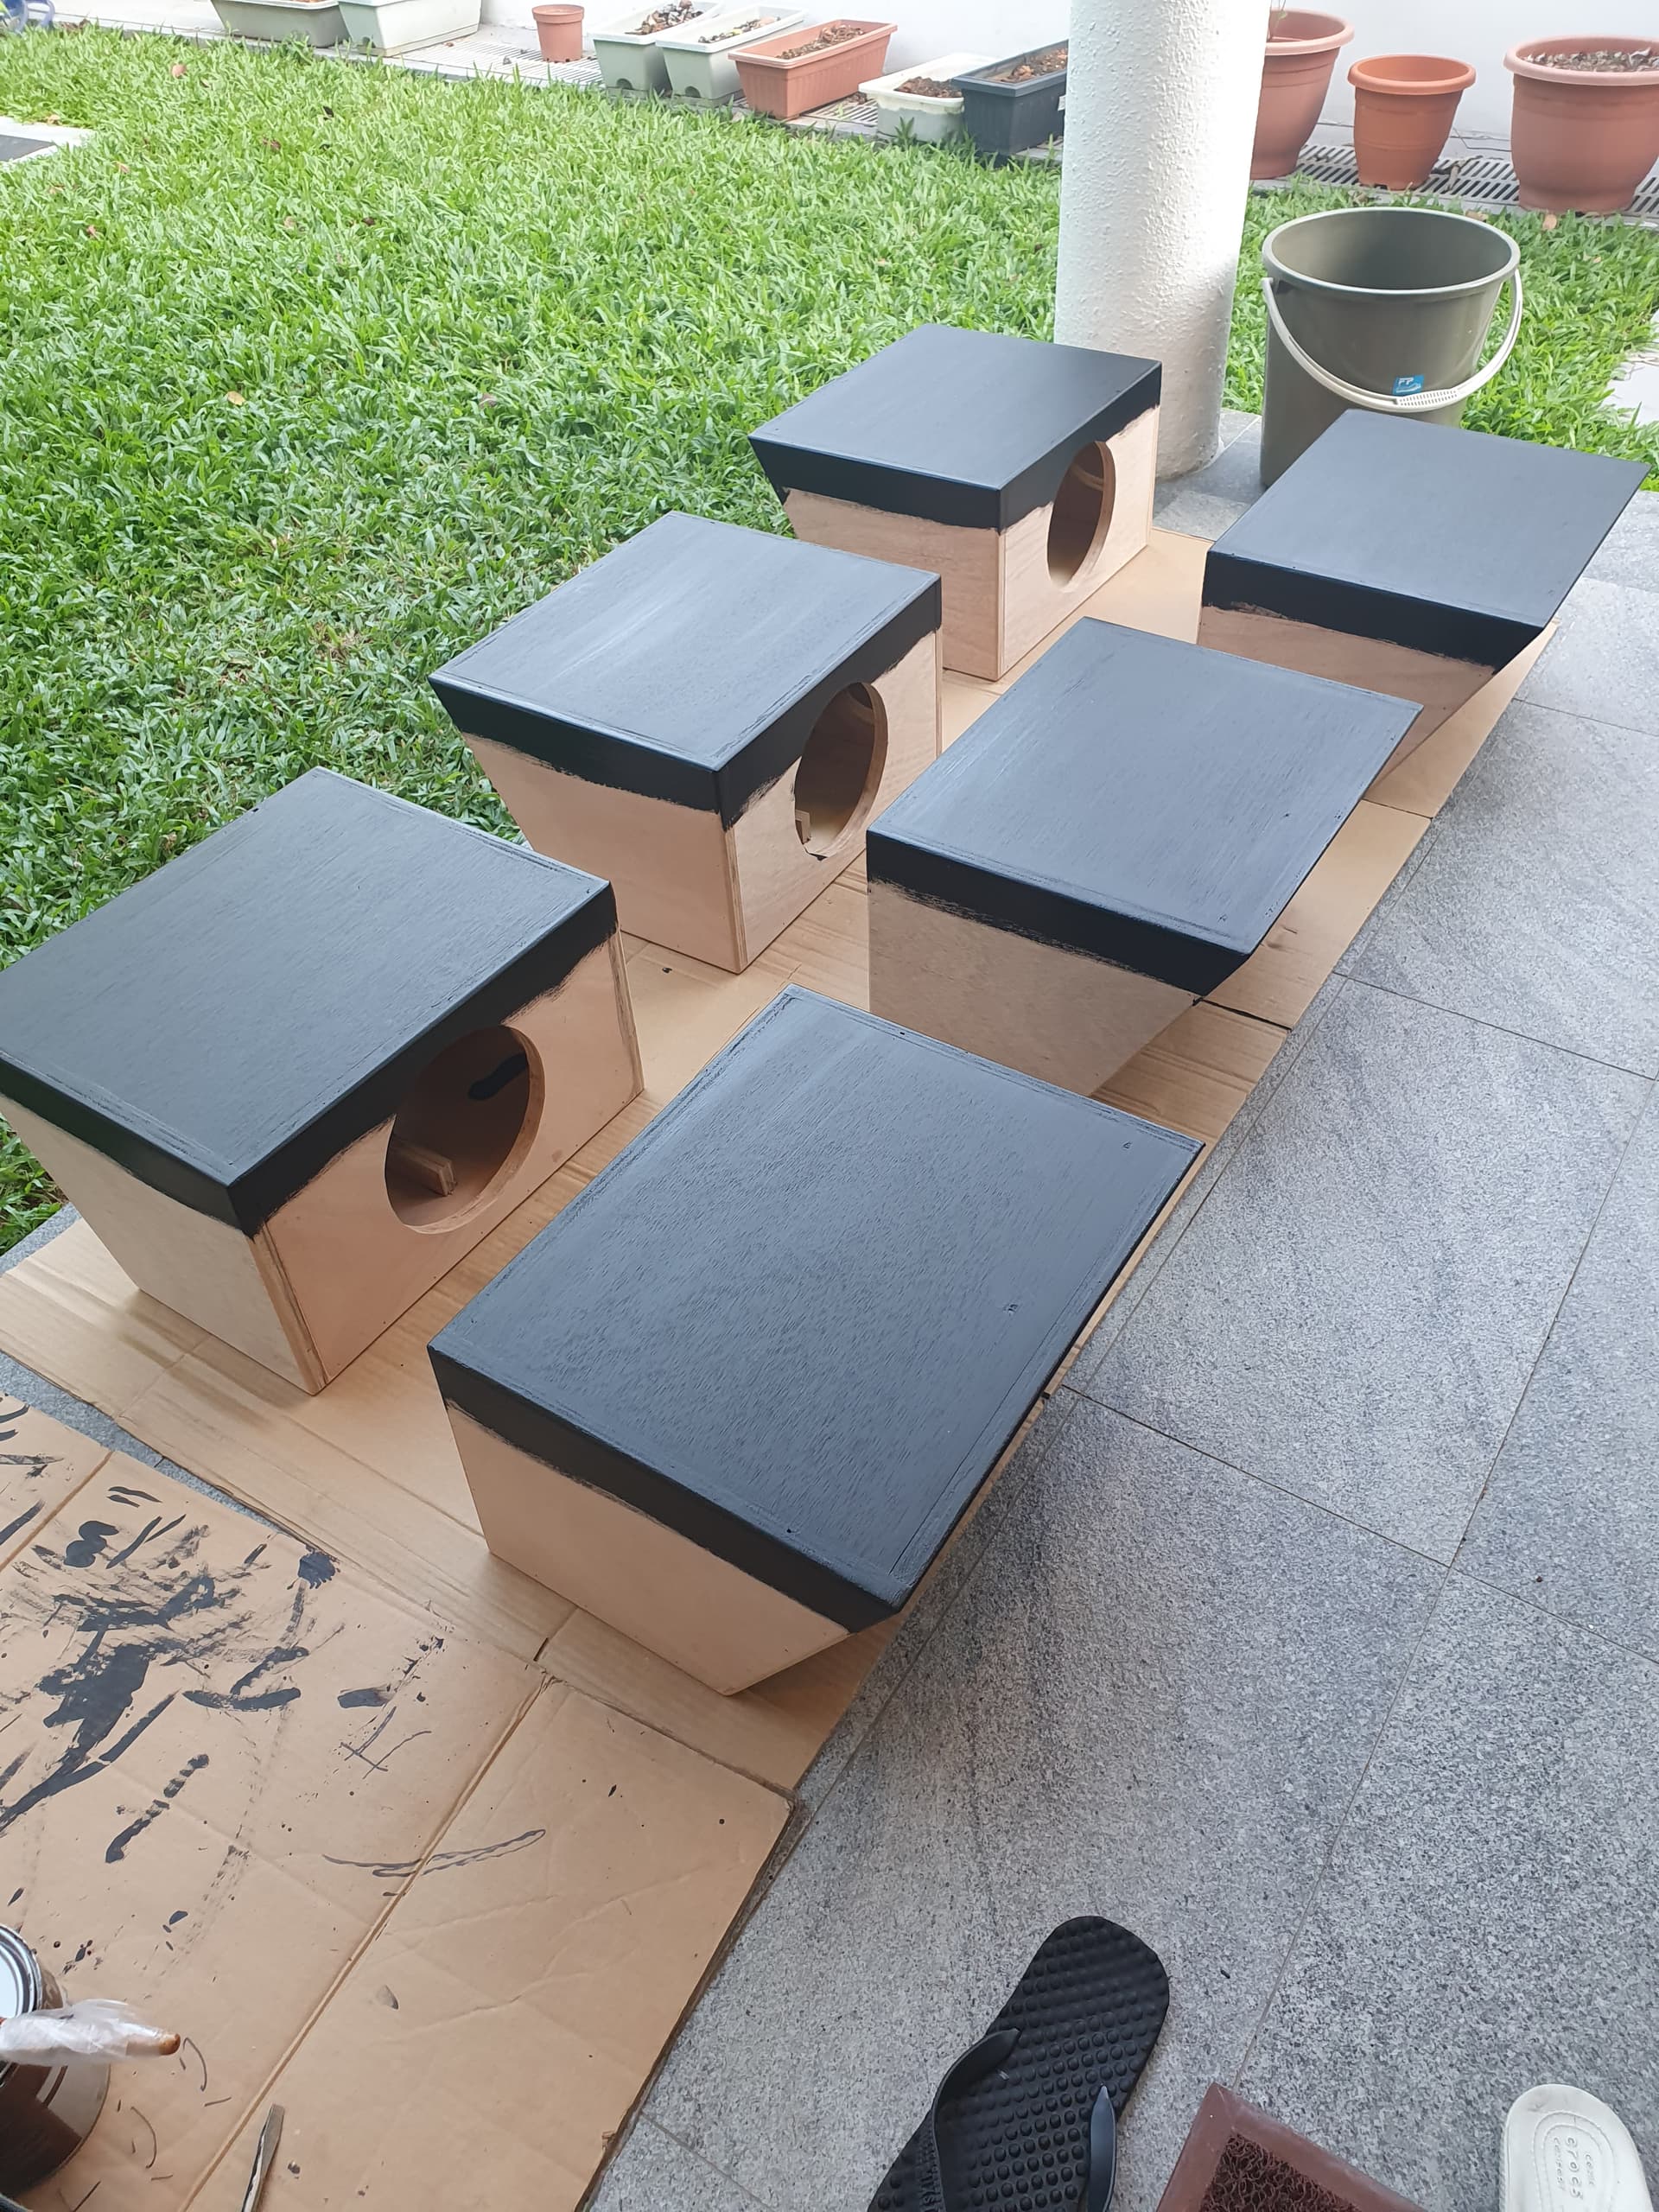
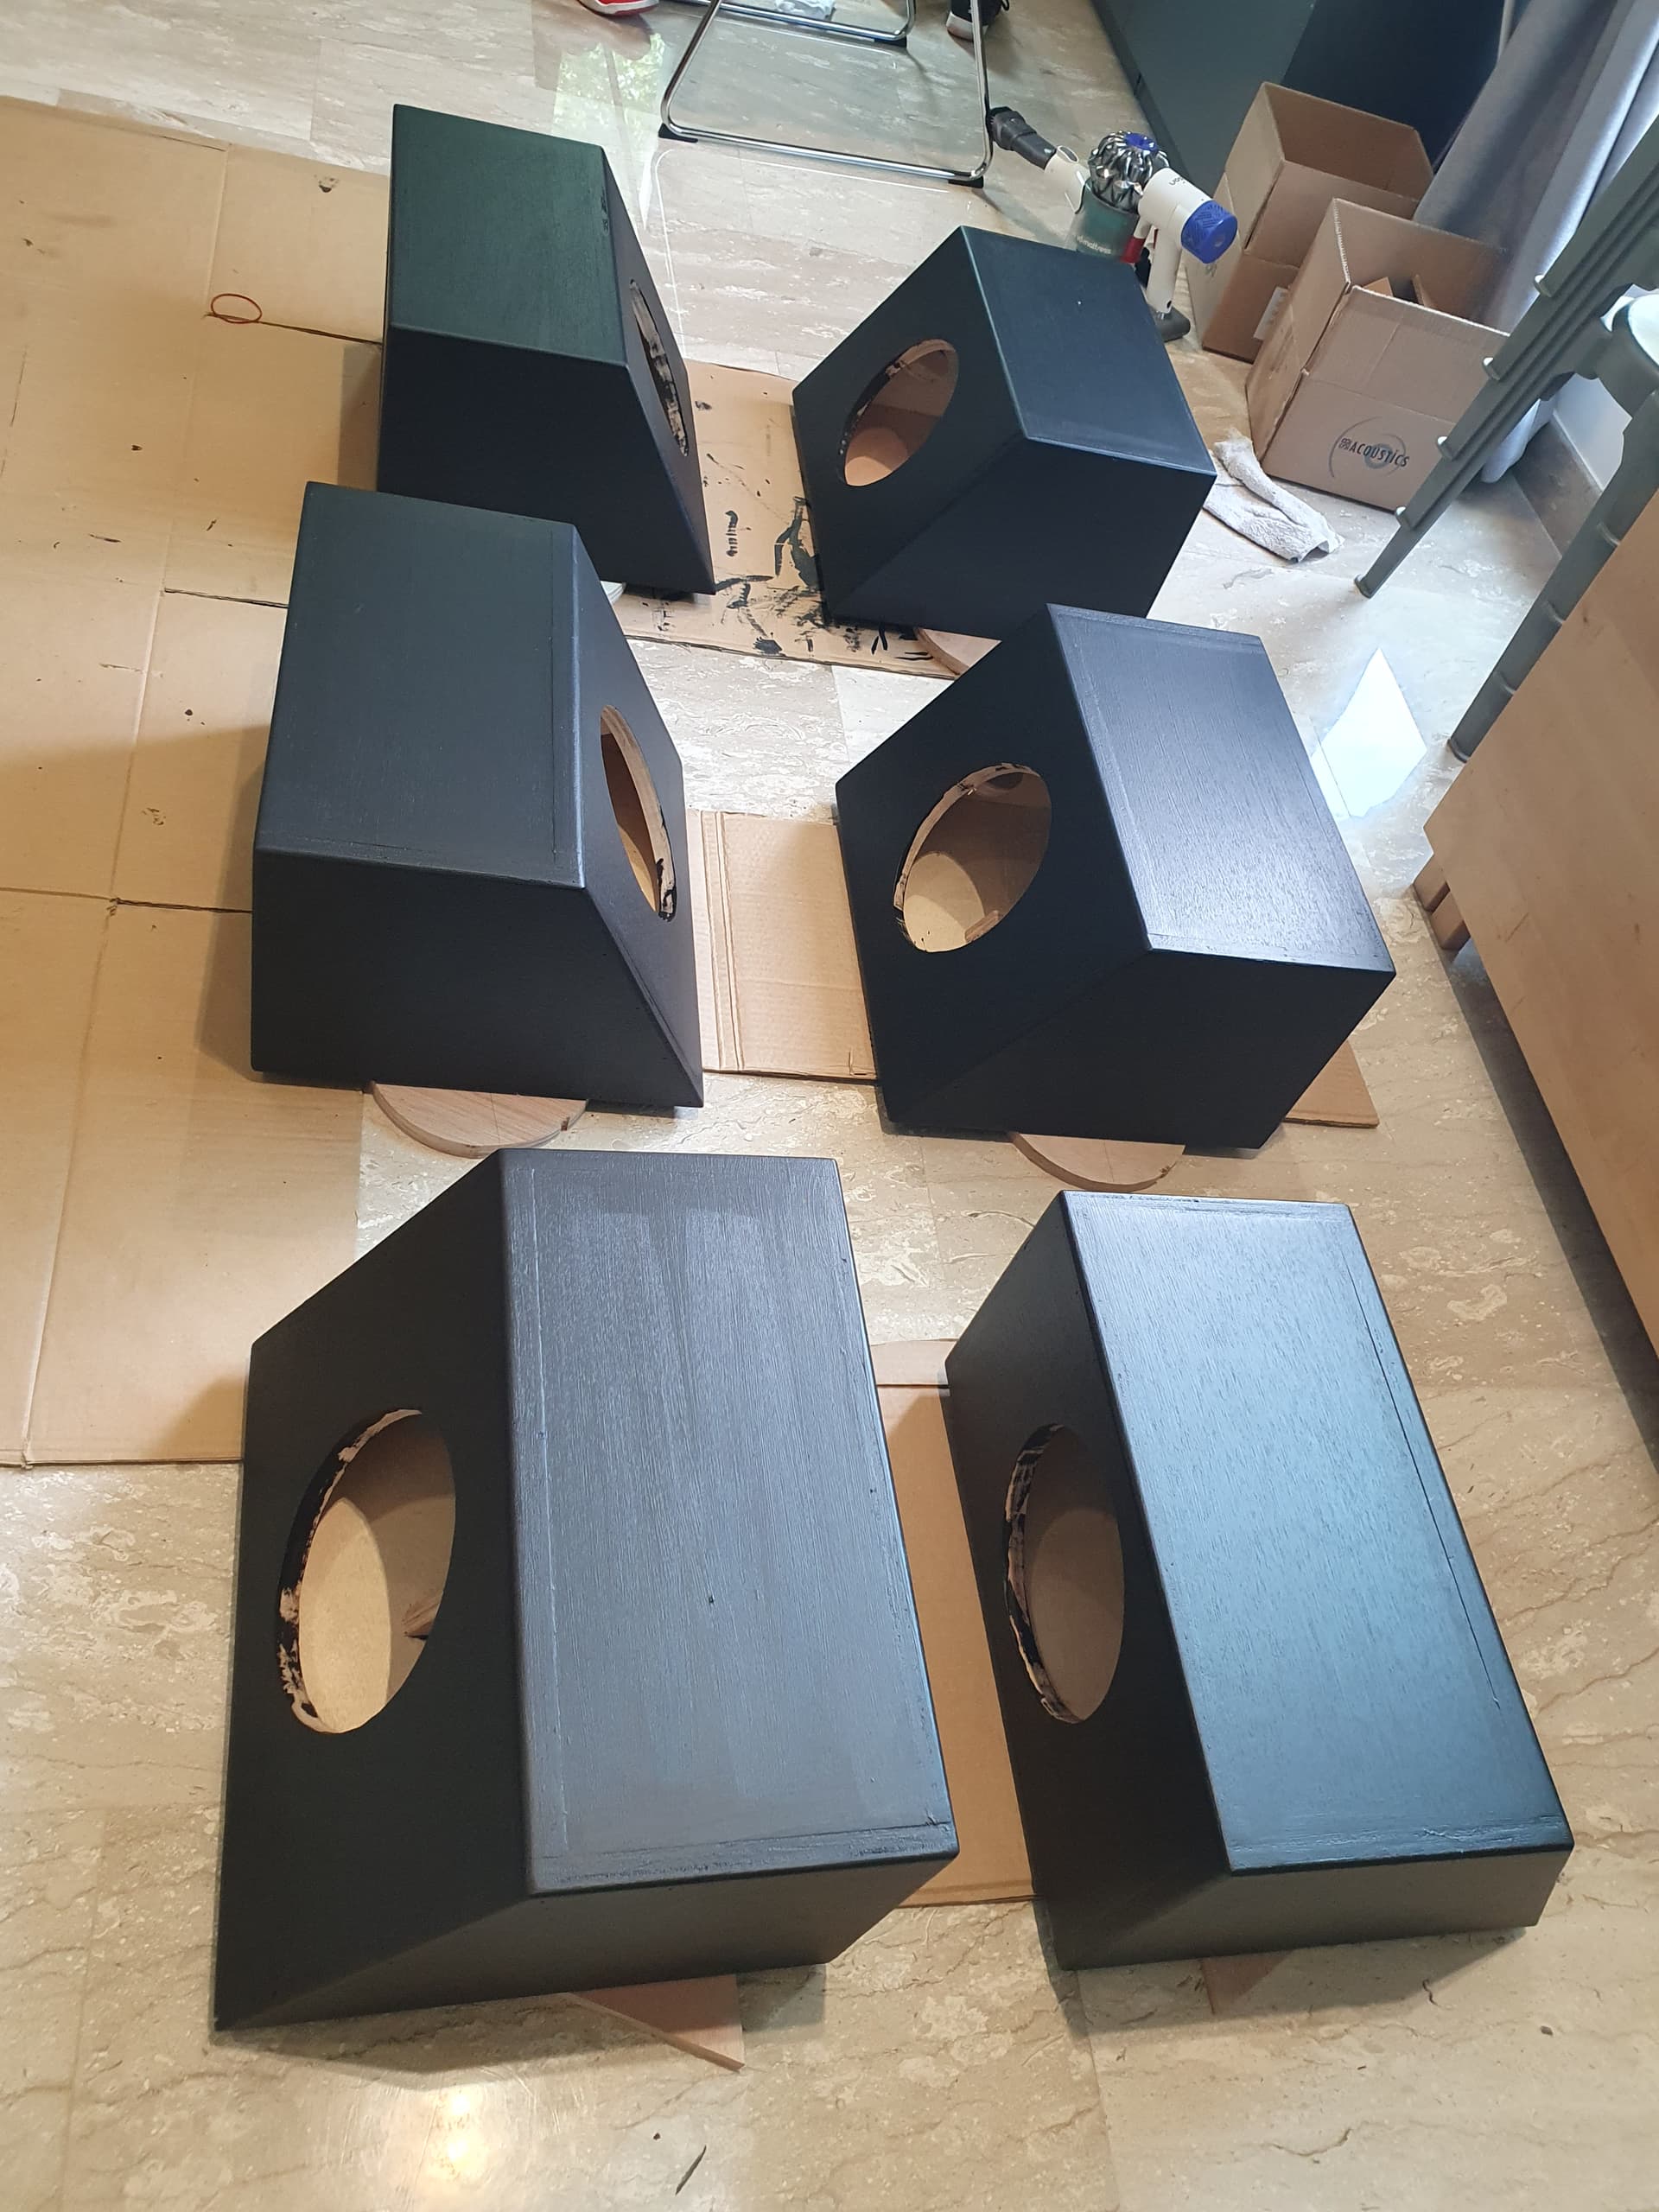
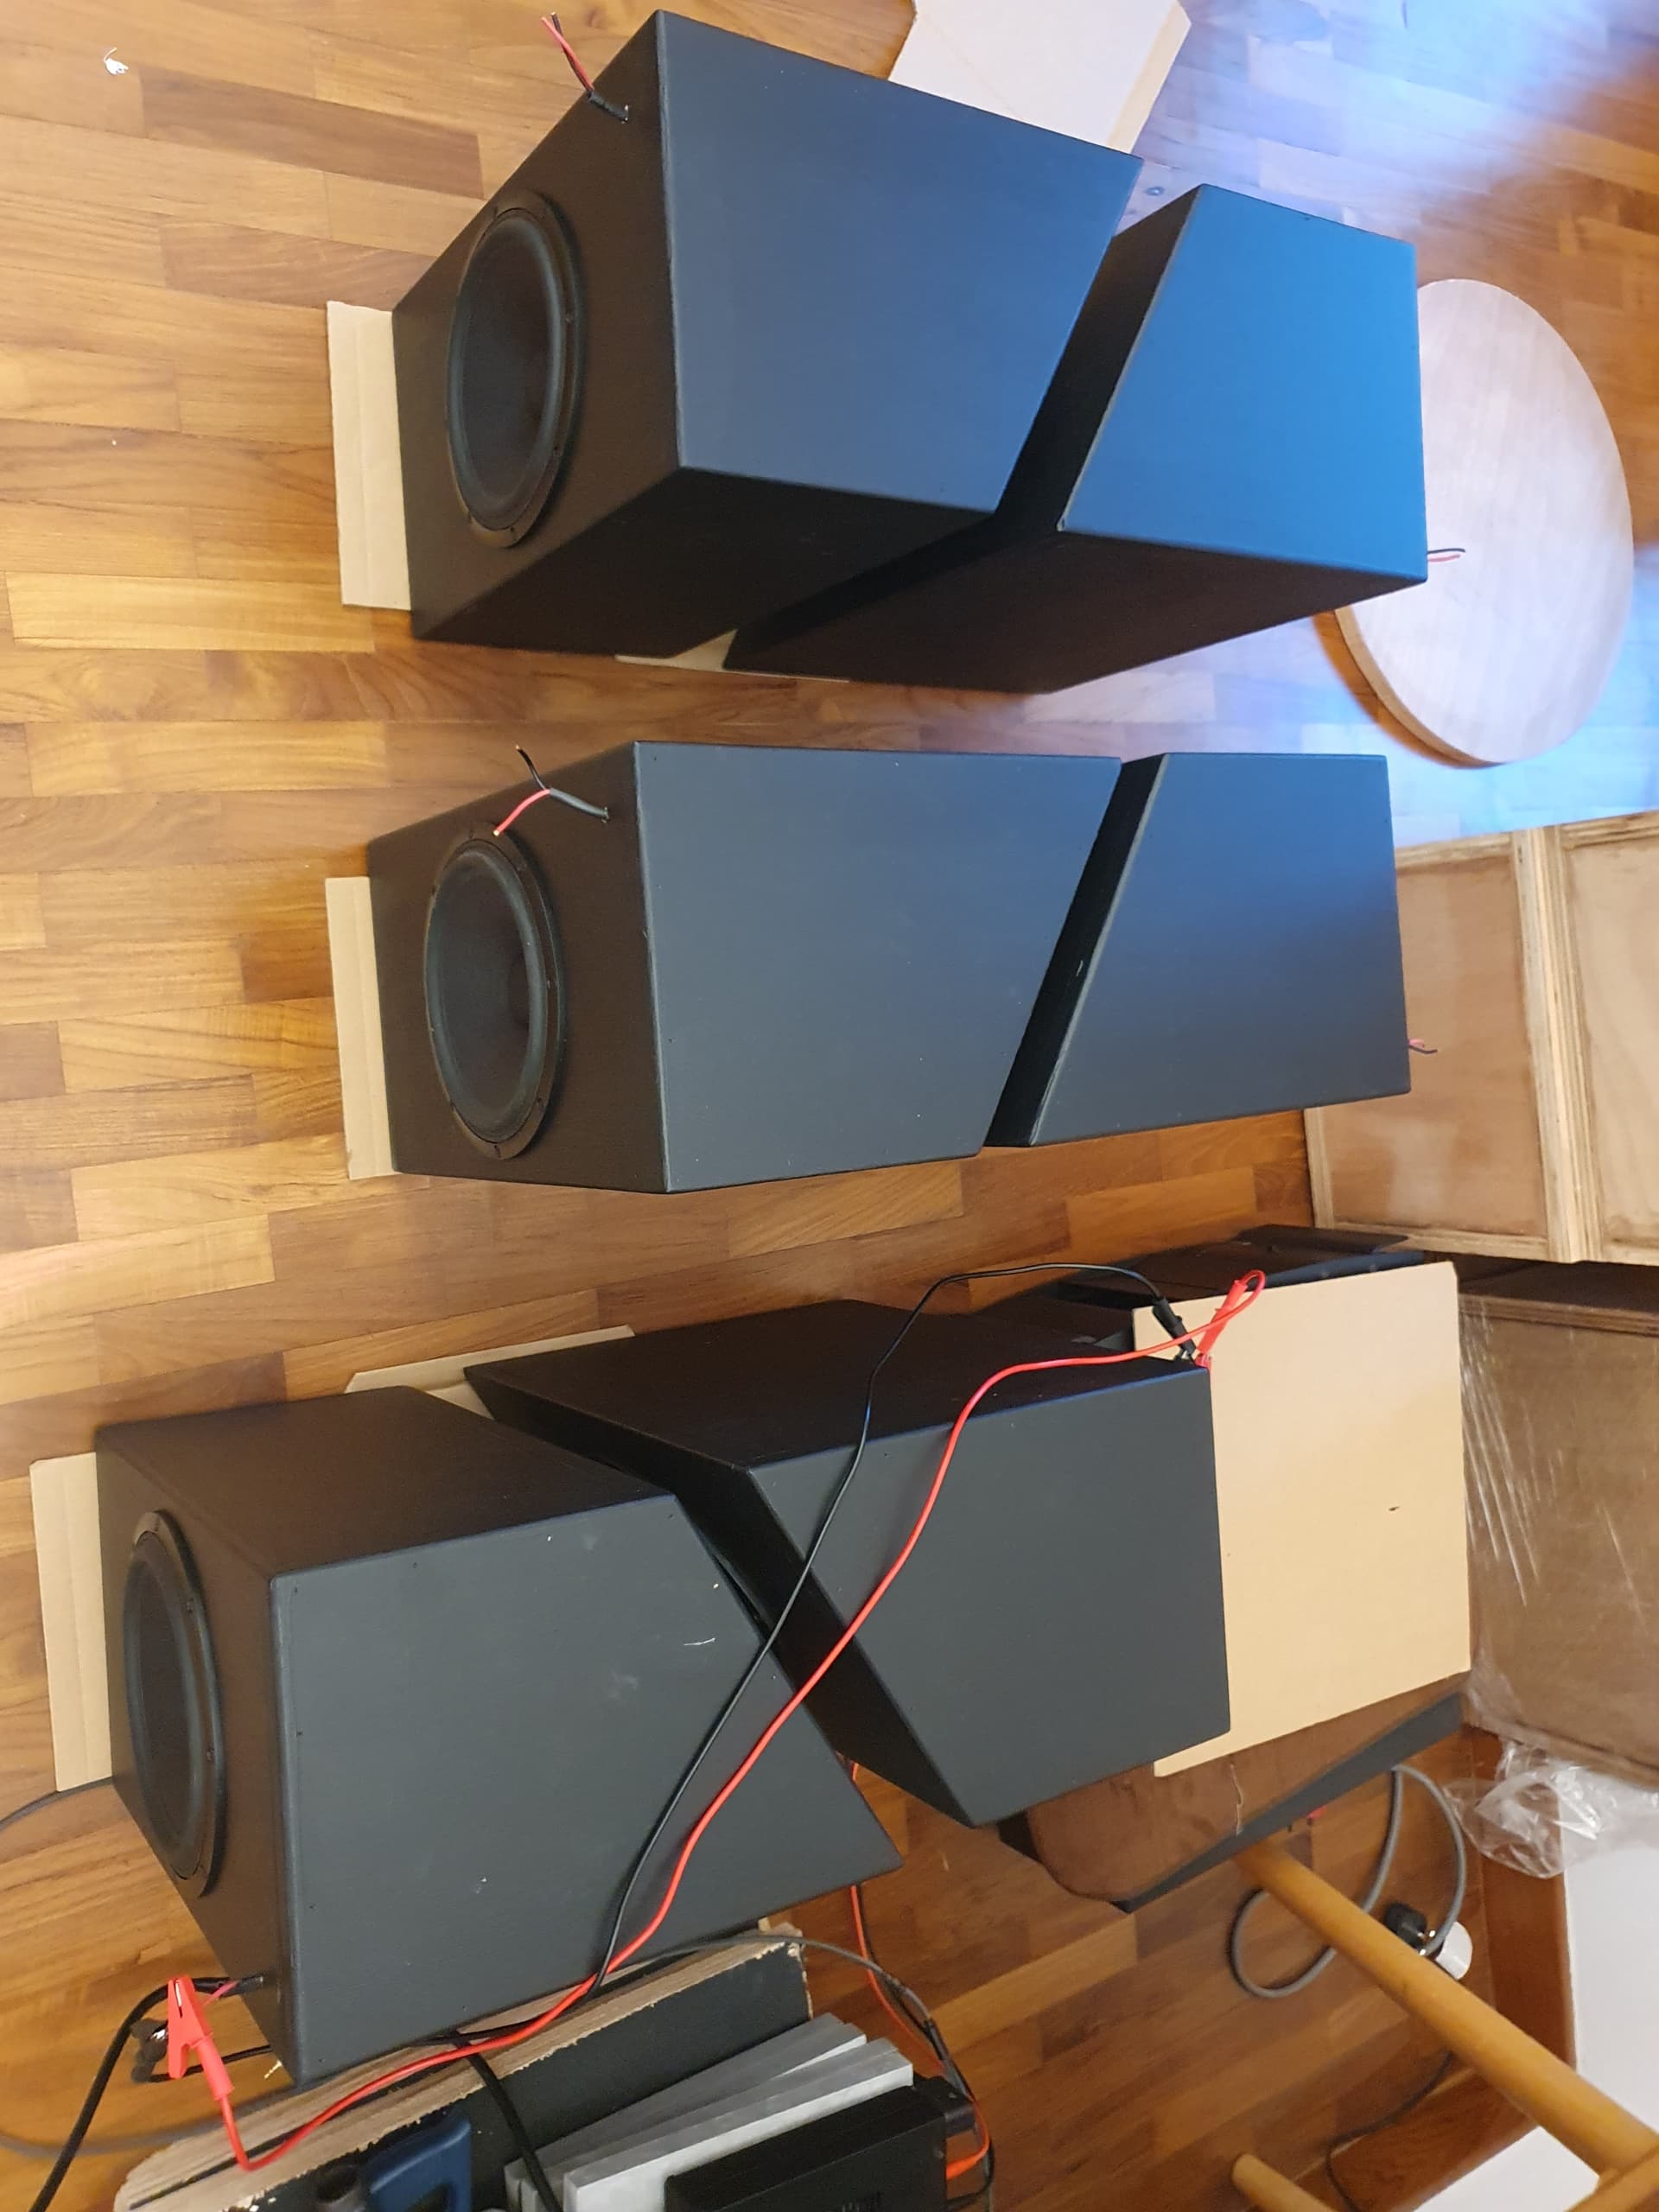
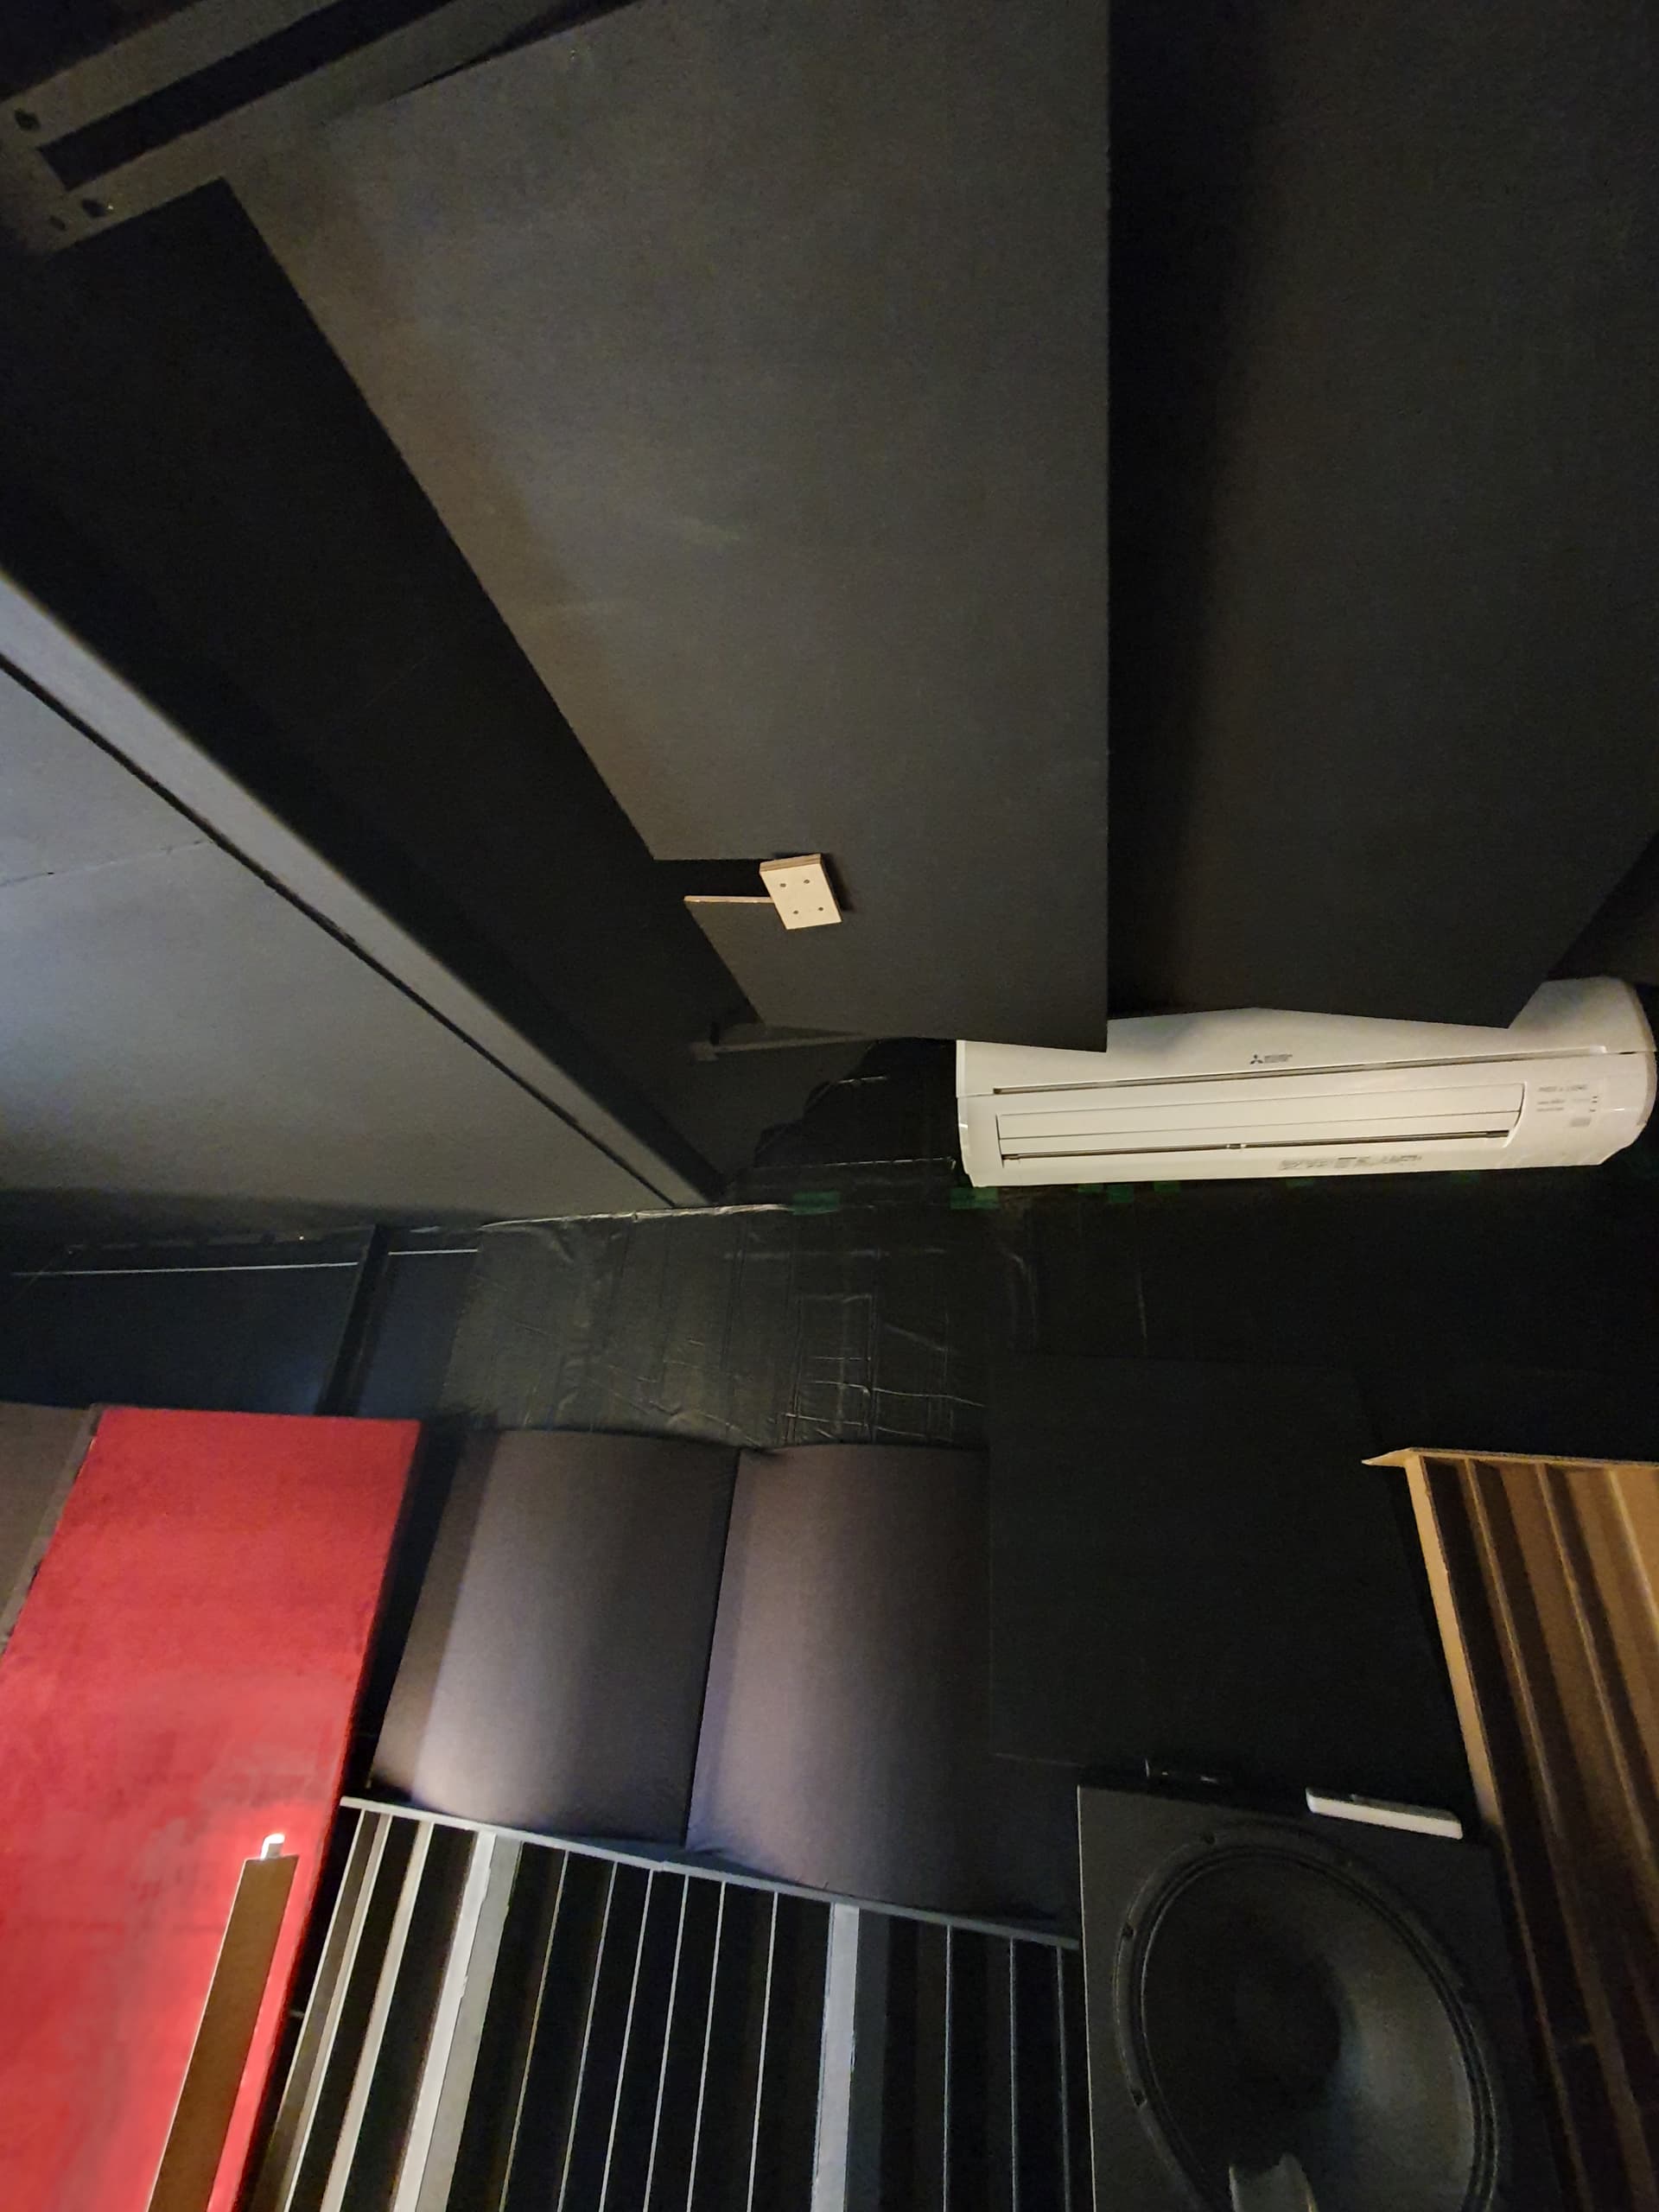
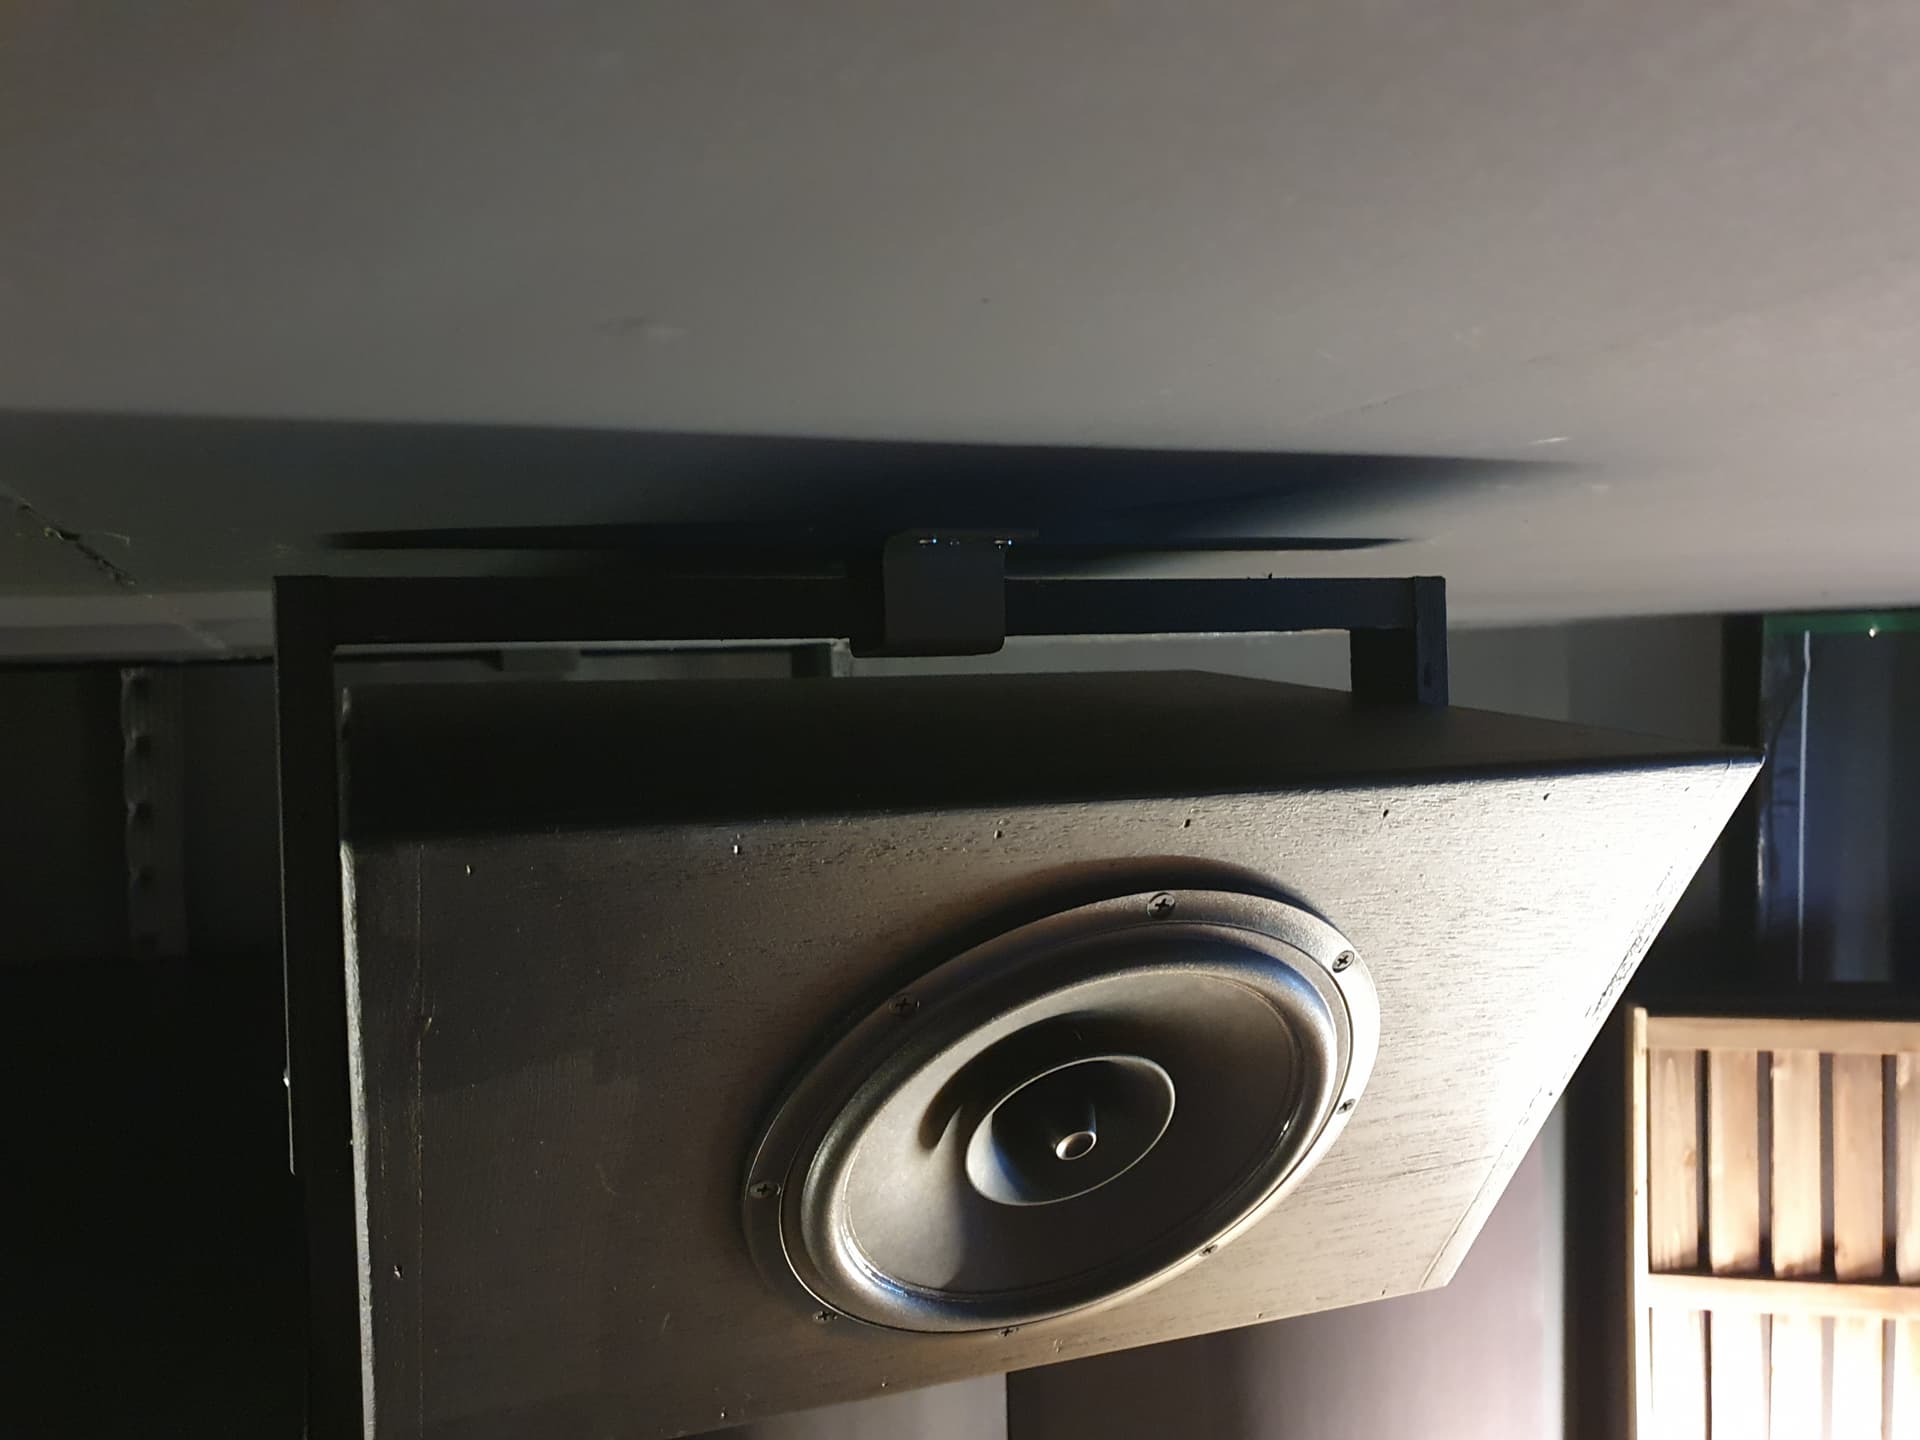
So, for atmos, with my low 2.2m ceiling, is a great challenge. Went for a angled cabinet design, to aim at the MLP. That’s about the extent of the CAD I do haha.
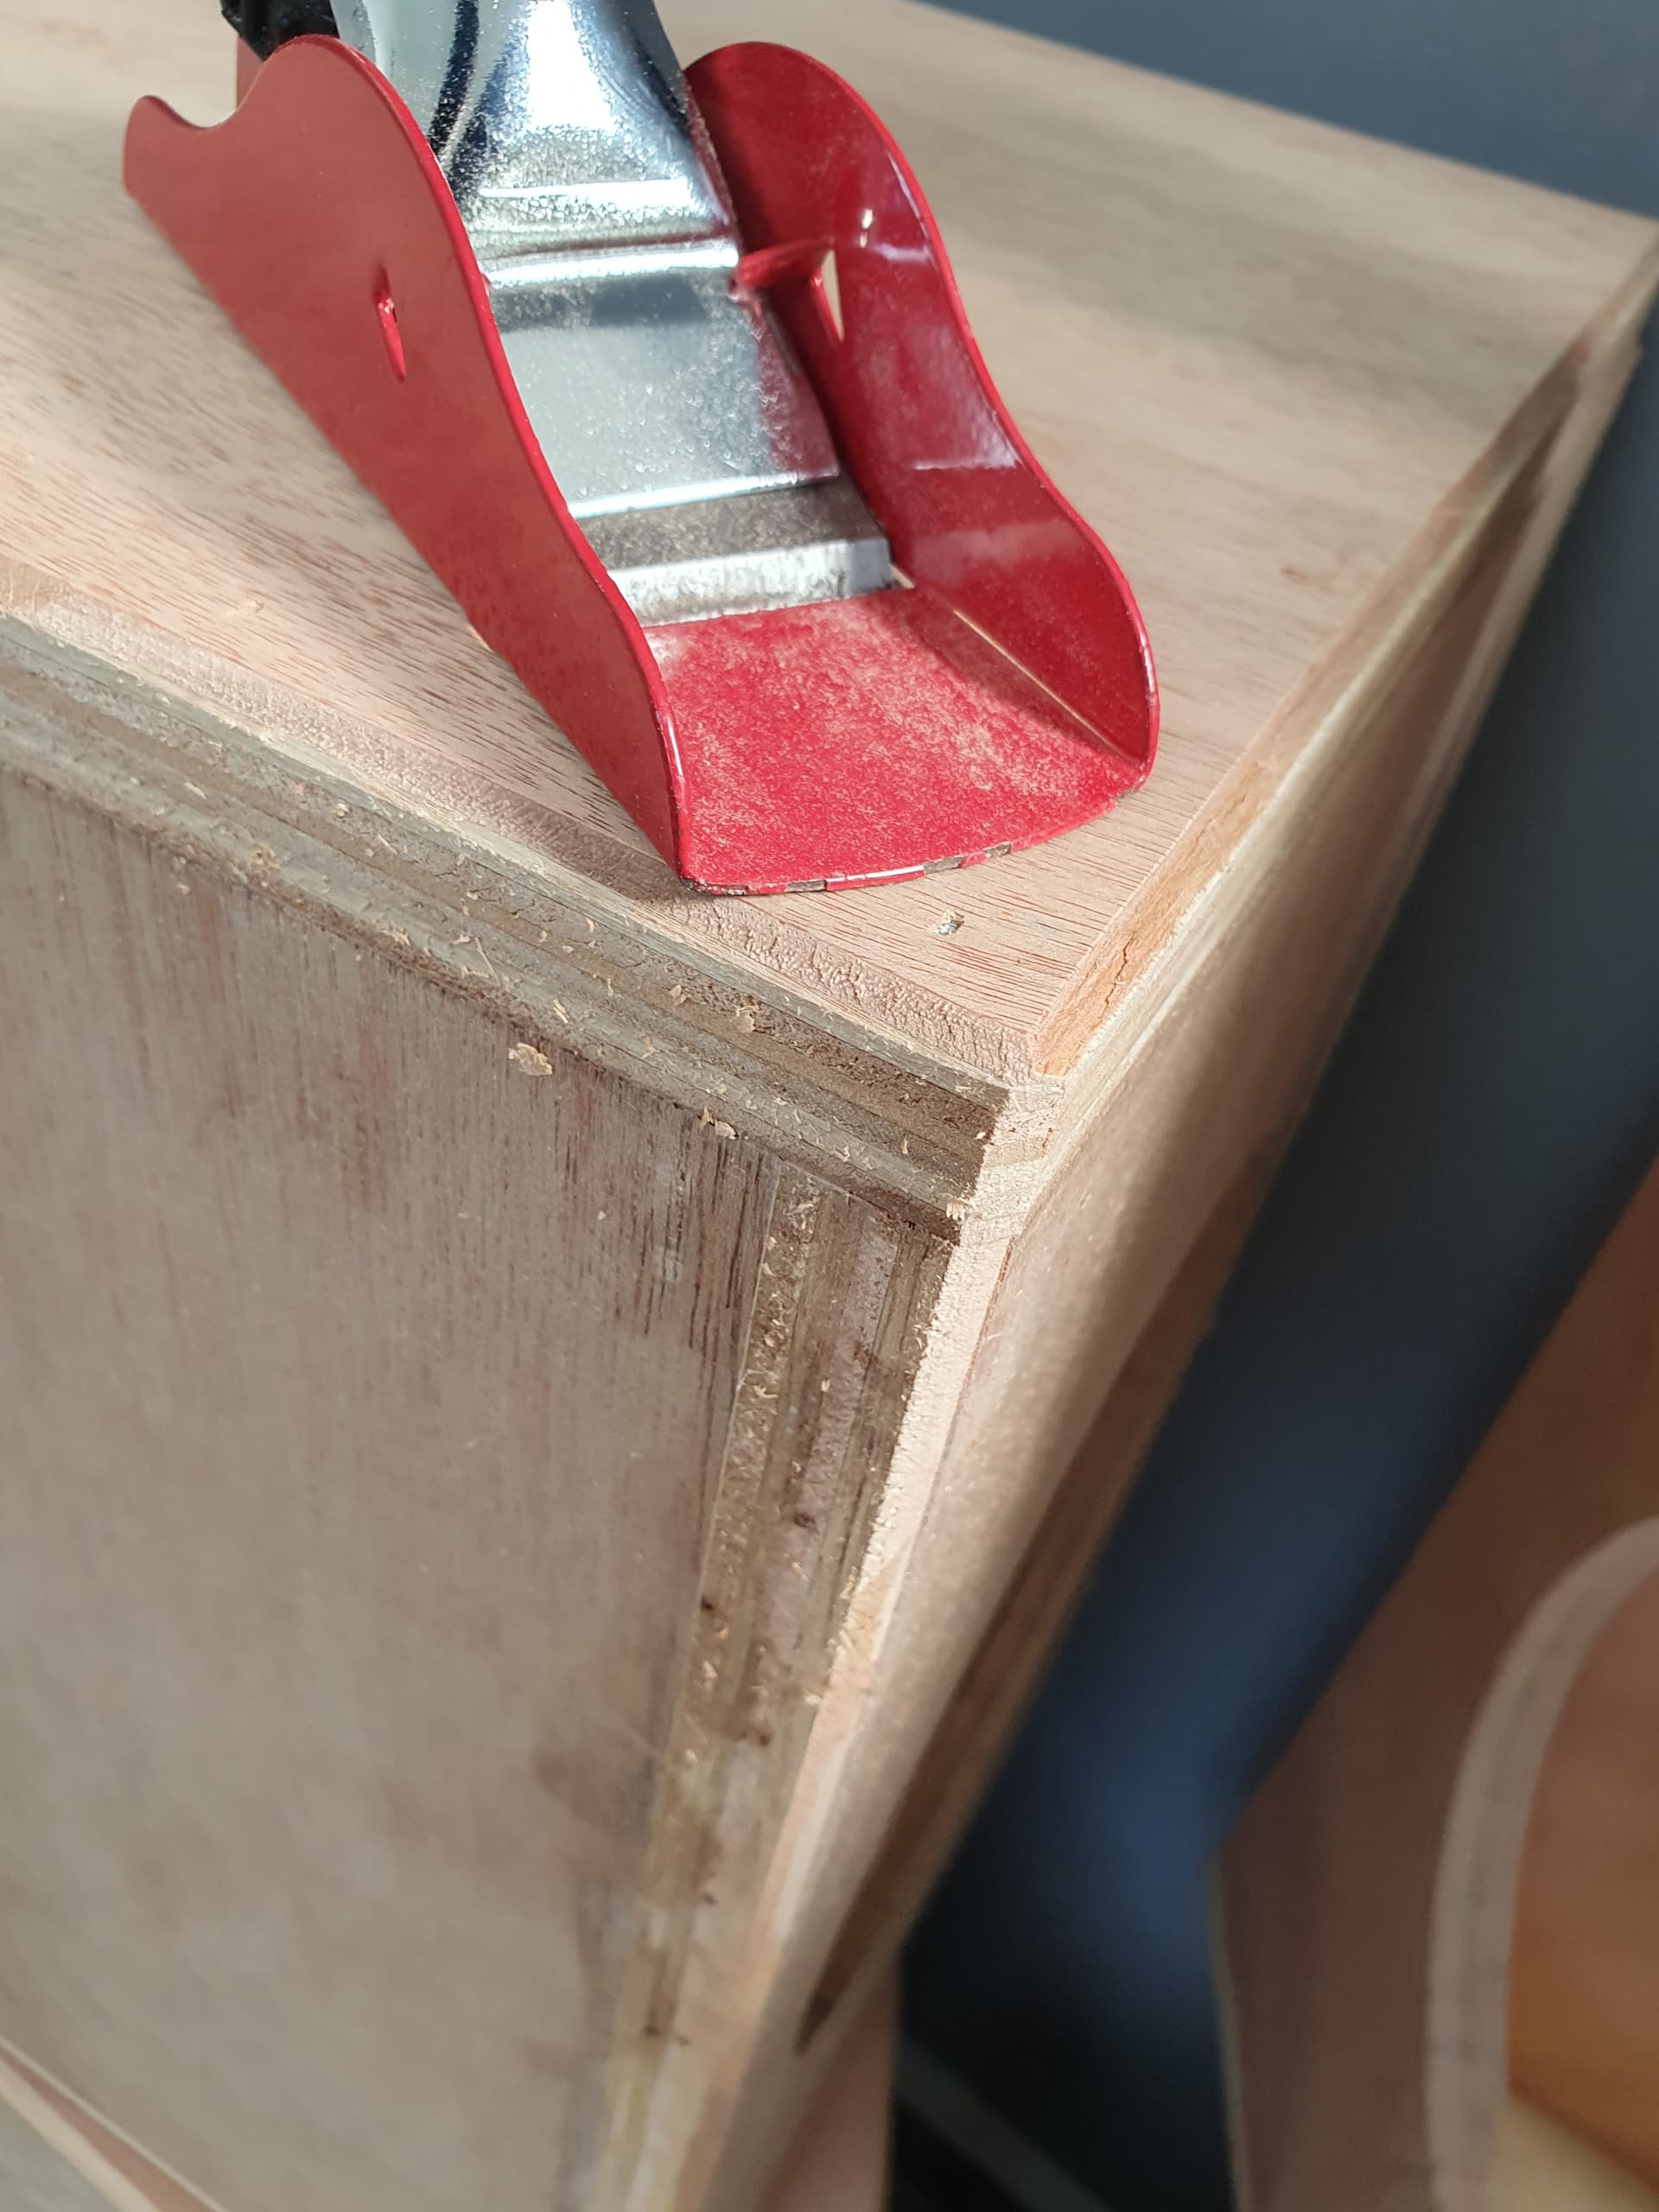
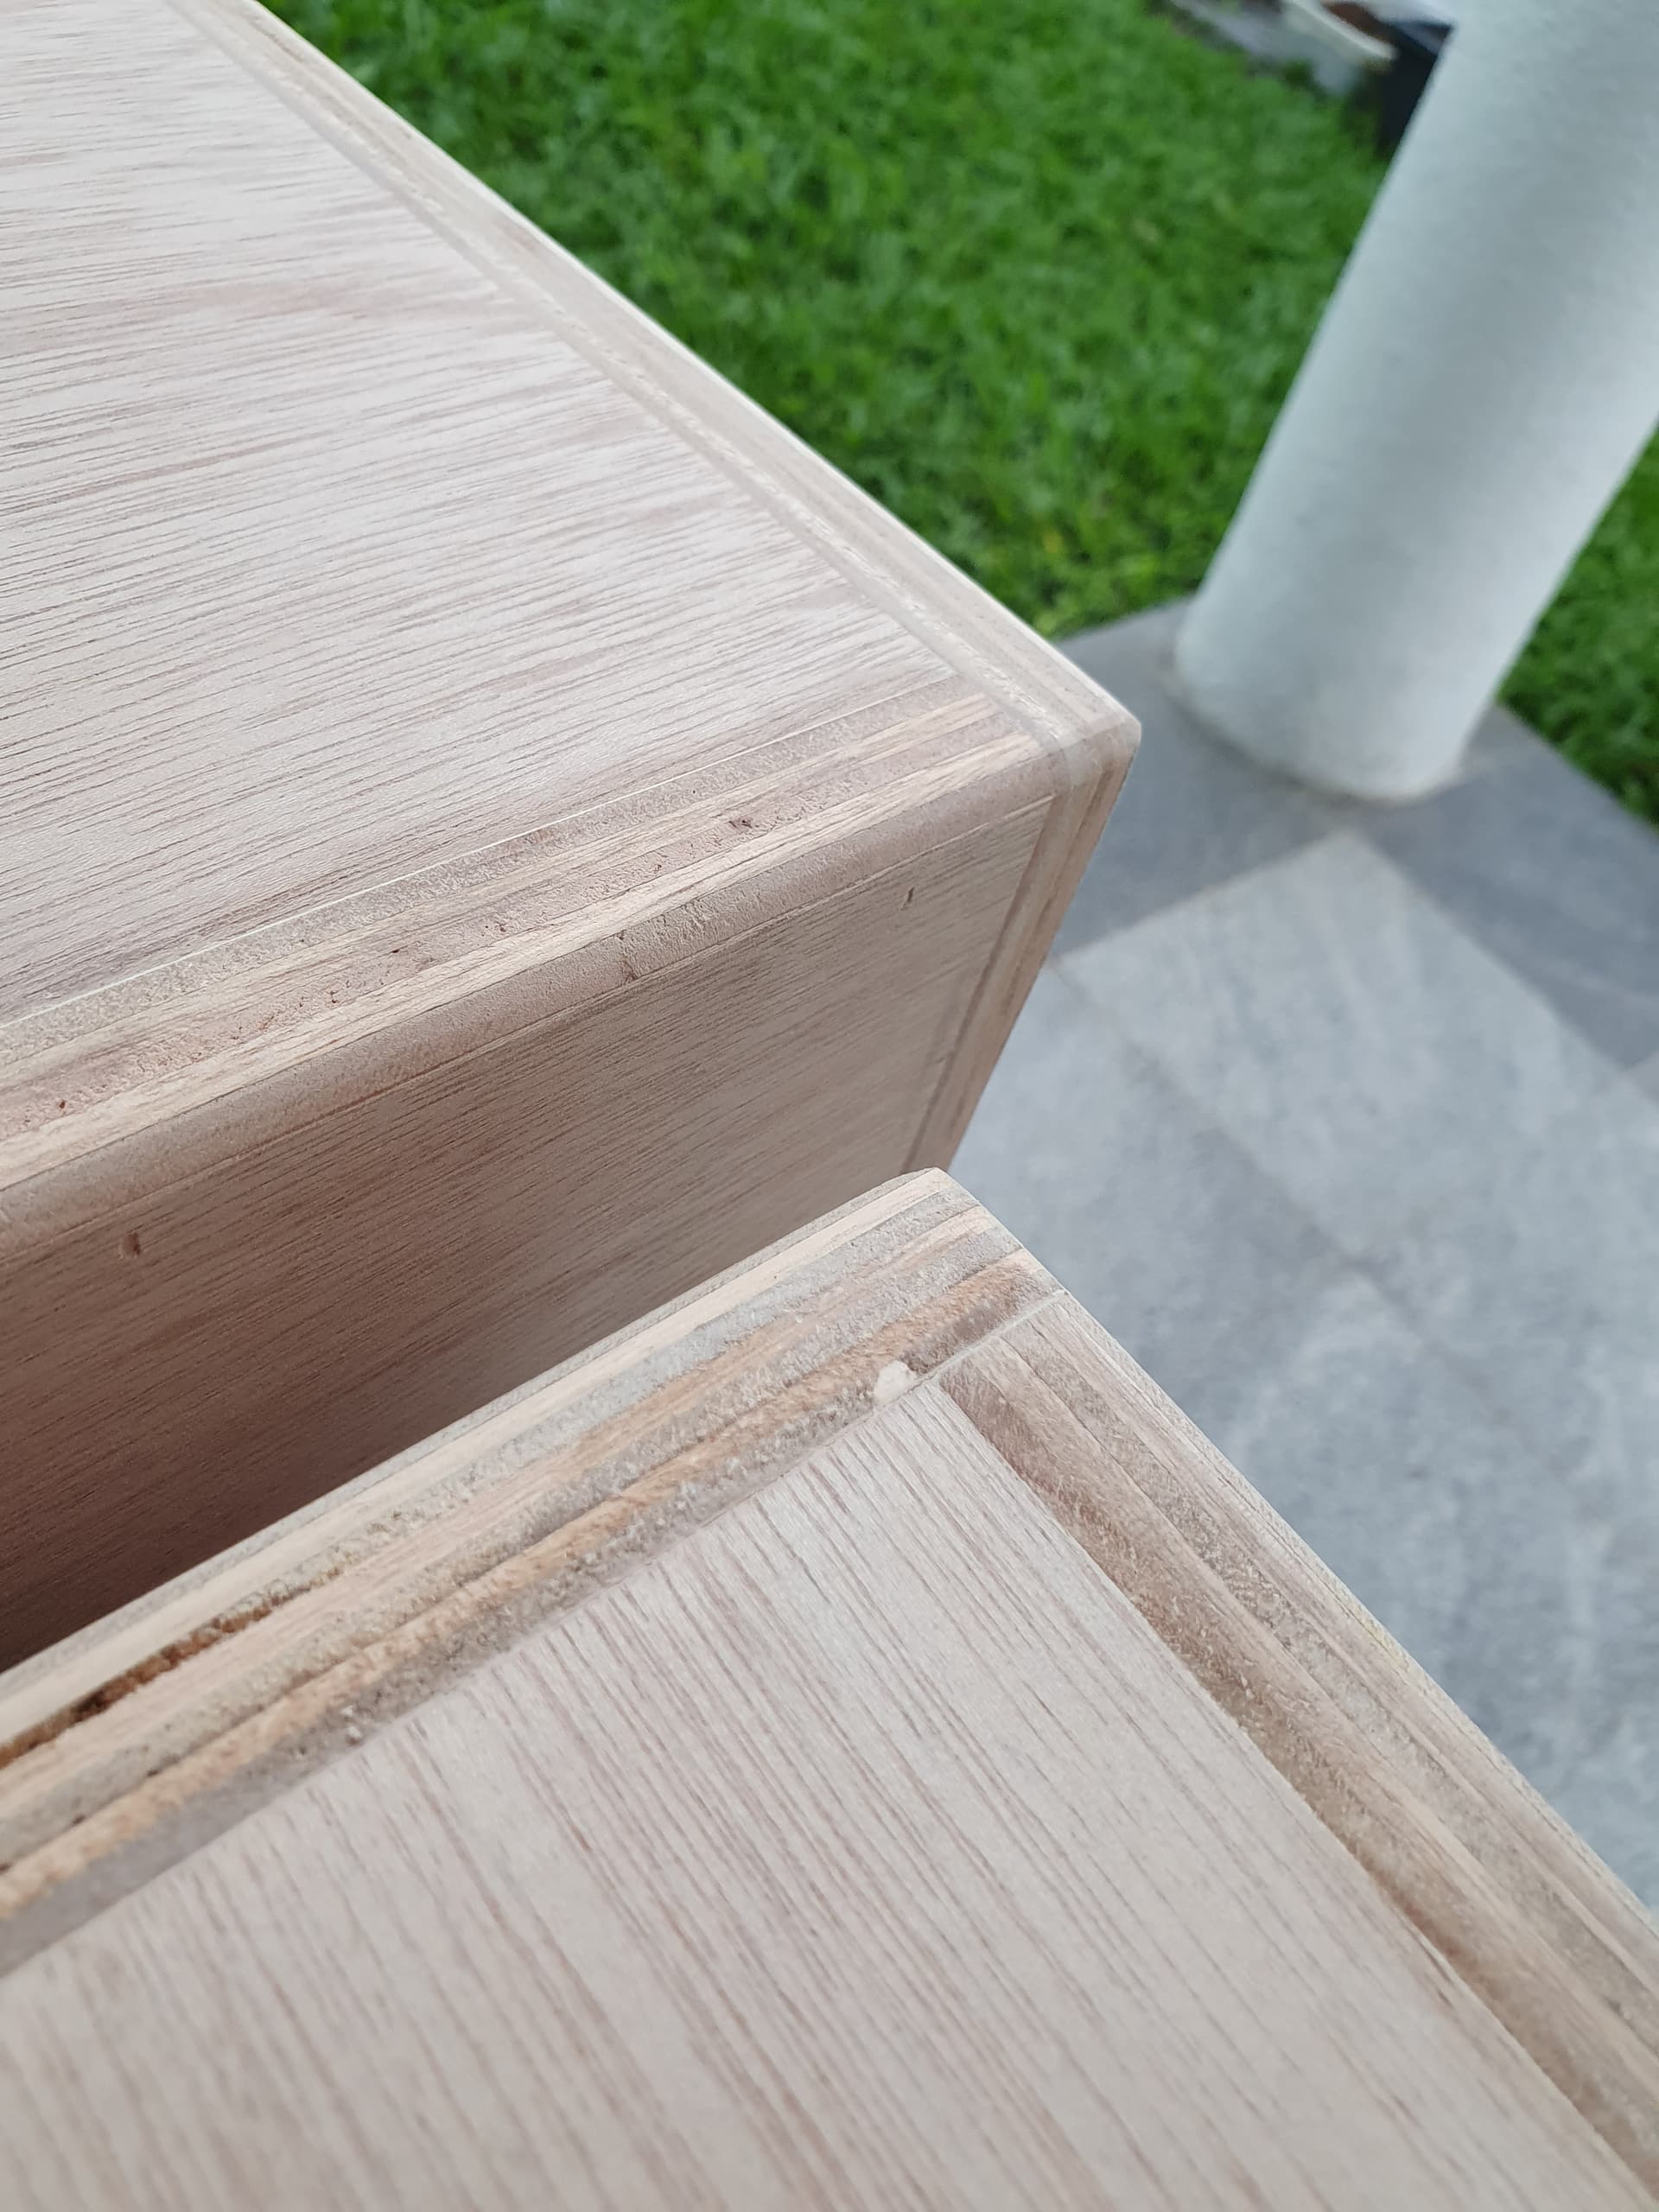
Tried something new. Used a planer to chamfer the edges before sanding. As this is regular cheap ply, not marine ply, not Baltic birch, there are tons of imperfections.
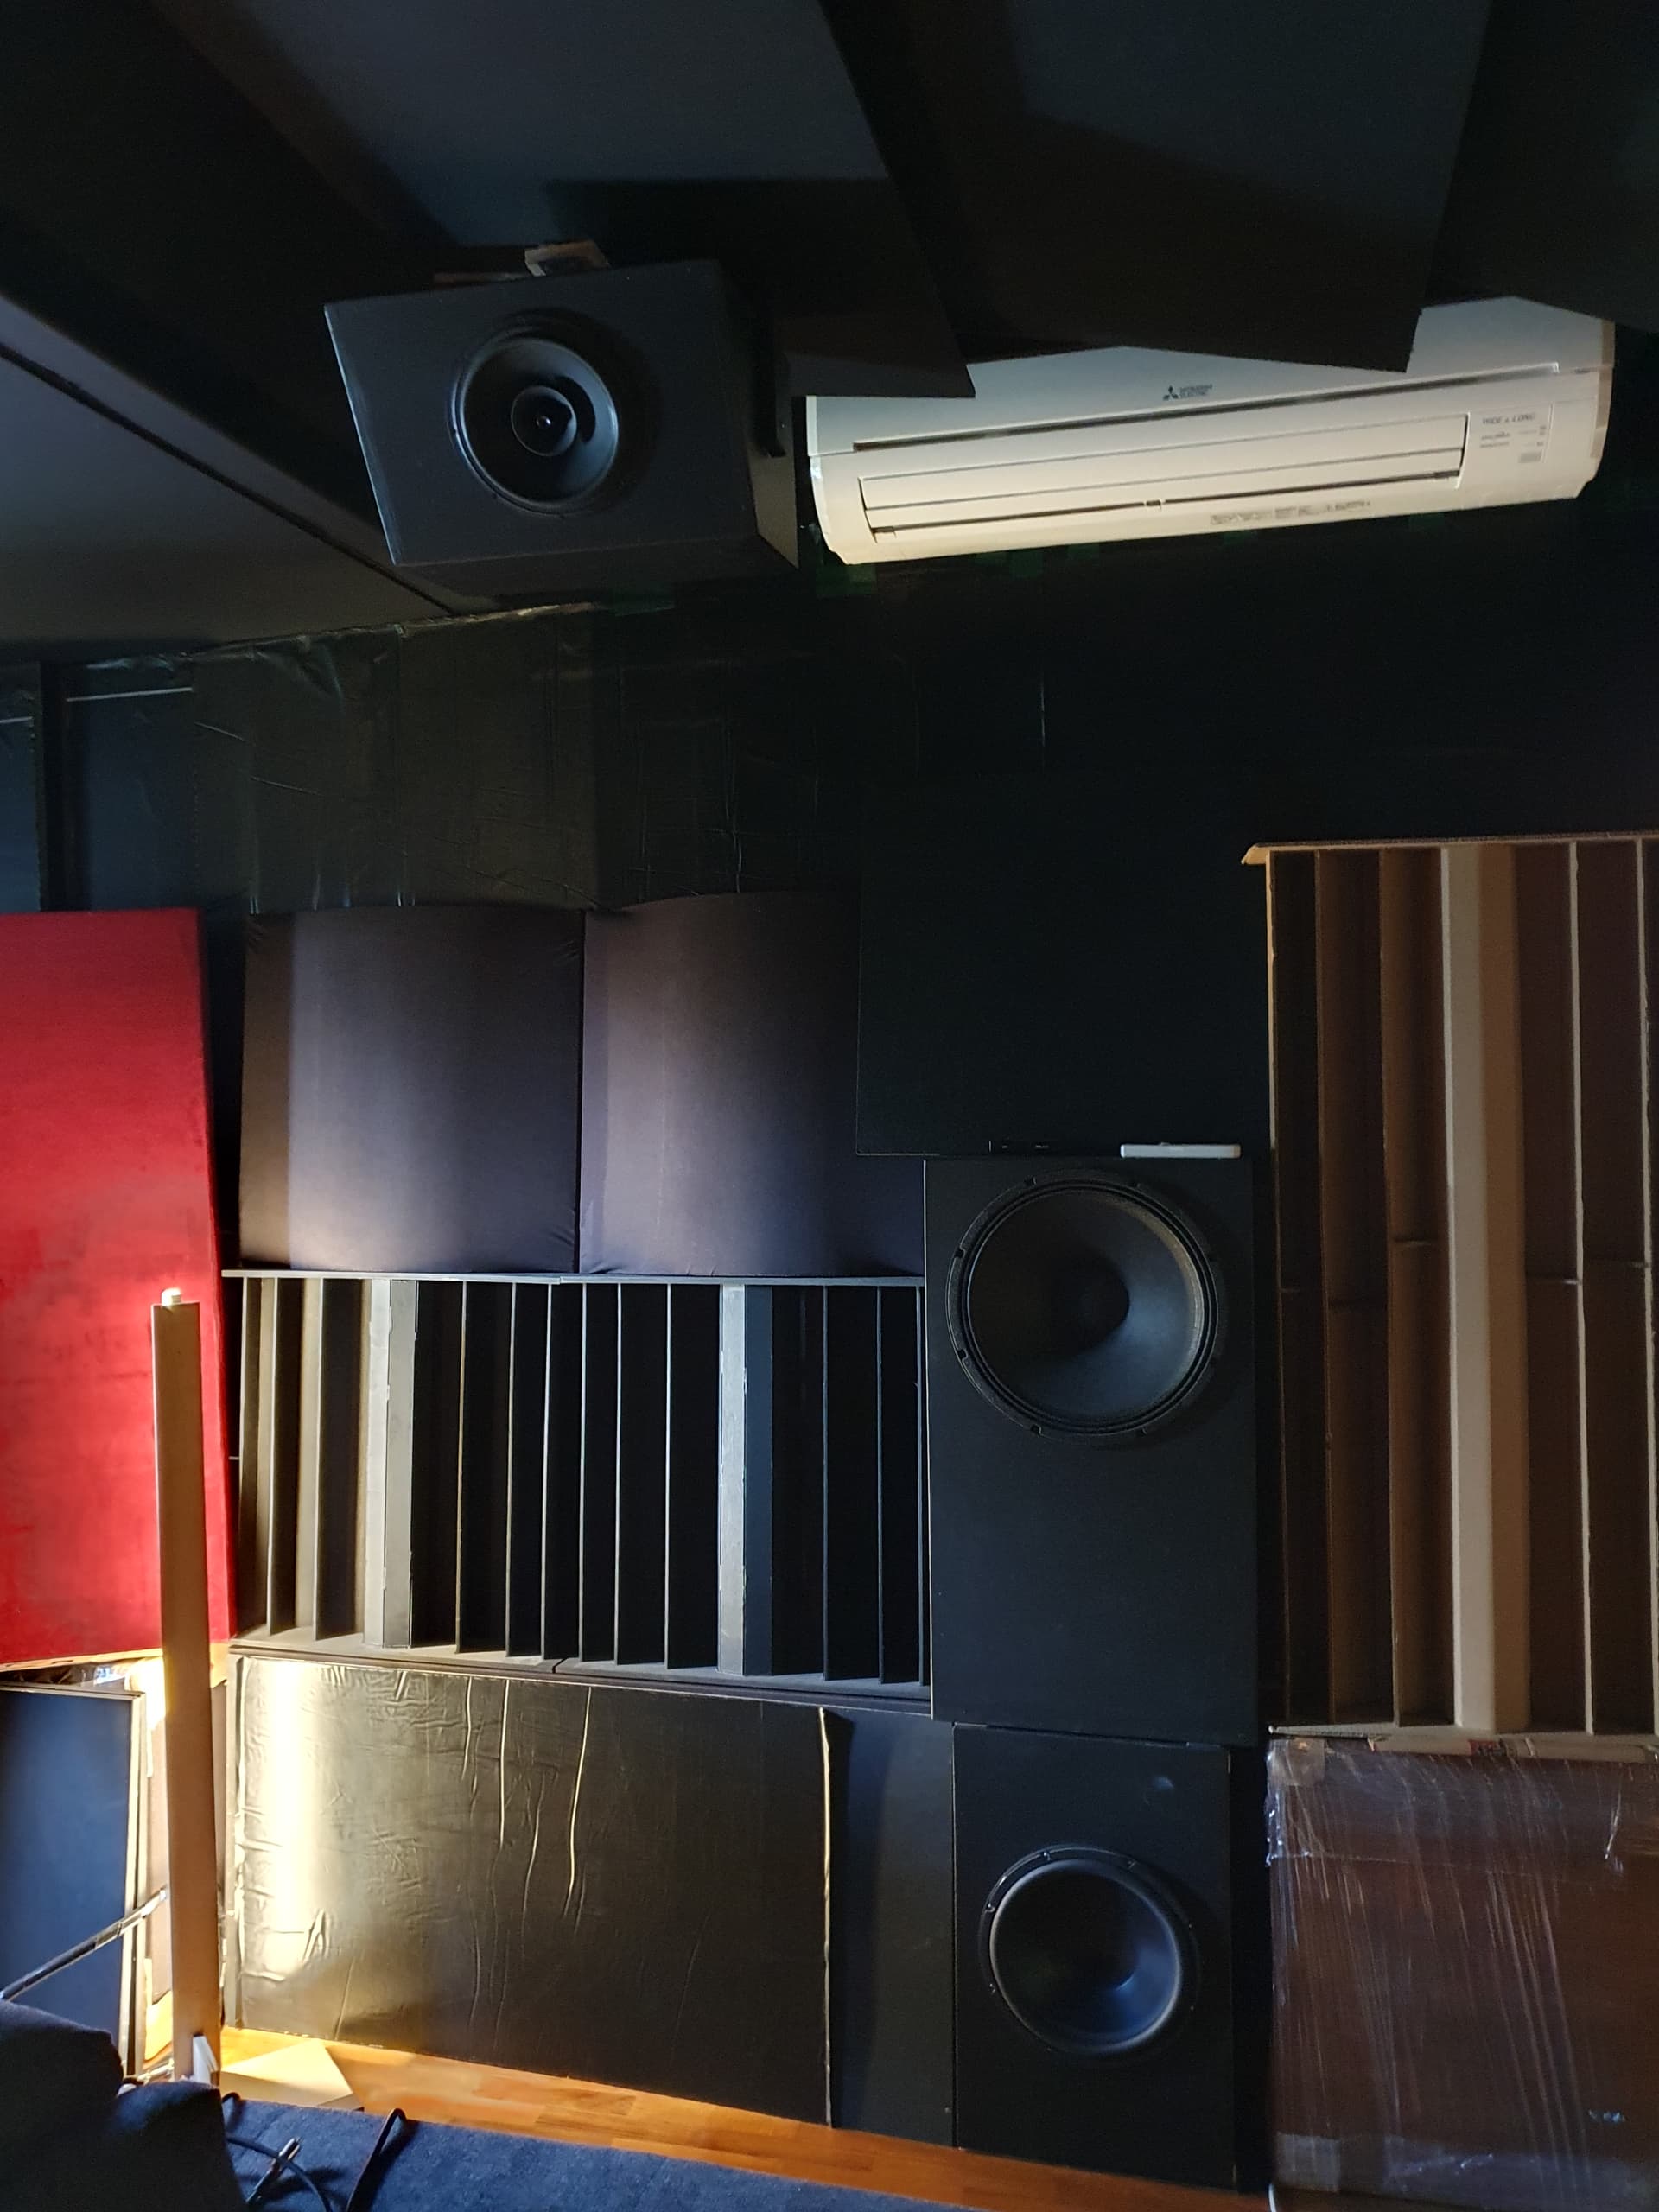
Next is bracing. Before we go into that, the single overriding requirement for this atmos build is lightweight. Because they will hang from the ceiling, like atmos does…
So everything is lightweight. From the 18mm ply (other cabs were 24mm), to the bracing design (less material), to the driver choices.
With that, the next step is bracing.
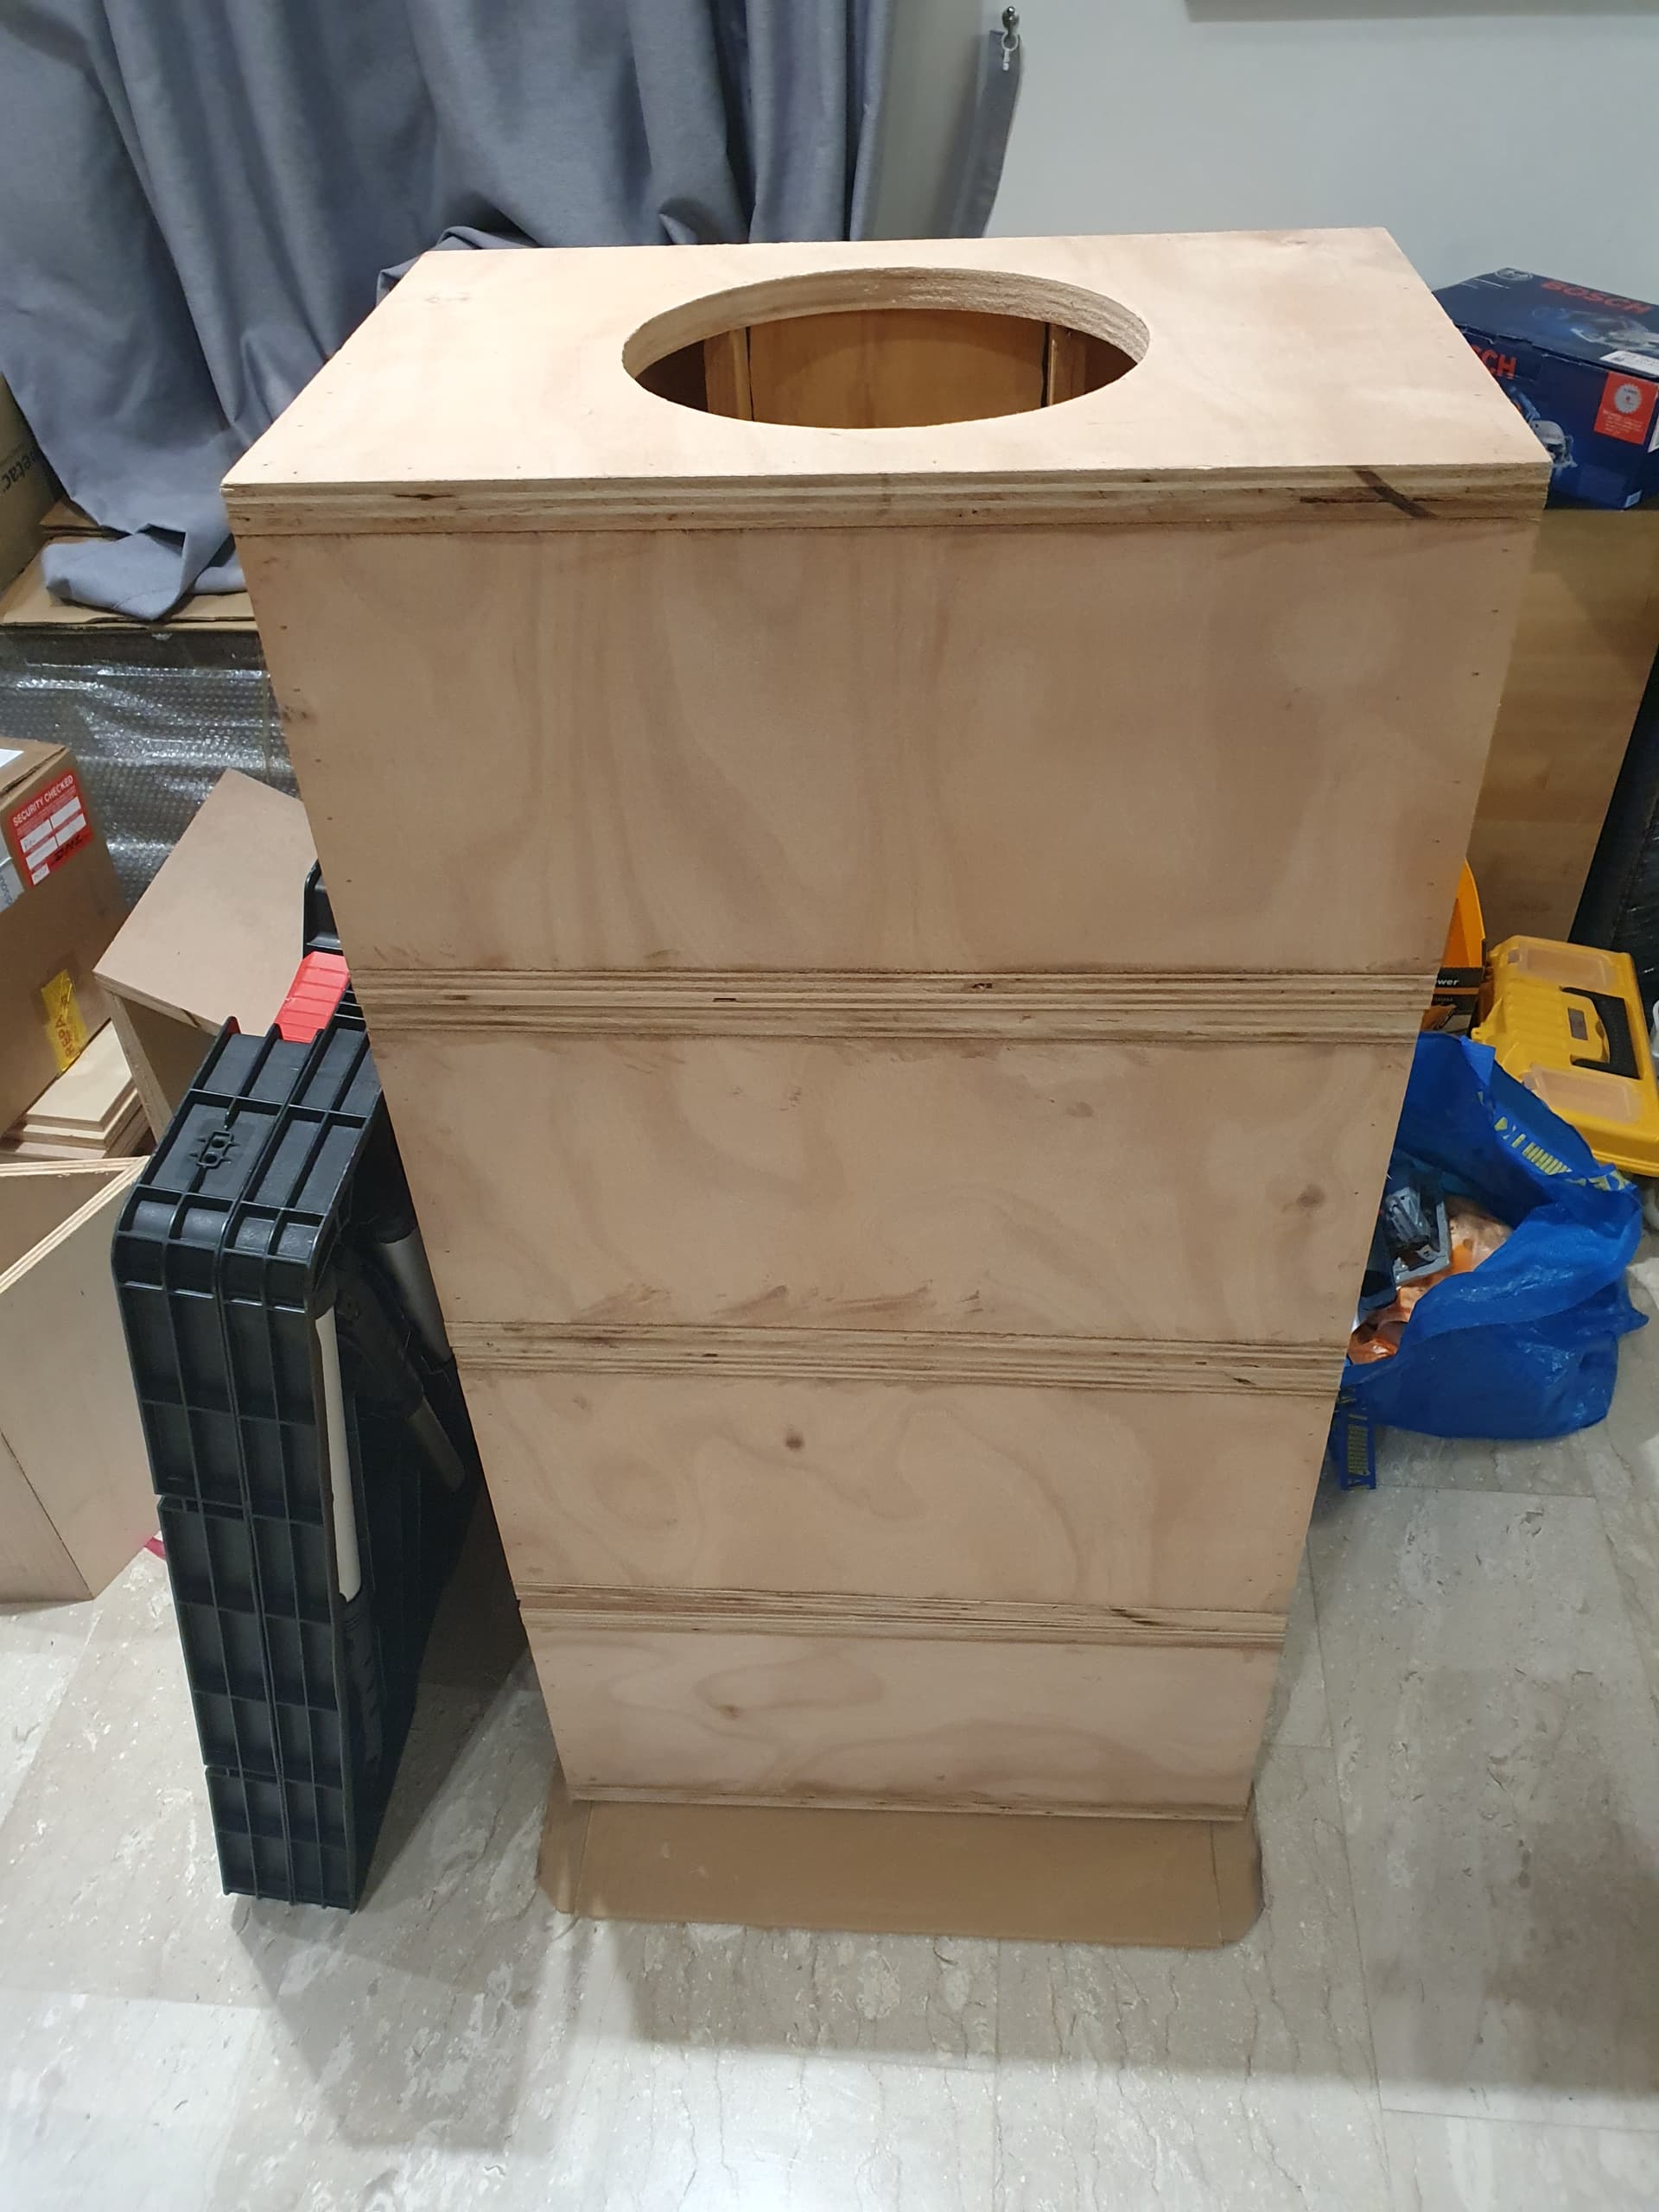
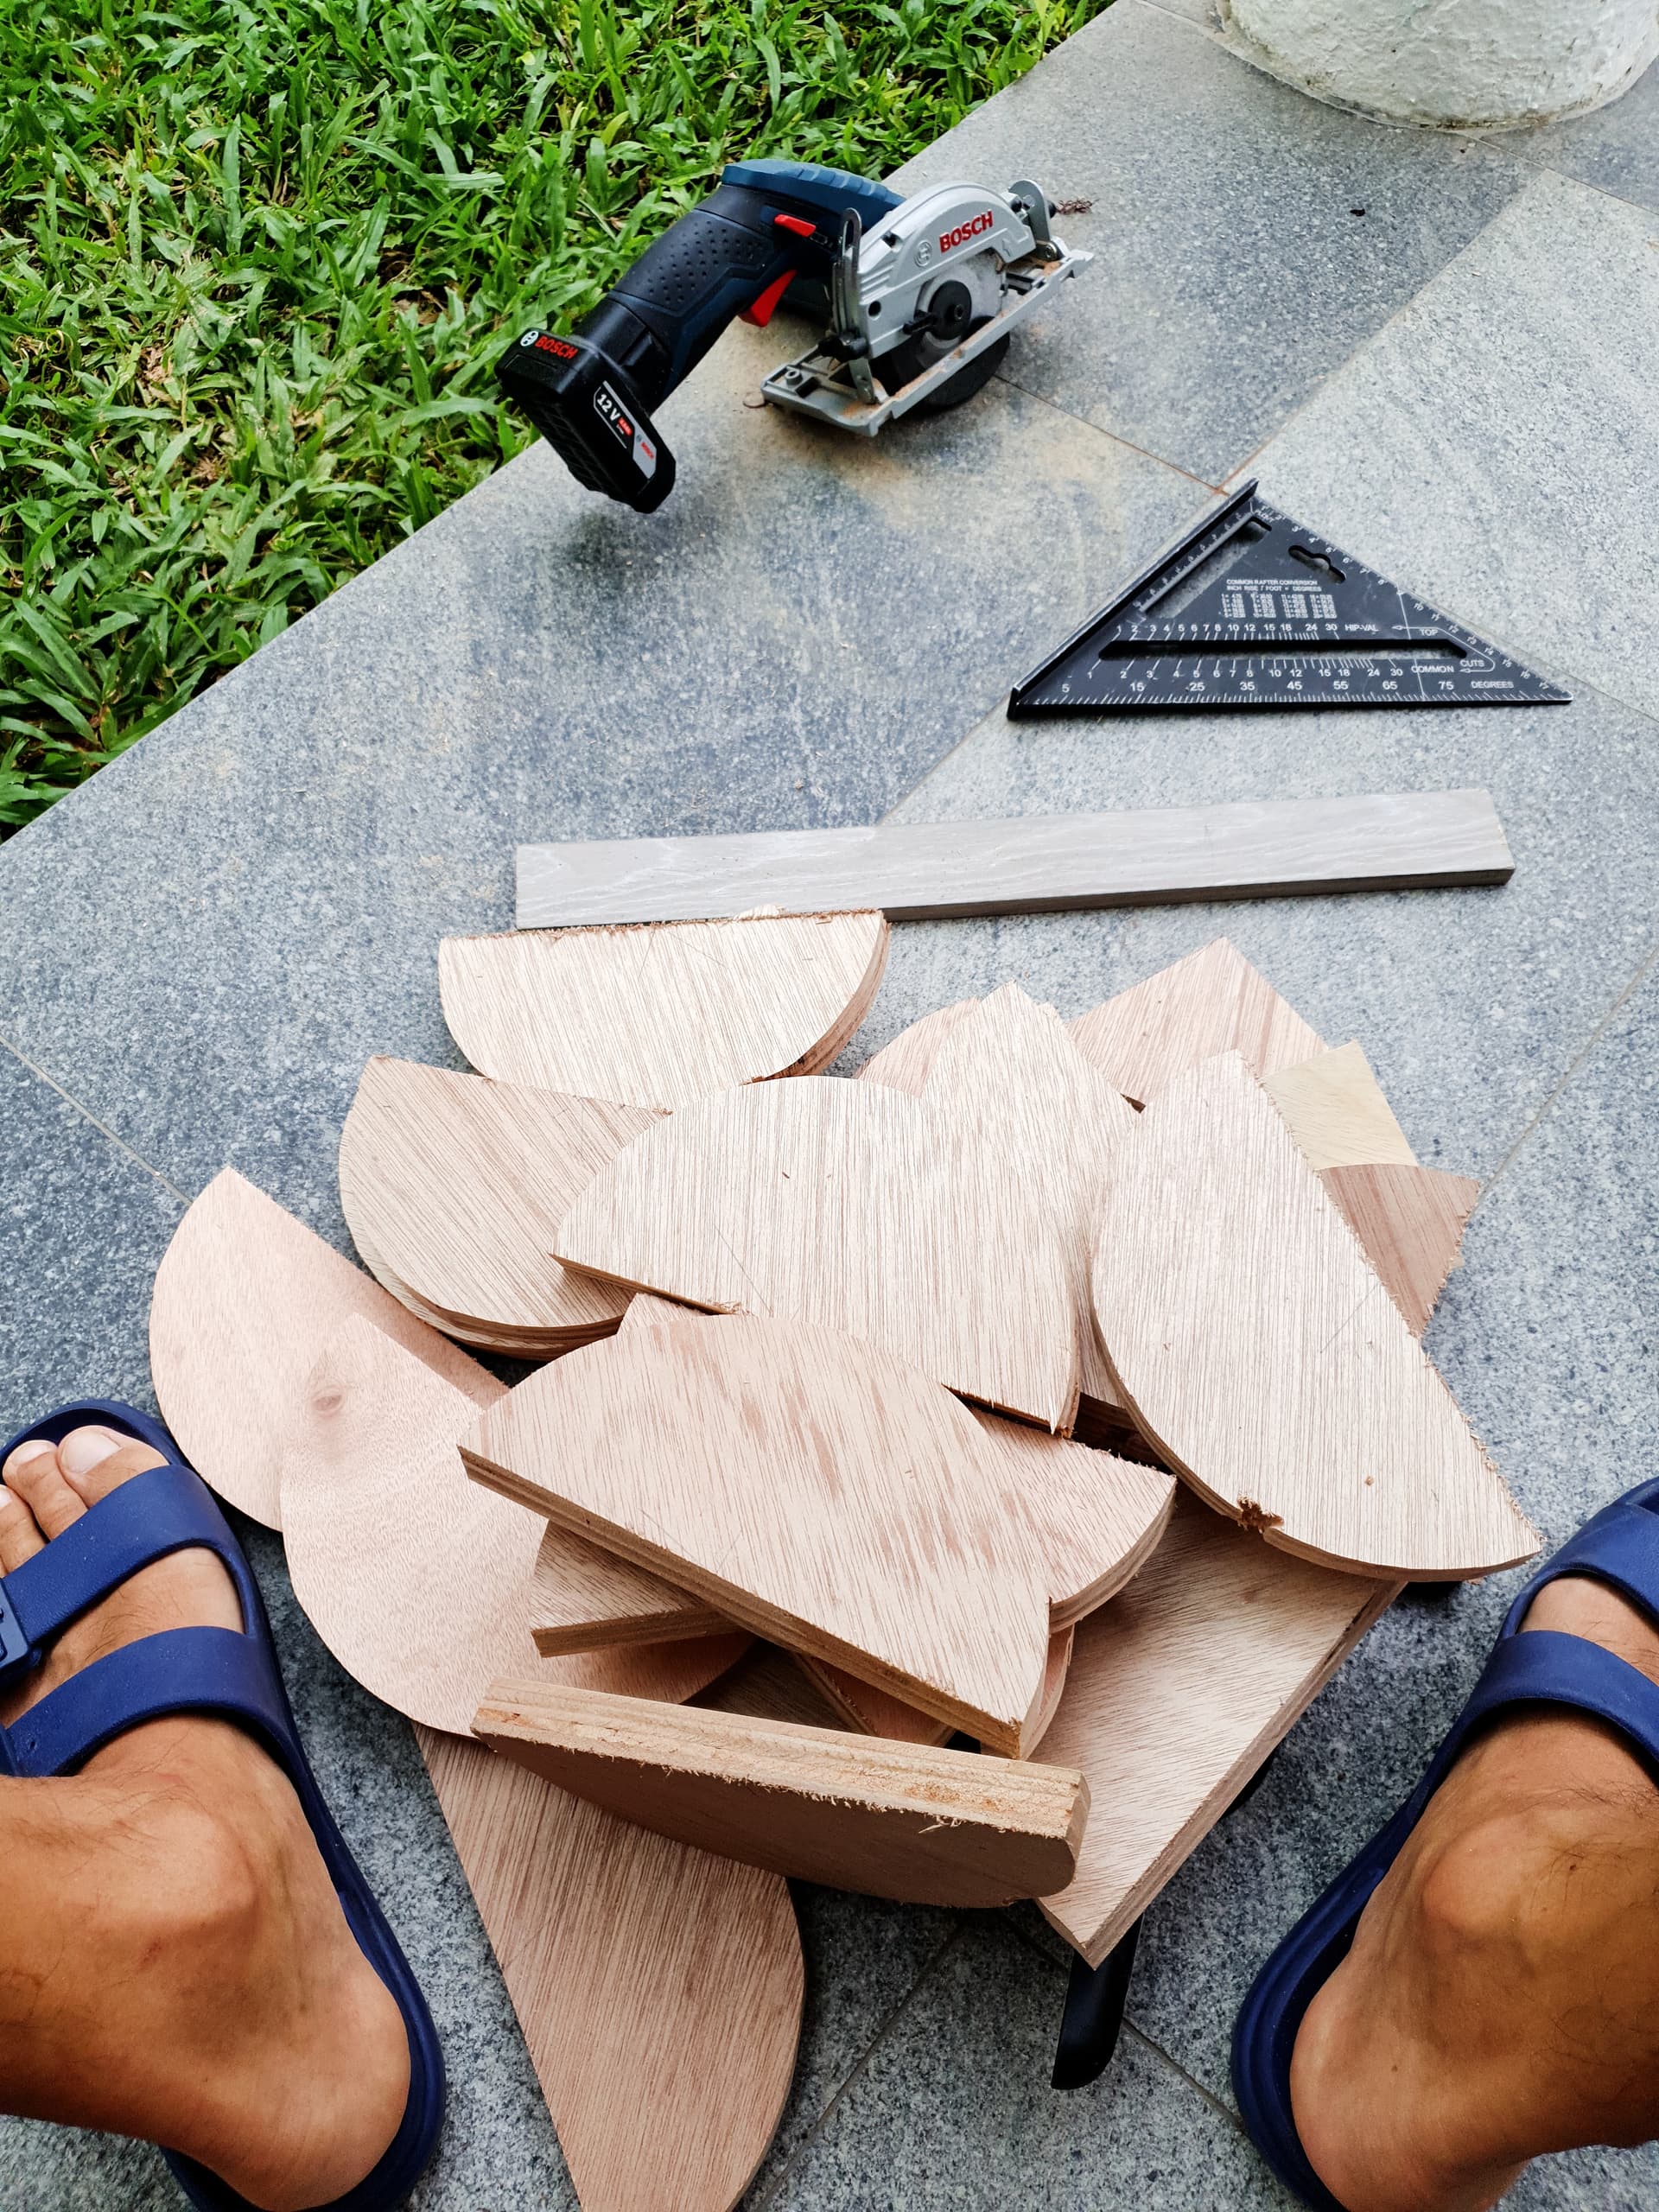
The circle cutout is used to reinforce the front and back baffle, because the hole cutout makes it the weakest part of the cabinet walls.
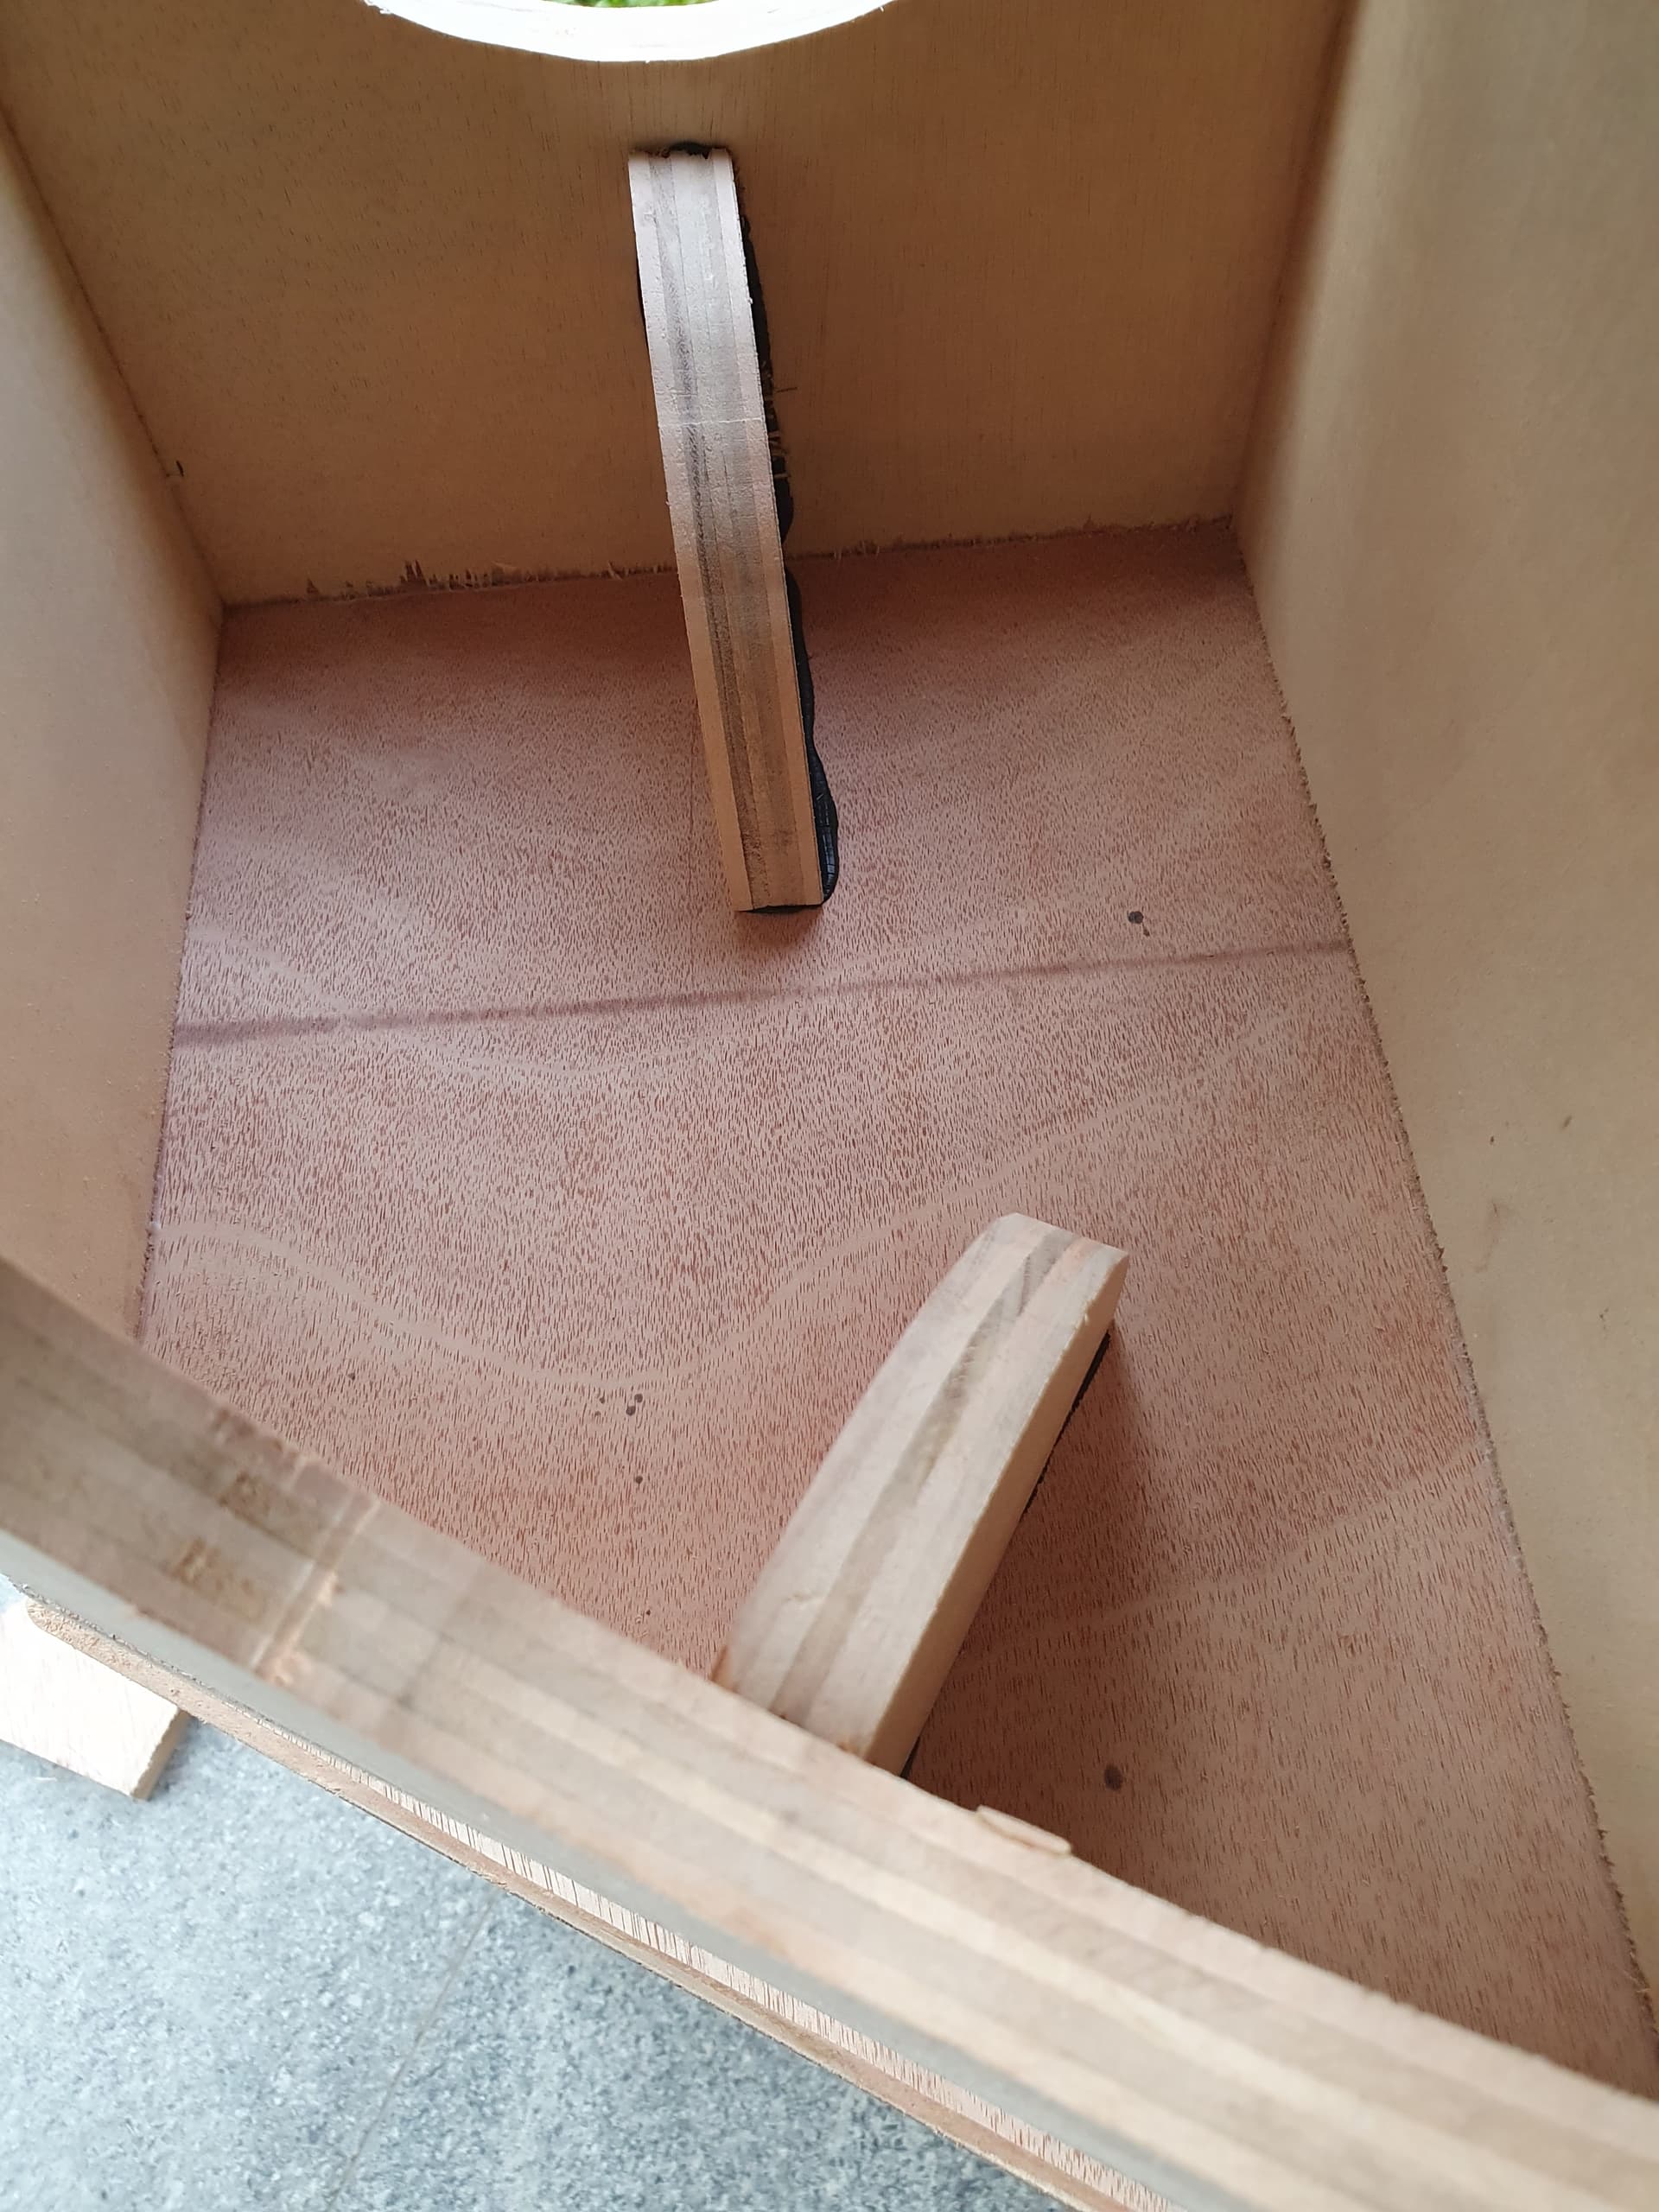
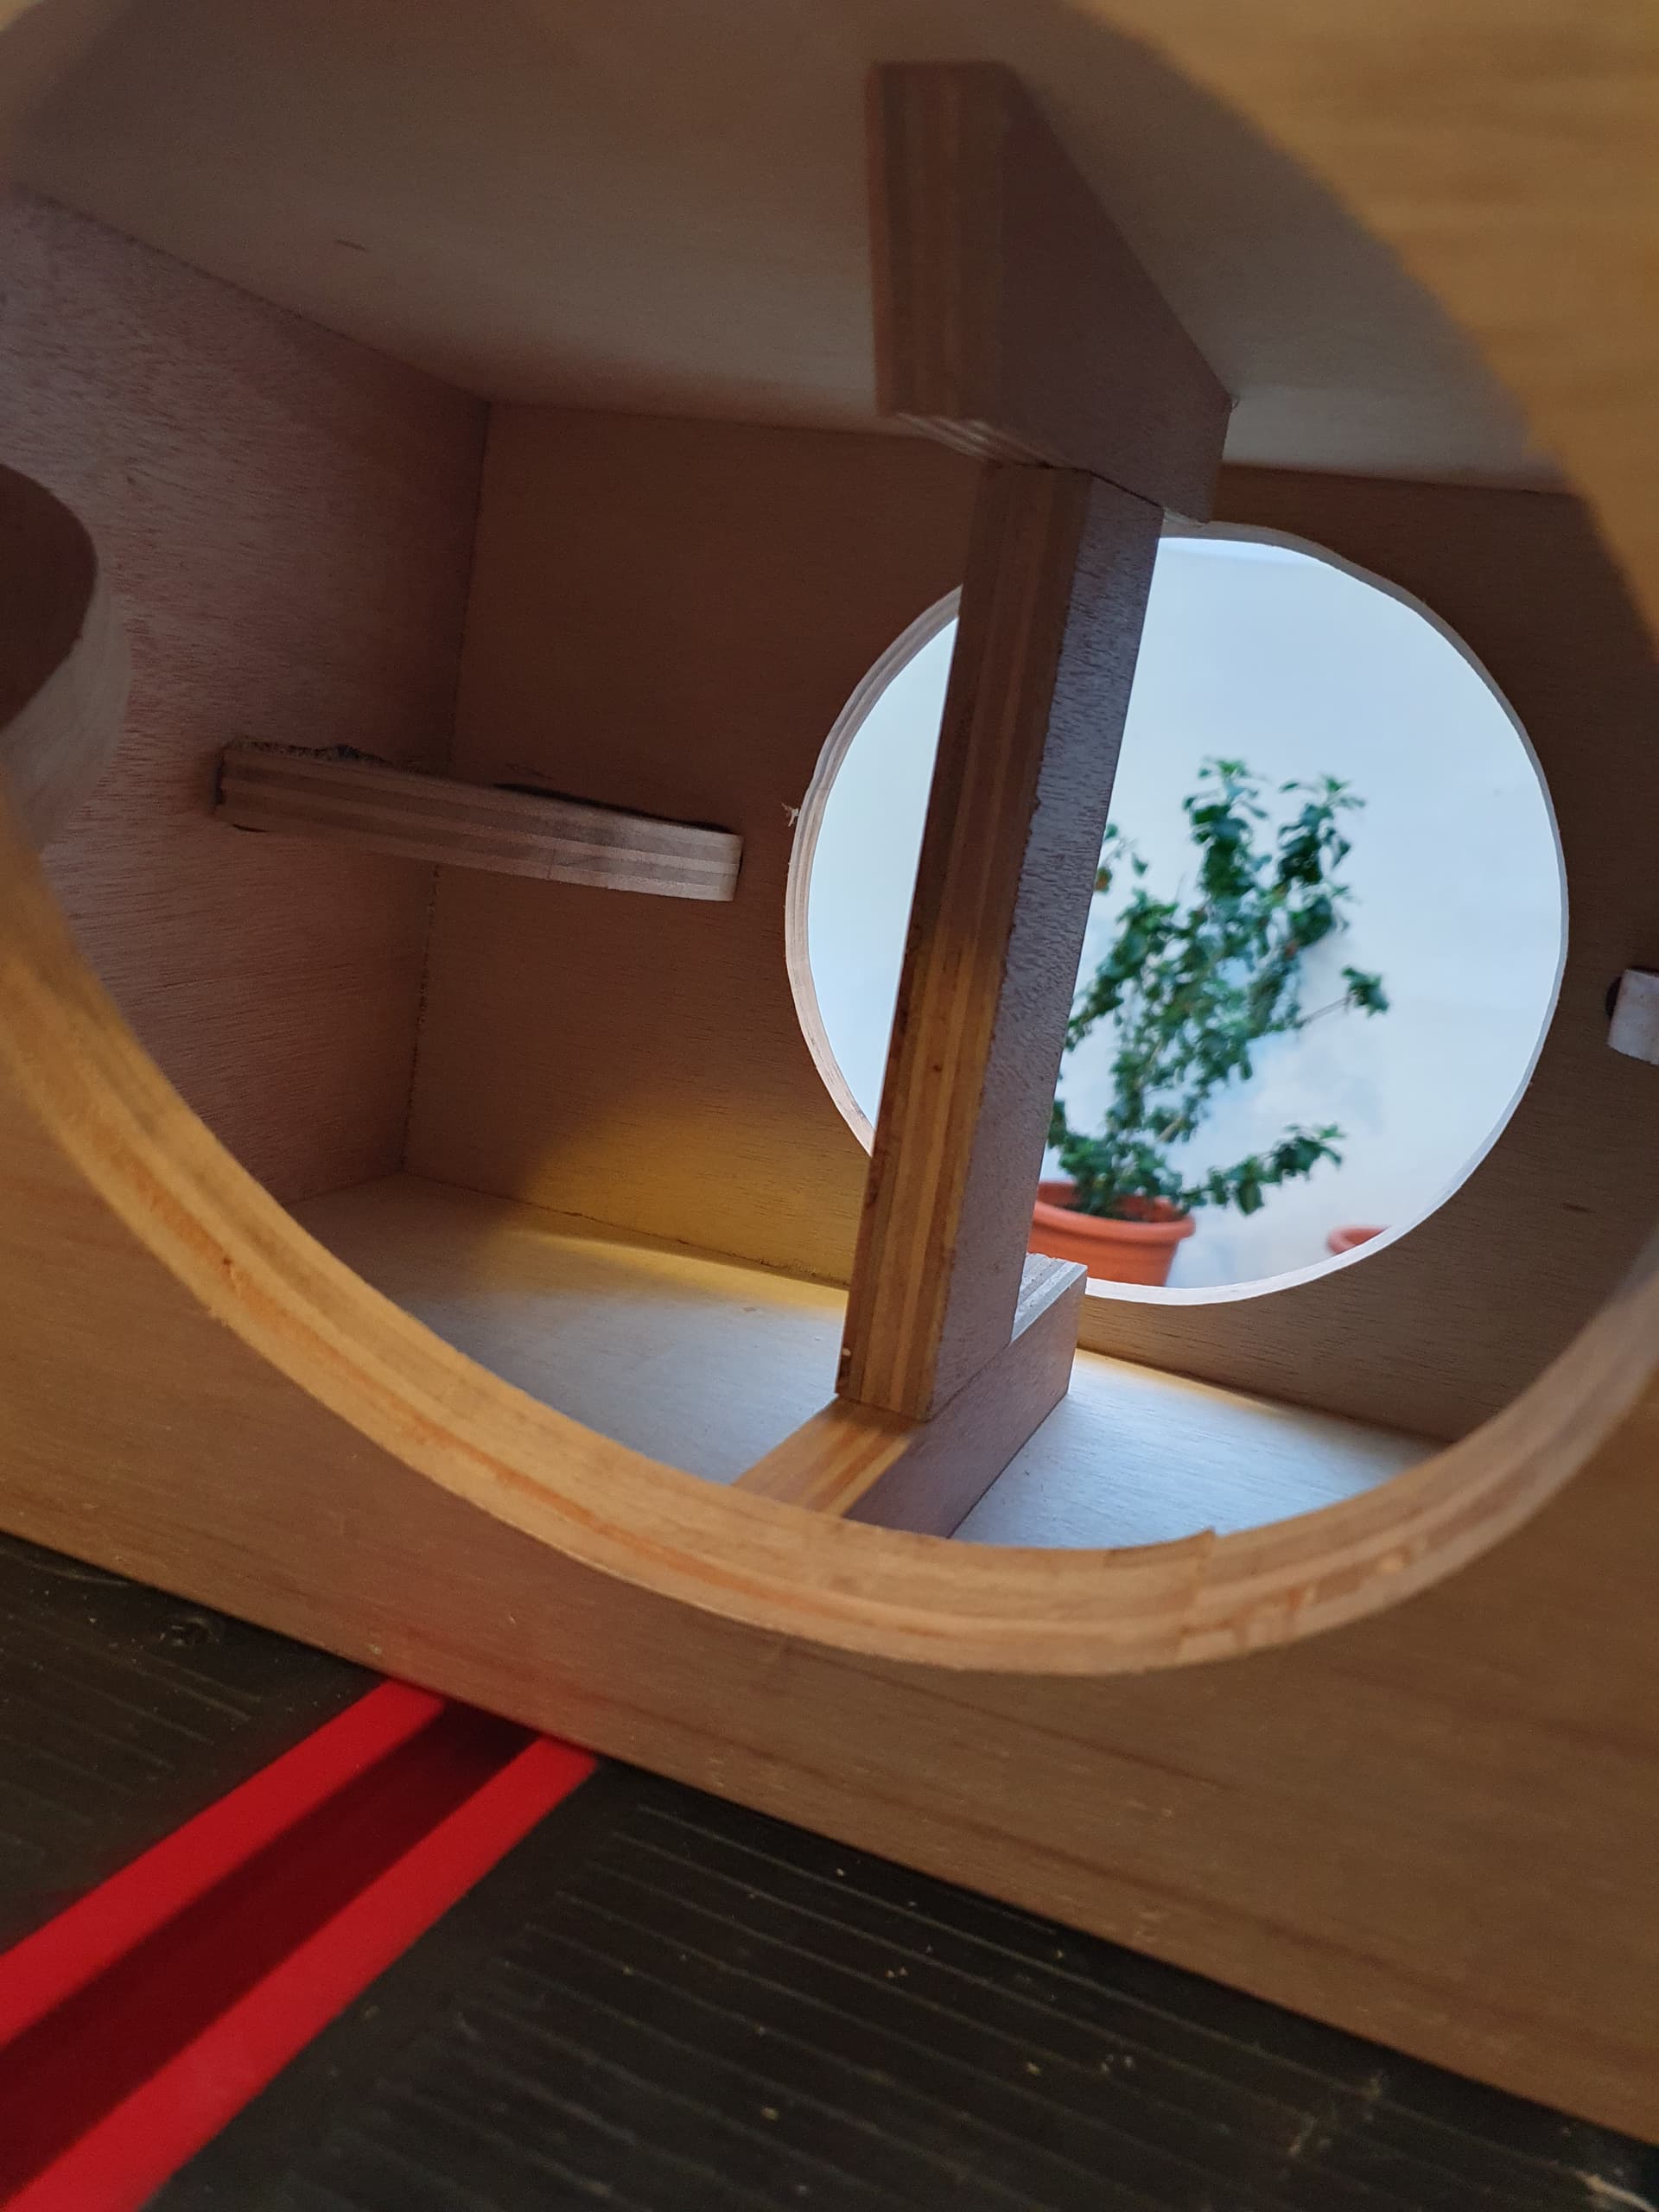
Looking at my woofer box bracing, a friend asked why I don’t do an opposite cross brace, and instead like to brace across 90deg panels. Well this is the perfect time to try a cross brace.
Try something else I’ve wanted to do - an angled brace piece that wedges into place. This solves the problem of retrofitting a cross bracing into an existing cabinet via the driver hole.
Test fit the prototype concept. Worked beautifully!
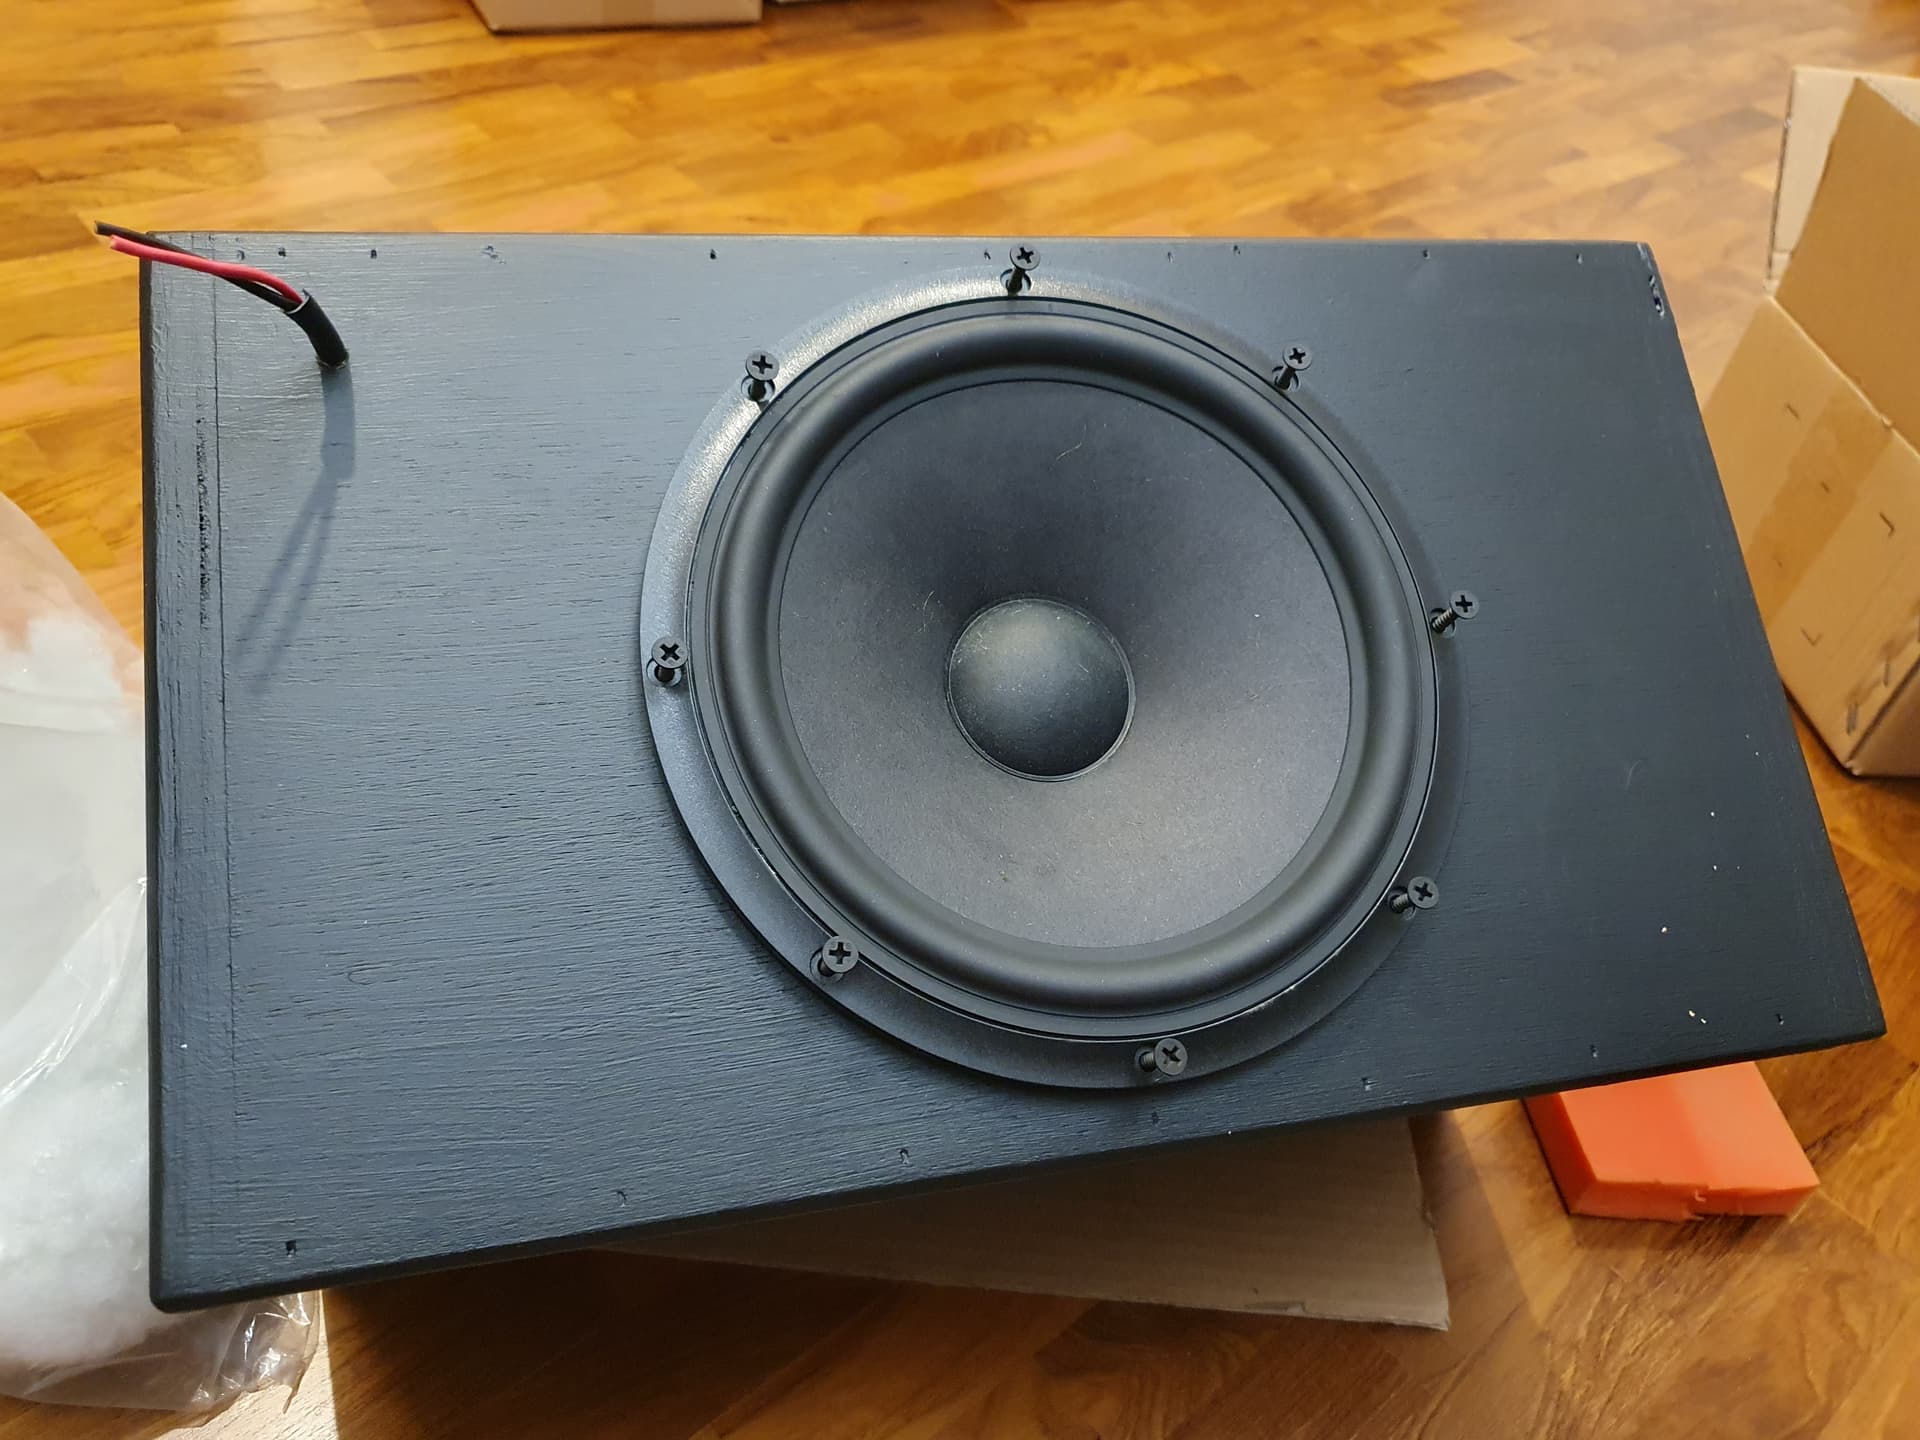
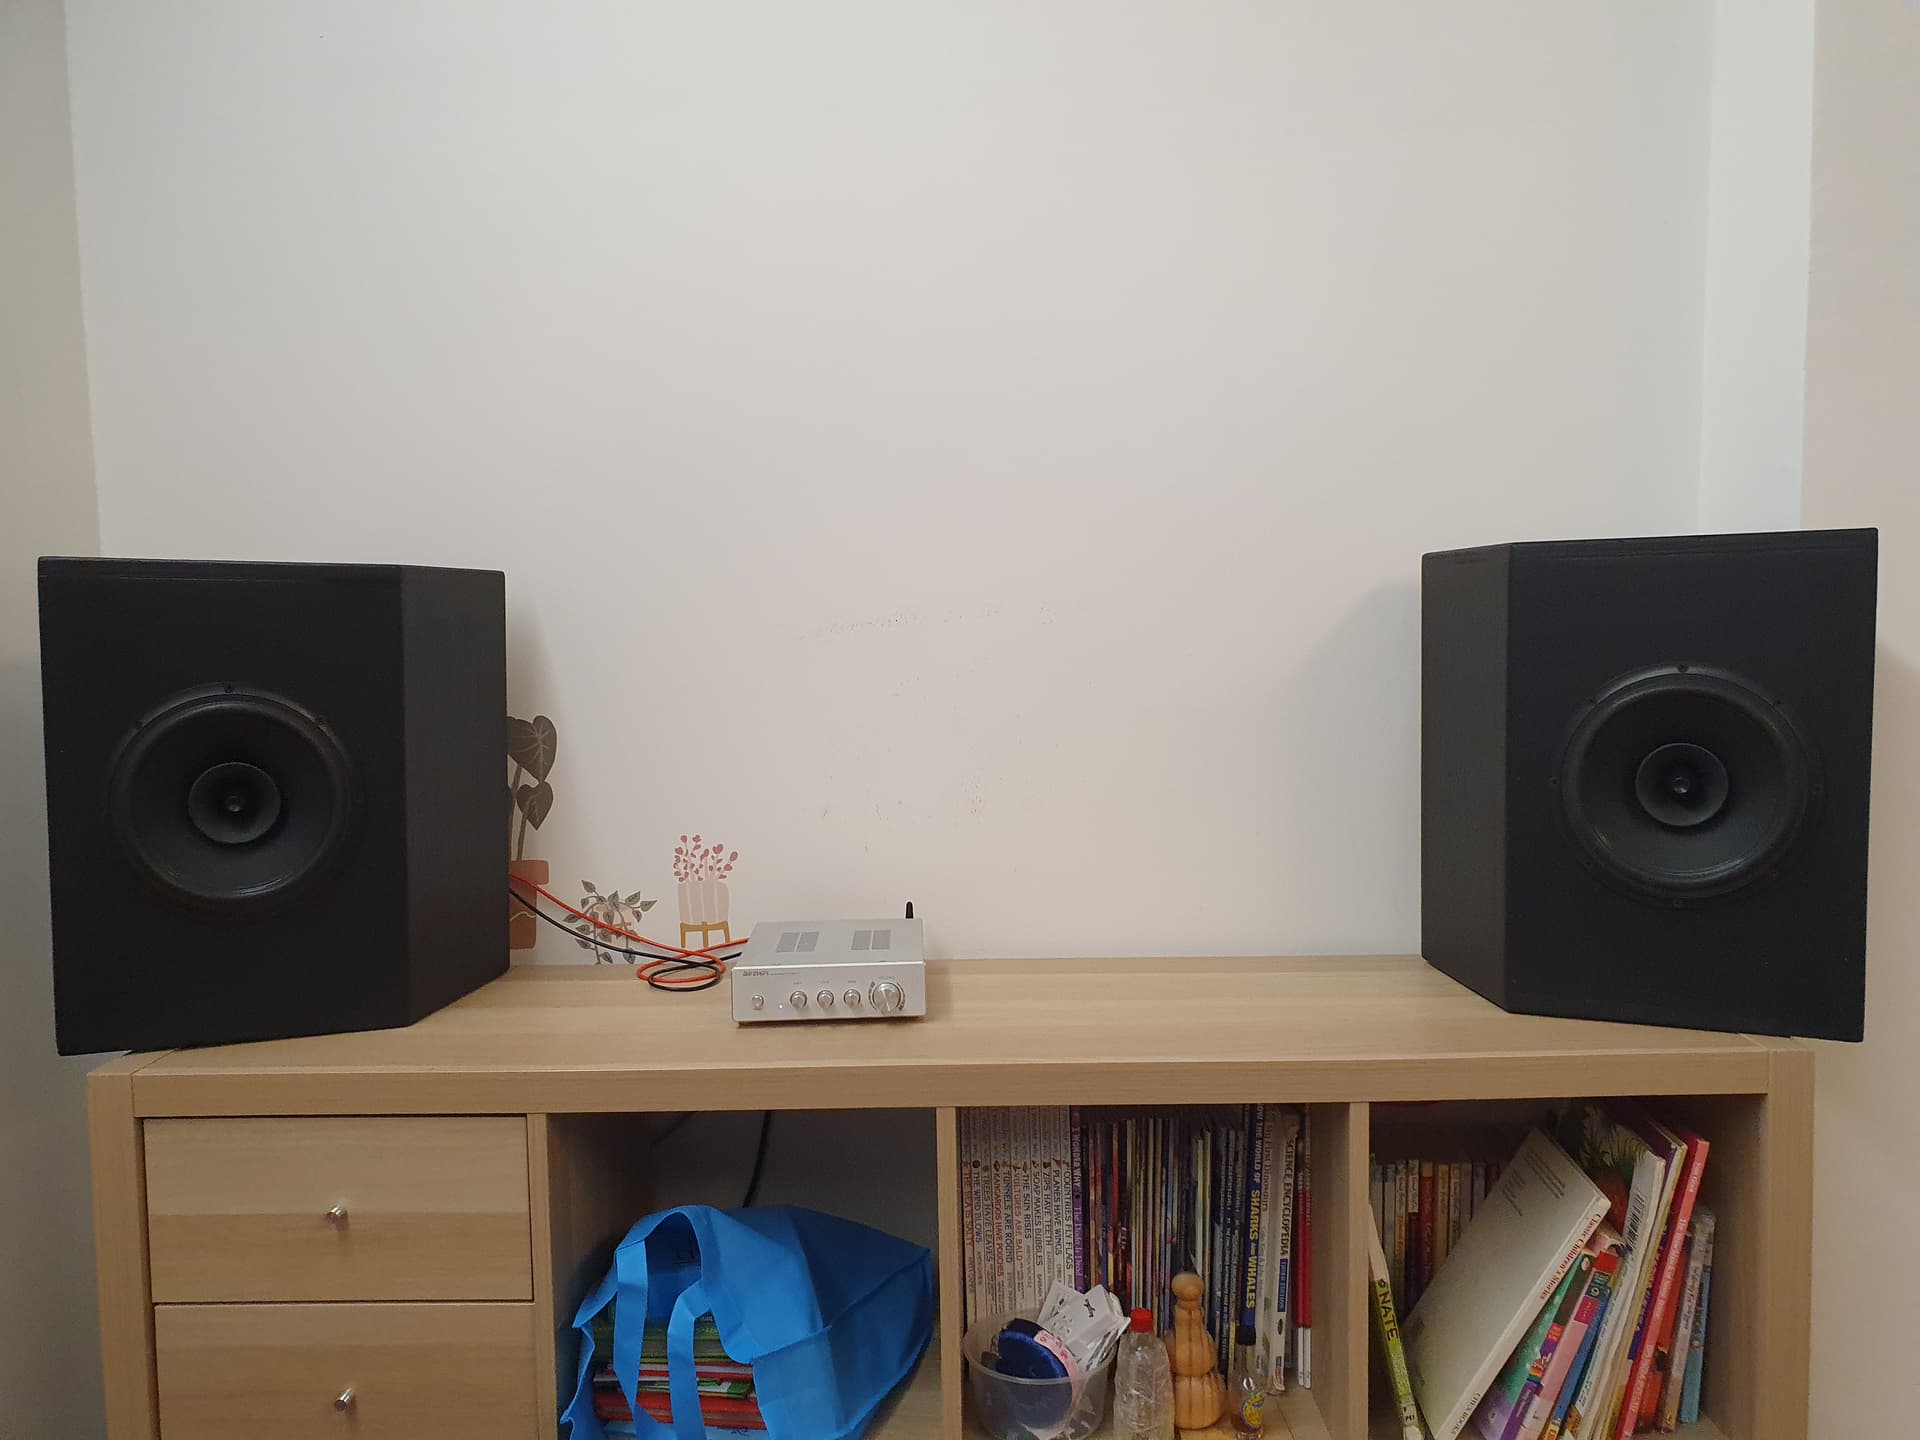
And PR. My trademark, no binding post, just a wire through the wall. The best connector is not come exotic rhodium plated monstrosity. The best connector is no connector…
Some full range driver setup usually have an impedance compensation or zobel network, notch filters etc to tame a bit of the top end and some breakup harshness.
In this case, I will let ARC handle all of that, so no network needed. Direct wire from amp to speaker. Lightweight too!
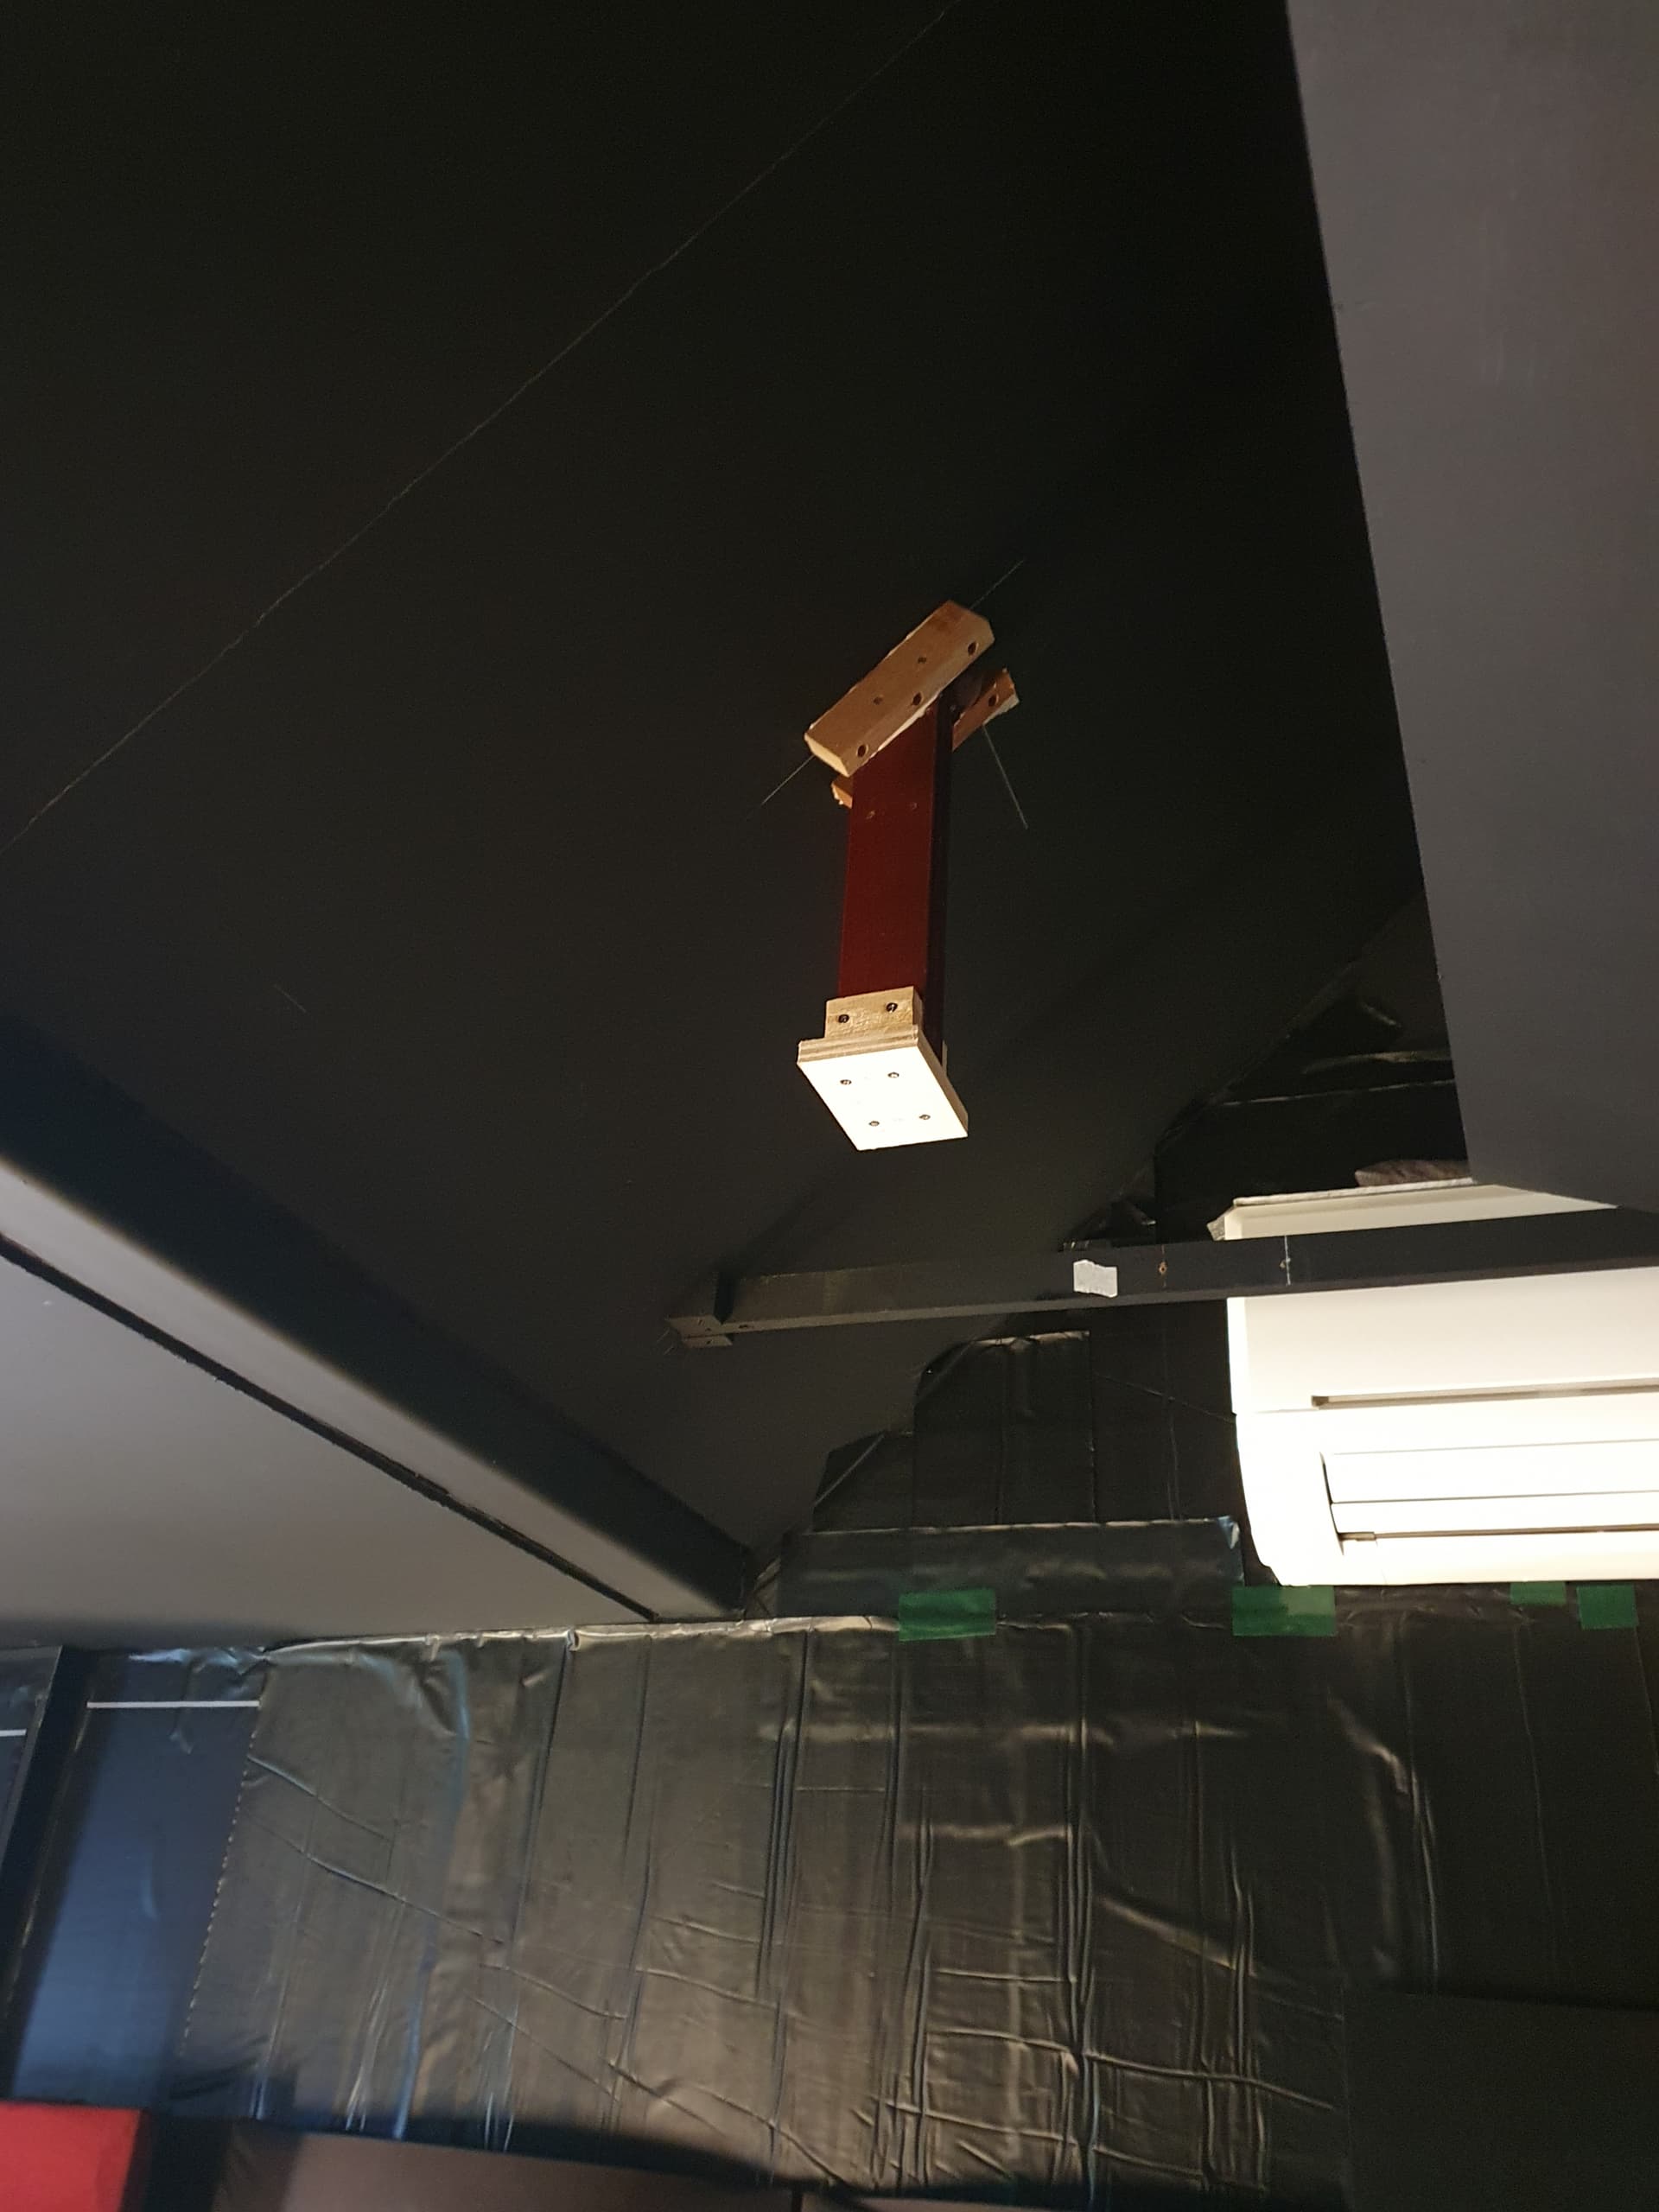
Next up - designing the mount, and mounting the speakers on the ceiling.
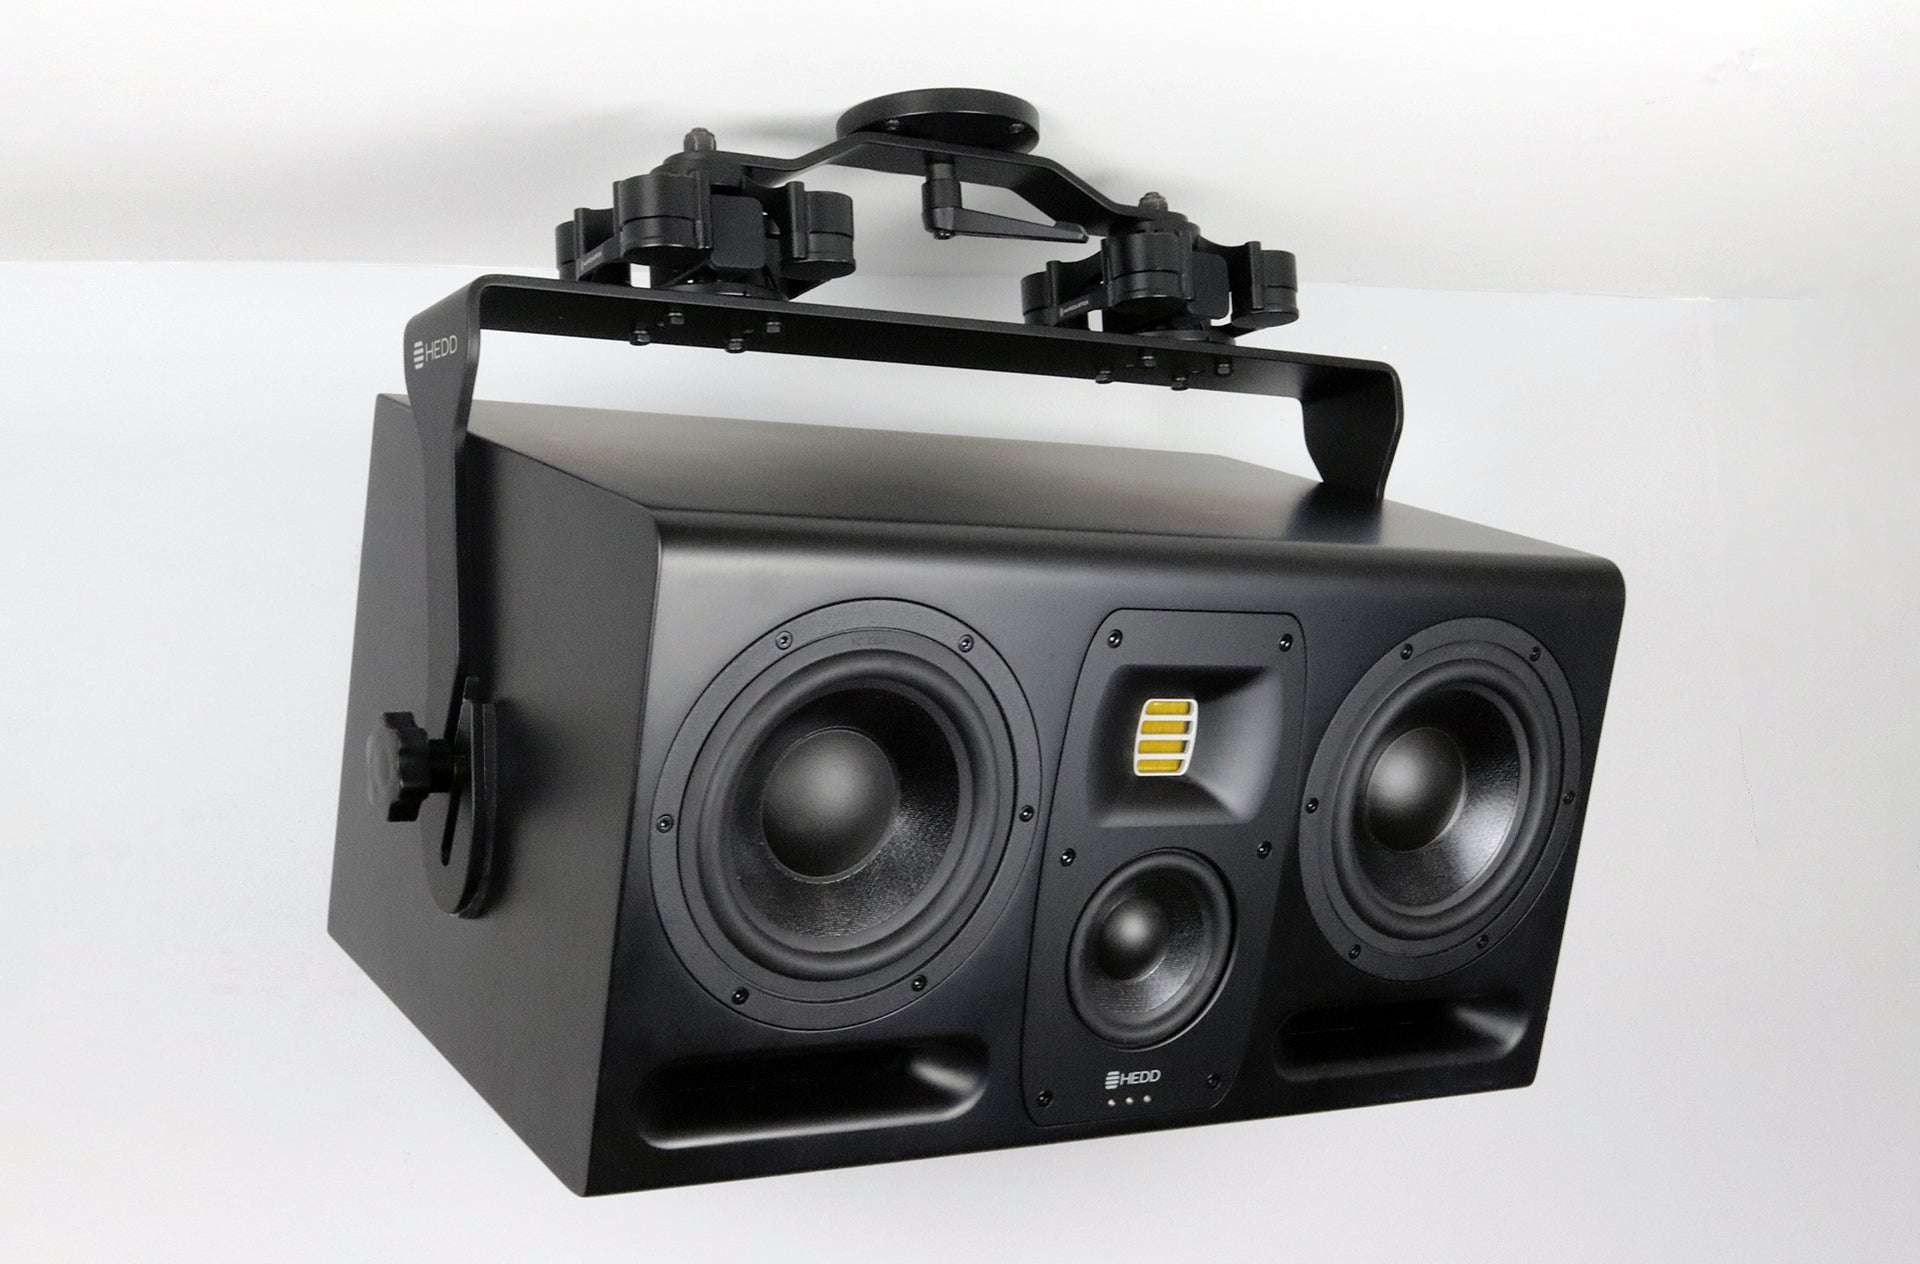
I need the mount to be able to both swivel and tilt. Together with isolation, makes for a tricky situation.
For this, looked to the new iso acoustic ceiling mount for inspiration. If you think putting speakers on cabinets or shelves incur a lot of vibration issues, what about bolting it onto a wall or ceiling?
Enter the new mount.
Here’s a cross section, showing how the the halves are isolated.
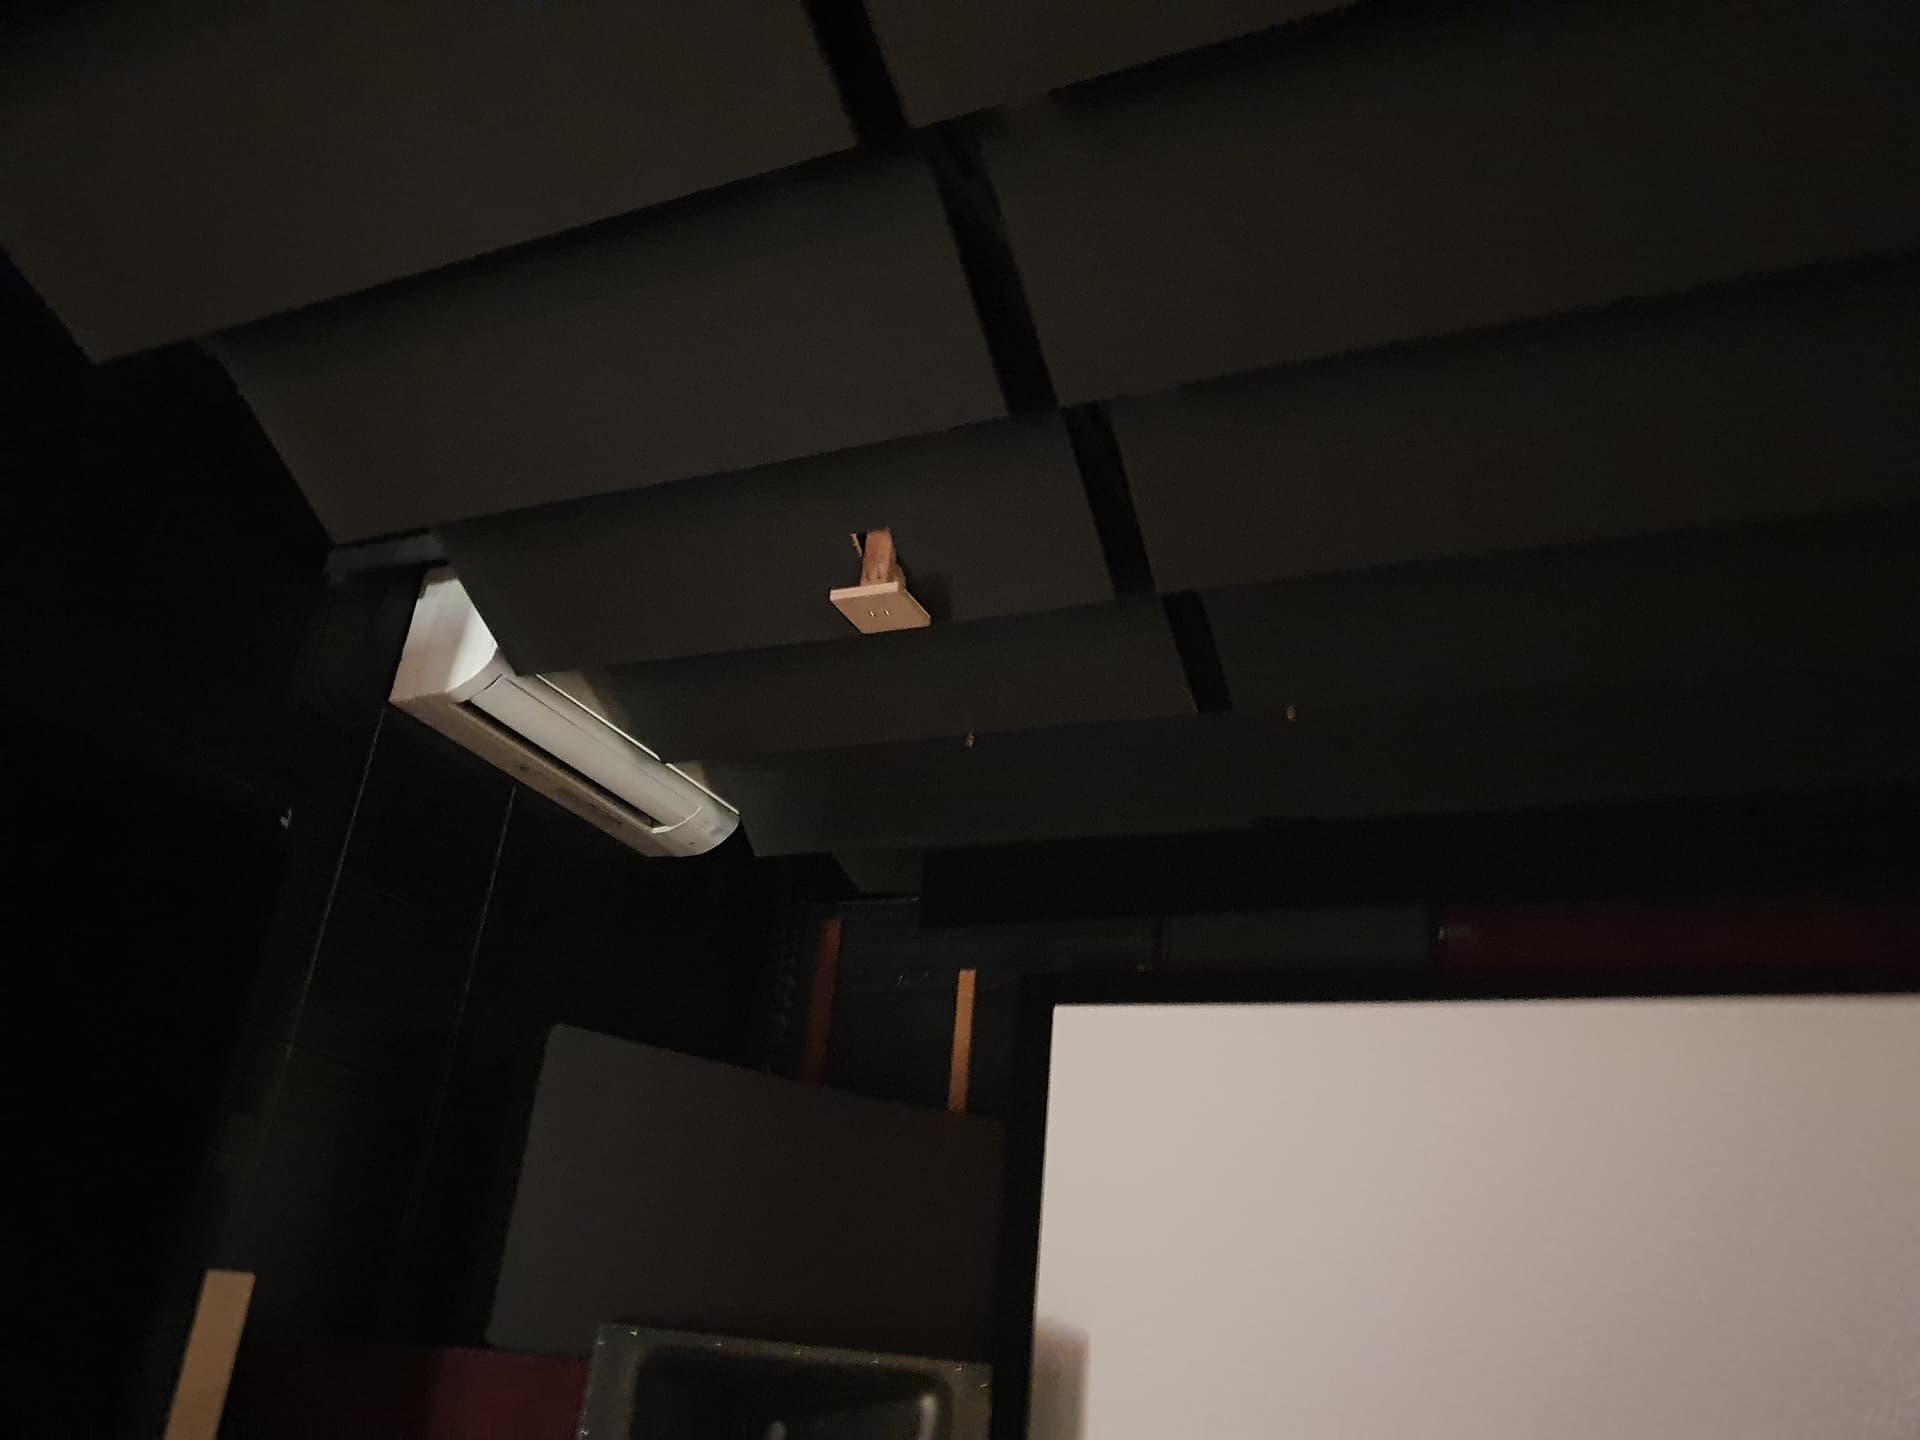
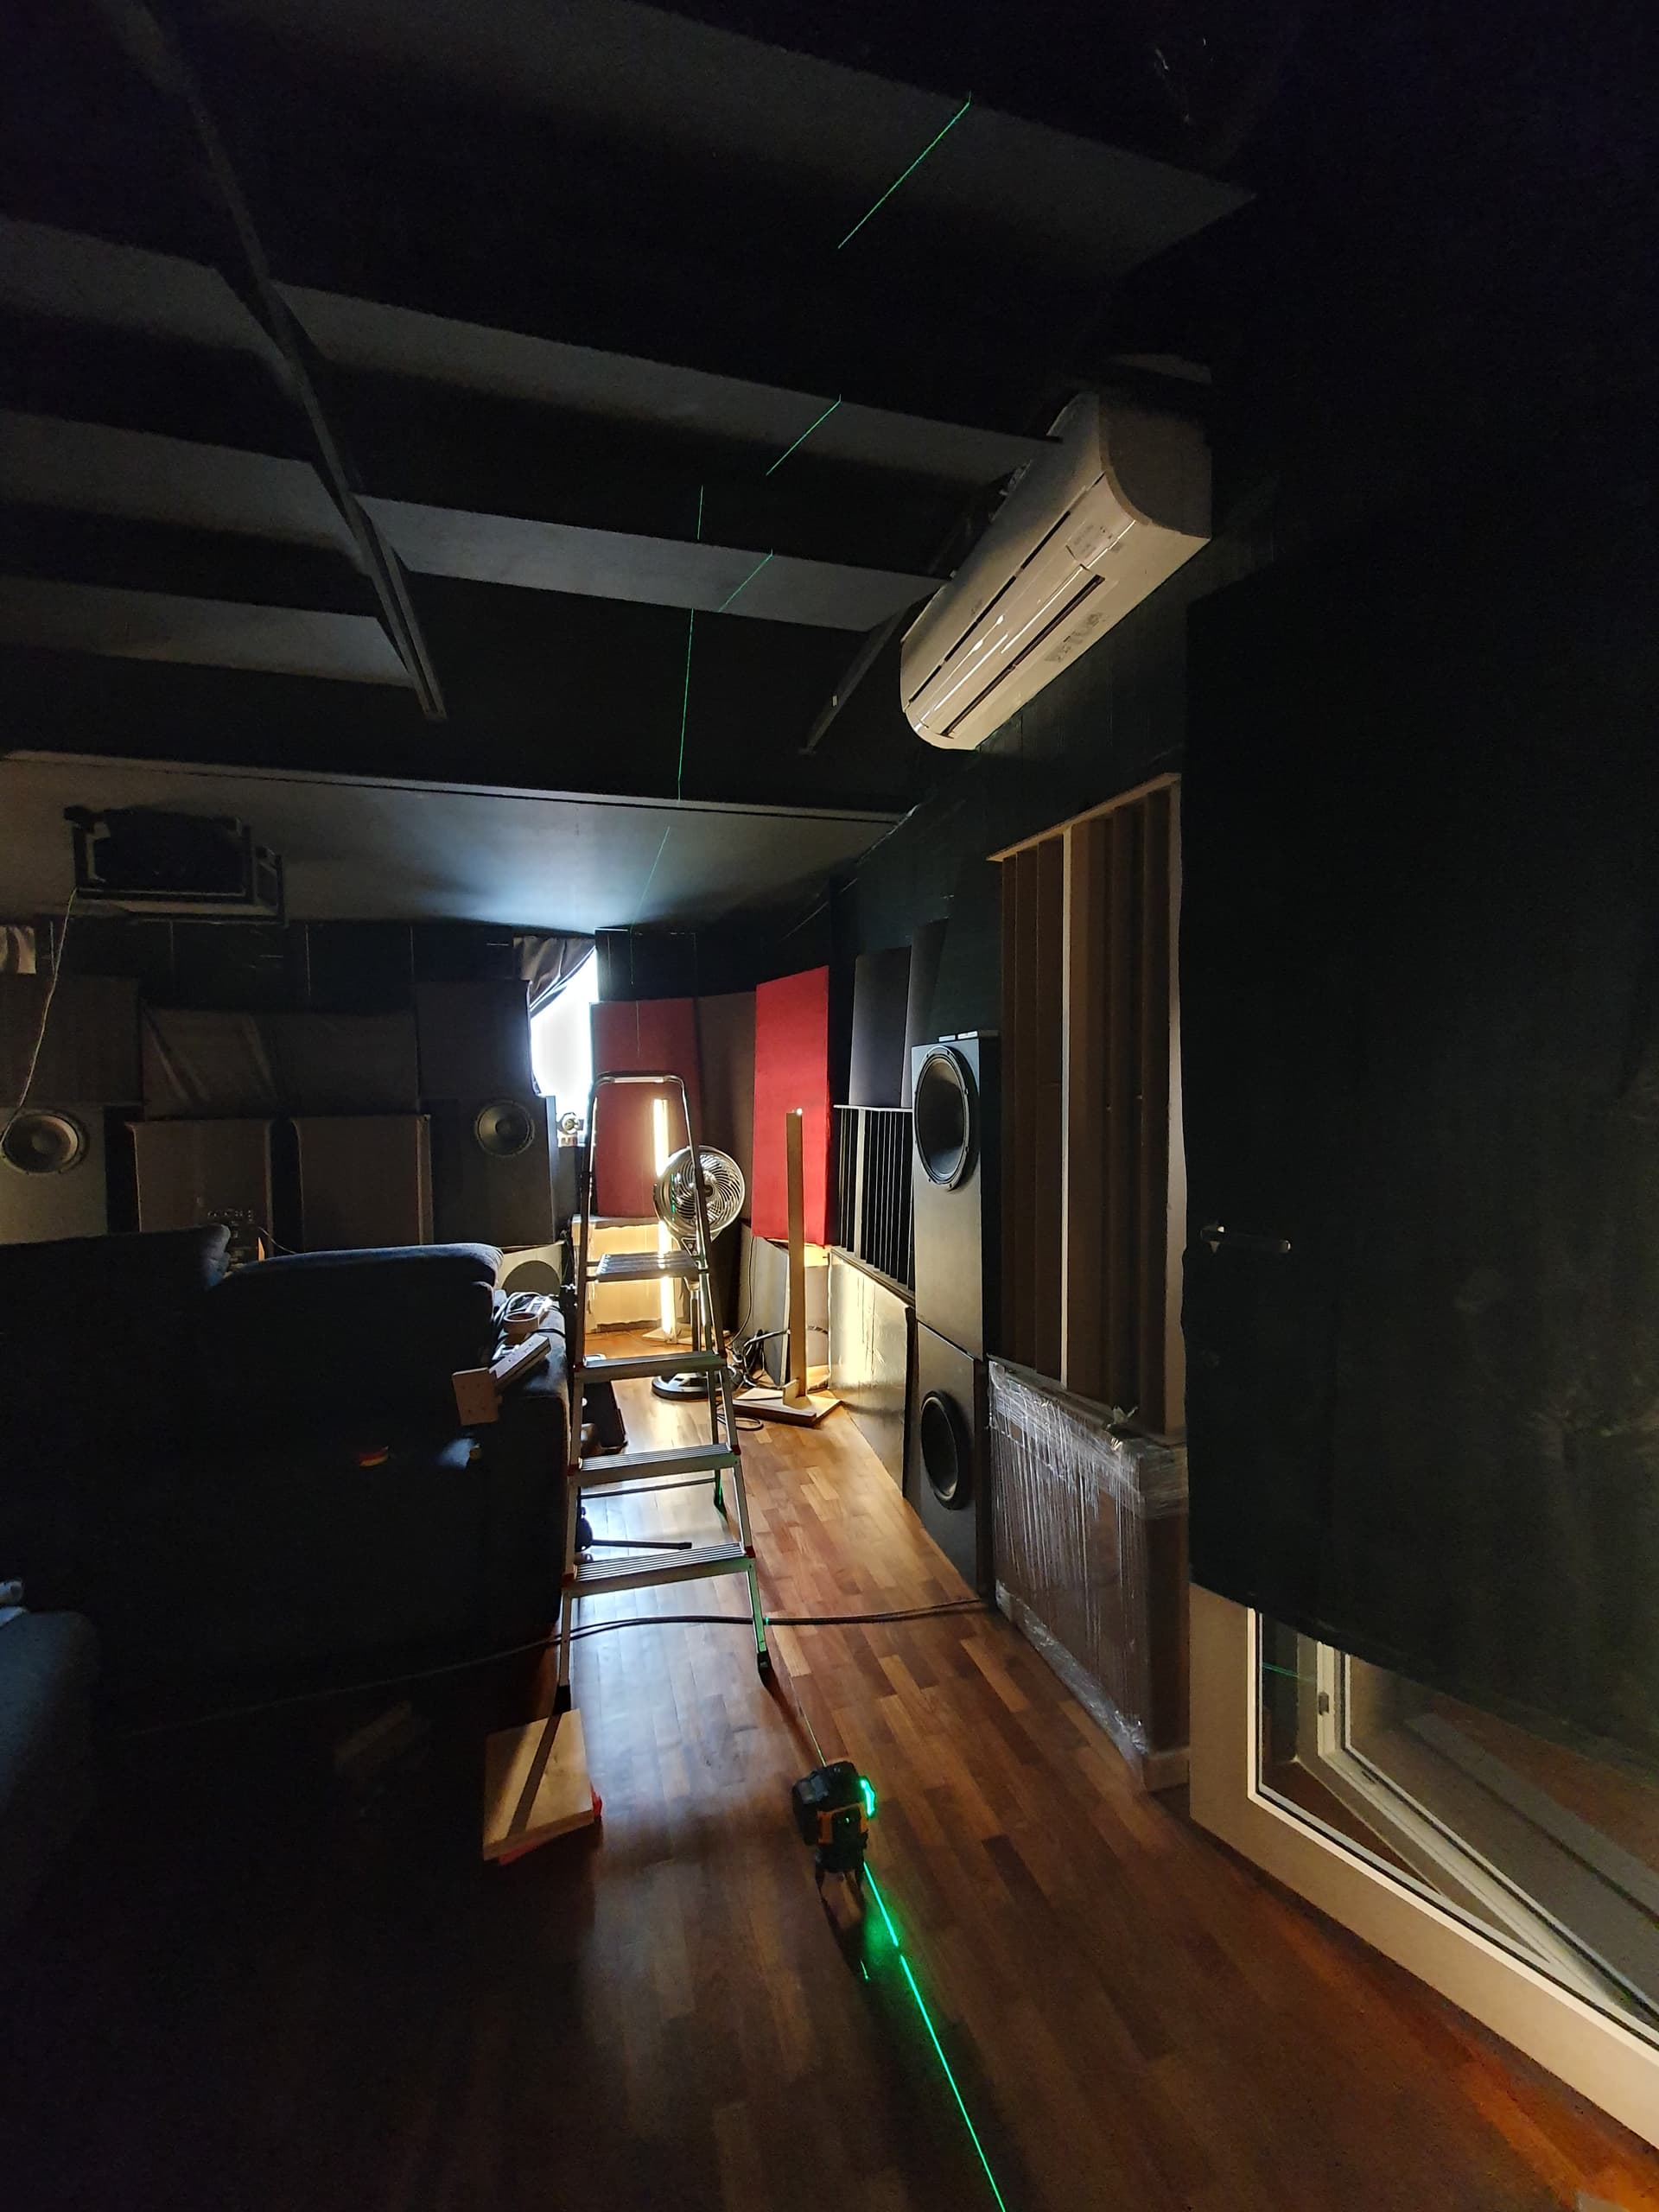
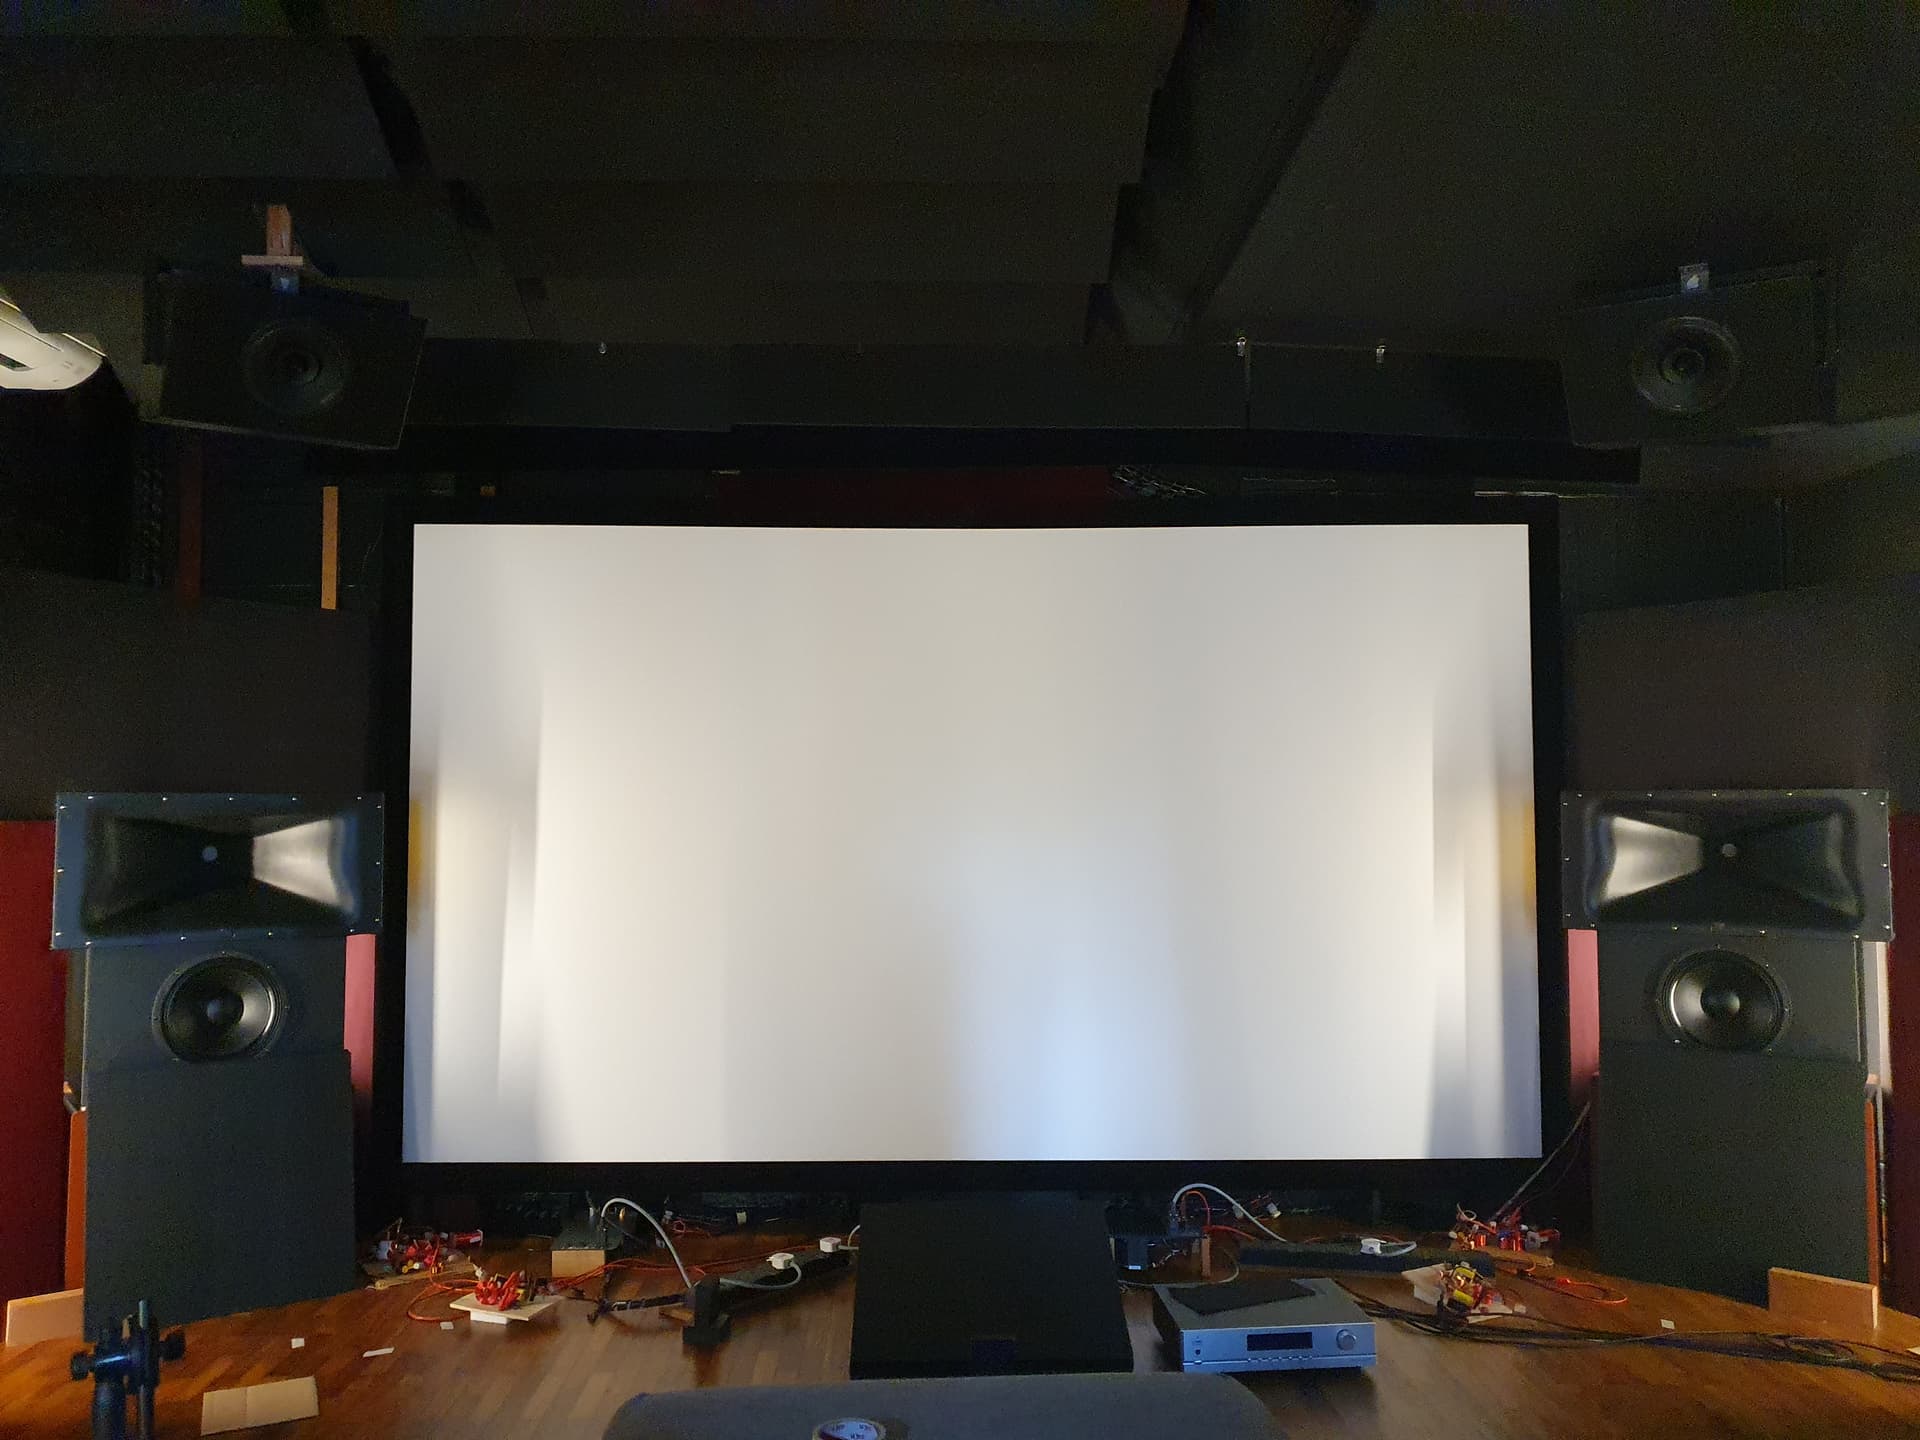
The other day almost had a heart attack, when I realized this speaker might be blocked and shadowing the PJ image on screen… After some testing, I think barely clear by a few CM…
Running in the speakers, as usual, give them a good workout with some excursion. Facing each other and out of phase for less noise.
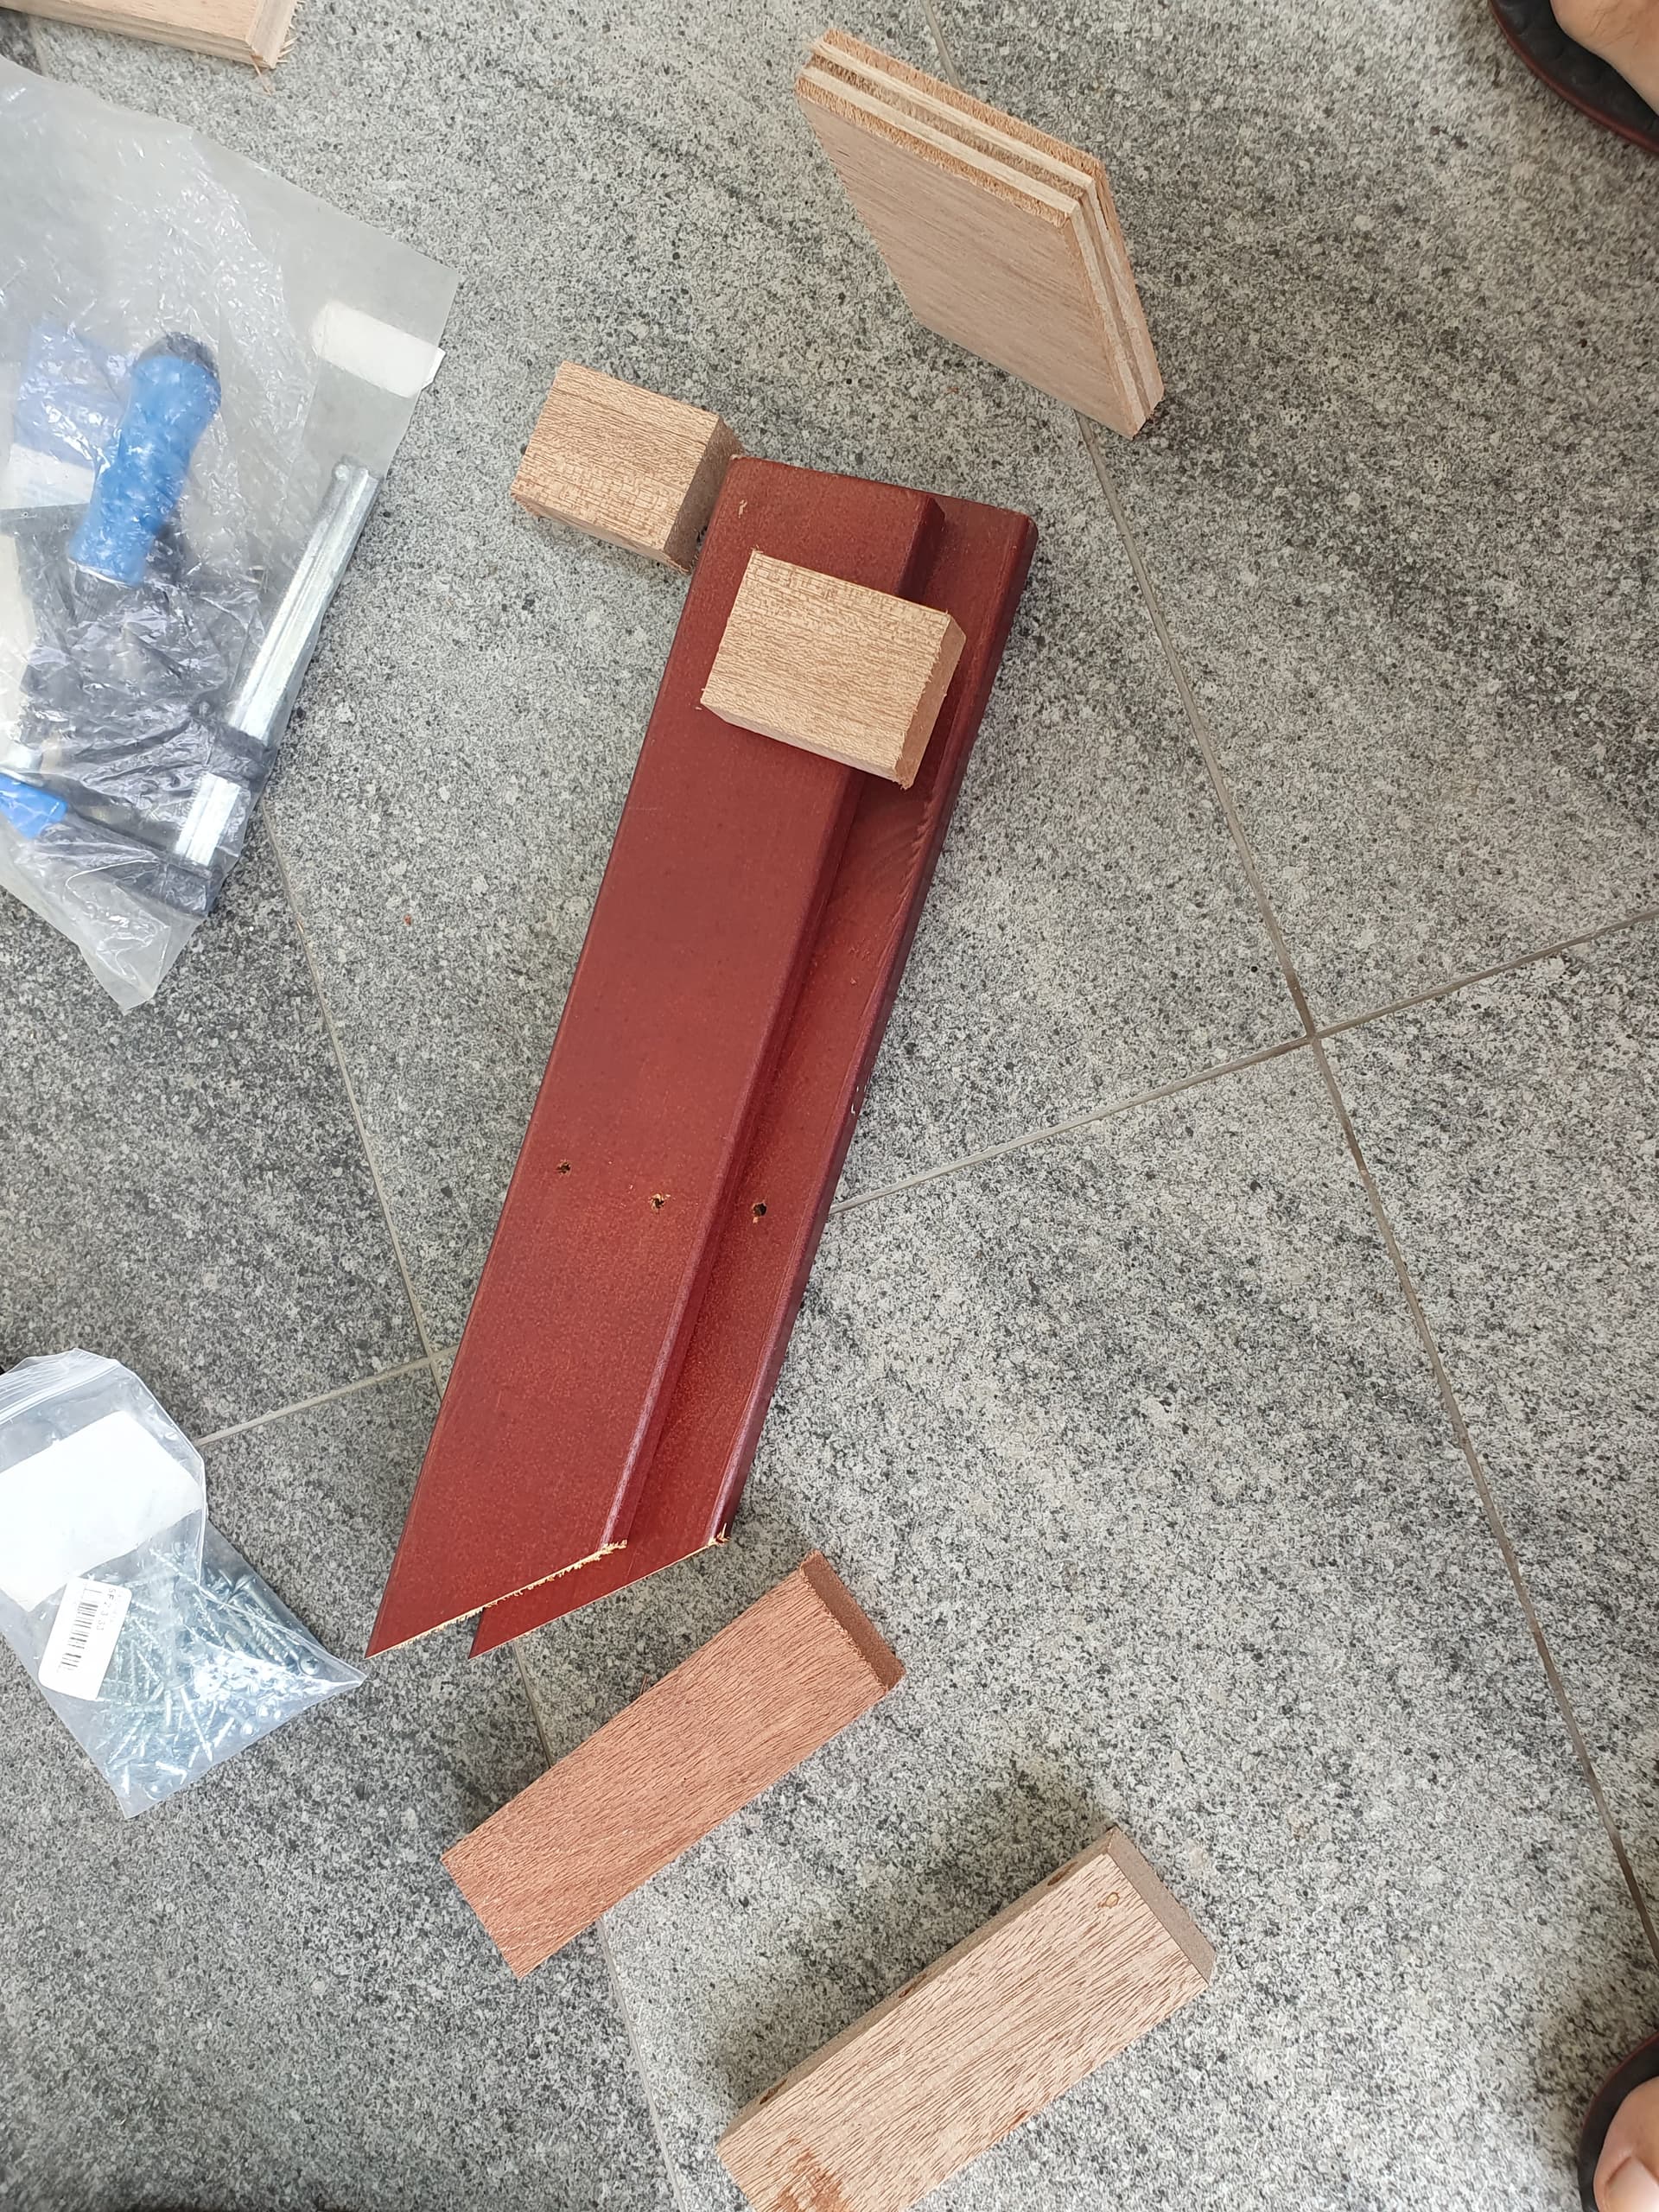
The 7 piece mount design… Been watching carpentry clips on tik tok. This is the direct result of learning about joint and screw strength, and wood grain orientation…