Gavin's DIY Home Theatre (Hardcore)

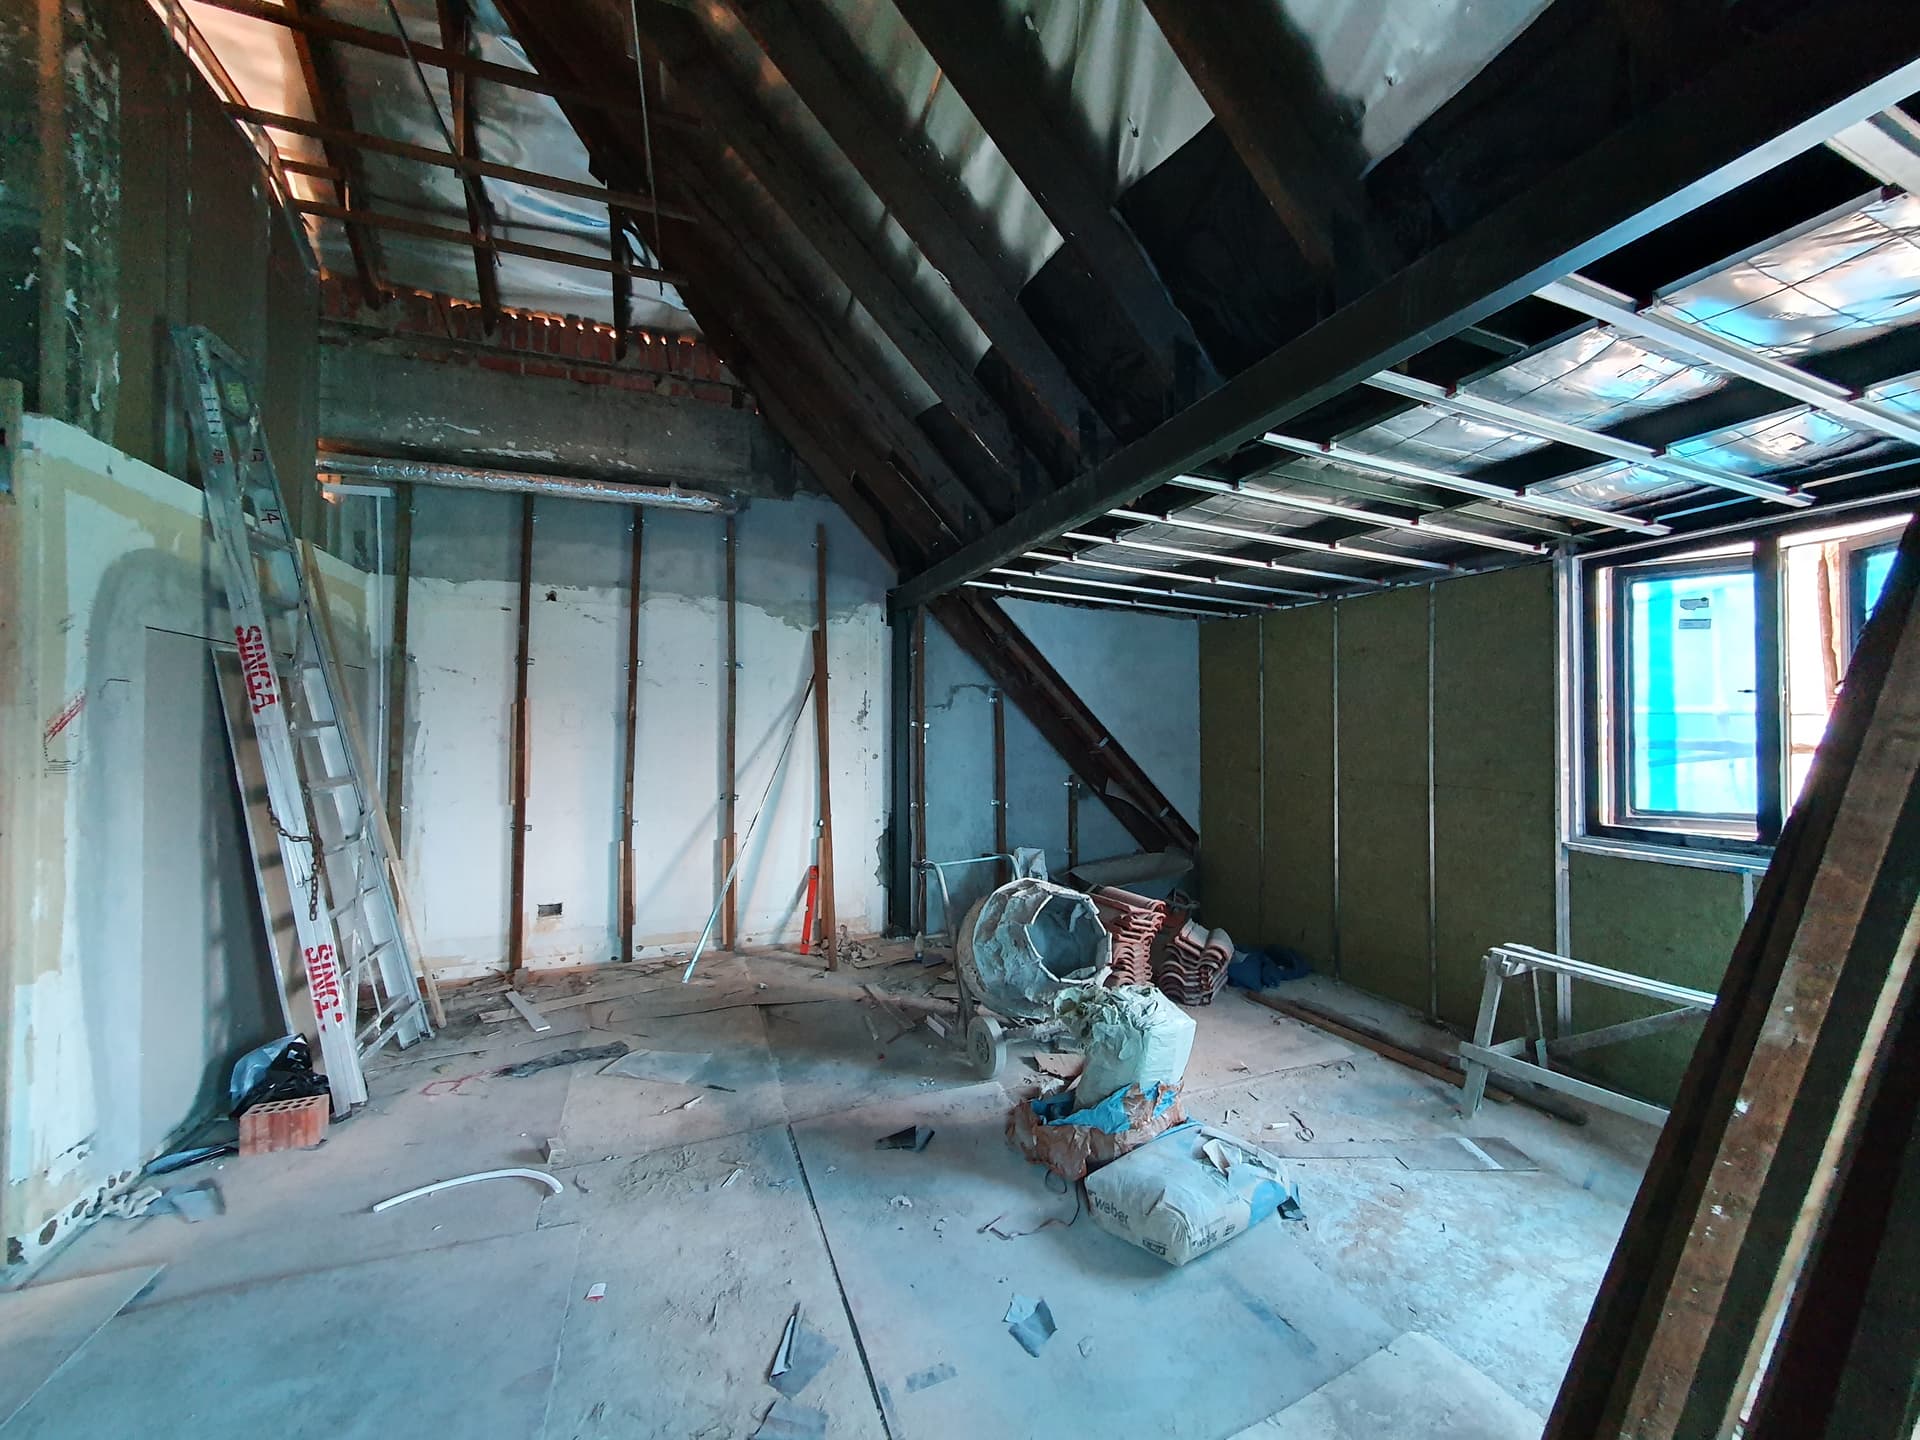
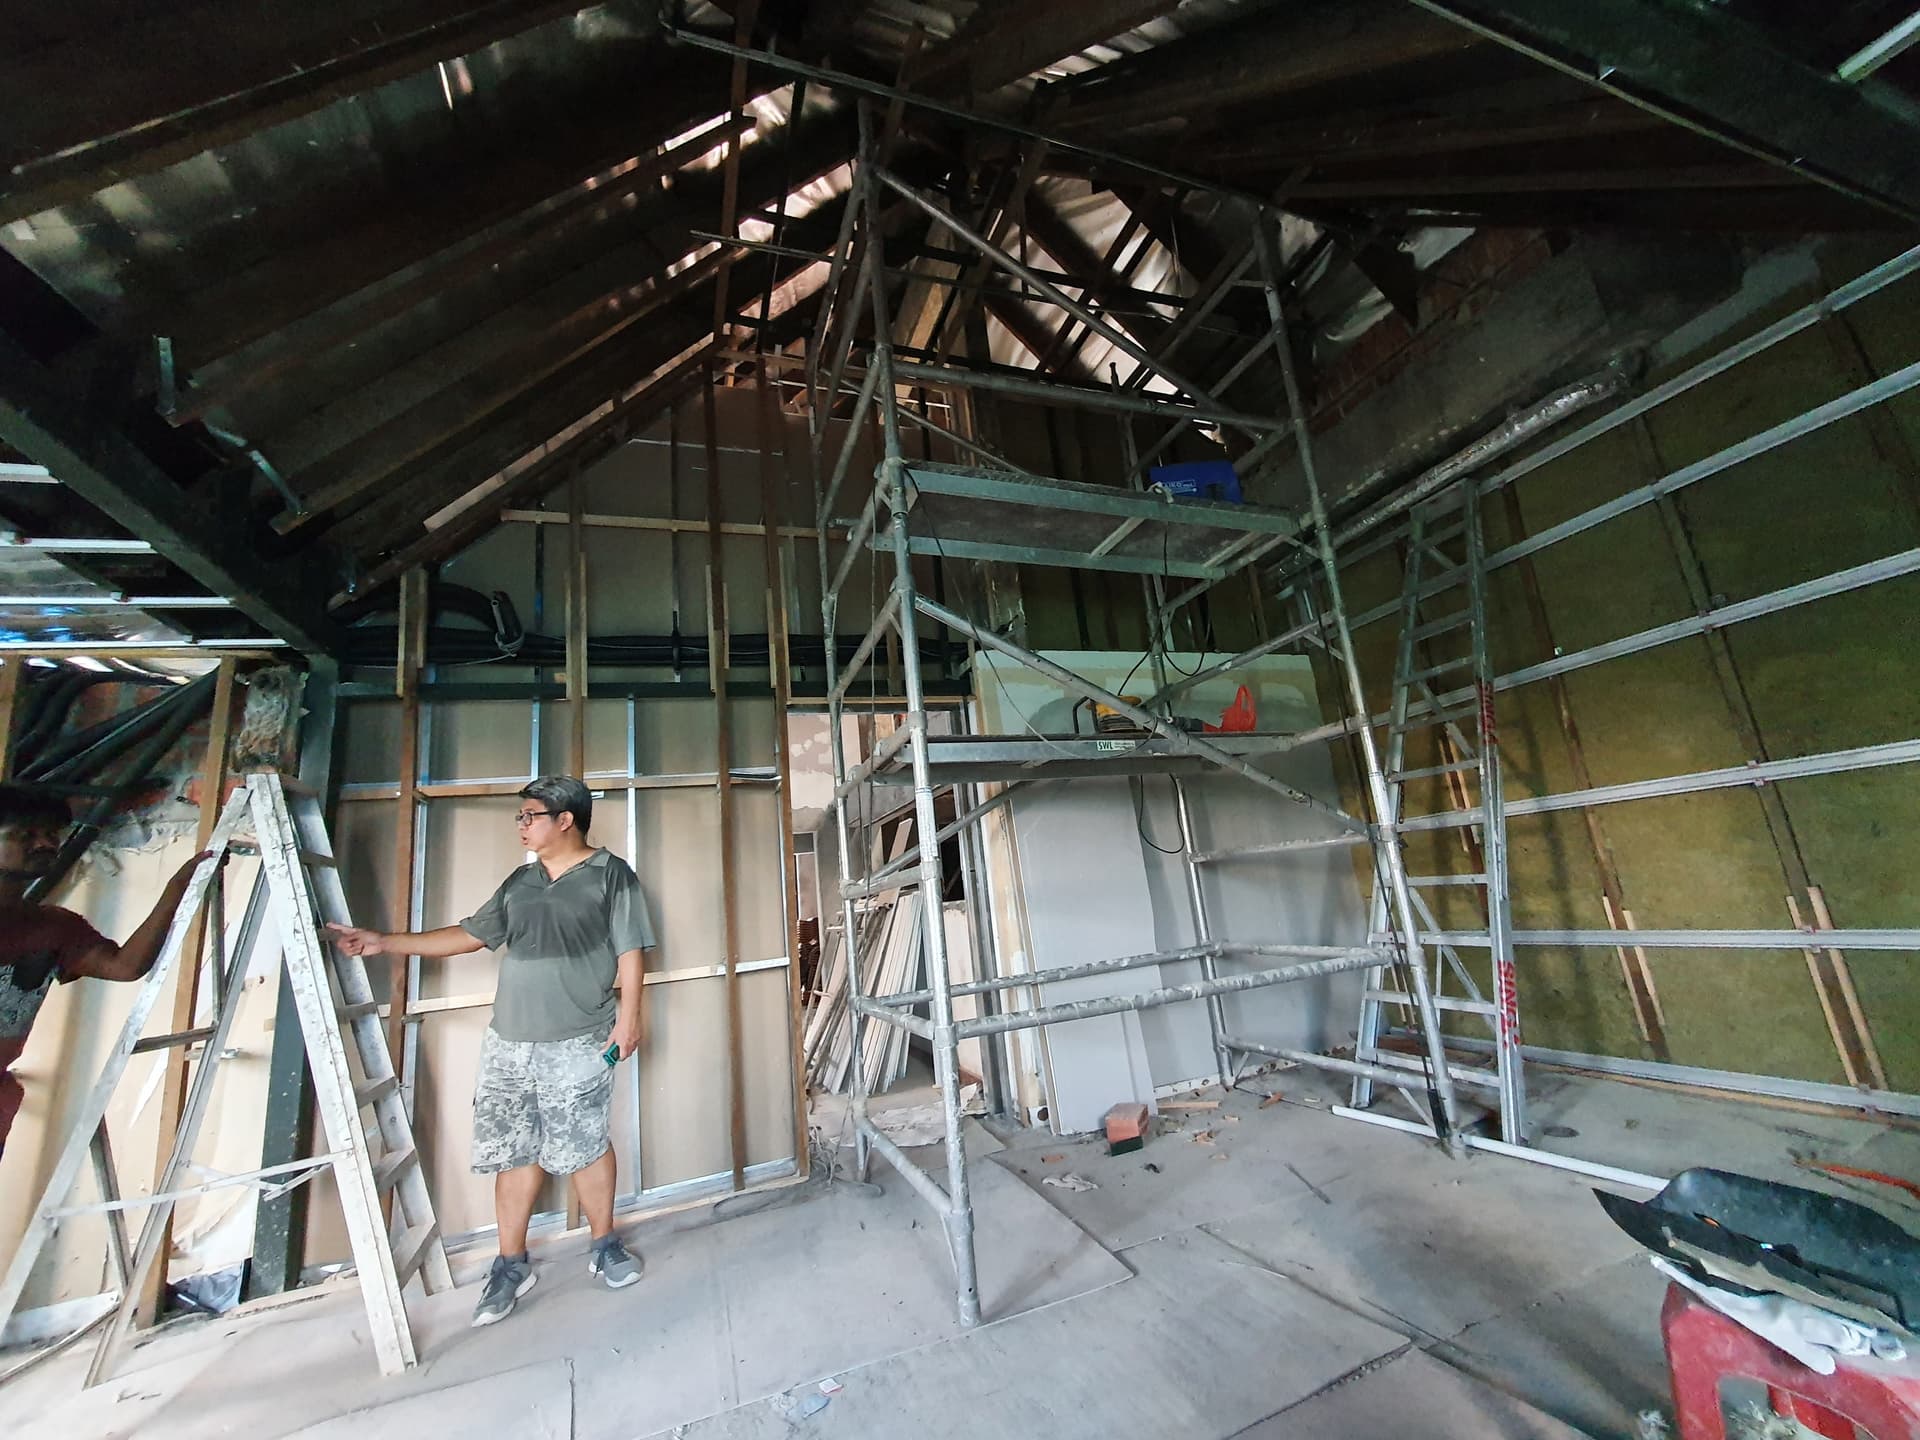
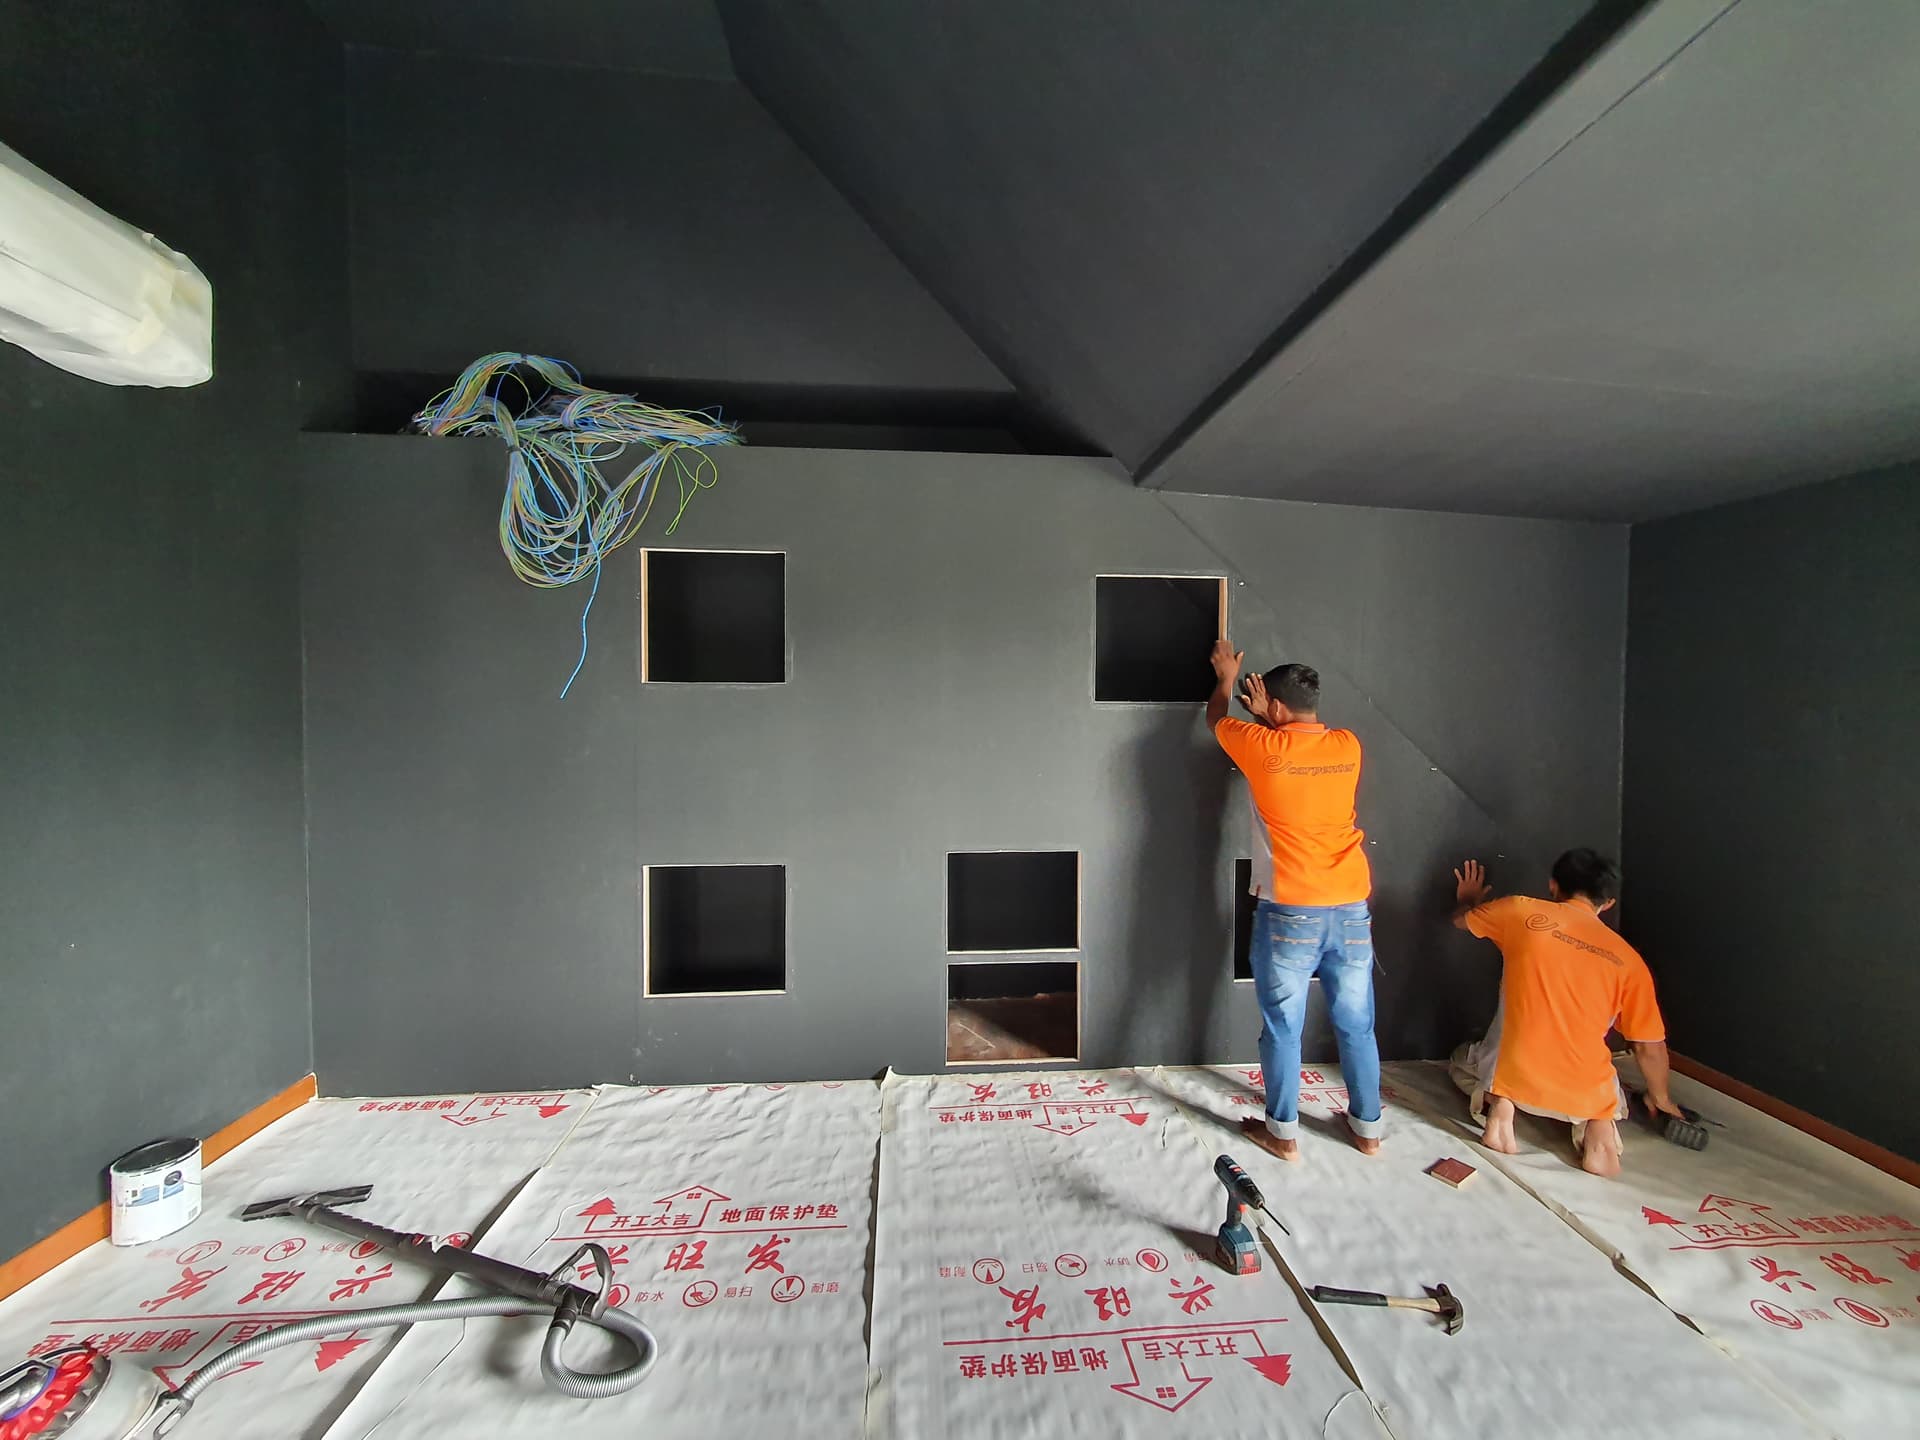
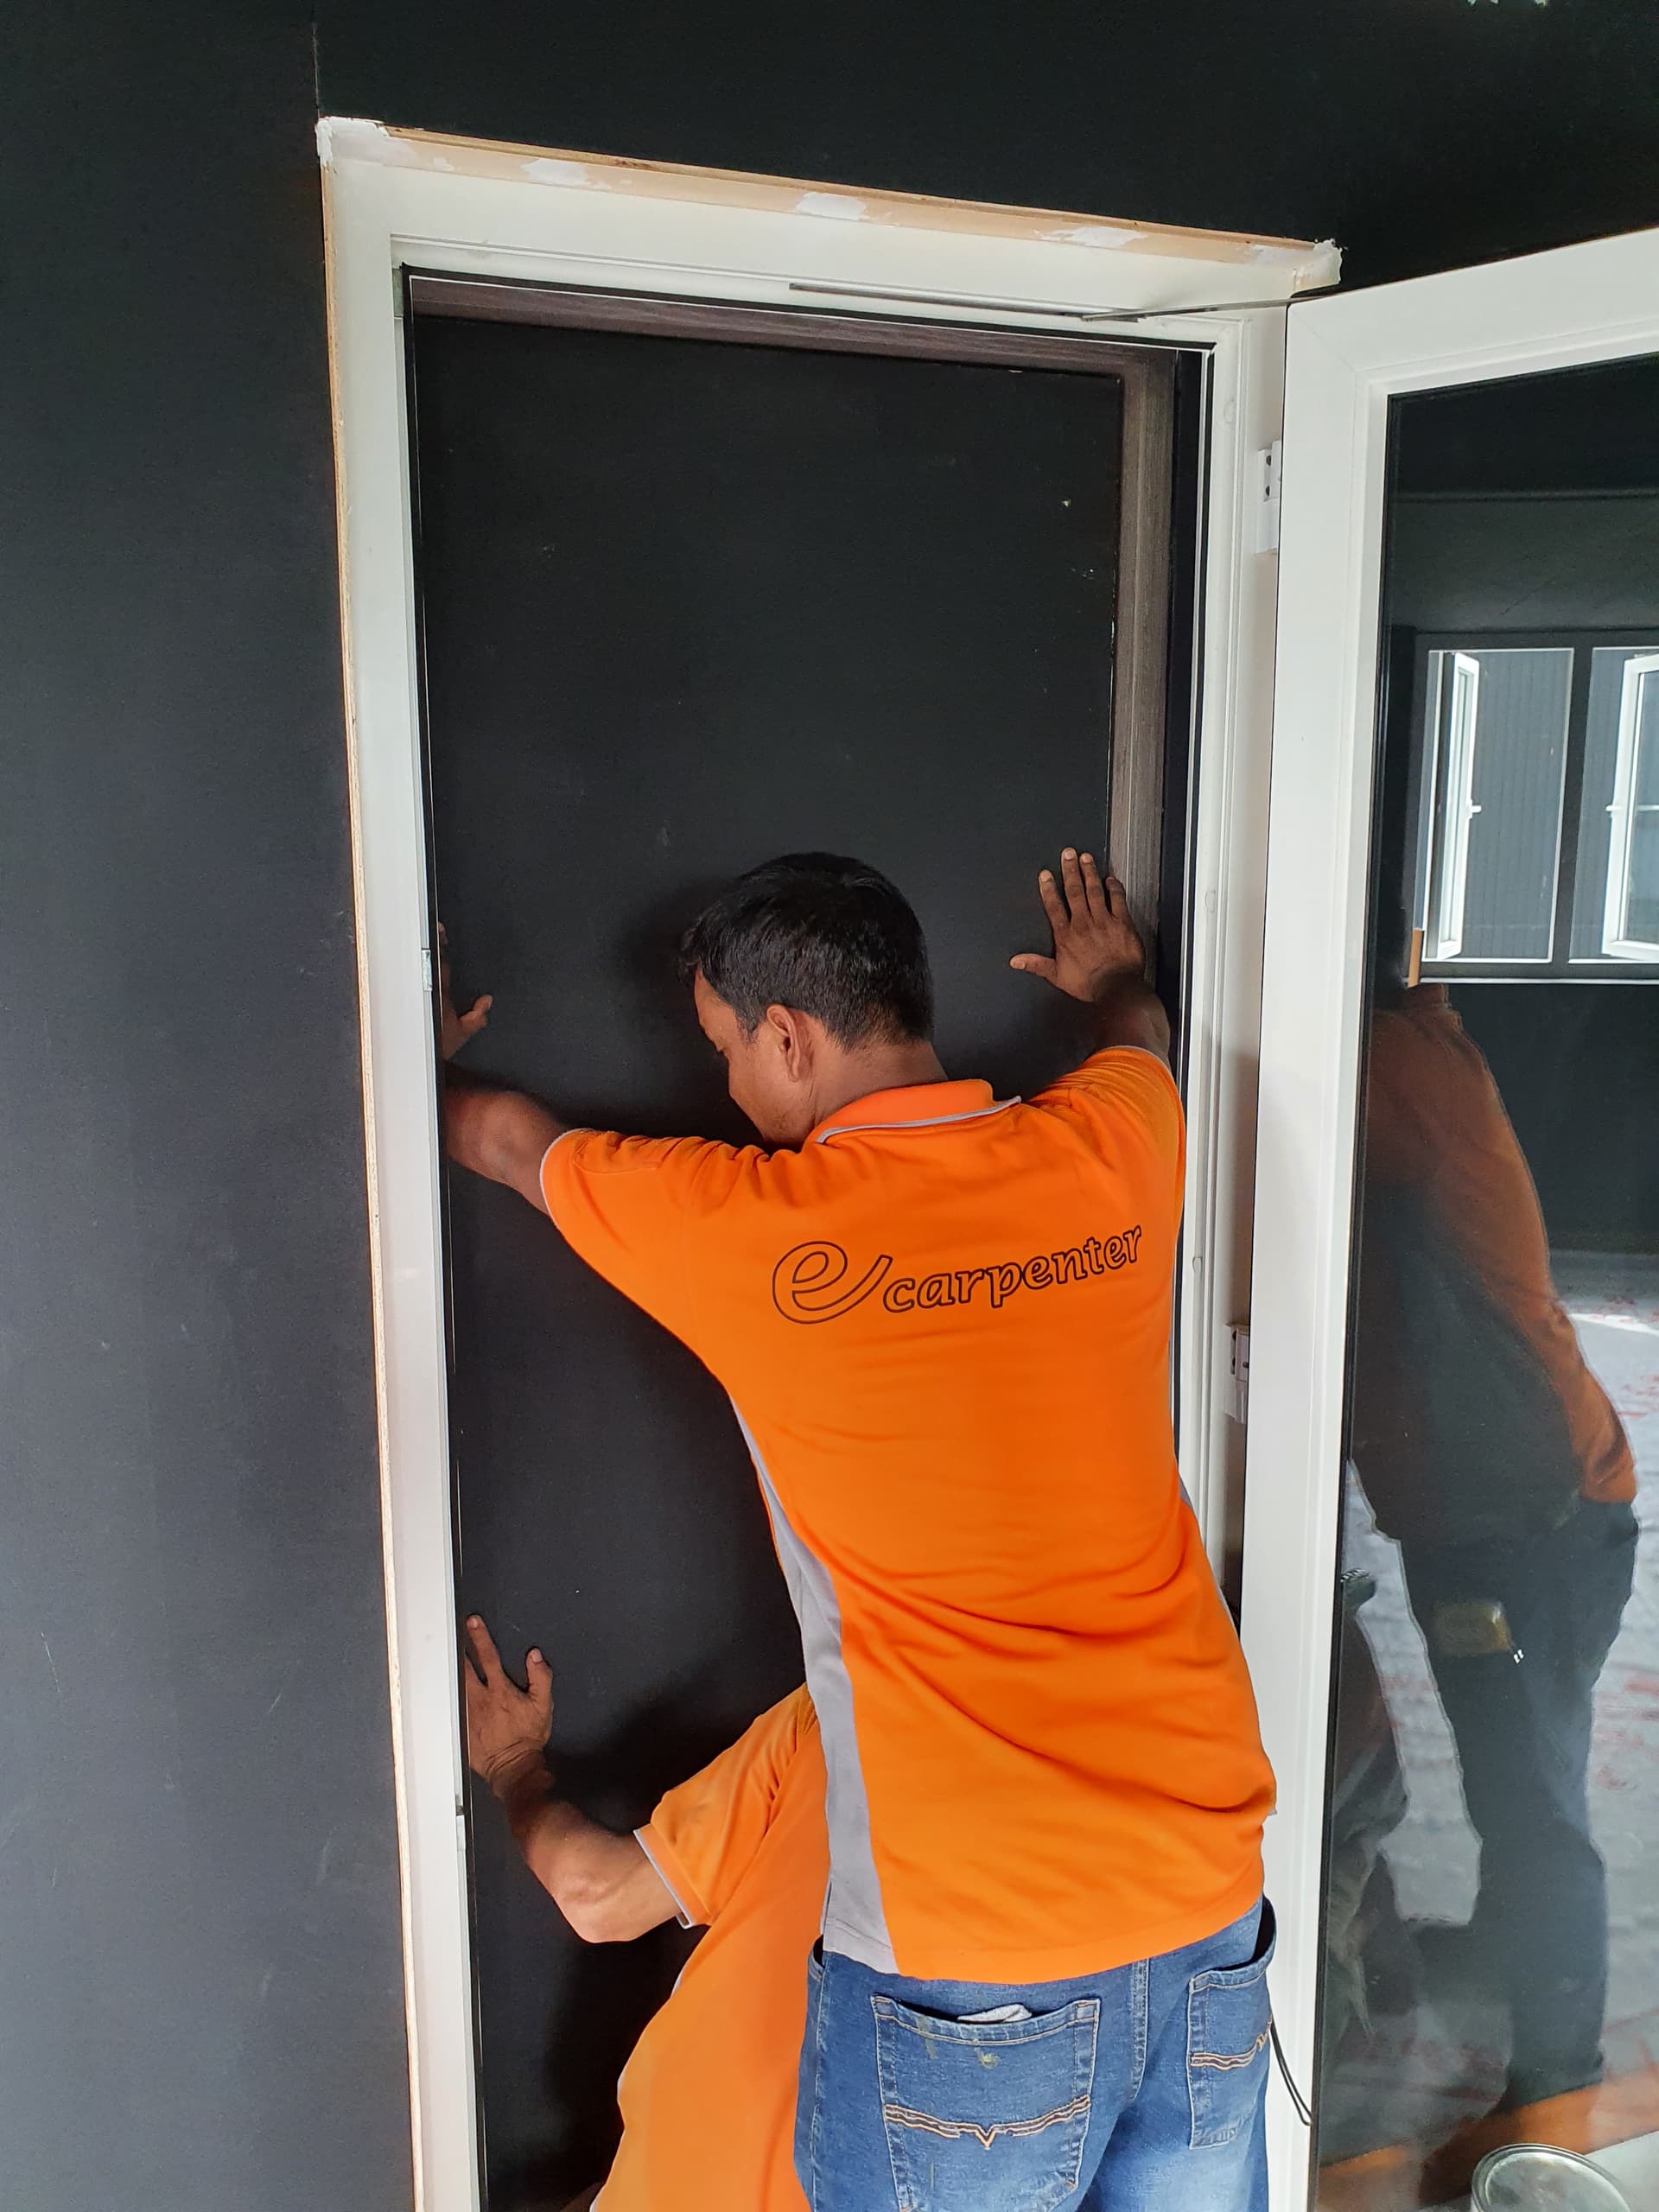
Next, talk about the room construction. In a nutshell, used the room - in - room approach as much as possible, working with my contractor, without any expert design and construction input from professional acoustic consultants. Definitely a scenario of blind leading the blind, and I truly appreciate the patience and accommodation from my contractor.

Many of the construction techniques and principles for sound isolation are the absolute direct opposite of what the contractors are used to doing, for ease and speed and convenience. Even for professionally designed room, the construction is the absolute Achilles heel. One single, innocent, even well meaning deviation can compromise the sound isolation by 6-10dB.

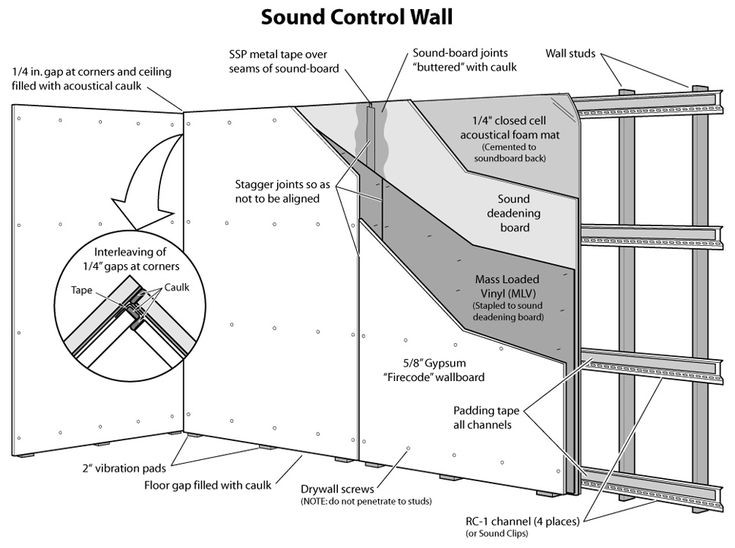
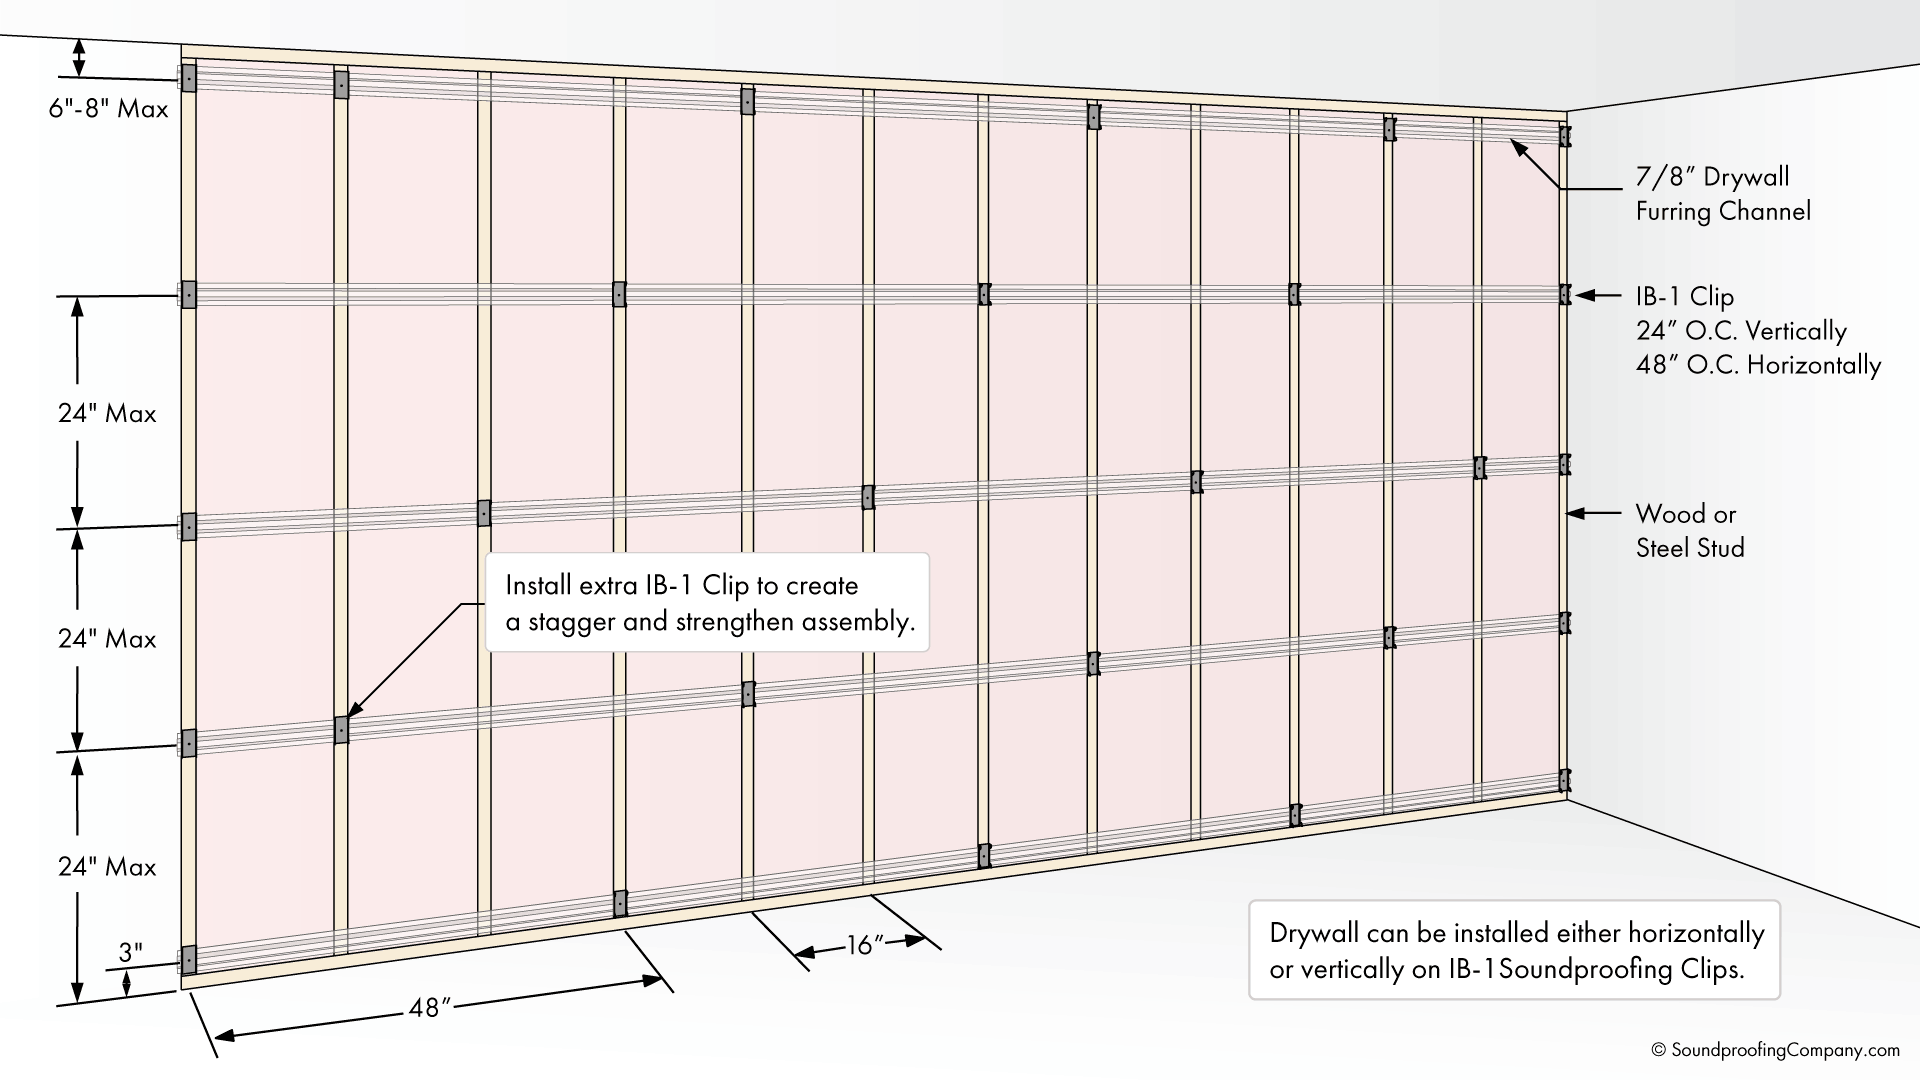
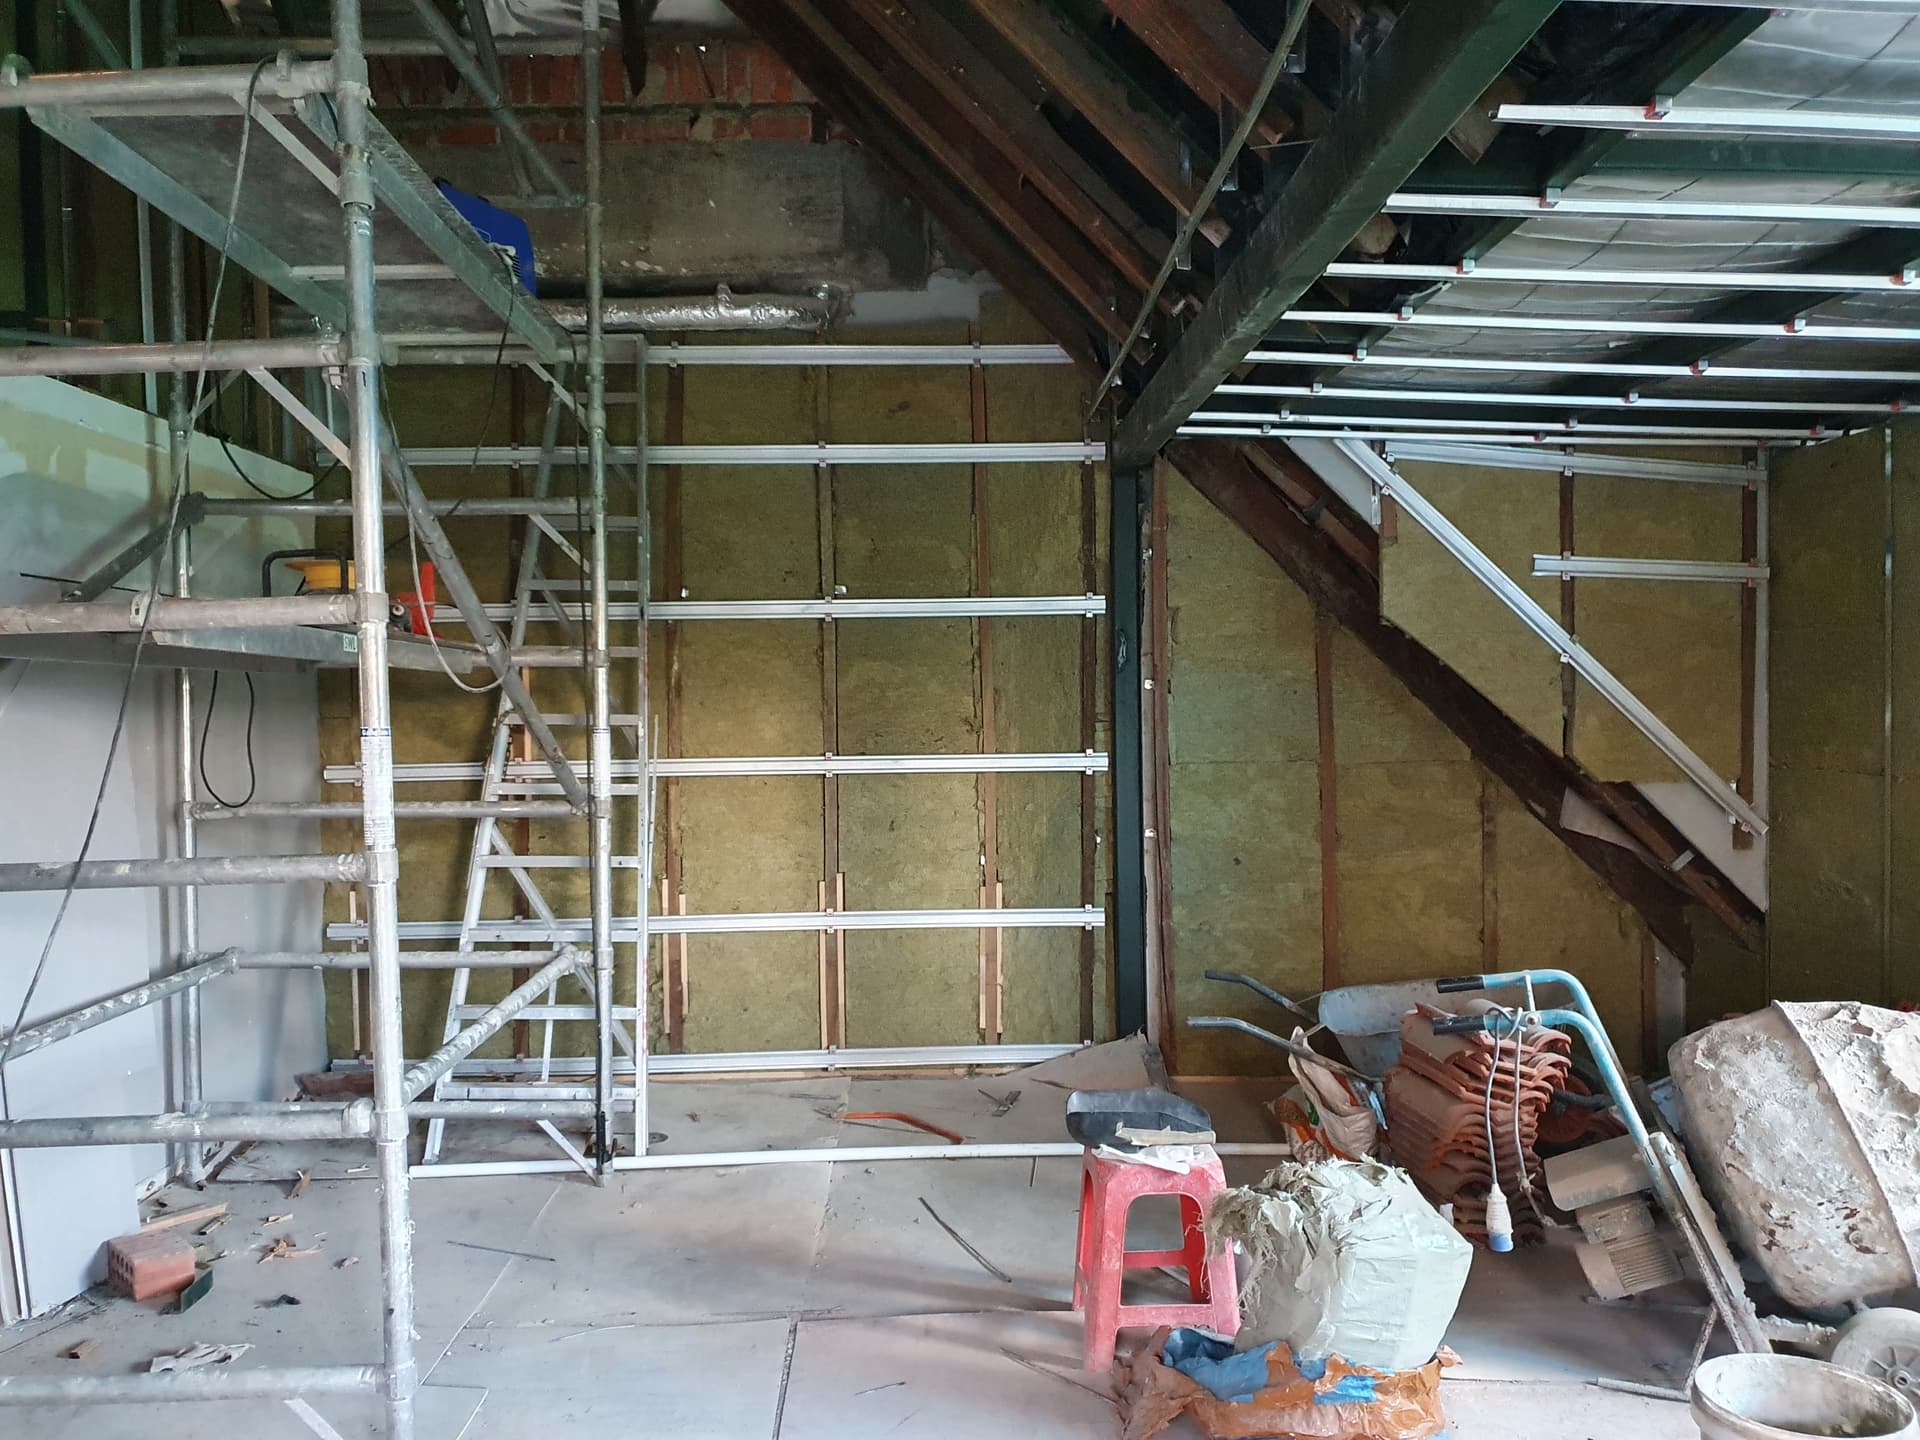
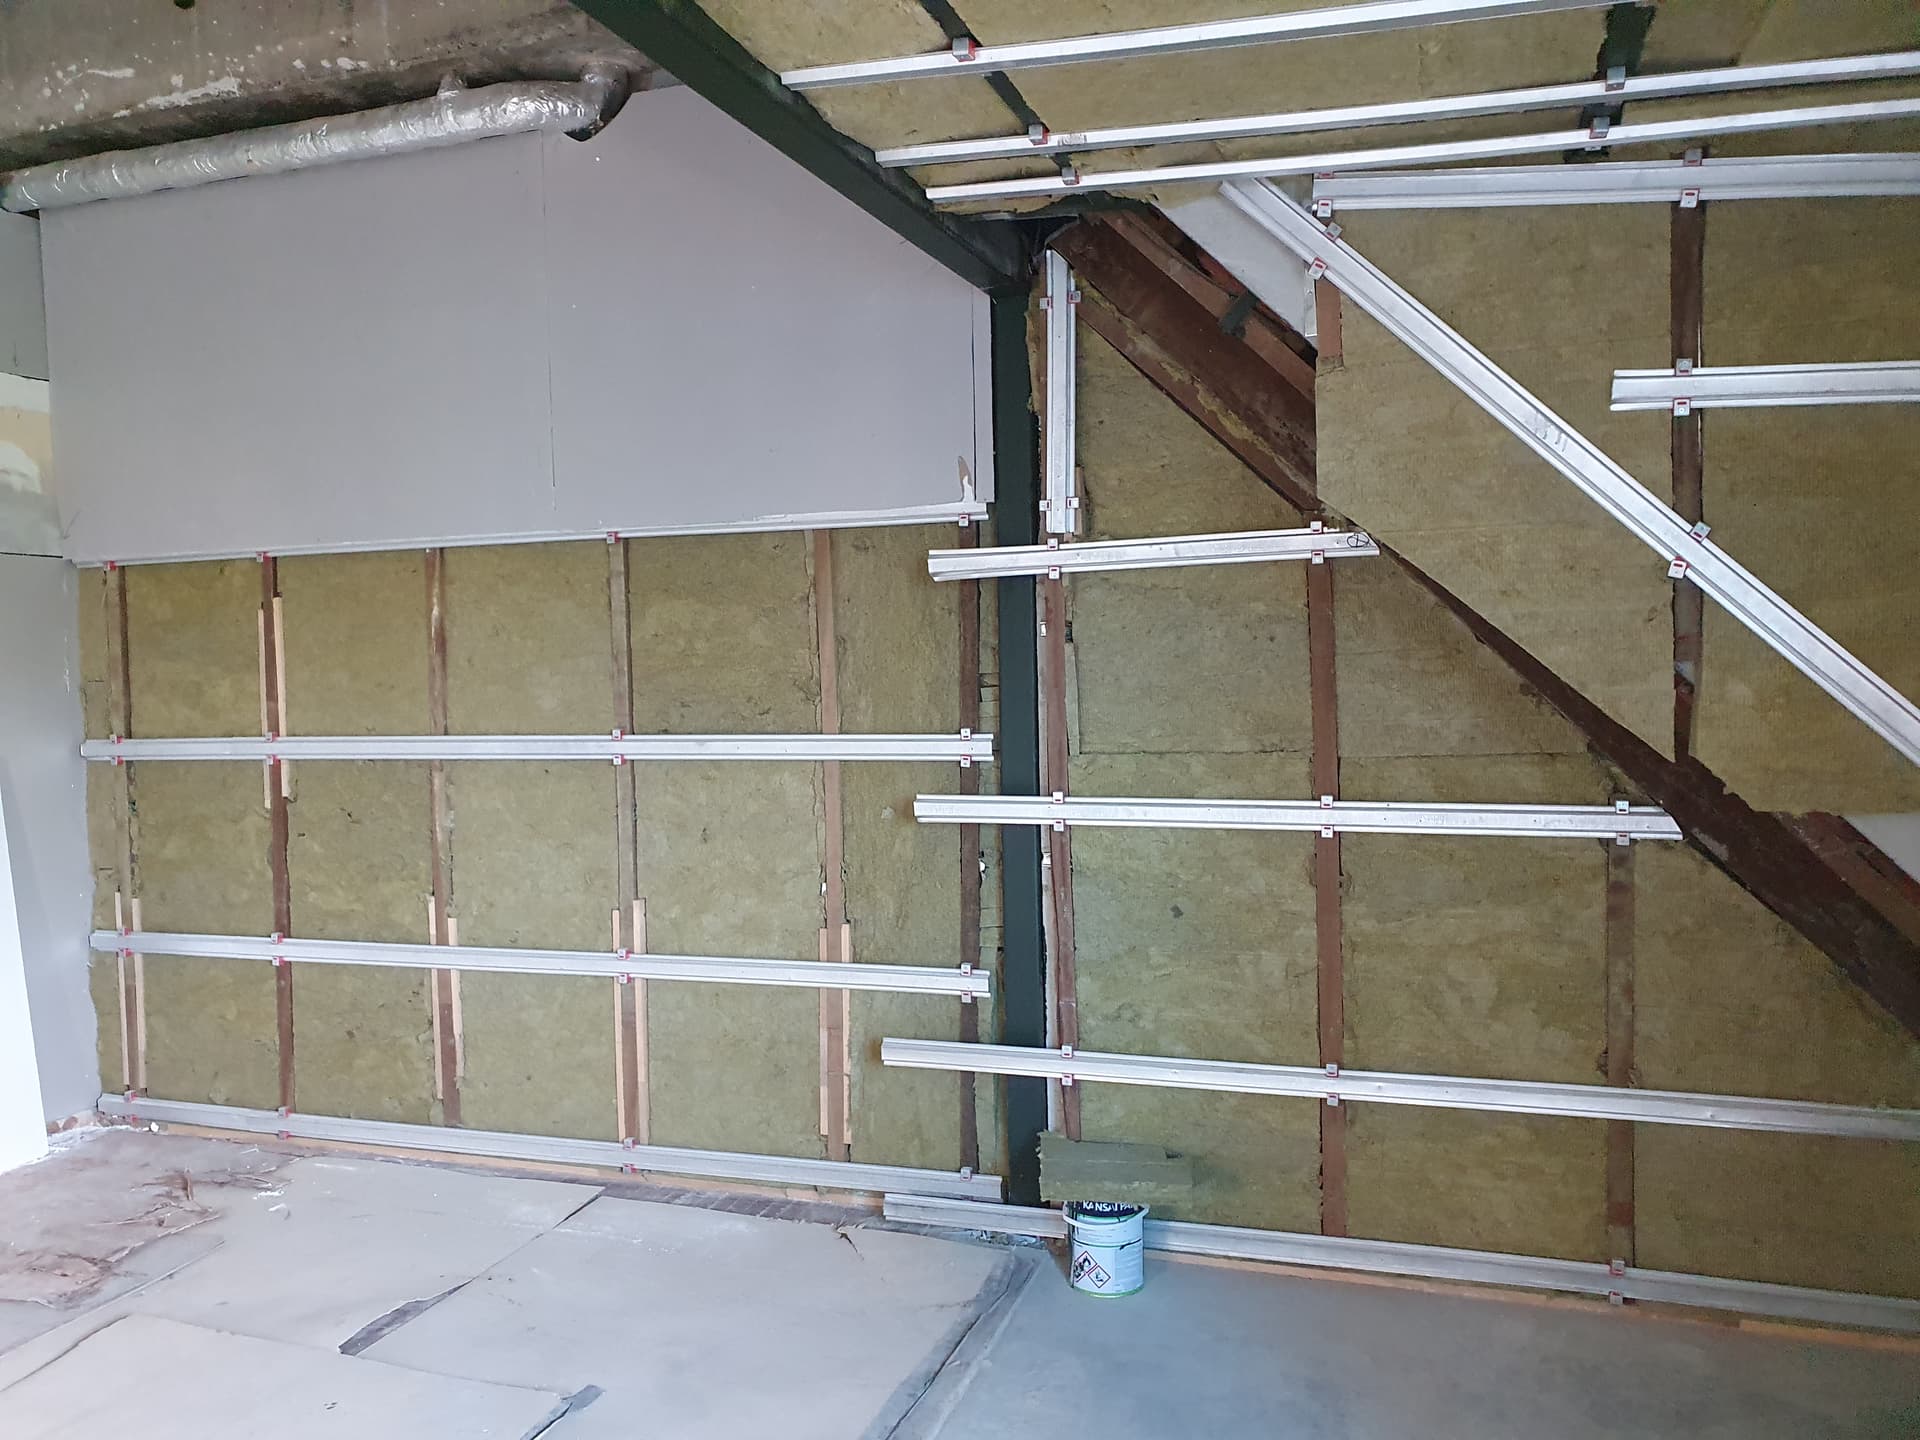
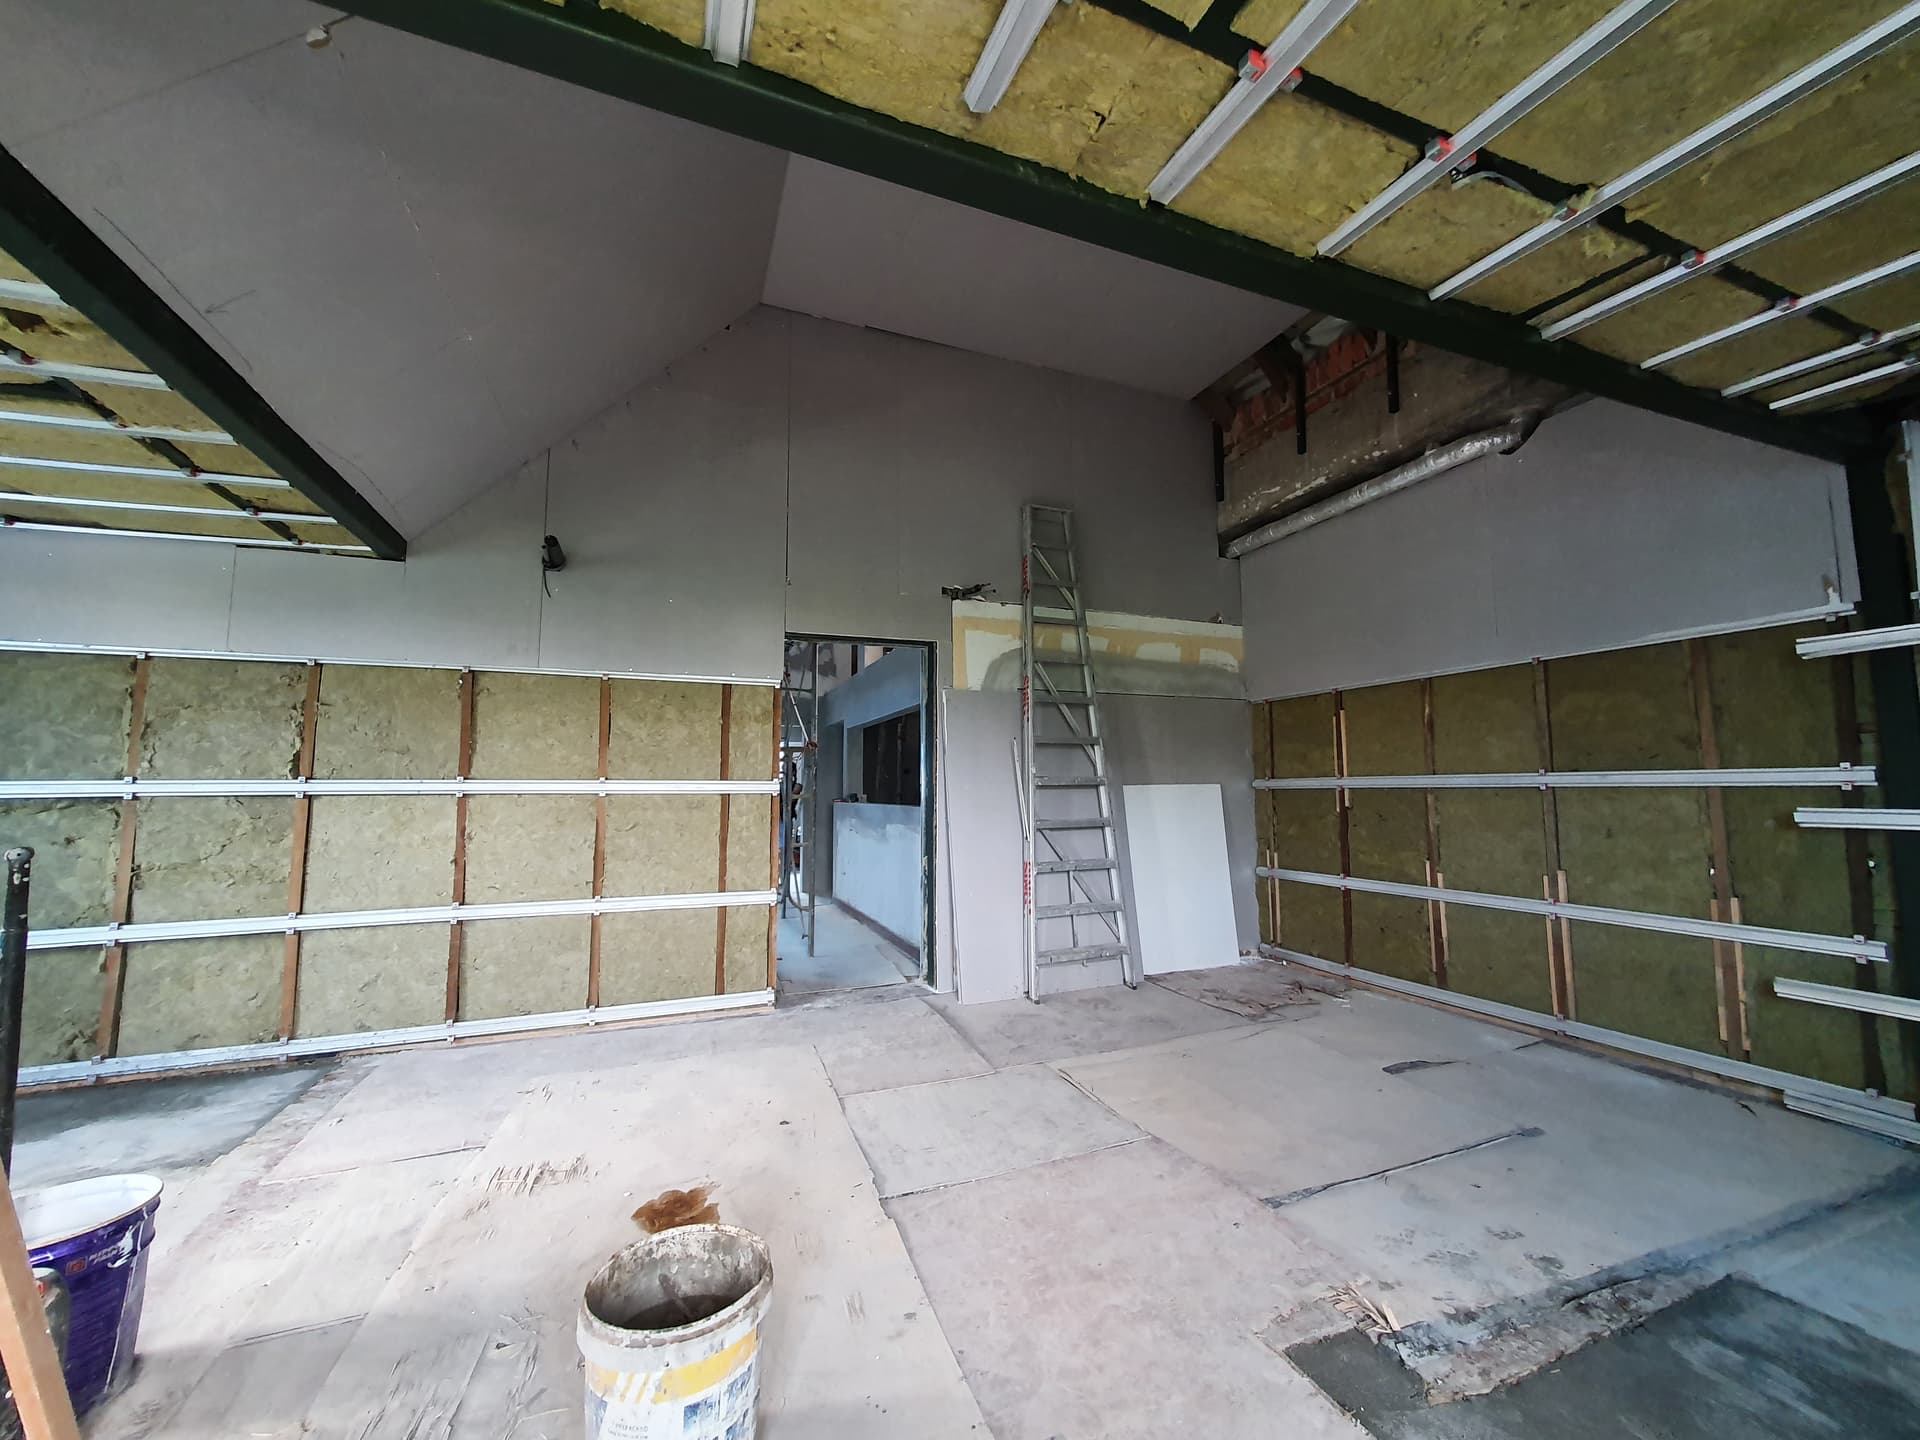
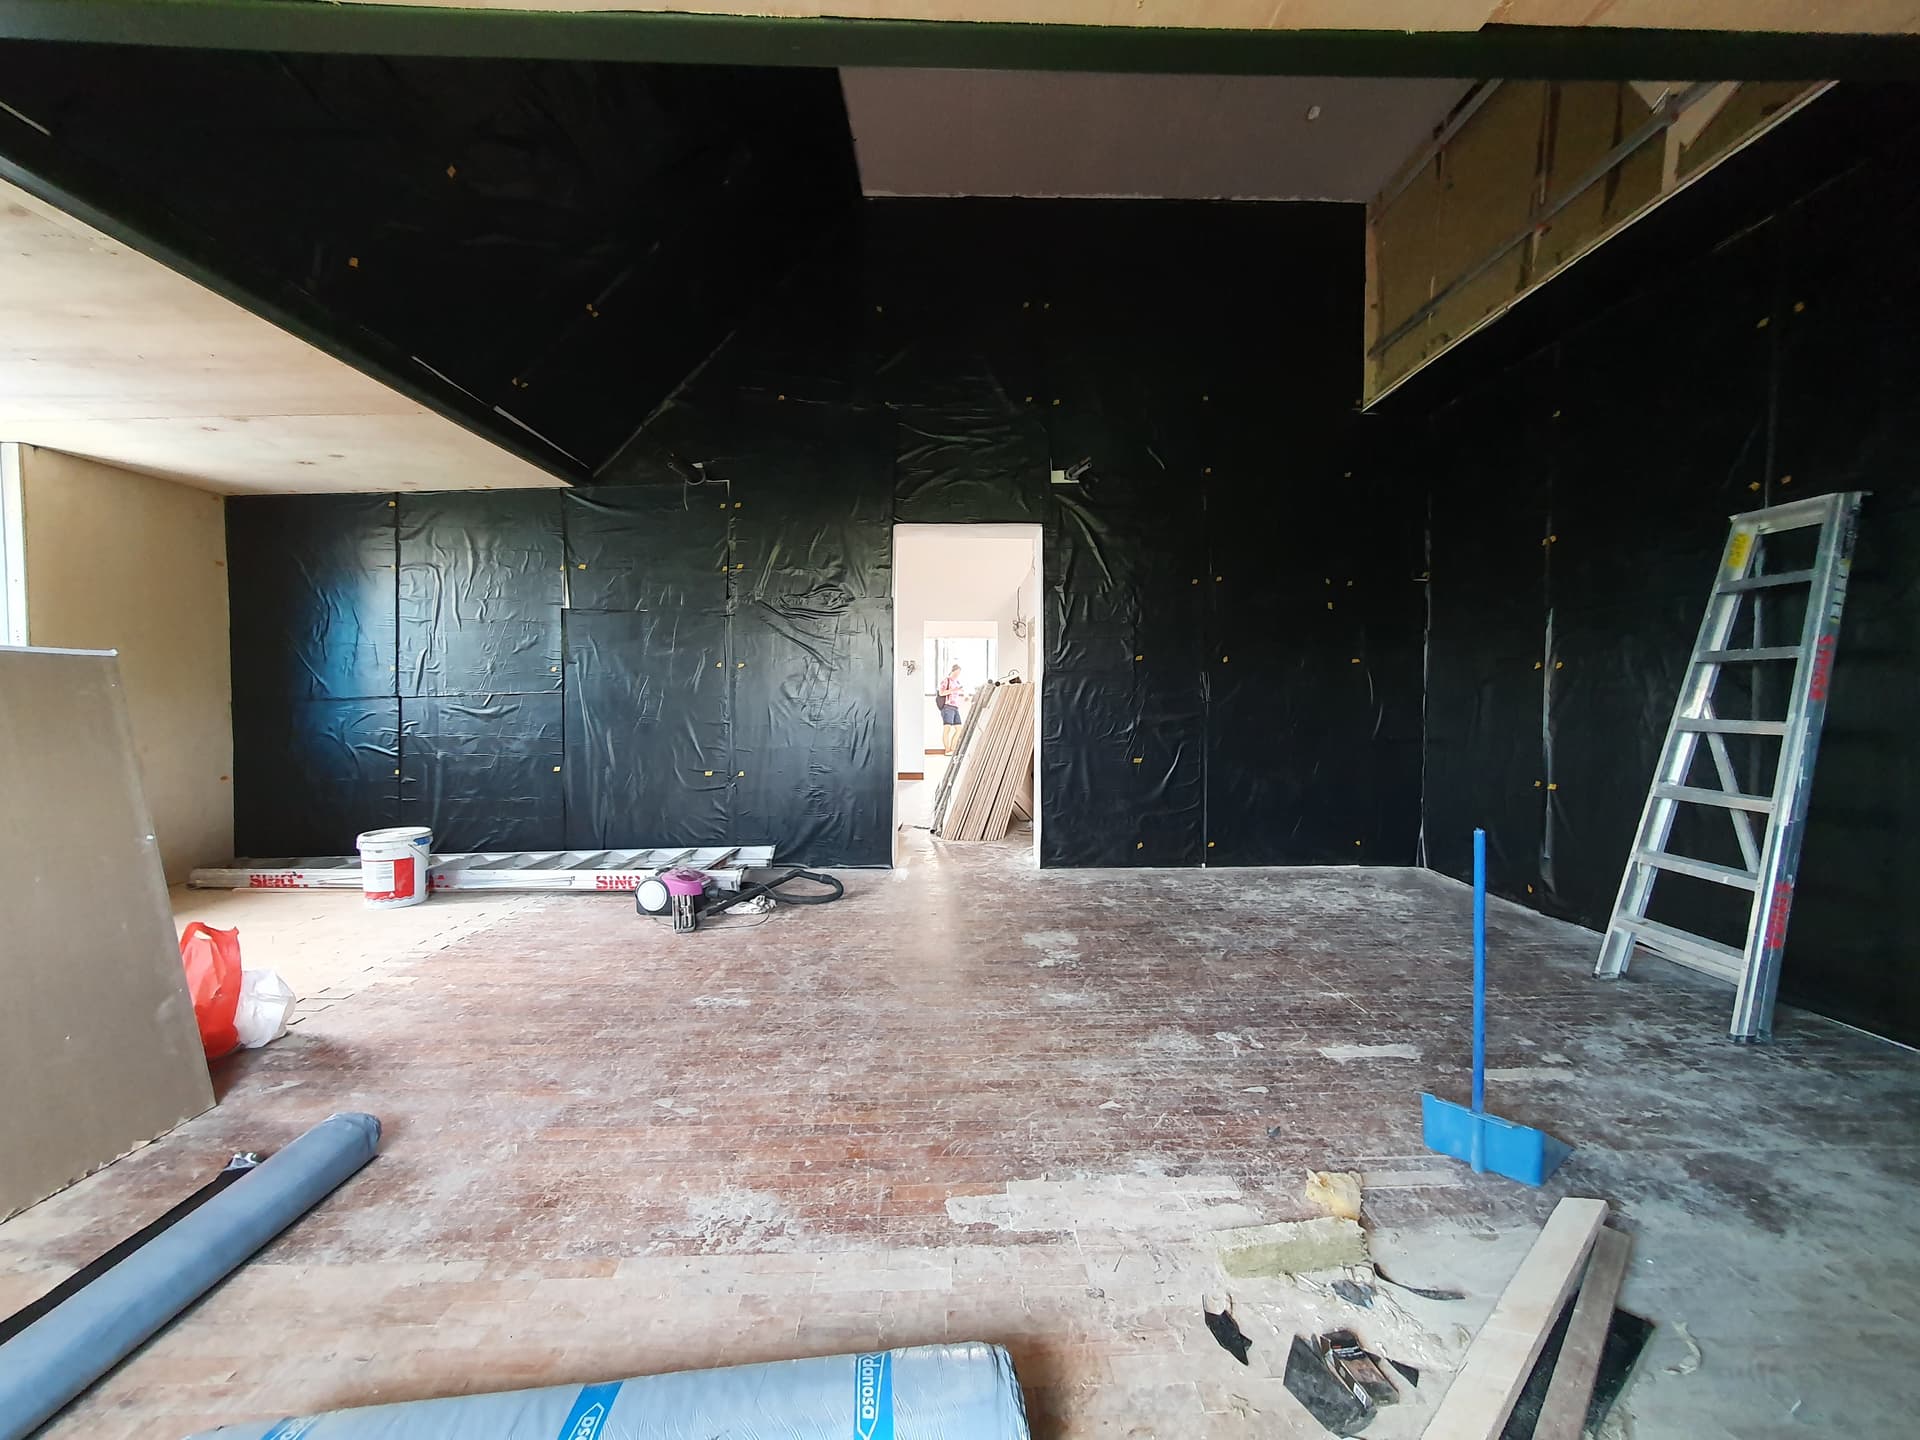
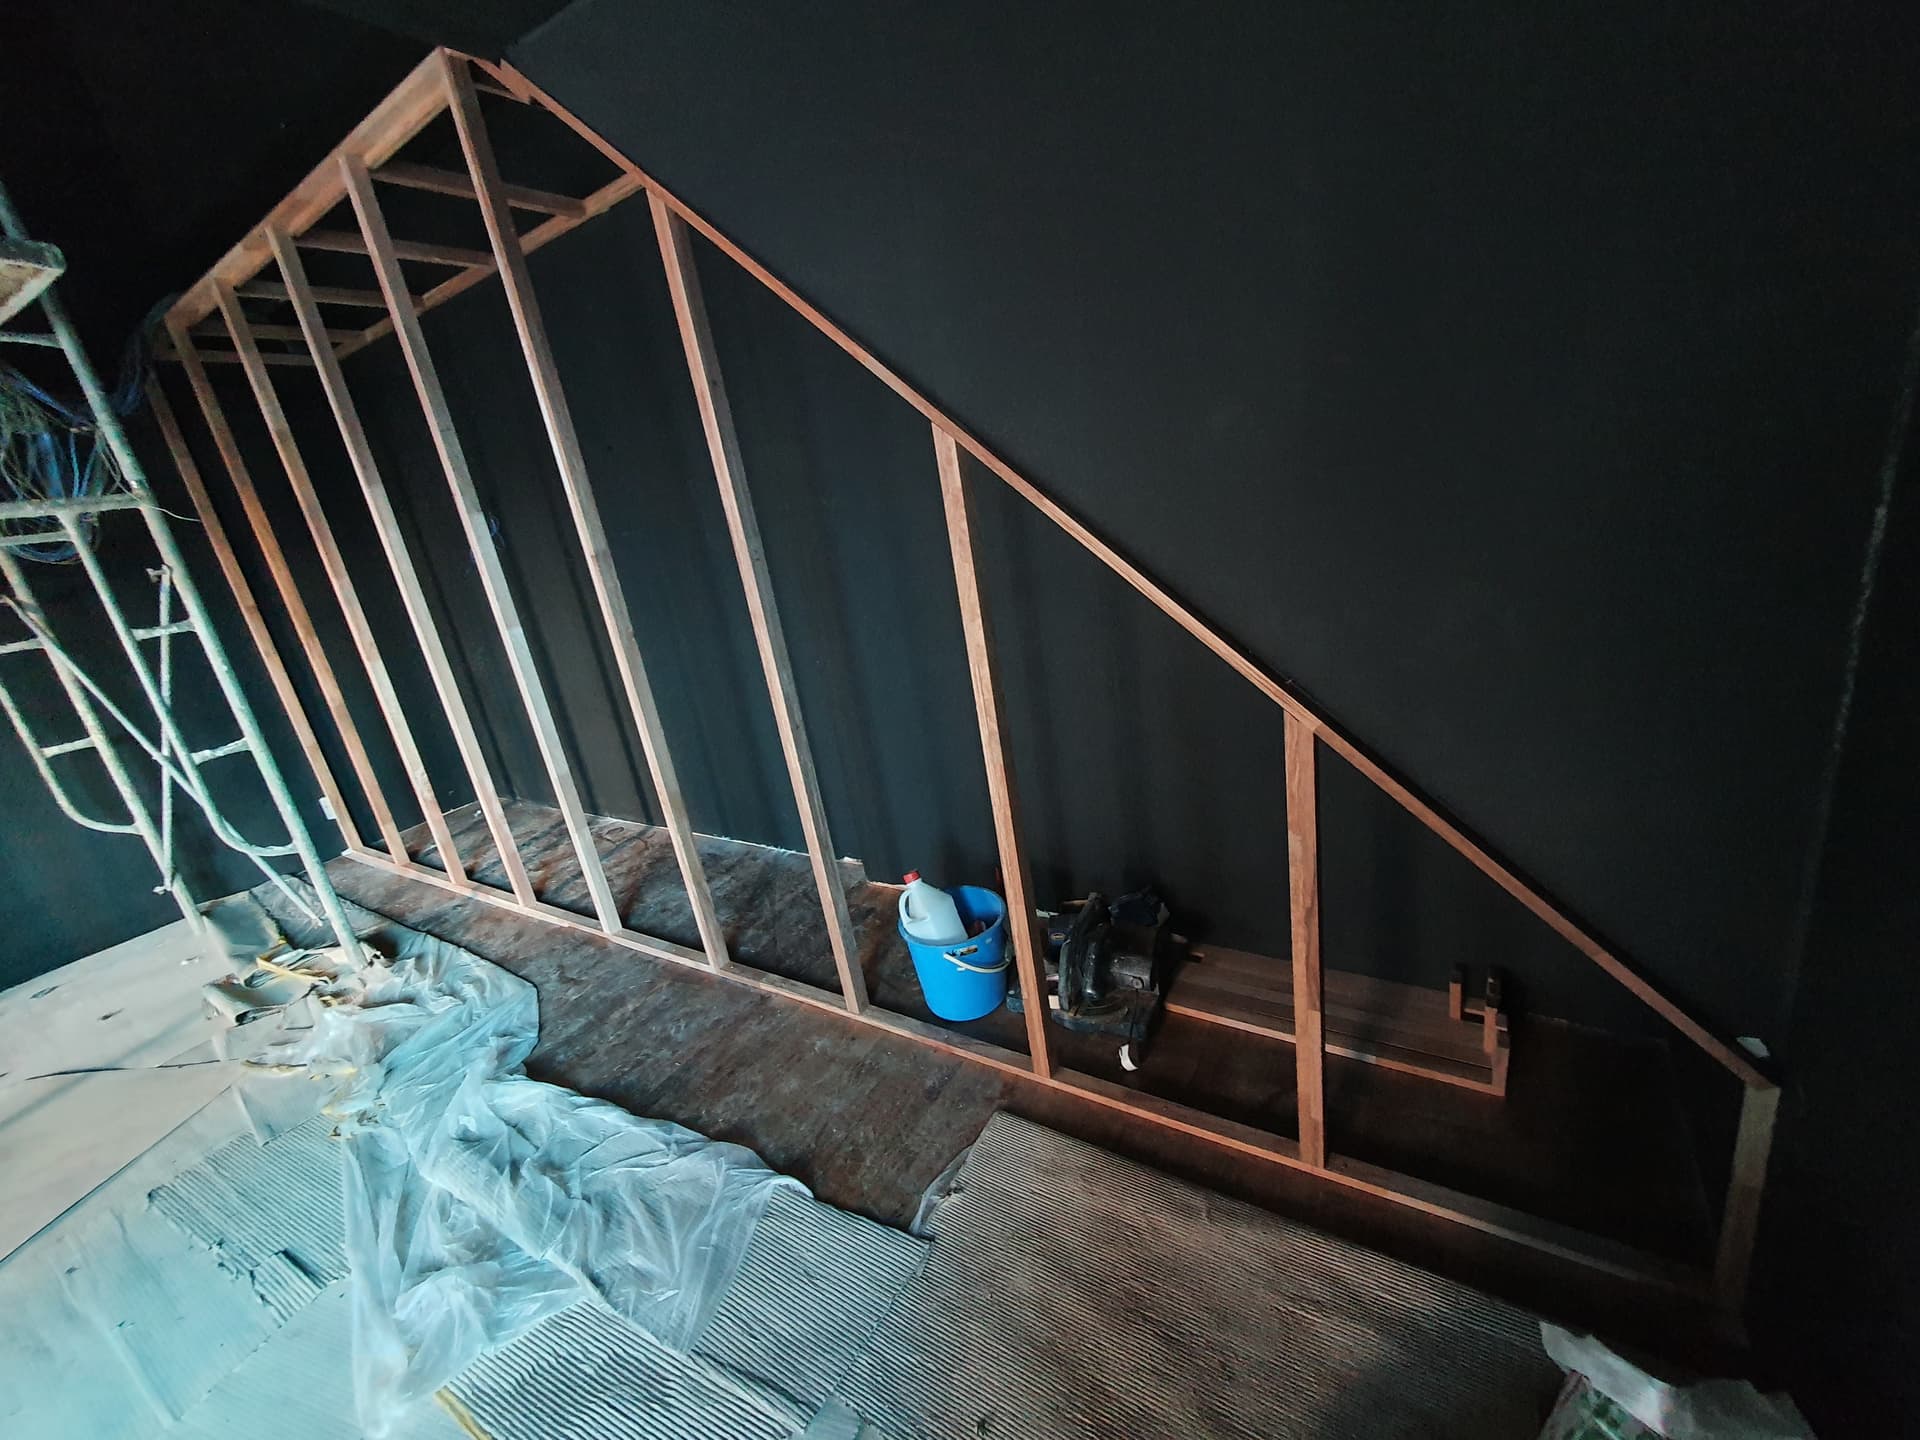
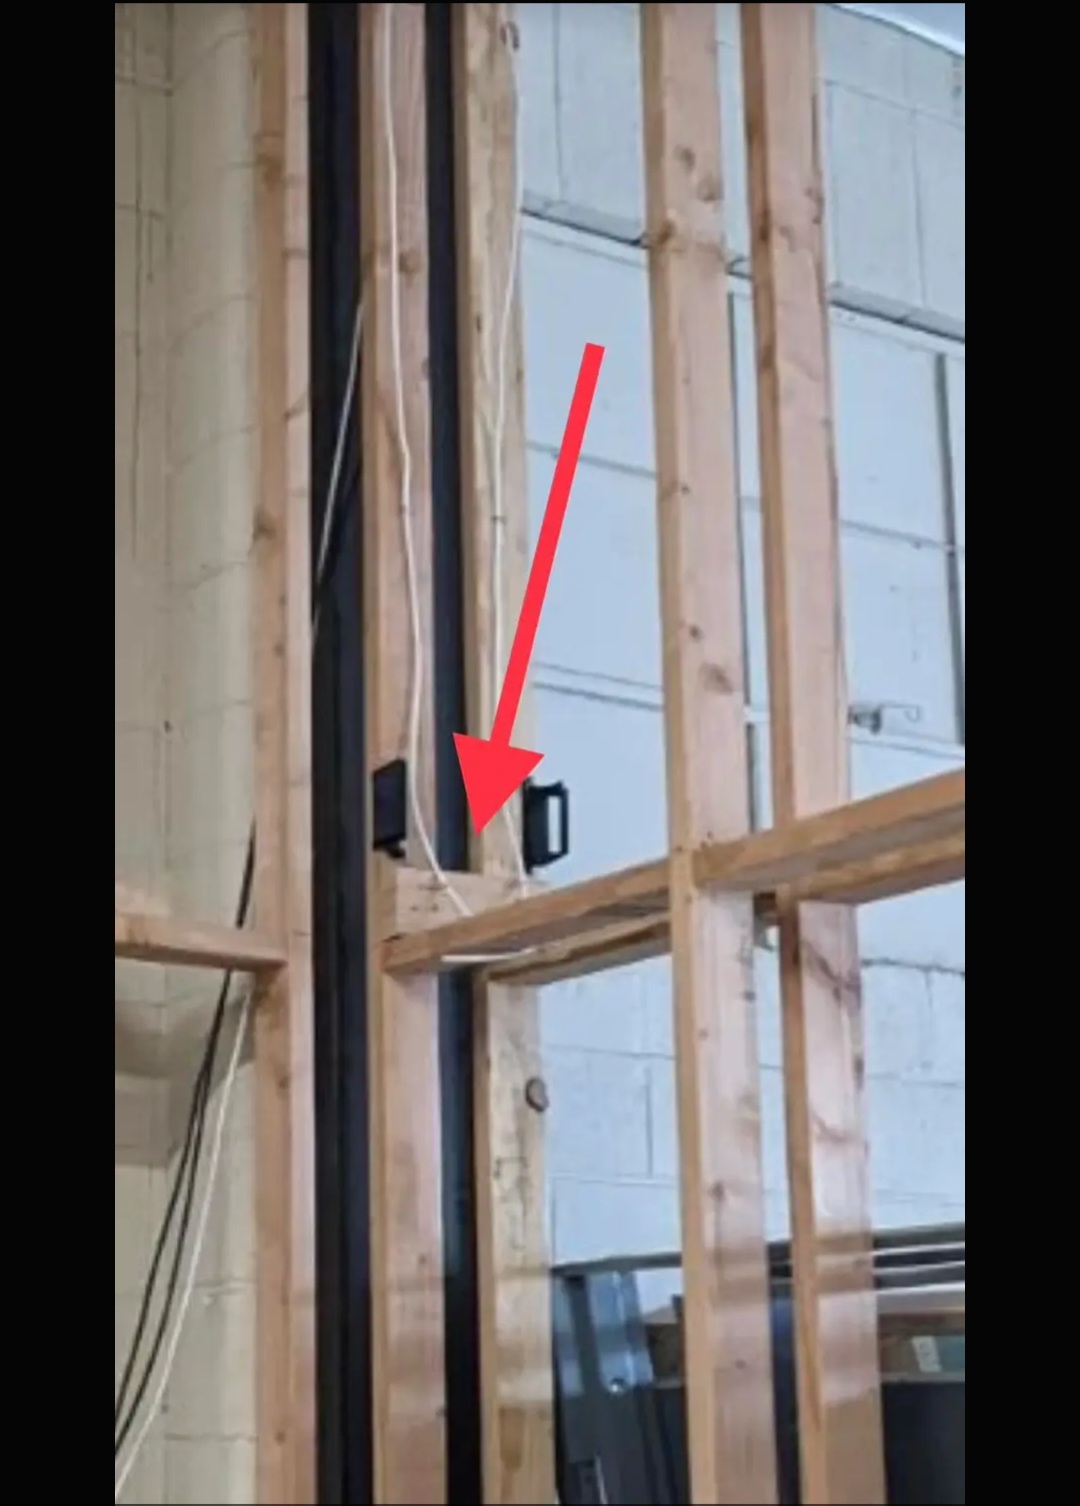
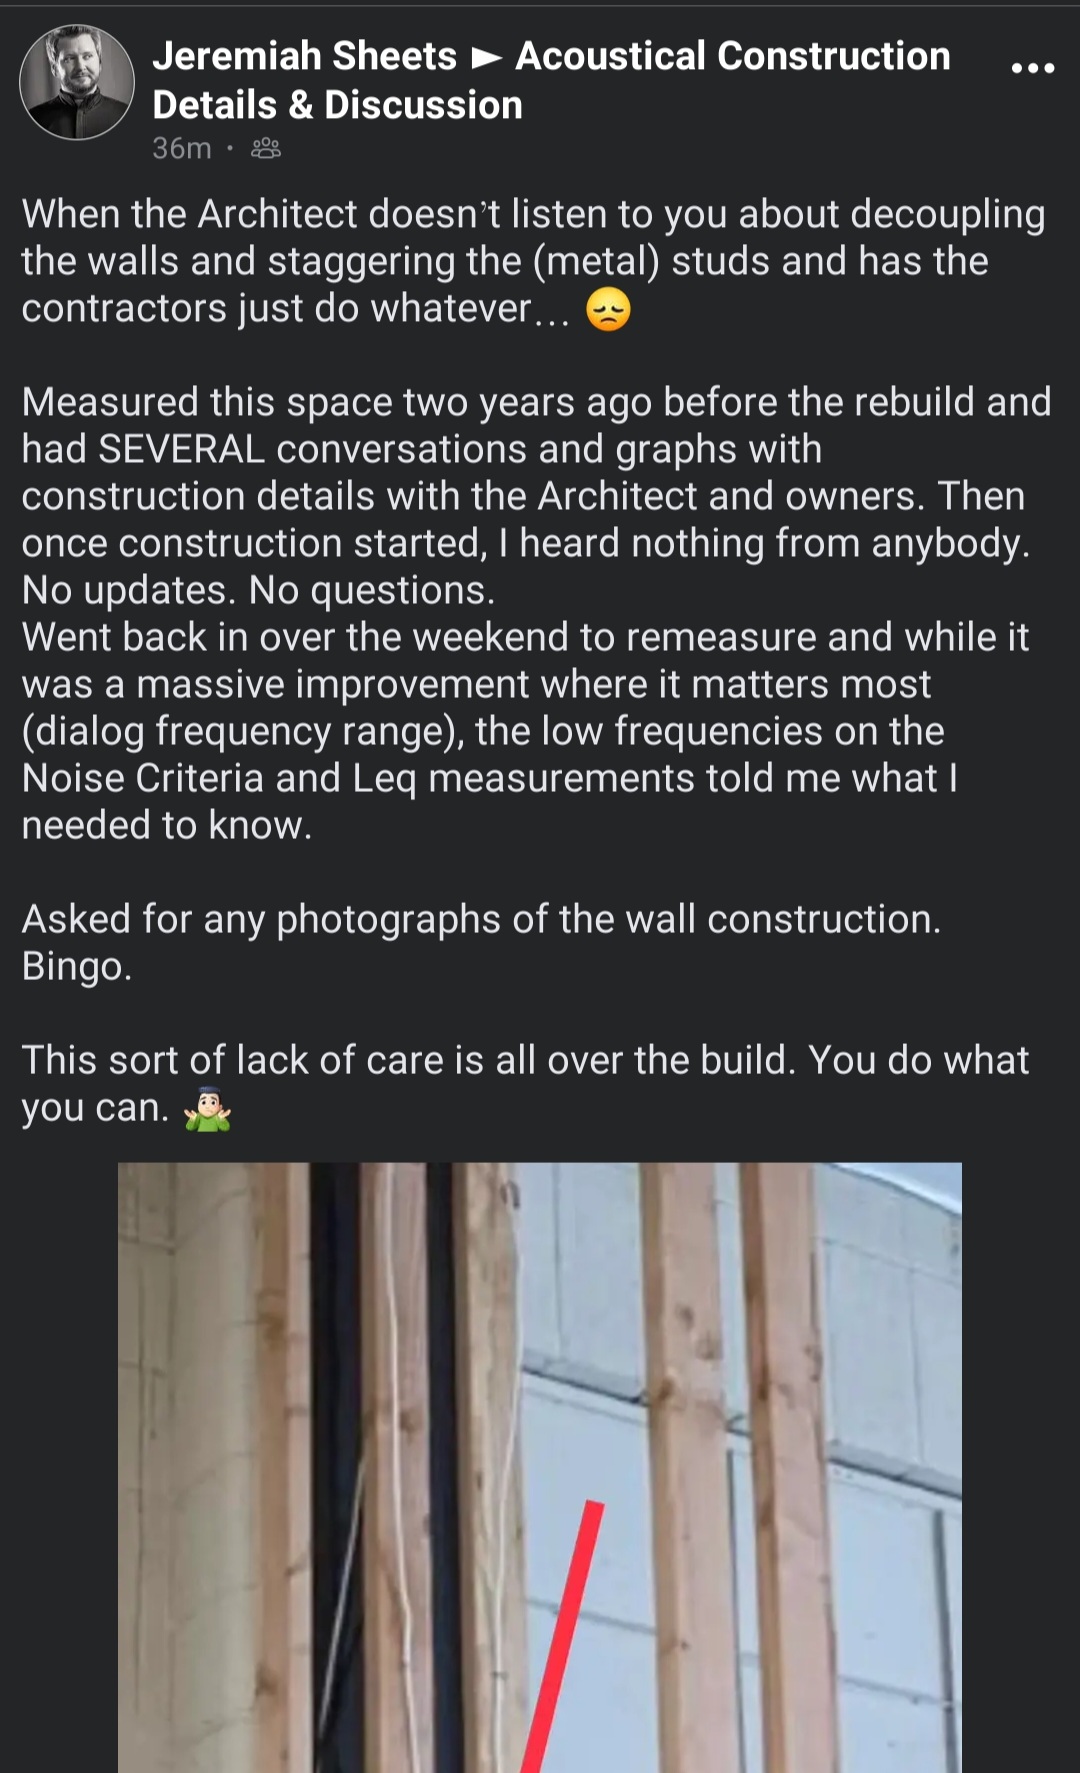
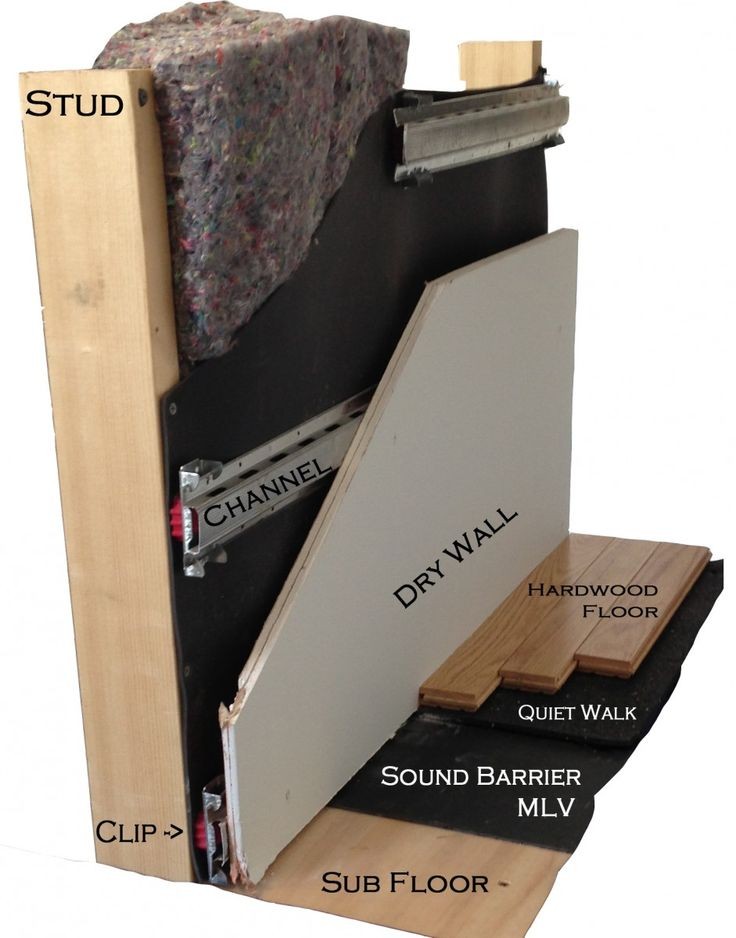
The main thing I chose to go all out was to have all the walls on resilient mounts. These provide a elastomeric layer between the wall and structure and are the most crucial element in isolation builds.

They are used to hold the ‘hat channels’ and the wall layer is mounted onto the hat channel.

Here’s a better view of how the assembly is done. The studs are stuffed with rockwool. The resilient clips are mounted on studs, hat channels in the clips, and the final wall layer on the hat channels.

For my room, the objective was two fold. First was to keep the outside noise out of the room. The tile roof was the weakest link for this.

Now I realized that one layer is not enough isolation - fighter jets going for landing are very audible…
In hindsight, it is also the weakest link in isolating the low bass from my neighbors.

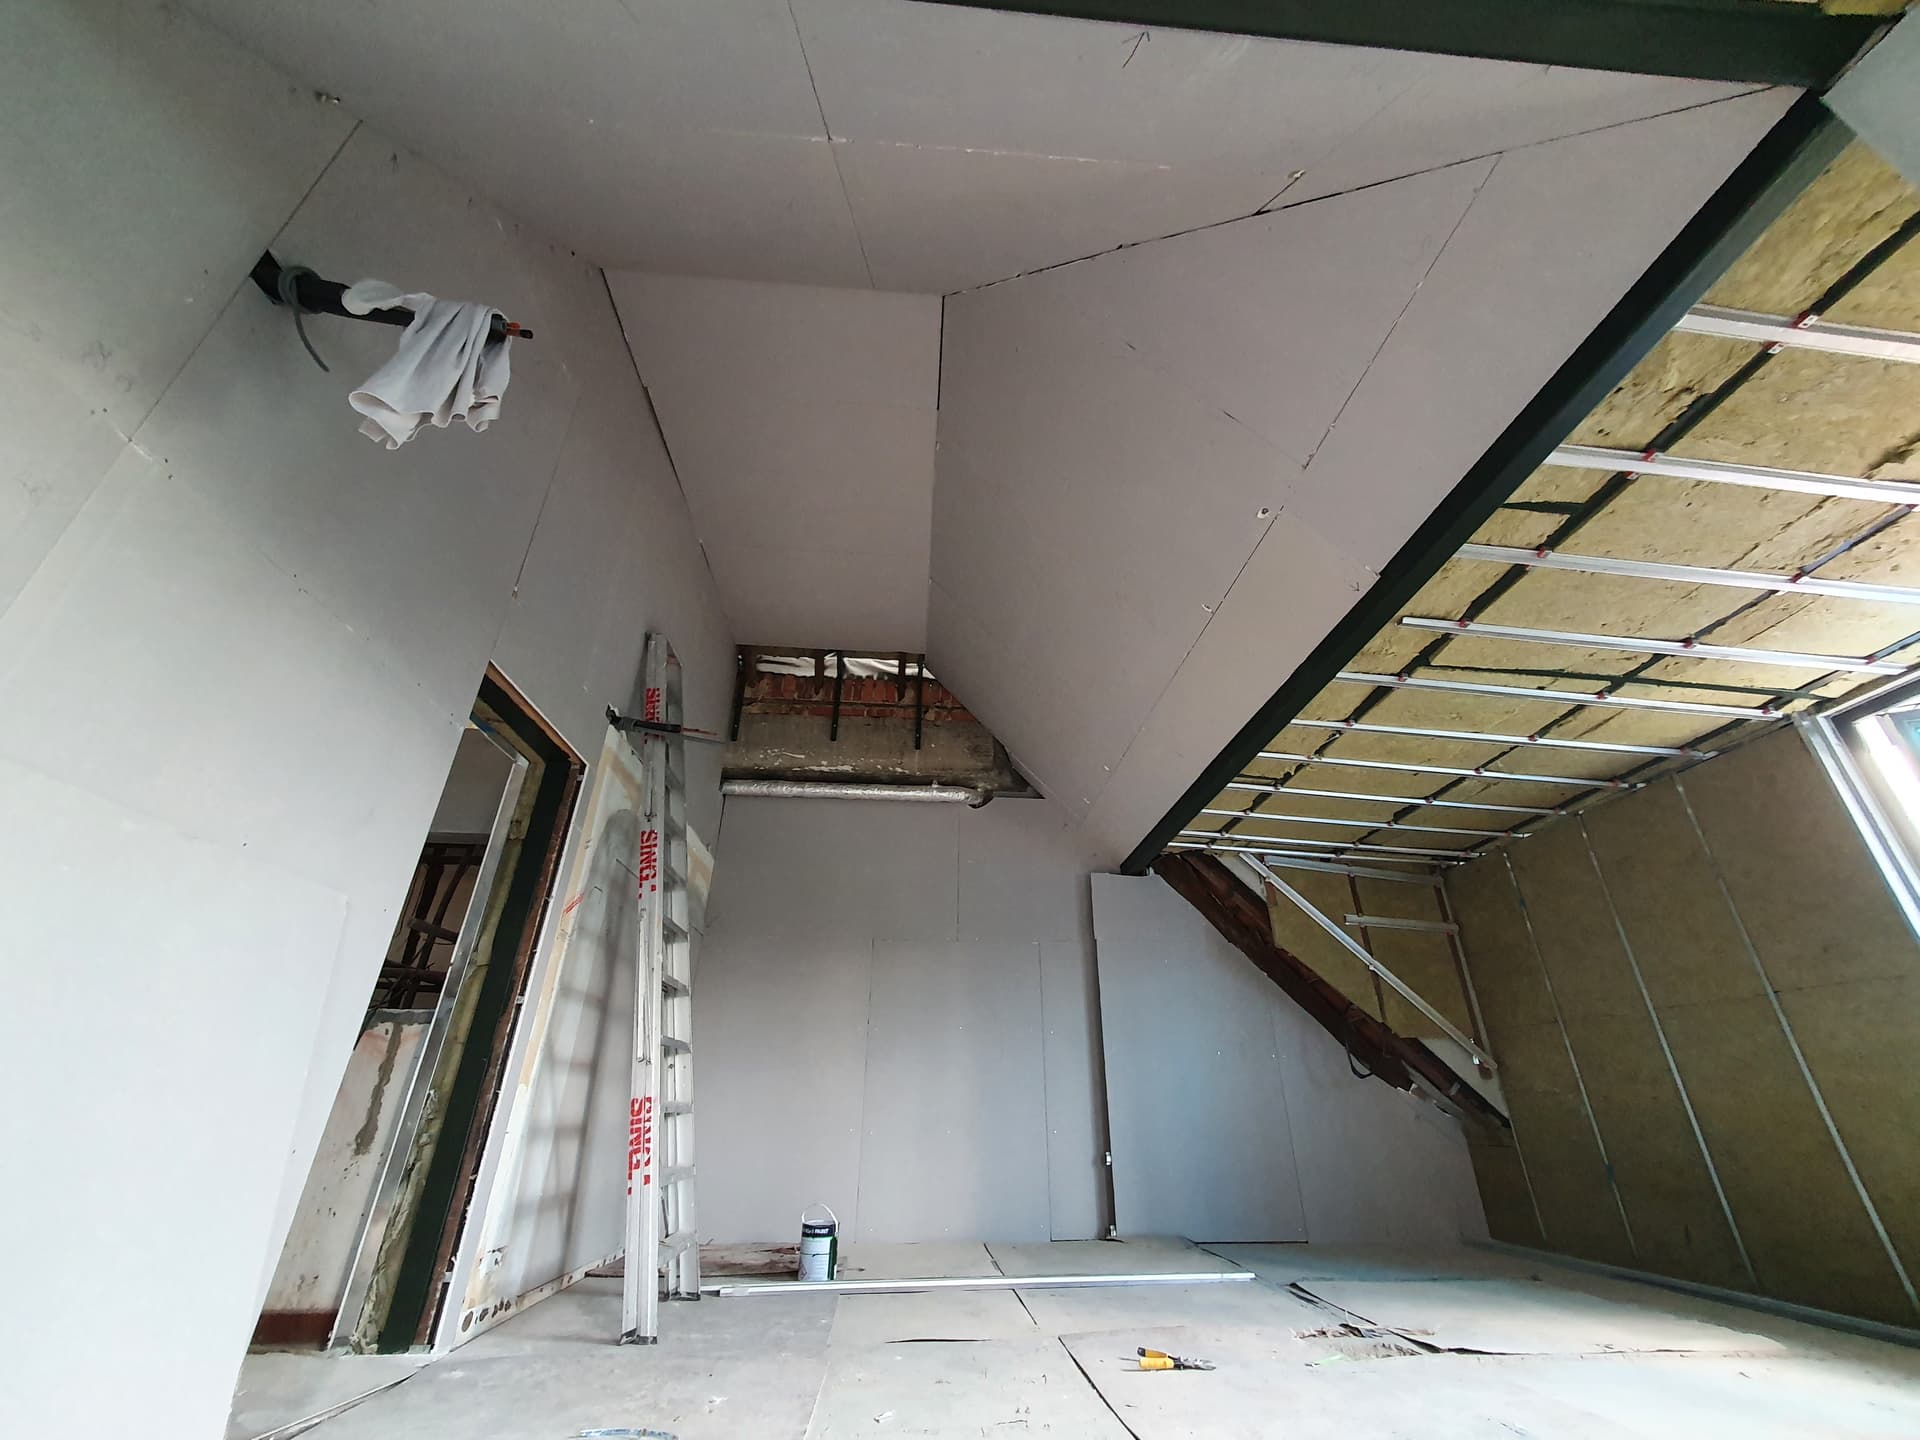
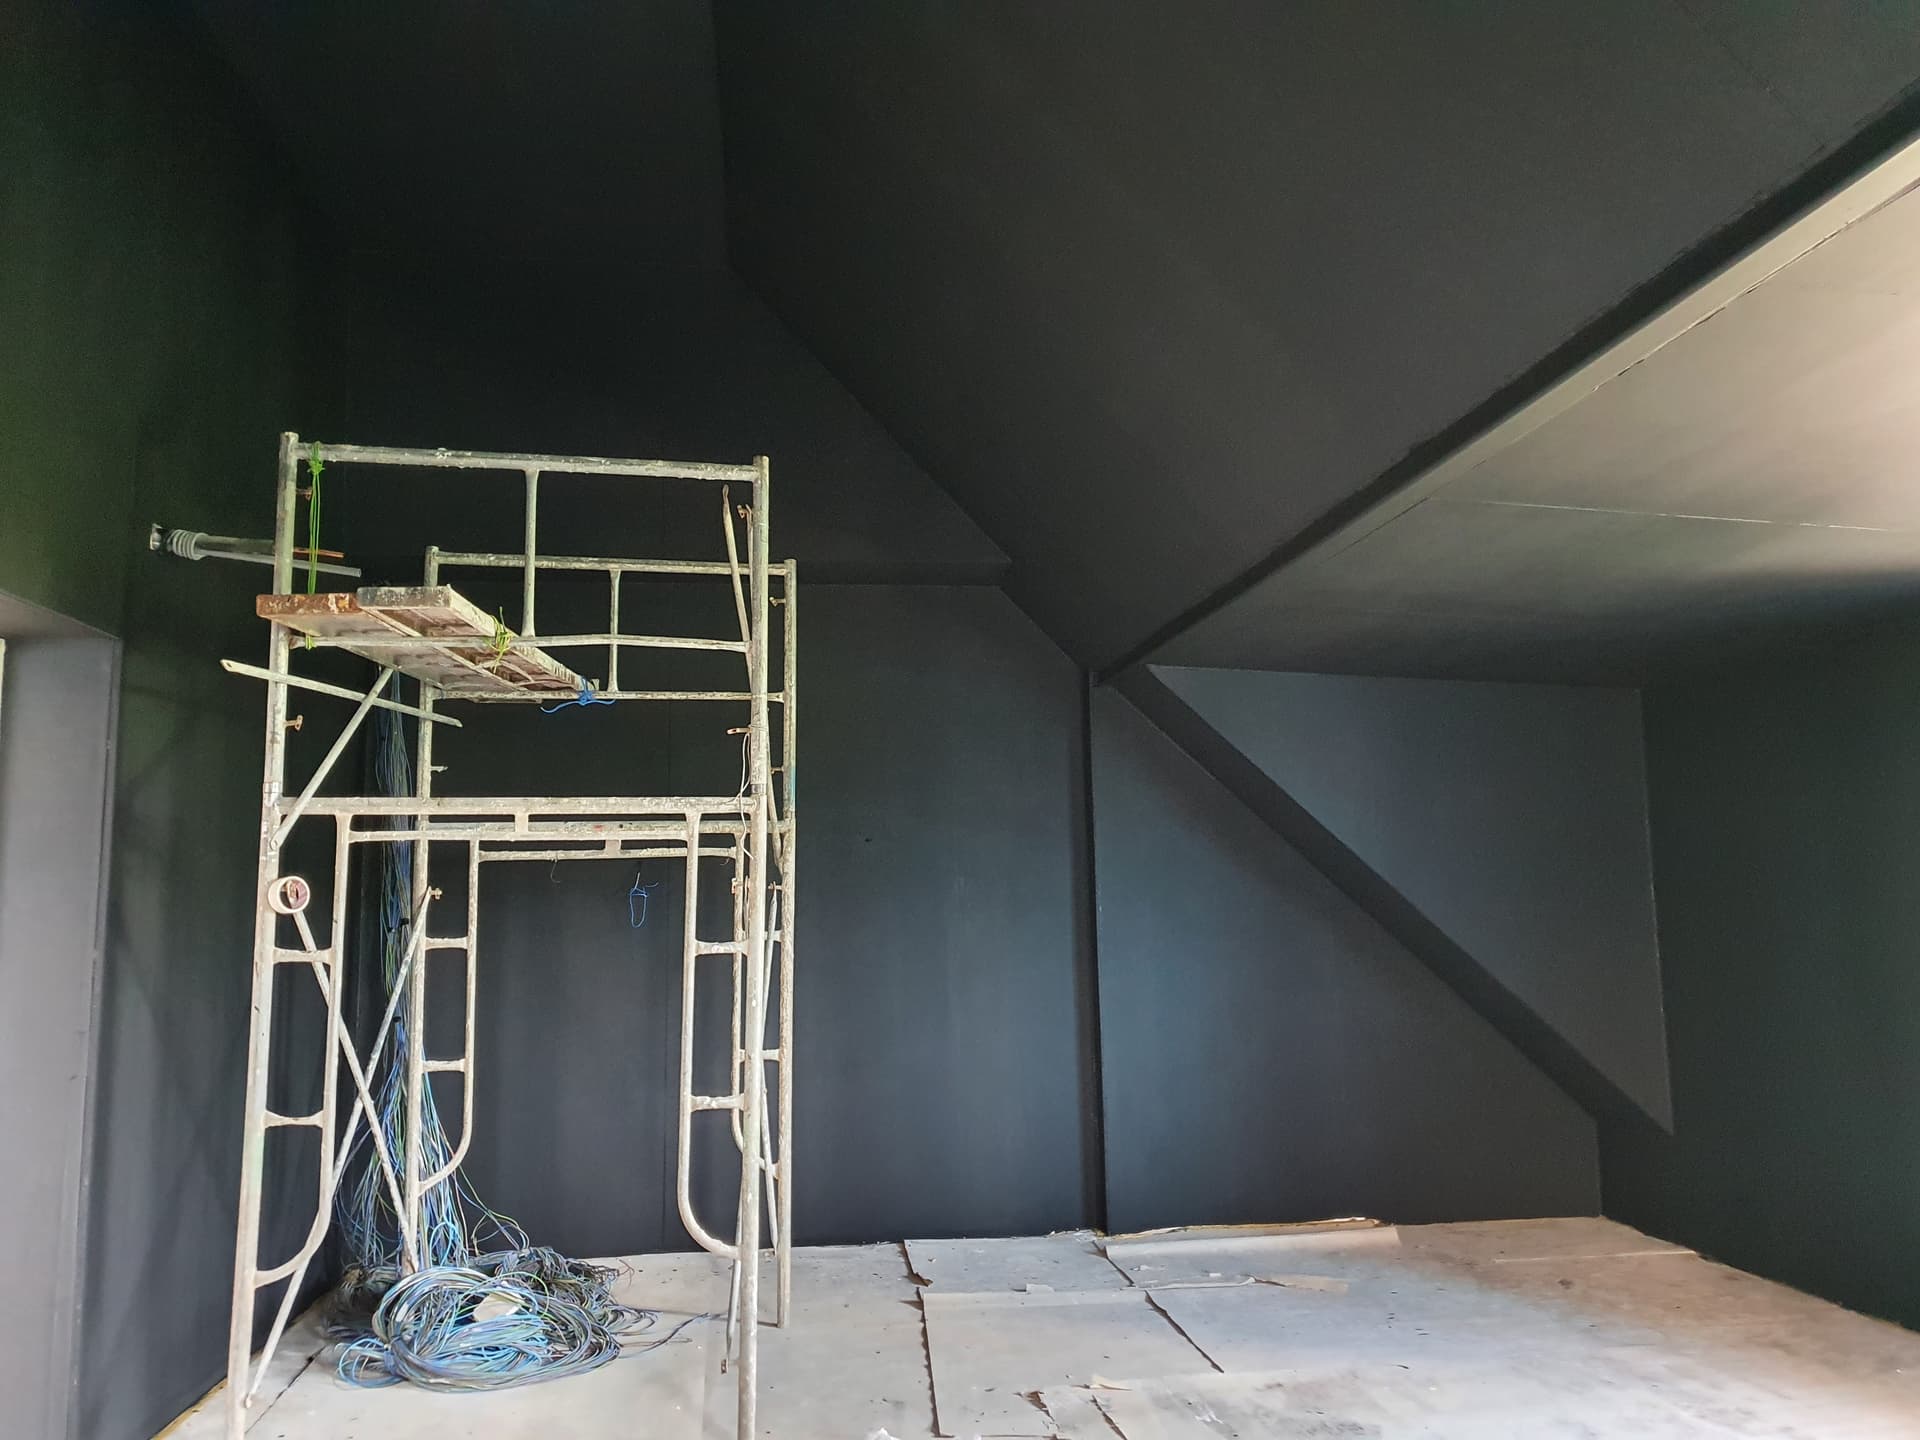
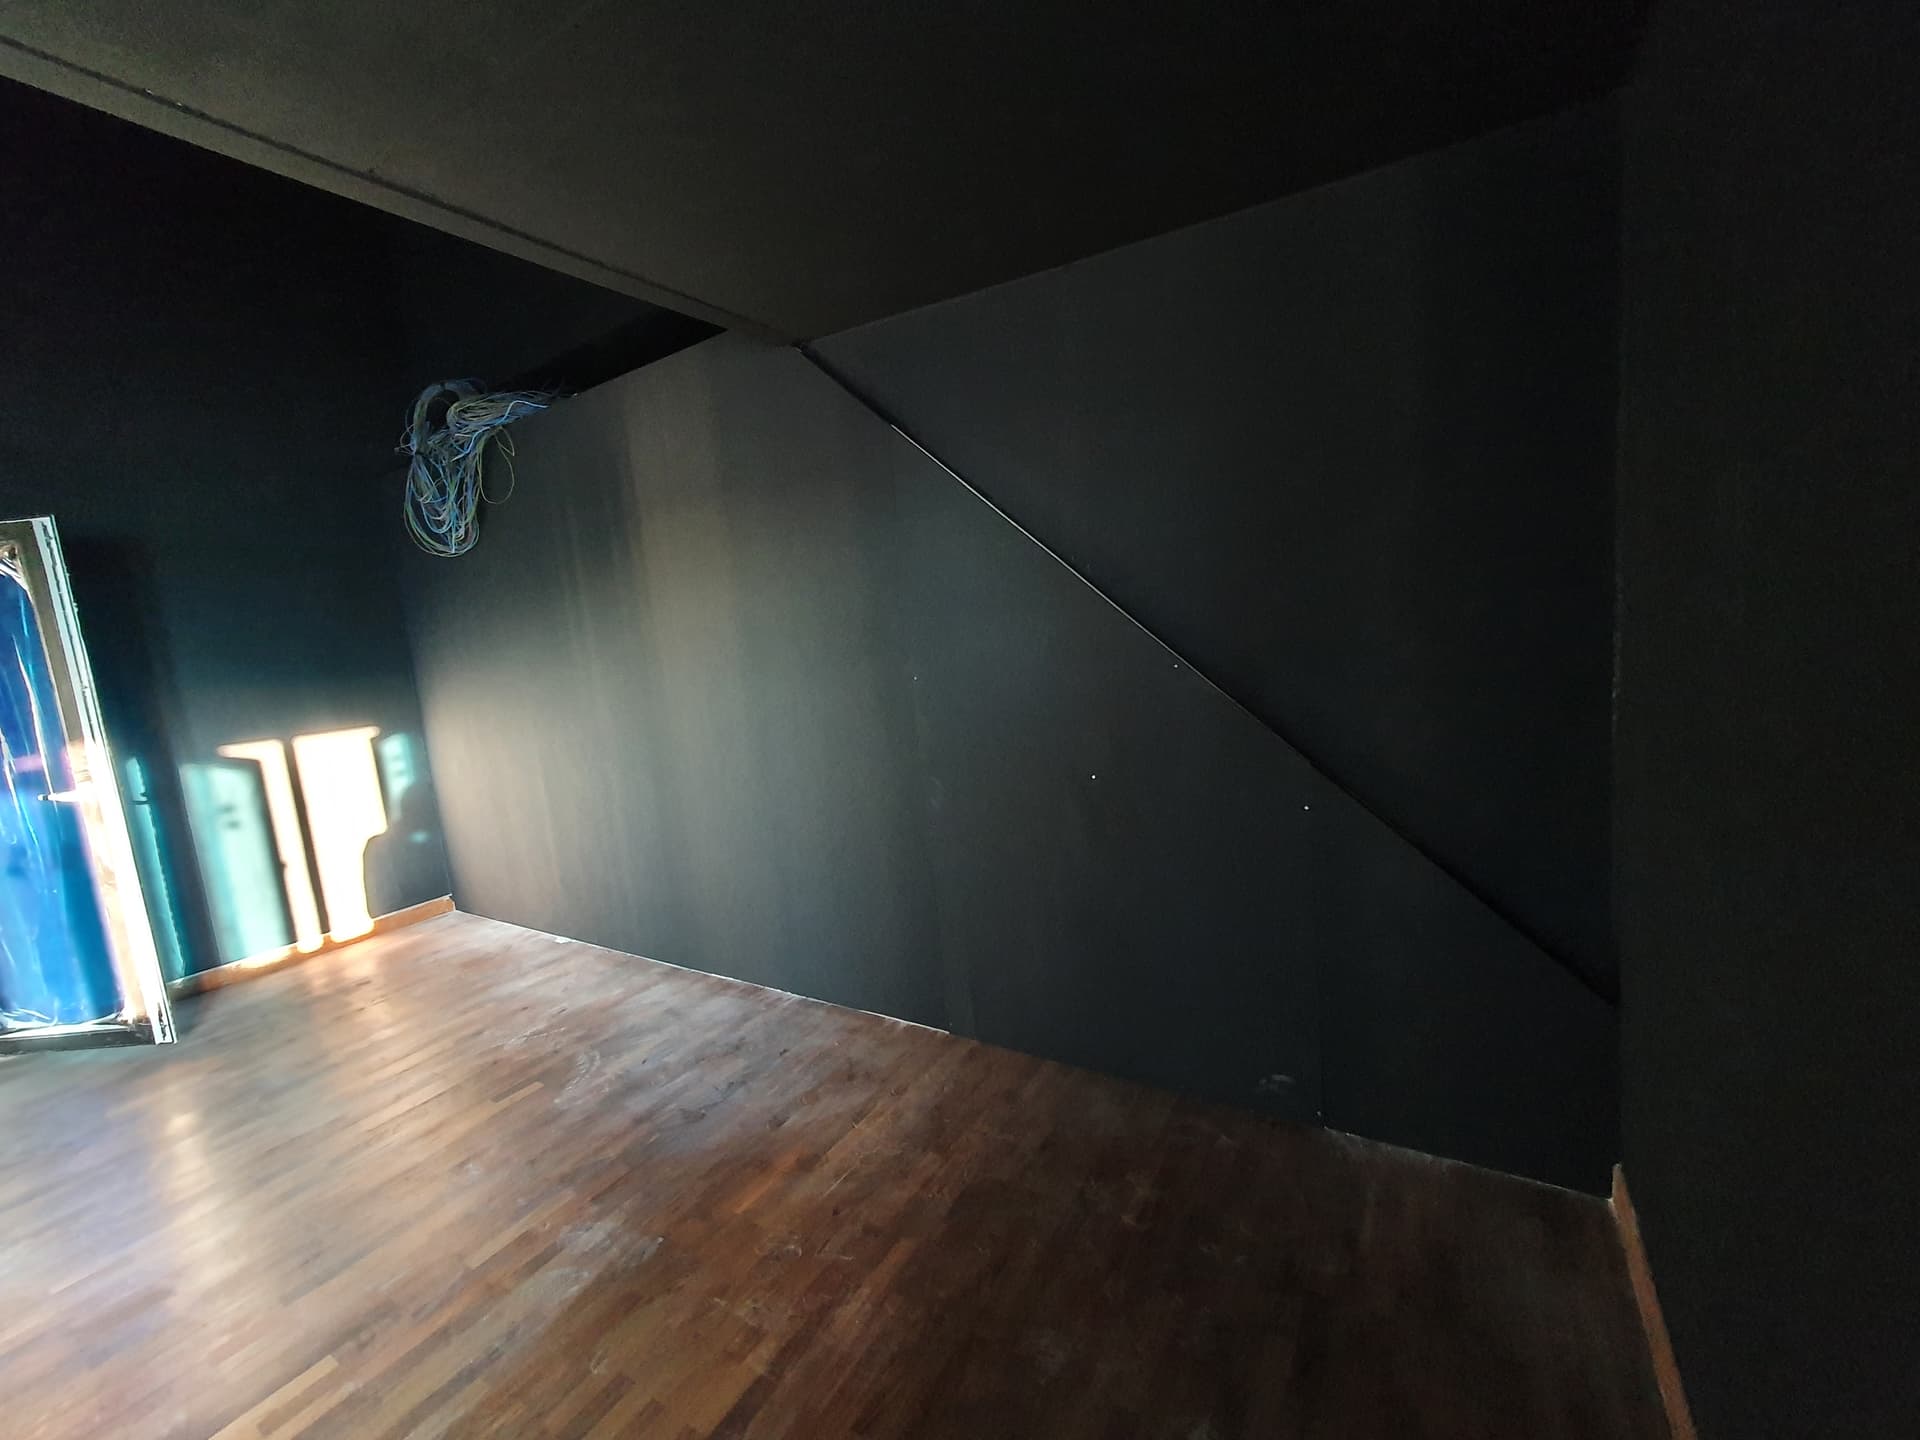
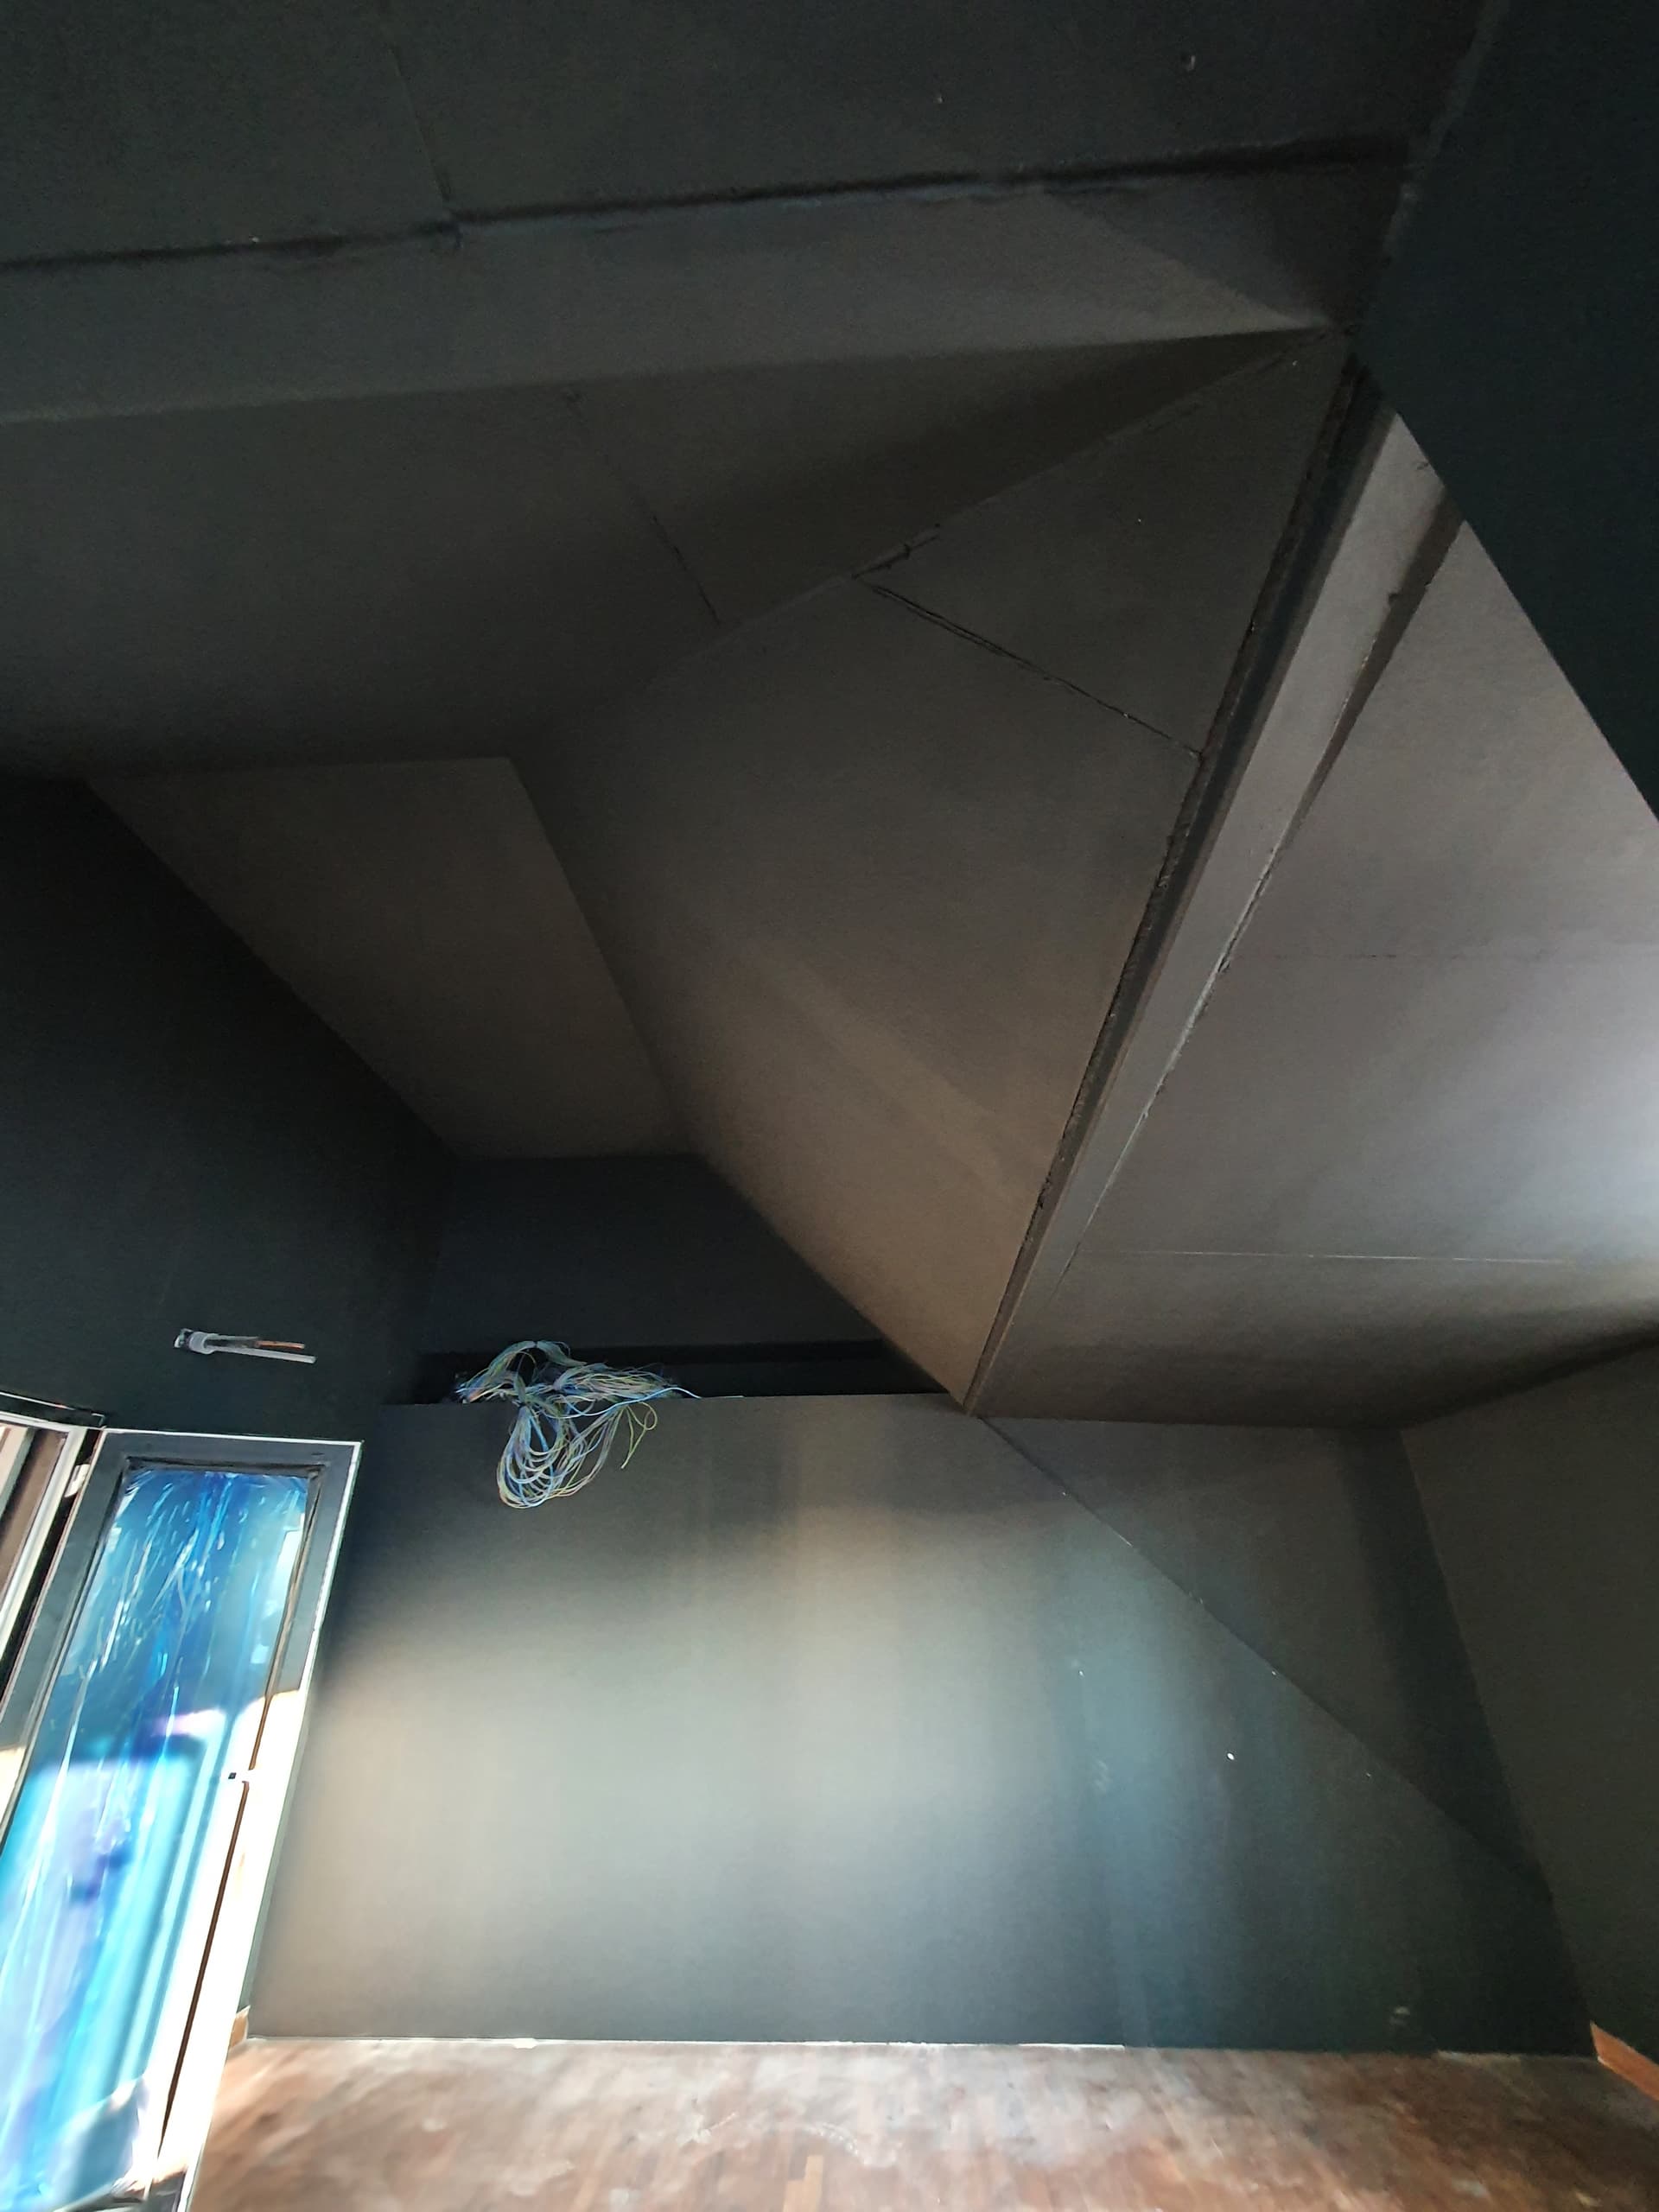
The 2nd objective is to prevent the HT sound from affecting the rest of the house. The entire left wall is a new construction wall, and it’s performance will be key.

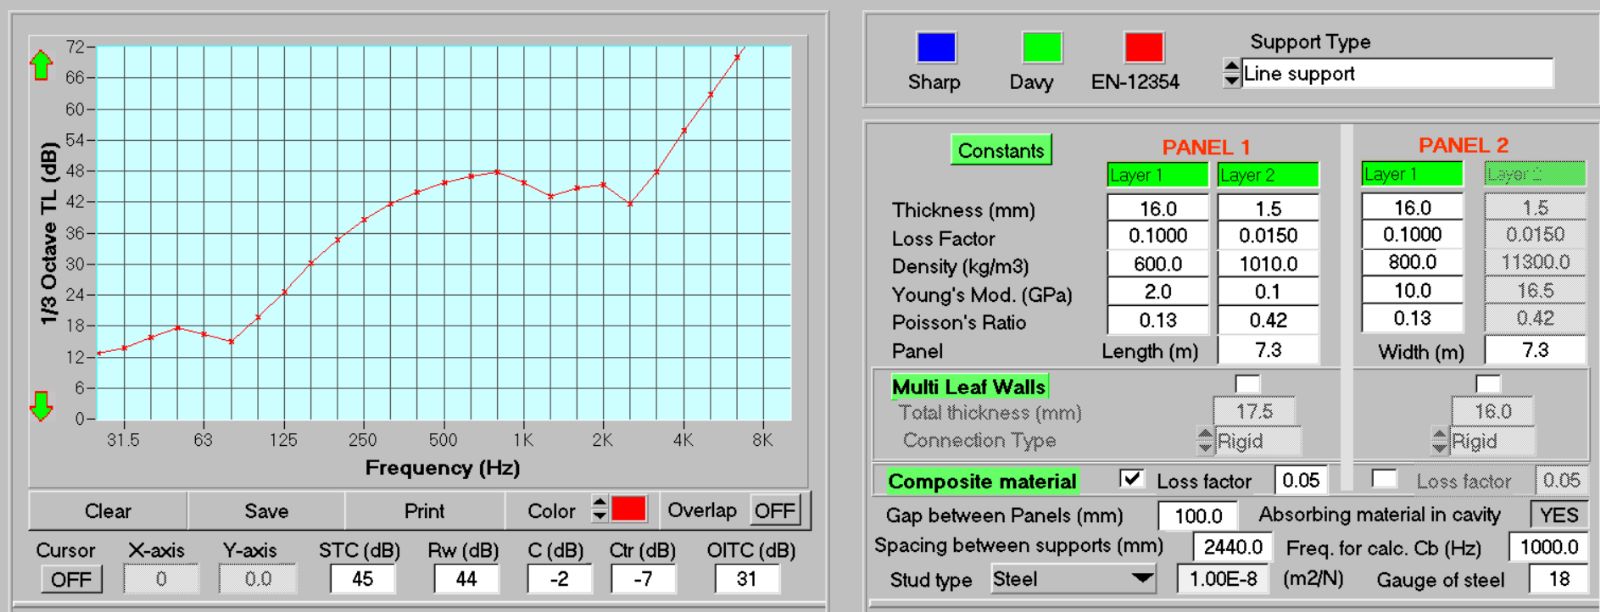
However, I also did not want the wall to be too perfect. Imagine an absolute stuff 12inch thick RC wall. Yes that blocks the sound, but that also gives me the most peaky bass reflection and modes inside the room… So in a zero sum scenario, I tried to find the best compromise between sound isolation and less ‘hard’ bass reflection within the room…

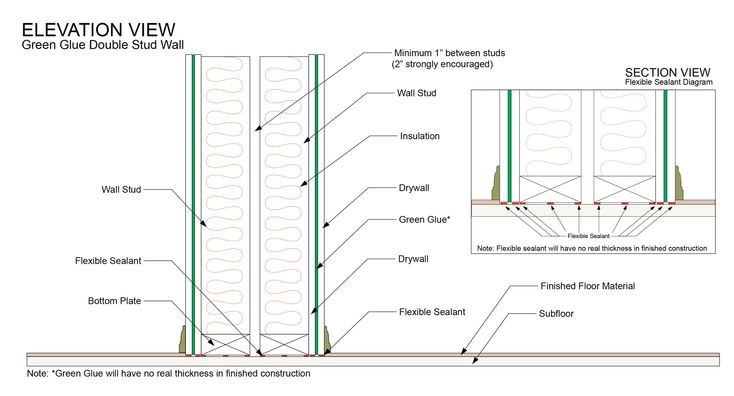
The highest isolating walls are done with dual layers, which is what I did.
74acd5b5f7d2e4d45dd763cbffde2a42

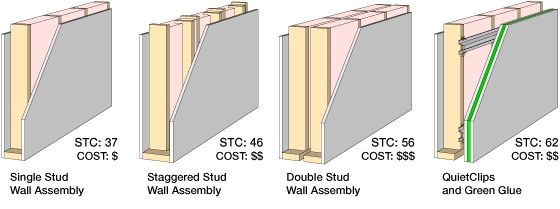
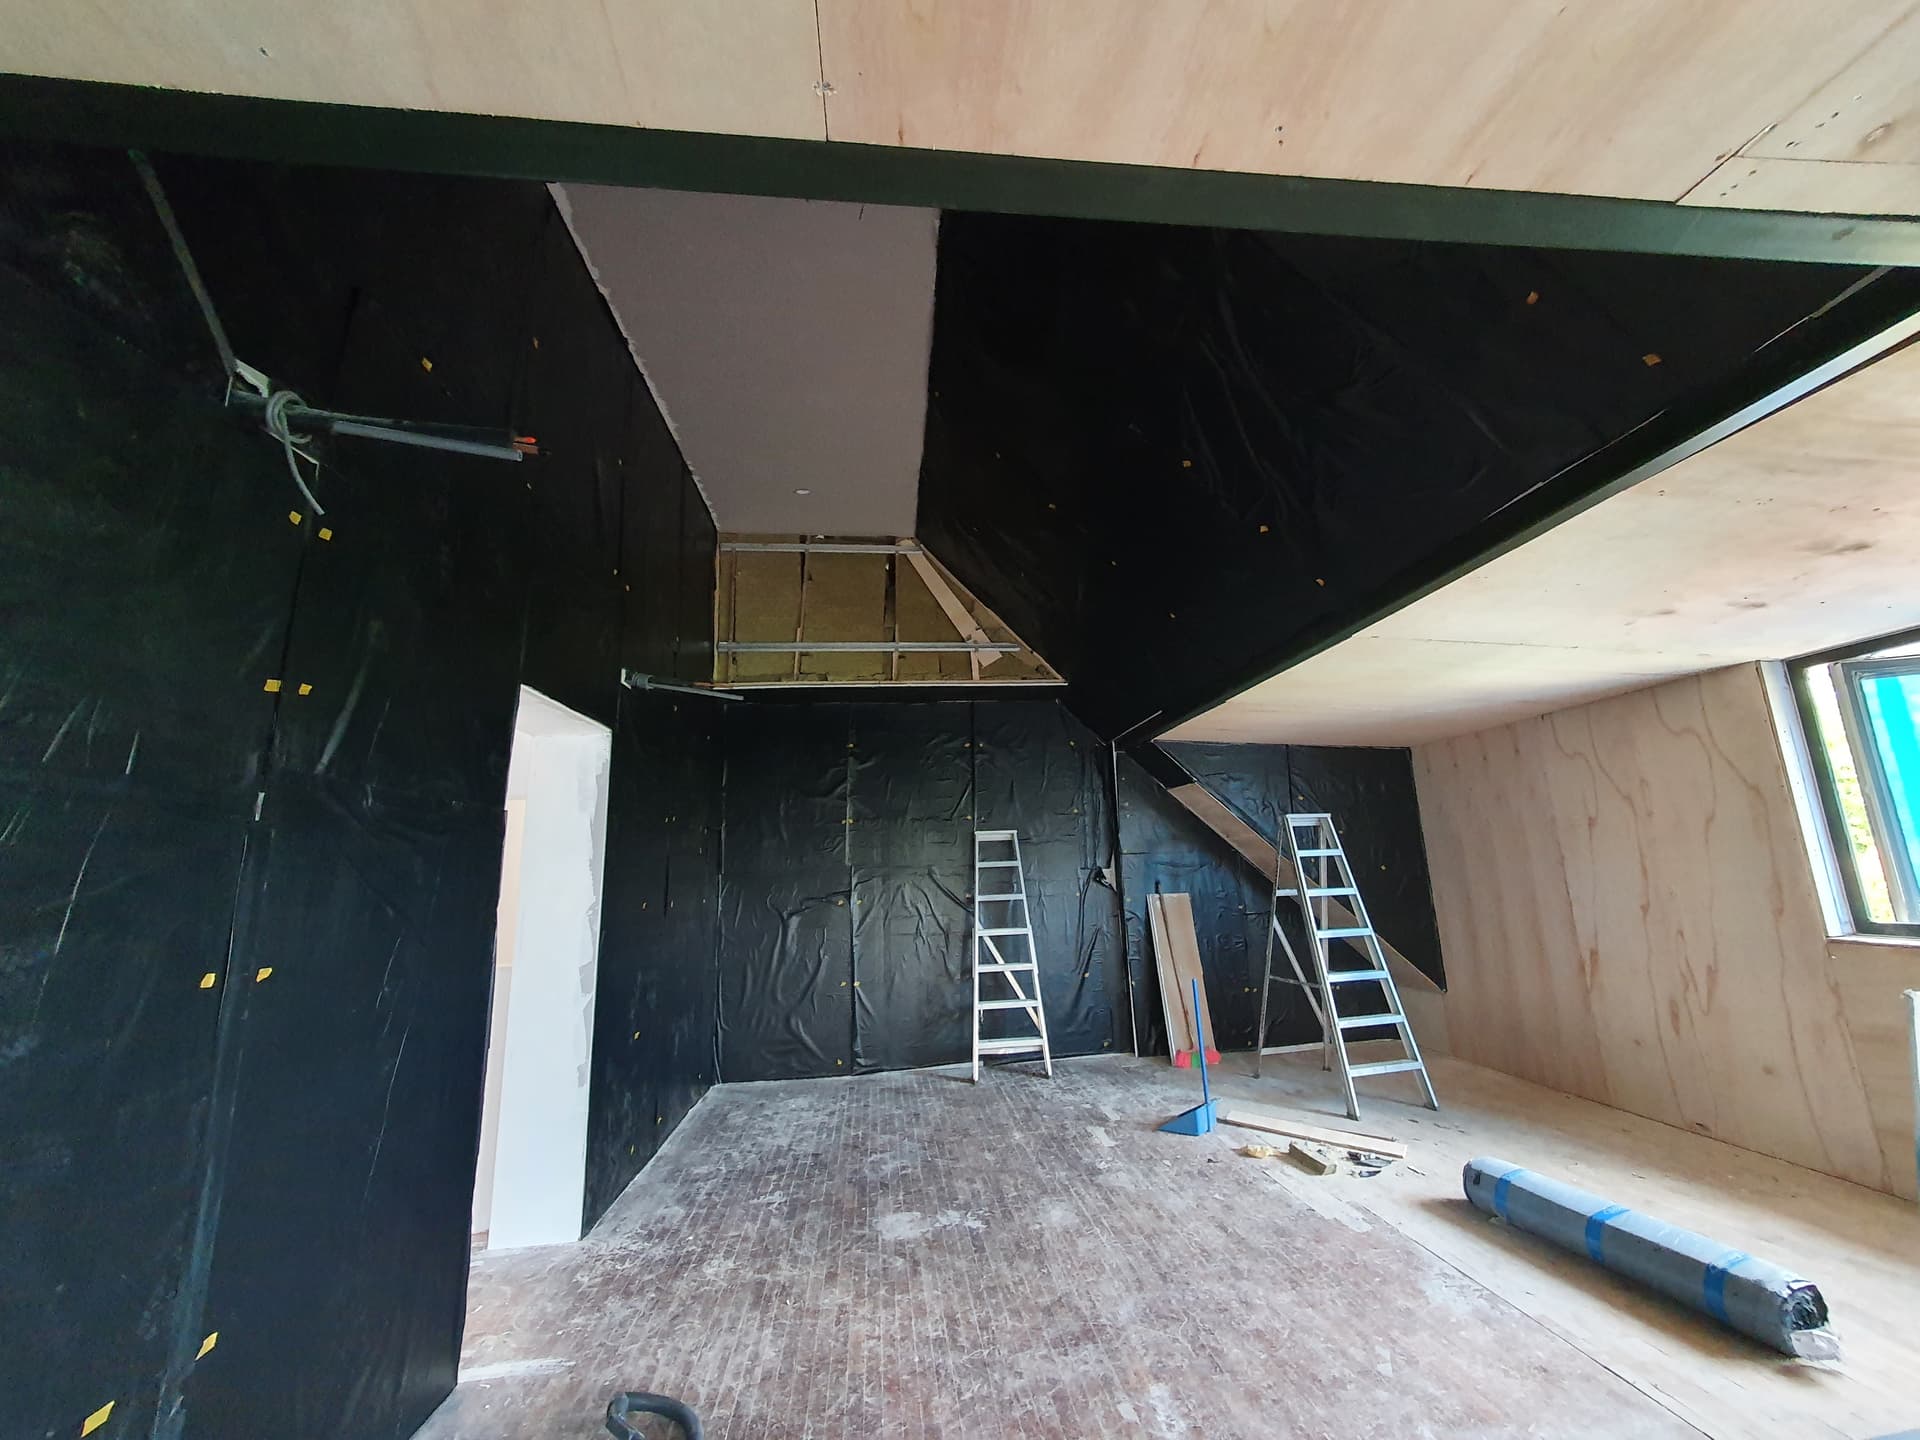
In fact, what I did was a combination of the double stud wall, with the quiet clips, hat channels and double layer sandwich with green glue.

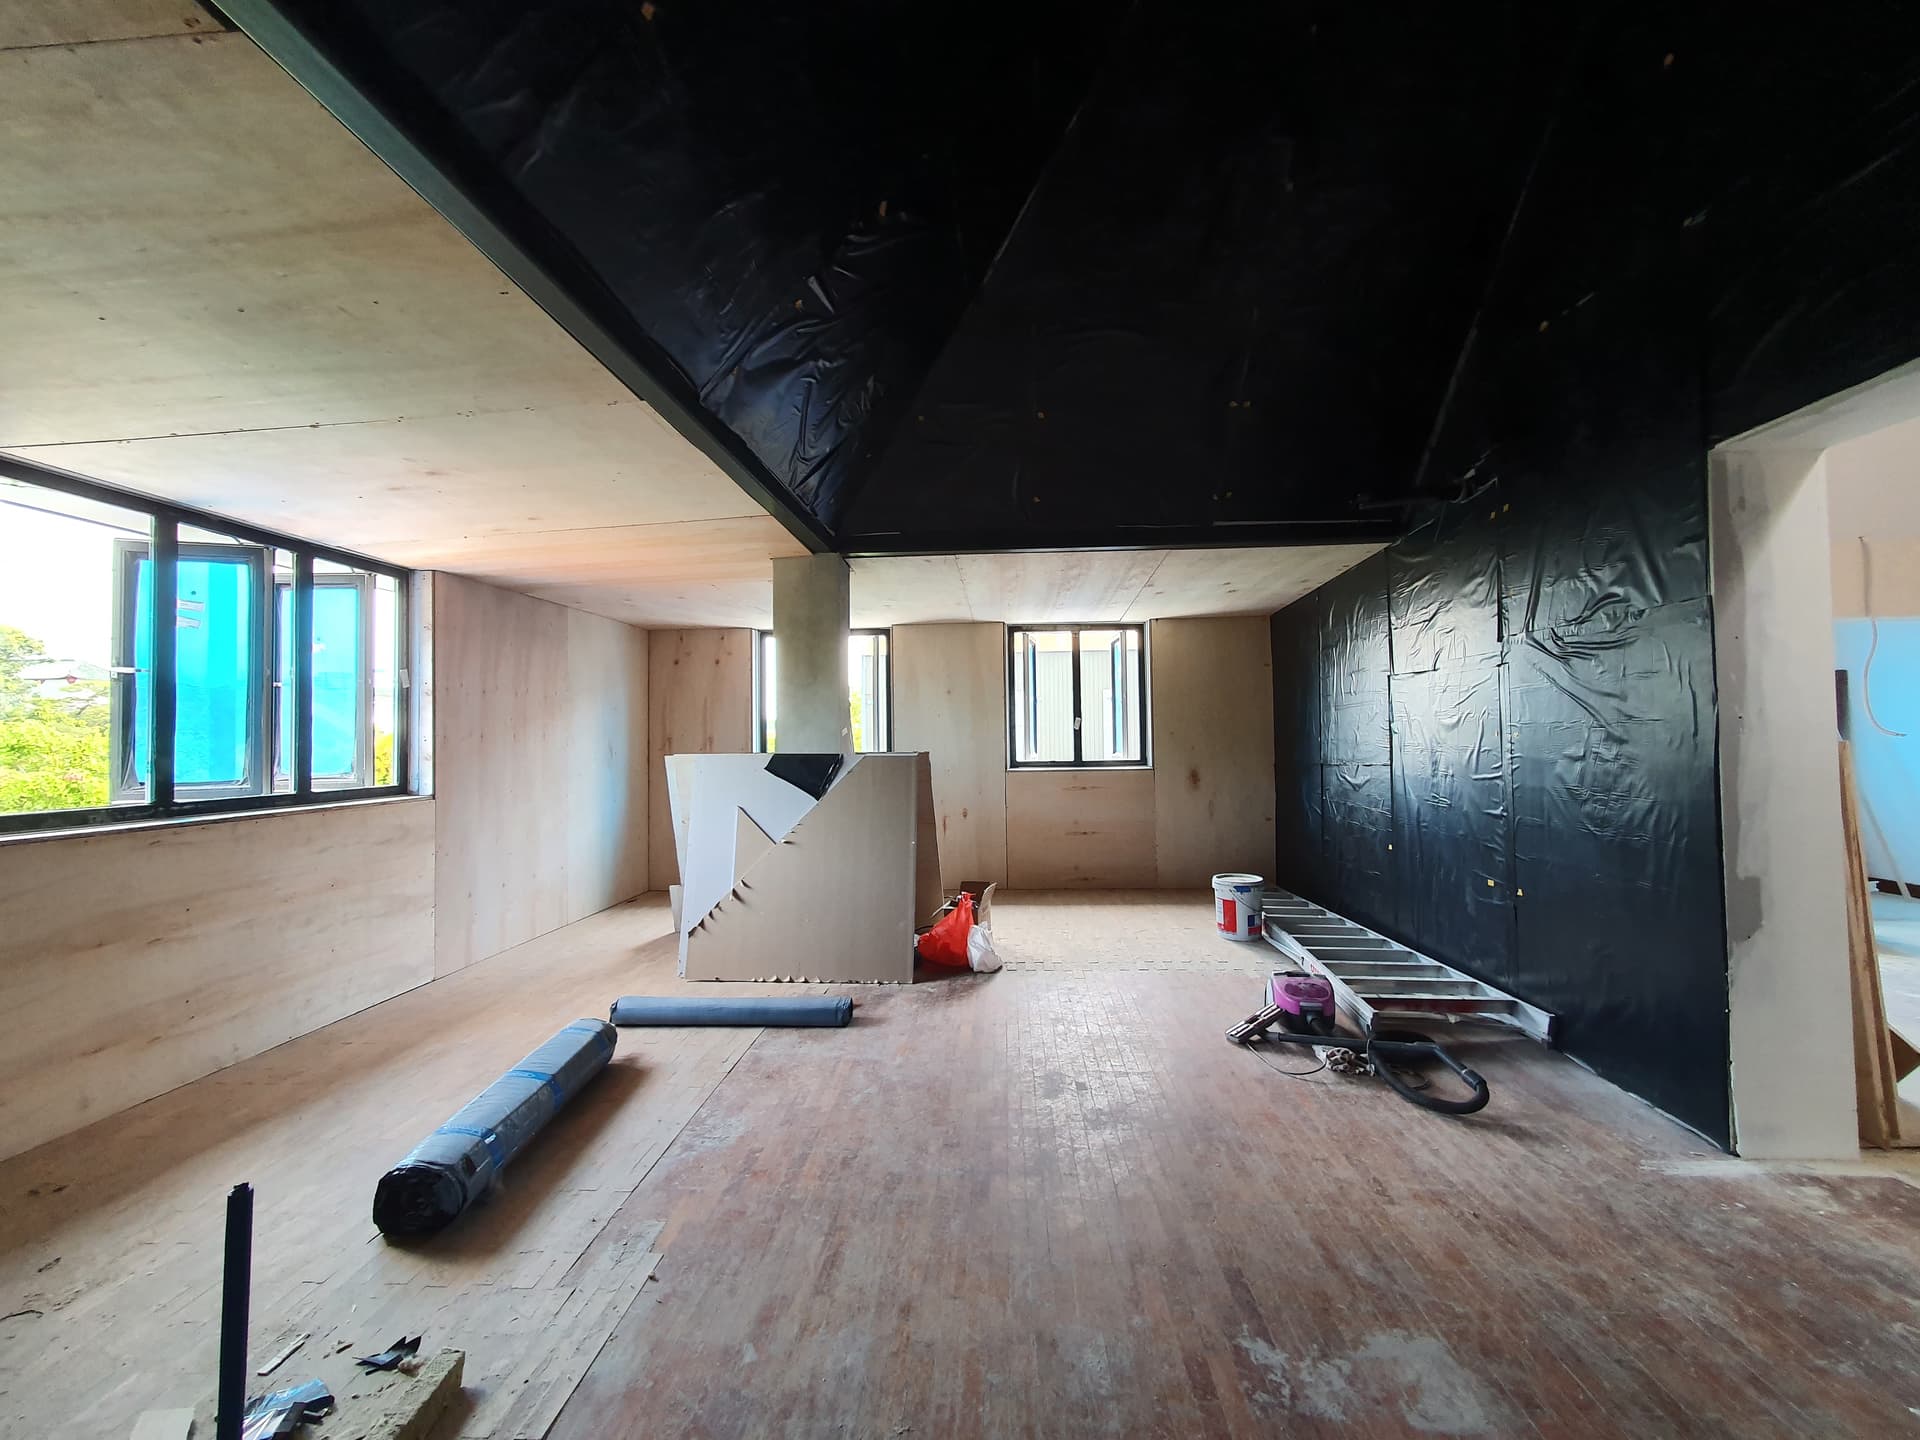
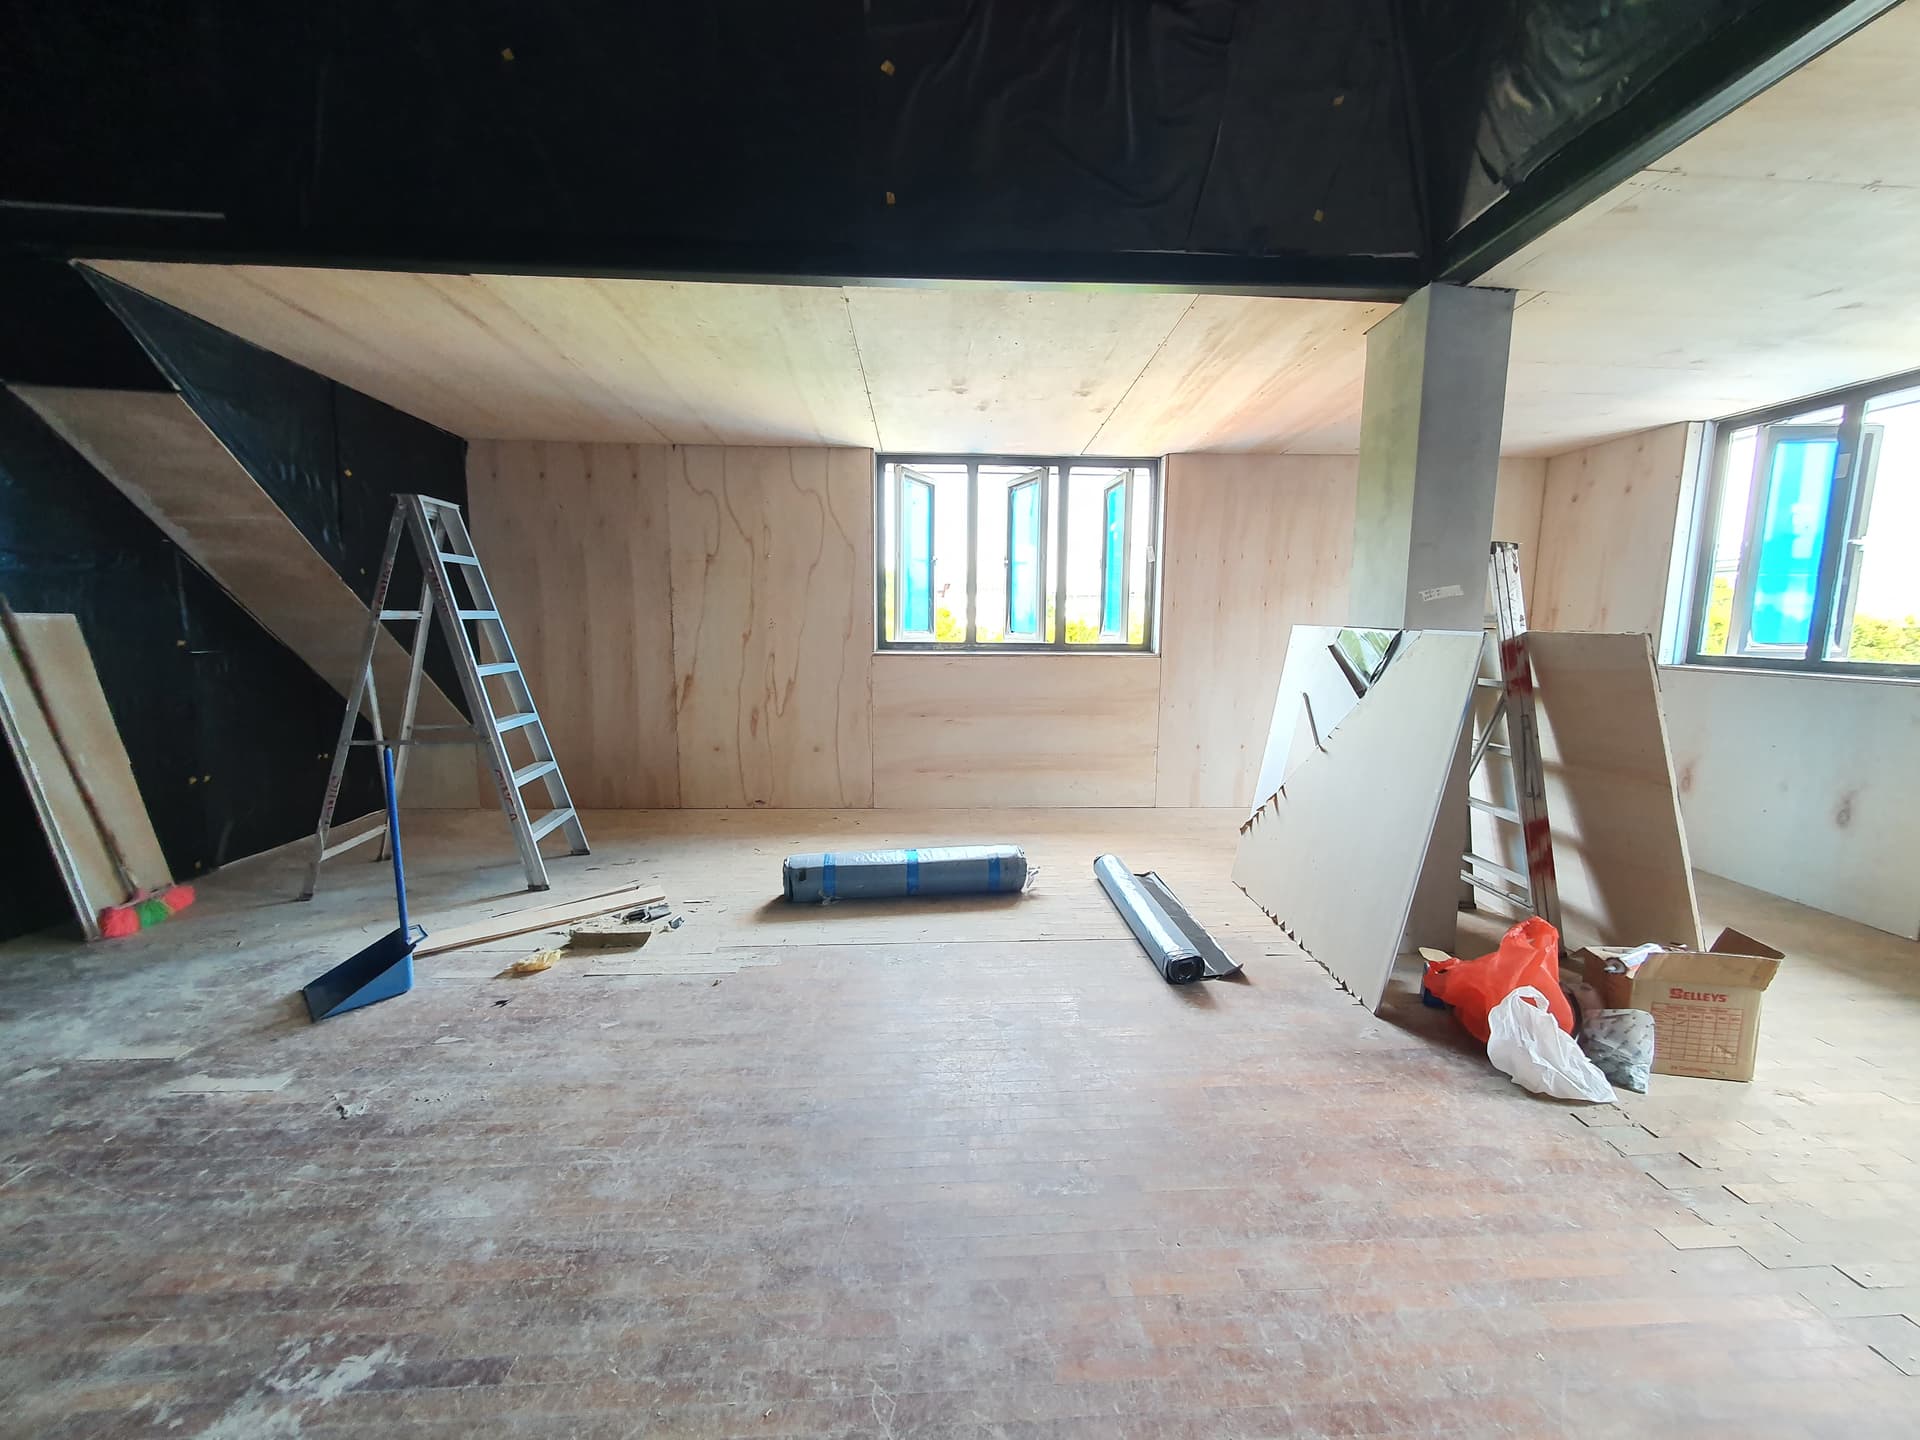
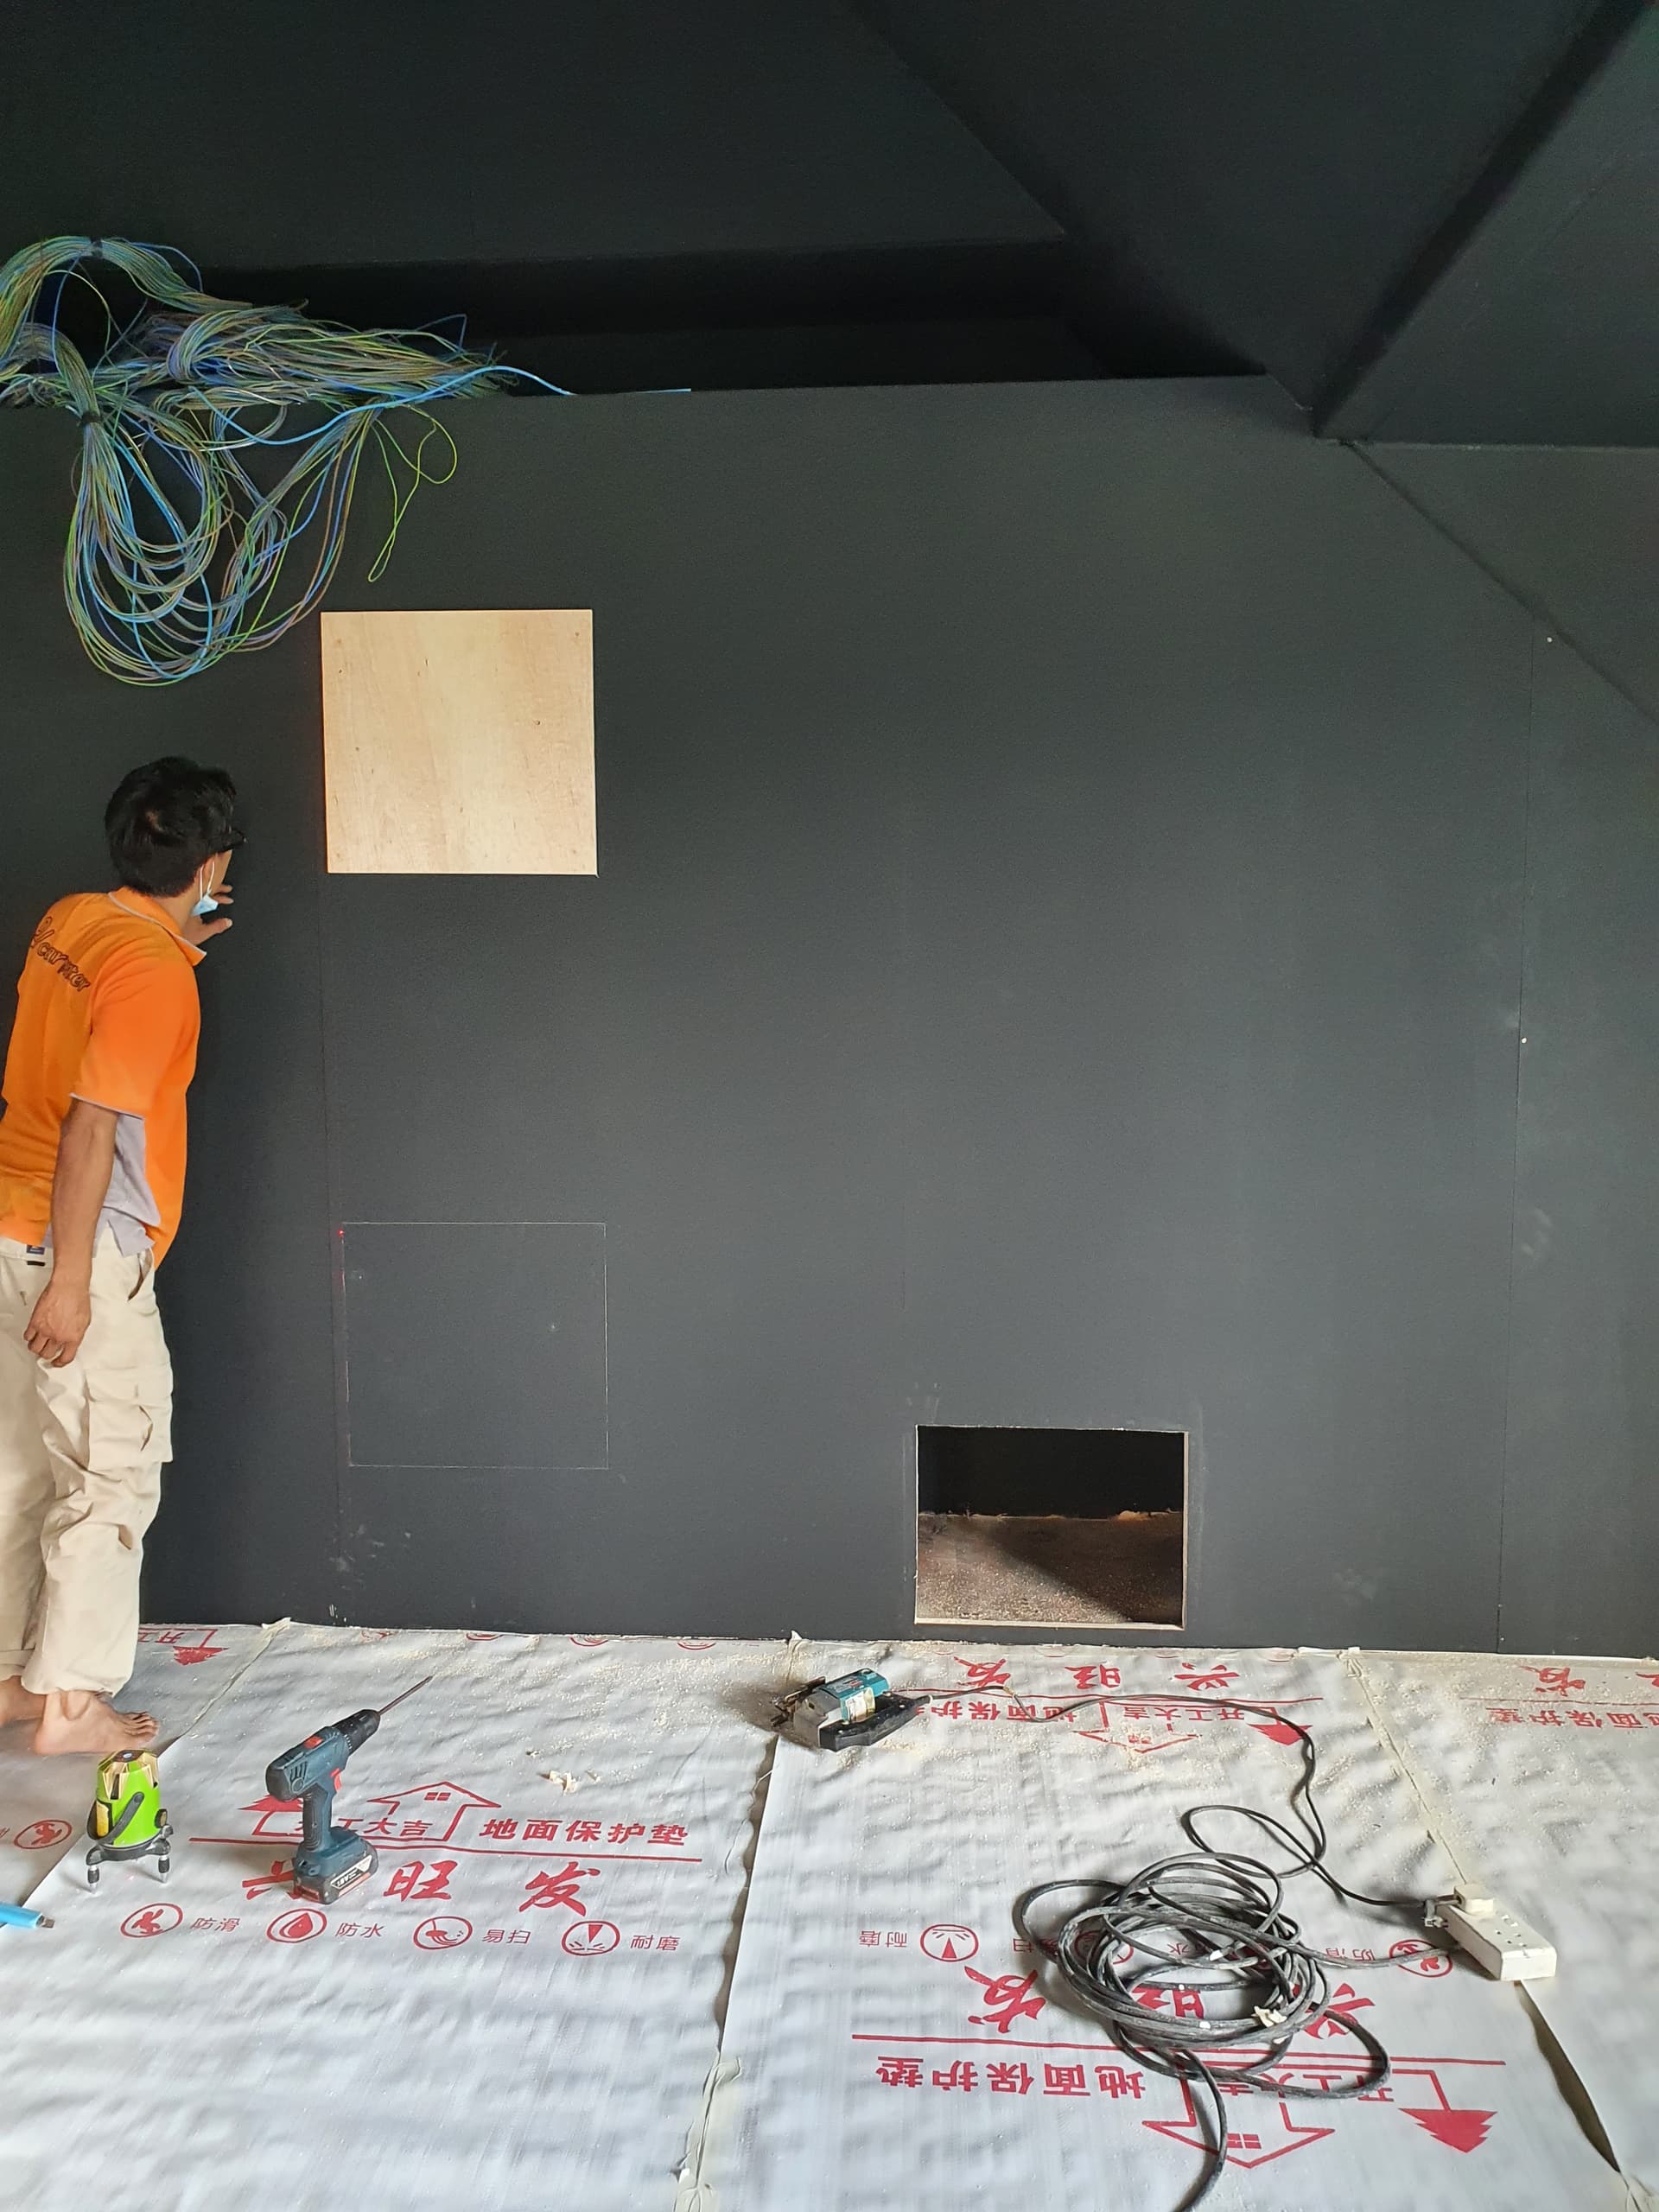
Except, instead of green glue, I used bitumen sheeting that is easily sourced by my contractor, also cost effective. Instead of double layer Drywall sandwich, I used drywall-bitumen - 18mm plywood sandwich.

The innermost layer is plywood for ease of mounting of stuff, but most importantly wood is acoustically the most friendly and benign sounding surface.

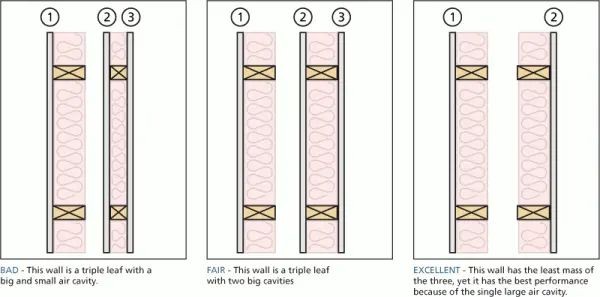
More layers of wall doesn’t mean better. There is this thing called triple leaf effect, and it can compromise the isolation significantly due to internal resonance in the internal later. Needless to say I steered clear of it.
8564869310fe0342ee4fcb97eae30f33

Some of the construction pitfalls.

I saw the builder driving screws through the hat channel, through the rubber and into the stud. I asked why are you doing that, it short circuits and defeats the rubber isolation.
His well meaning reply was that it would be stronger, as the hat channel felt ‘wobbly’ in the rubber slots.

Corner joints where walls meet walls, or walls meet floors or ceilings are another tricky area. For isolation, there should not be contact. The wall should be shimmed off the floor, and the gap filled with acoustic sealant.

Next is the wall /wall and wall/ceiling joints. Since all walls are isolated on the rubber mounts , they are very flexy and have a lot of movement. Any contact between these perpendicular or angled meeting walls will cause a lot of creaking noises. All must be gapped, and later filled with sealant.

For everyone’s sanity, I didn’t ask them to try and stagger the joints like the illustration. Gap is enough.

Also, the joints between the first and 2nd layers should be staggered, so that there is not a weak area with aligned seams through both layers.
Also note the gap off the floor.

The clips are also not installed at every location. There is staggering involved, and this was also tricky to implement, and took a few tries and rework to get right.

The whole construction process was extremely challenging. Just installing the studs, resilient mounts and hat channels, we had a few rework.

Then the rockwool stuffing went in and the first layer of drywall went up. Then I did full inspection which involves me banging on all the wall panels and looking for any rattling and creaking sound. All these are marked and investigated and fixed. Typical causes are incorrect mounting with some metal to metal or hard to hard contact.

This part was the most challenging and as had to remove drywall, reposition clips several times.

Then the bitumen layer went up, and finally the plywood layer went up. Finally was the final wall banging inspection to chase down the last of creaking and rattles sound…
Once again I thank my contractor and project manager for their infinite patience in accommodating what must absolutely look like ‘insanity’ on my part…

1 Like

With that, here’s some photos of the most difficult part of the room build.

Adding the studs on the front wall. The right wall is brick, so i didn’t use the clips on that wall. Also visible the resilient clips and furring strips (hat channels) on the low ceiling extension on the right.

Some rockwool, clips and furring strips in on the front wall.

Building the ceiling frame structure to support the ceiling panels. Can also see the LH wall separating the HT from the rest of L3. My Project Manager Barry!

The back left wall area. Can see the resilient clips and furring strips on the ceiling part on the left.

First layer of drywall going up. You can just see the gaps between all the angular joints. The gaps are intentional to avoid creaking noises when the walls move with the resilient clips.

The clips and channels behind the front wall. Stuffed with rockwool. Use 100kg for mass and isolation

Looking towards the left wall.

Bitumen layer on and some of the plywood on. Back looking towards screen wall.

Front looking towards back of room. Plywood installed onto bitumen for the low ceilings, the right an back wall extensions.

Looking towards LH wall. Bitumen pasted onto drywall. Plywood to go up over it.

Looking towards RH wall. Plywood not up on the vaulted higher ceiling areas.

Plywood up on all the ceiling areas. Painted the plywood black.


Framing up the baffle wall for the IB. Basically this entire space is the ‘cabinet’ volume for the subs.


Closed up and painted black!

A view of the front wall and ceiling

Carpenter help me head start by cutting out the center and manifold openings.

Can see all the electrical wirings coming into the room. One of the key decisions was to run all wiring externally. After all that effort to build strong wall structures, the last thing i wanted was to cut it full of holes to run wiring… This is not typical of most dedicated HT constructions i’ve seen… they have to work around cutting holes for all the outlets…

I got a regular carpentry outer door. Inner door is from Fascina, together with the windows.
Added a layer of bitumen and ply on the outer door for more mass and isolation.


Screwing onto the door. This is a way to improve the isolation of existing doors. Together with batwings seals all round. I opted for full 360deg seal on both doors, so will have to step over the doorway floor sills. Hardcore, after all haha.

And that completes the recap of the room interior walls construction. I think those who have visited and experienced the bass hopefully can understand the reason for going to these lengths.

2 Likes

:scream: :scream: :scream:

Power la bro. U are the man!

Awesome work :+1::heart:

:bowing_man::bowing_man::bowing_man:

Just want to clarify the room build wasn’t my diy hor…built by the contractors workers… I just help ‘supervise’… :sweat_smile:

But it’s really not easy. These type of dedicated acoustics construction really needs specialized builders, and they are going to be extremely expensive.

Next, I’ll gather some thoughts of my experience with the room isolation so far. What went well, what didn’t go so well.

First the floor. For full room in room build, the floor is raised and isolated from the structure. This is something that I just don’t have the height in room to afford. I just kept the existing Parquet flooring, no additional lining, nothing. For the 2 bedroom below the HT, I did stuff the ceiling with rockwool. Standard structure, standard ceiling board, just stuff with rockwool. This has been a good compromise. It has not been the weakest link of the sound isolation. Nothing is audible from the bedrooms below. Quite remarkable…

I’m sure this is helped by my fully isolated subs. There is no vibration energy transfered into the structure by mechanical connection. Any energy transfer is only by air pressure.

The weakest link is really the air pressure energy transfer. I guess I was optimistic that the double wall, and the isolated baffle wall and subs would be enough on the front wall, which is party wall with my neighbor. The son’s room is on the other side of the HT, and in the strongest low bass demo scenes, his room shakes… Everything shakes…
Actually let’s be honest, I don’t think some half passed build diy like mine has any chance of containing that kind of low bass energy. Not sure that anything could…

The left wall is really quite flexible in terms of low bass energy. I realized after the fact, the STC ratings are never meant to deal with bass below 100hz.
A friend helped sim this. A wall with STC 48 at 900hz, only has STC 18 at about 60hz, and even lower below that.

STC 12 at say 20 Hz means a 100dB bass inside the room is only attenuated to 88dB on the other side of the wall… :sweat_smile:

That certainly feels like what the bass sounds on the other side of the left wall. The wall surfaces move with the bass, both inside and outside.
The good thing is, this means the bass is less peaky and some energy is removed by the wall motion. The bad thing is, there is not much bass isolation on the other side of the wall.
The worse thing is, depending on the damping (you hear me talk a lot about damping) the wall can oscillate with the stored energy, cause very long decay tails. So far, I think between the rubber in the resilient clips, and the bitumen sheet sandwich inner wall, the stored energy ringing hasn’t been too much of an audible problem.

I have read comments about drywall ‘roar’. I guess that is related to the resonant and stored energy of typical drywall structures.

I always see the construction threads on avsforum. Full studs, fully stuffed with rockwool. Then the drywall goes up and I feel such a pity. If plywood is used instead of drywall, it would just sound immediately so much better.

When I first completed the room, bare with no acoustic treatment, not even first sidewall reflection, I listened in the room testing the coaxial surrounds. And the sound was just natural, not echoey or offensive as one might expect of a bare room. That’s imo is the difference with the wood vs drywall. The natural internal damping of wood is just acoustically more pleasing that most other material - drywall, glass, stone etc.

1 Like

Just saw this today on FB group.

The studs on the dual stud walls were joined ‘for strength’ and severely compromised the sound isolation of the dual stud wall.

The construction is the weakest link in any acoustic isolation build. In this case it is the weak (strong) link :joy:

How’s the setup? No more update from you since Aug.

Yeah been busy and progress is slow.

Sneak preview, just got one of the mid - high module up for the new LR mains.

Next is to fire up to take measurements for crossover design.


3 Likes

Oh bro seem like TW configuration or TWW😊

One more :blush:

2 Likes

Sneak preview update before the new year.

Take down screen for some block point upgrades.

Absolute mess as usual :joy:

If you are wondering about the brown cab, that was what I built back in end 2015, with a pair of UM15 as my first diy main subs.

Subsequently modified and changed driver to SB Audience Nero 18.

New they find new purpose as mains channel woofers.
Actually i have planned dual 12s for LR mains similar to center… But haven’t built those yet :joy:

5 Likes

Some quick updates.

Finalized (I hope) the center crossover. Soldered and mounted.

Sorbothane footers

Steel shot damping and mass loading

Midwoofer low pass, also on sorbothane.


.

All buttened up, took the opportunity to shift the screen mount 8.5cm closer to MLP, a bit more space for acoustic panels behind screen.

Wide angle view showing temp acoustic panels arrangement.

4 Likes

Looks power!

1 Like

Today rearranged the side surrounds. Raised higher as per original plan.
Before


After

Another view

Did a quick calibration. Waited a long time and worked very hard for this moment. :blush:

2 Likes

Looking good.

Tried a plate amp for the 0.5 way woofers on the center channel the other day.
Dual 12 in woofers still doesn’t really give enough sensitivity to the bass to keep up with the mids and highs.
Also, the passive crossover lowers the bass impedance, and the load is significant on the amp.

This has been something I wanted to test for a while.

Plate amp hooked up, driving the 2 x 12in woofers.

Measurement sweep, with simplified passive crossover as ARC will finalize the EQ. Tweet, mid and woofer response. Looked good, sounded great. Finally can hear why 2x12 can do for bass.

This is very much like what rel advocates with speaker level sub connection to augment the bass output.

From the response in the 100-200hz range, can see it is a nice summation complementing the midrange, with no cancellation issues.

So conceptually, this works. This is also what I outlined in the crazy HT evolution thread.

After reading that, I think many must be thinking what is this guy smoking.

Well, whatever it is, it’s pretty good! :laughing:

Tried a different calibration. Knocked down the 20hz peak with full bass correction.

Then used the room size adjustment on the speakerpower amp for low bass curve.

1 Like