I came across this video recently, I thought I would share this for the benefit of everyone
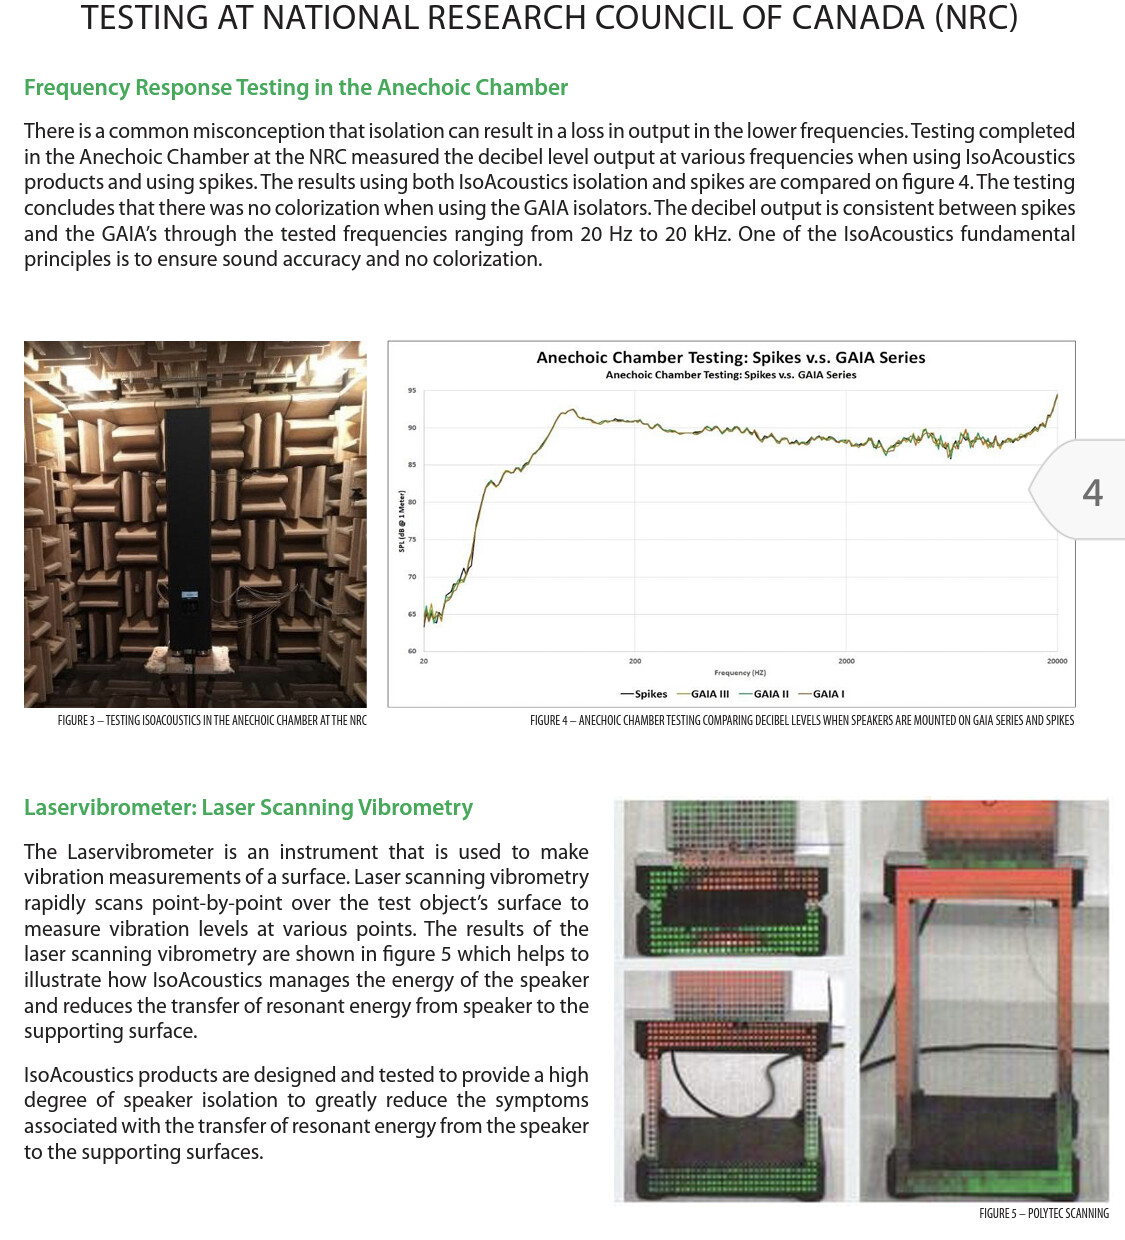
This guy in the video here got it spot on, with the isolation in place, one should not look at the frequency response to determine its effectiveness, simply because the isolation is not suppose to colour the sound in any way
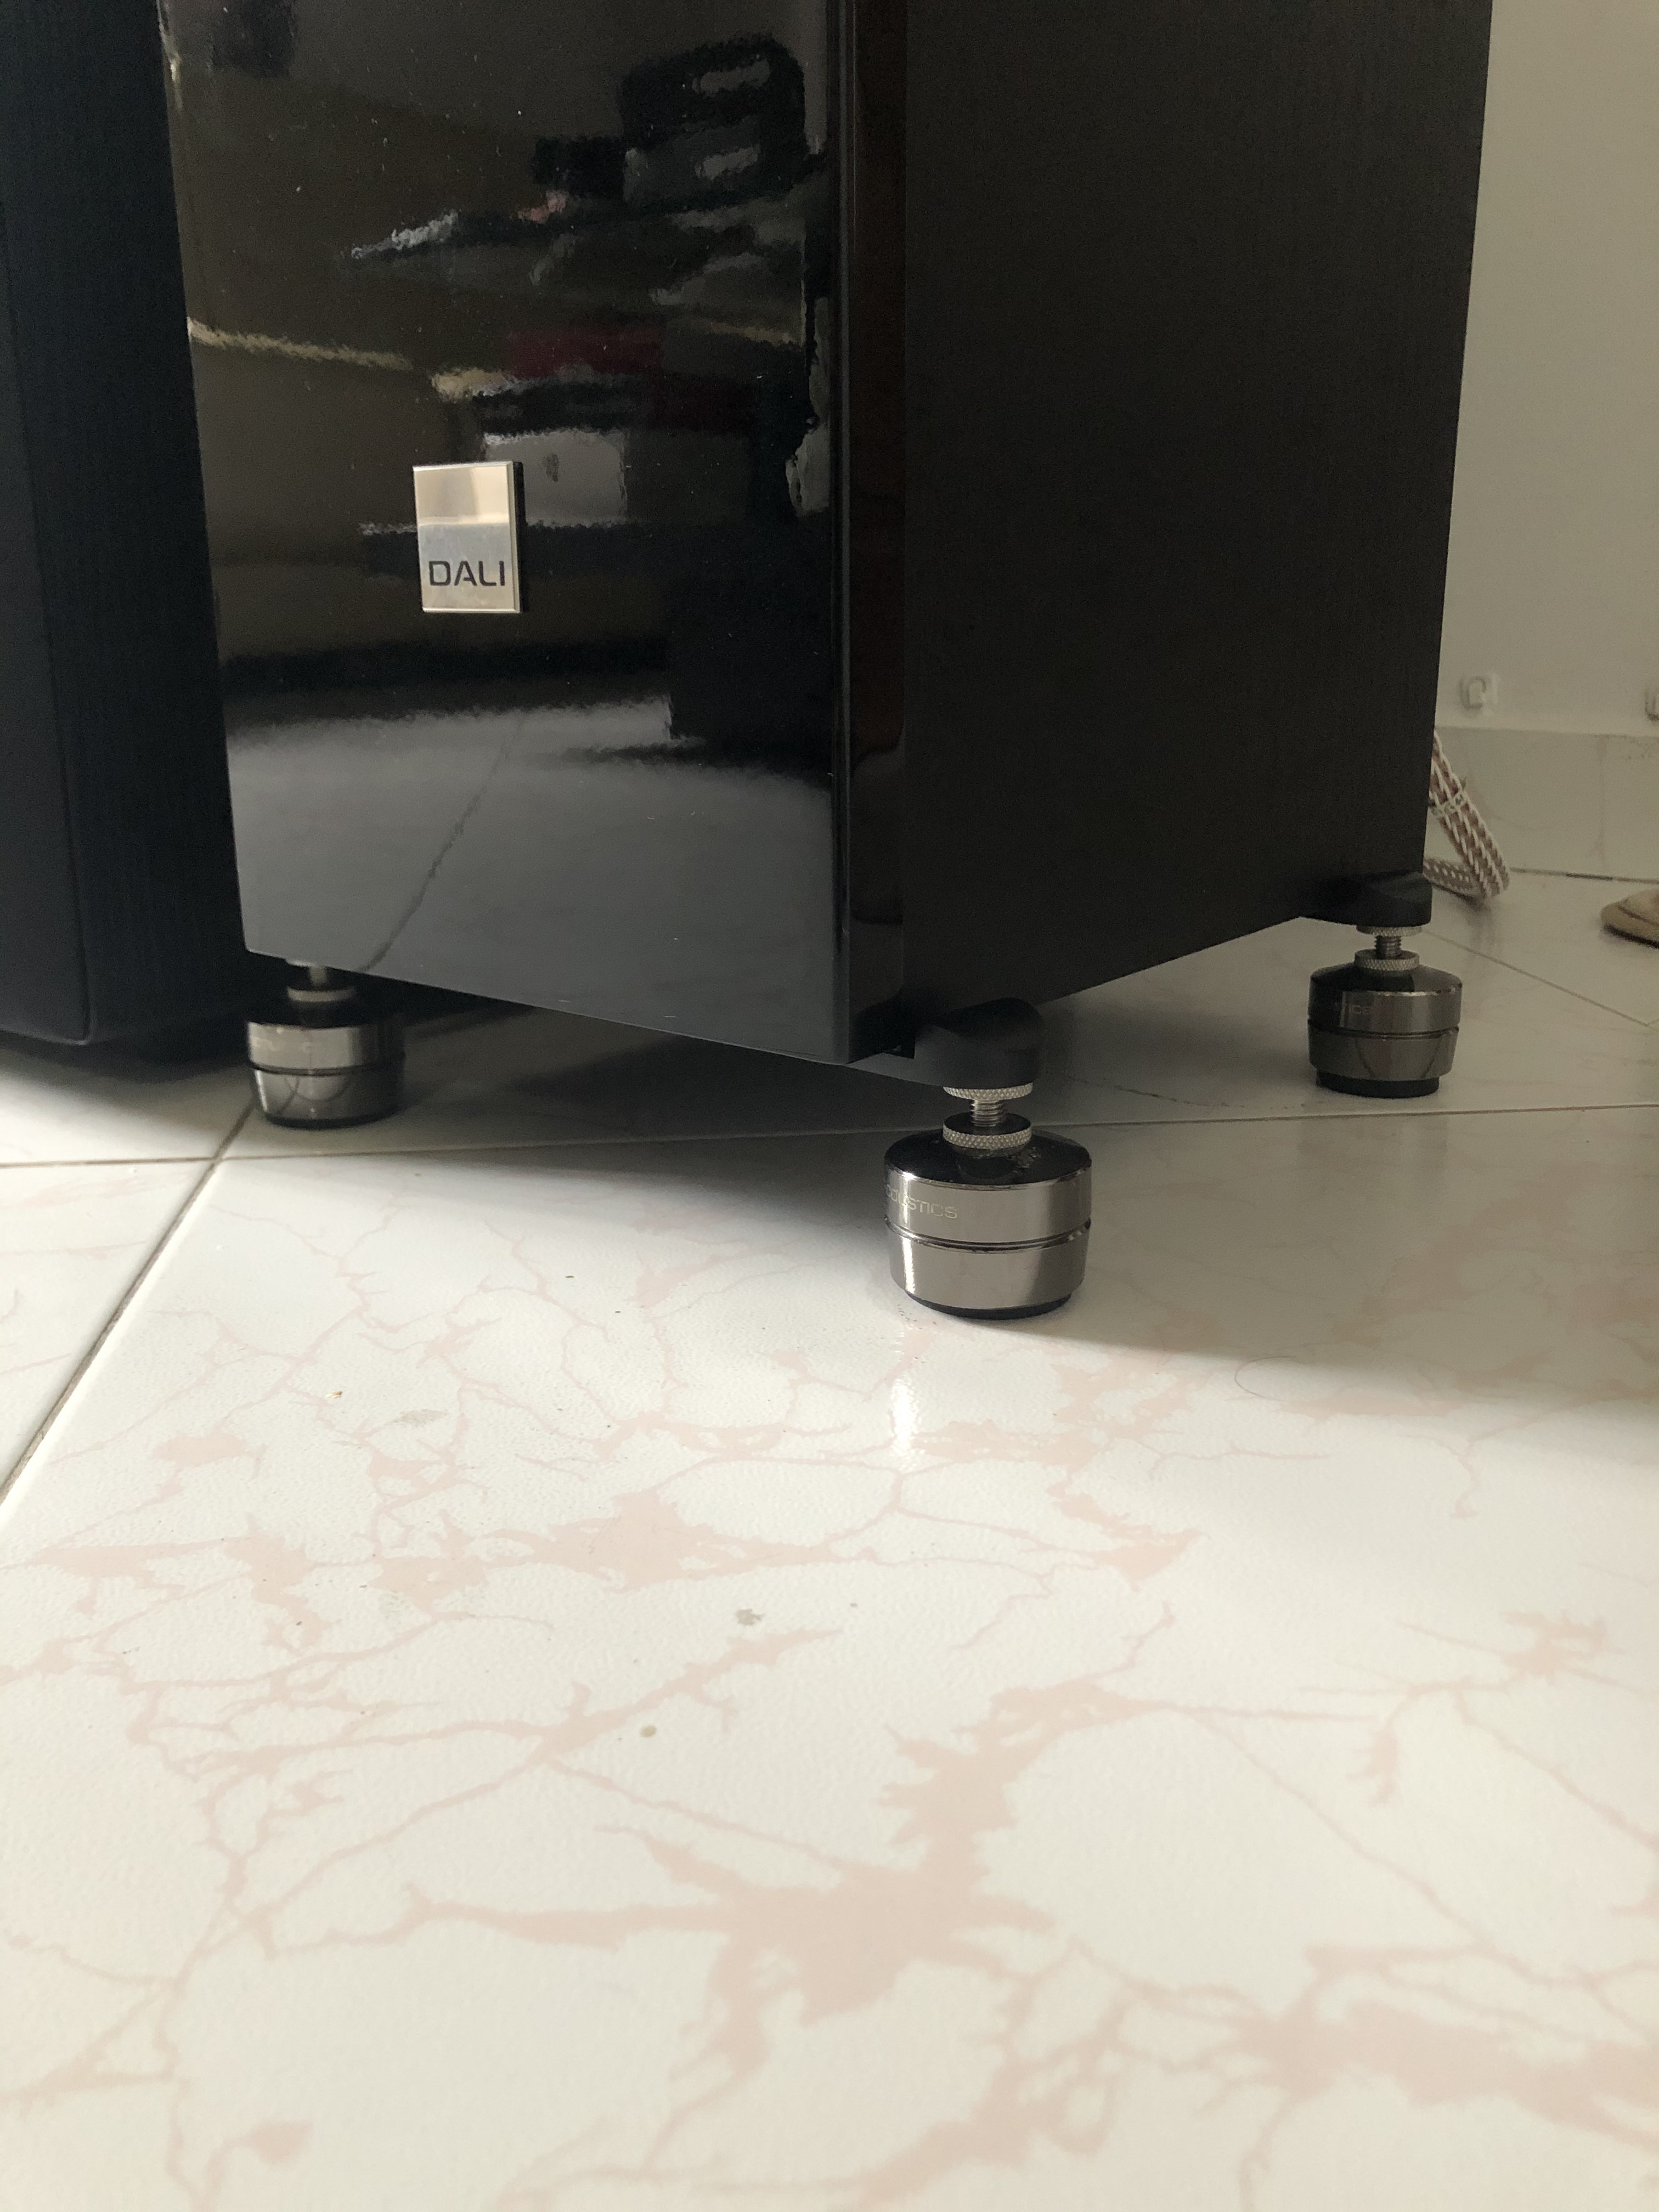
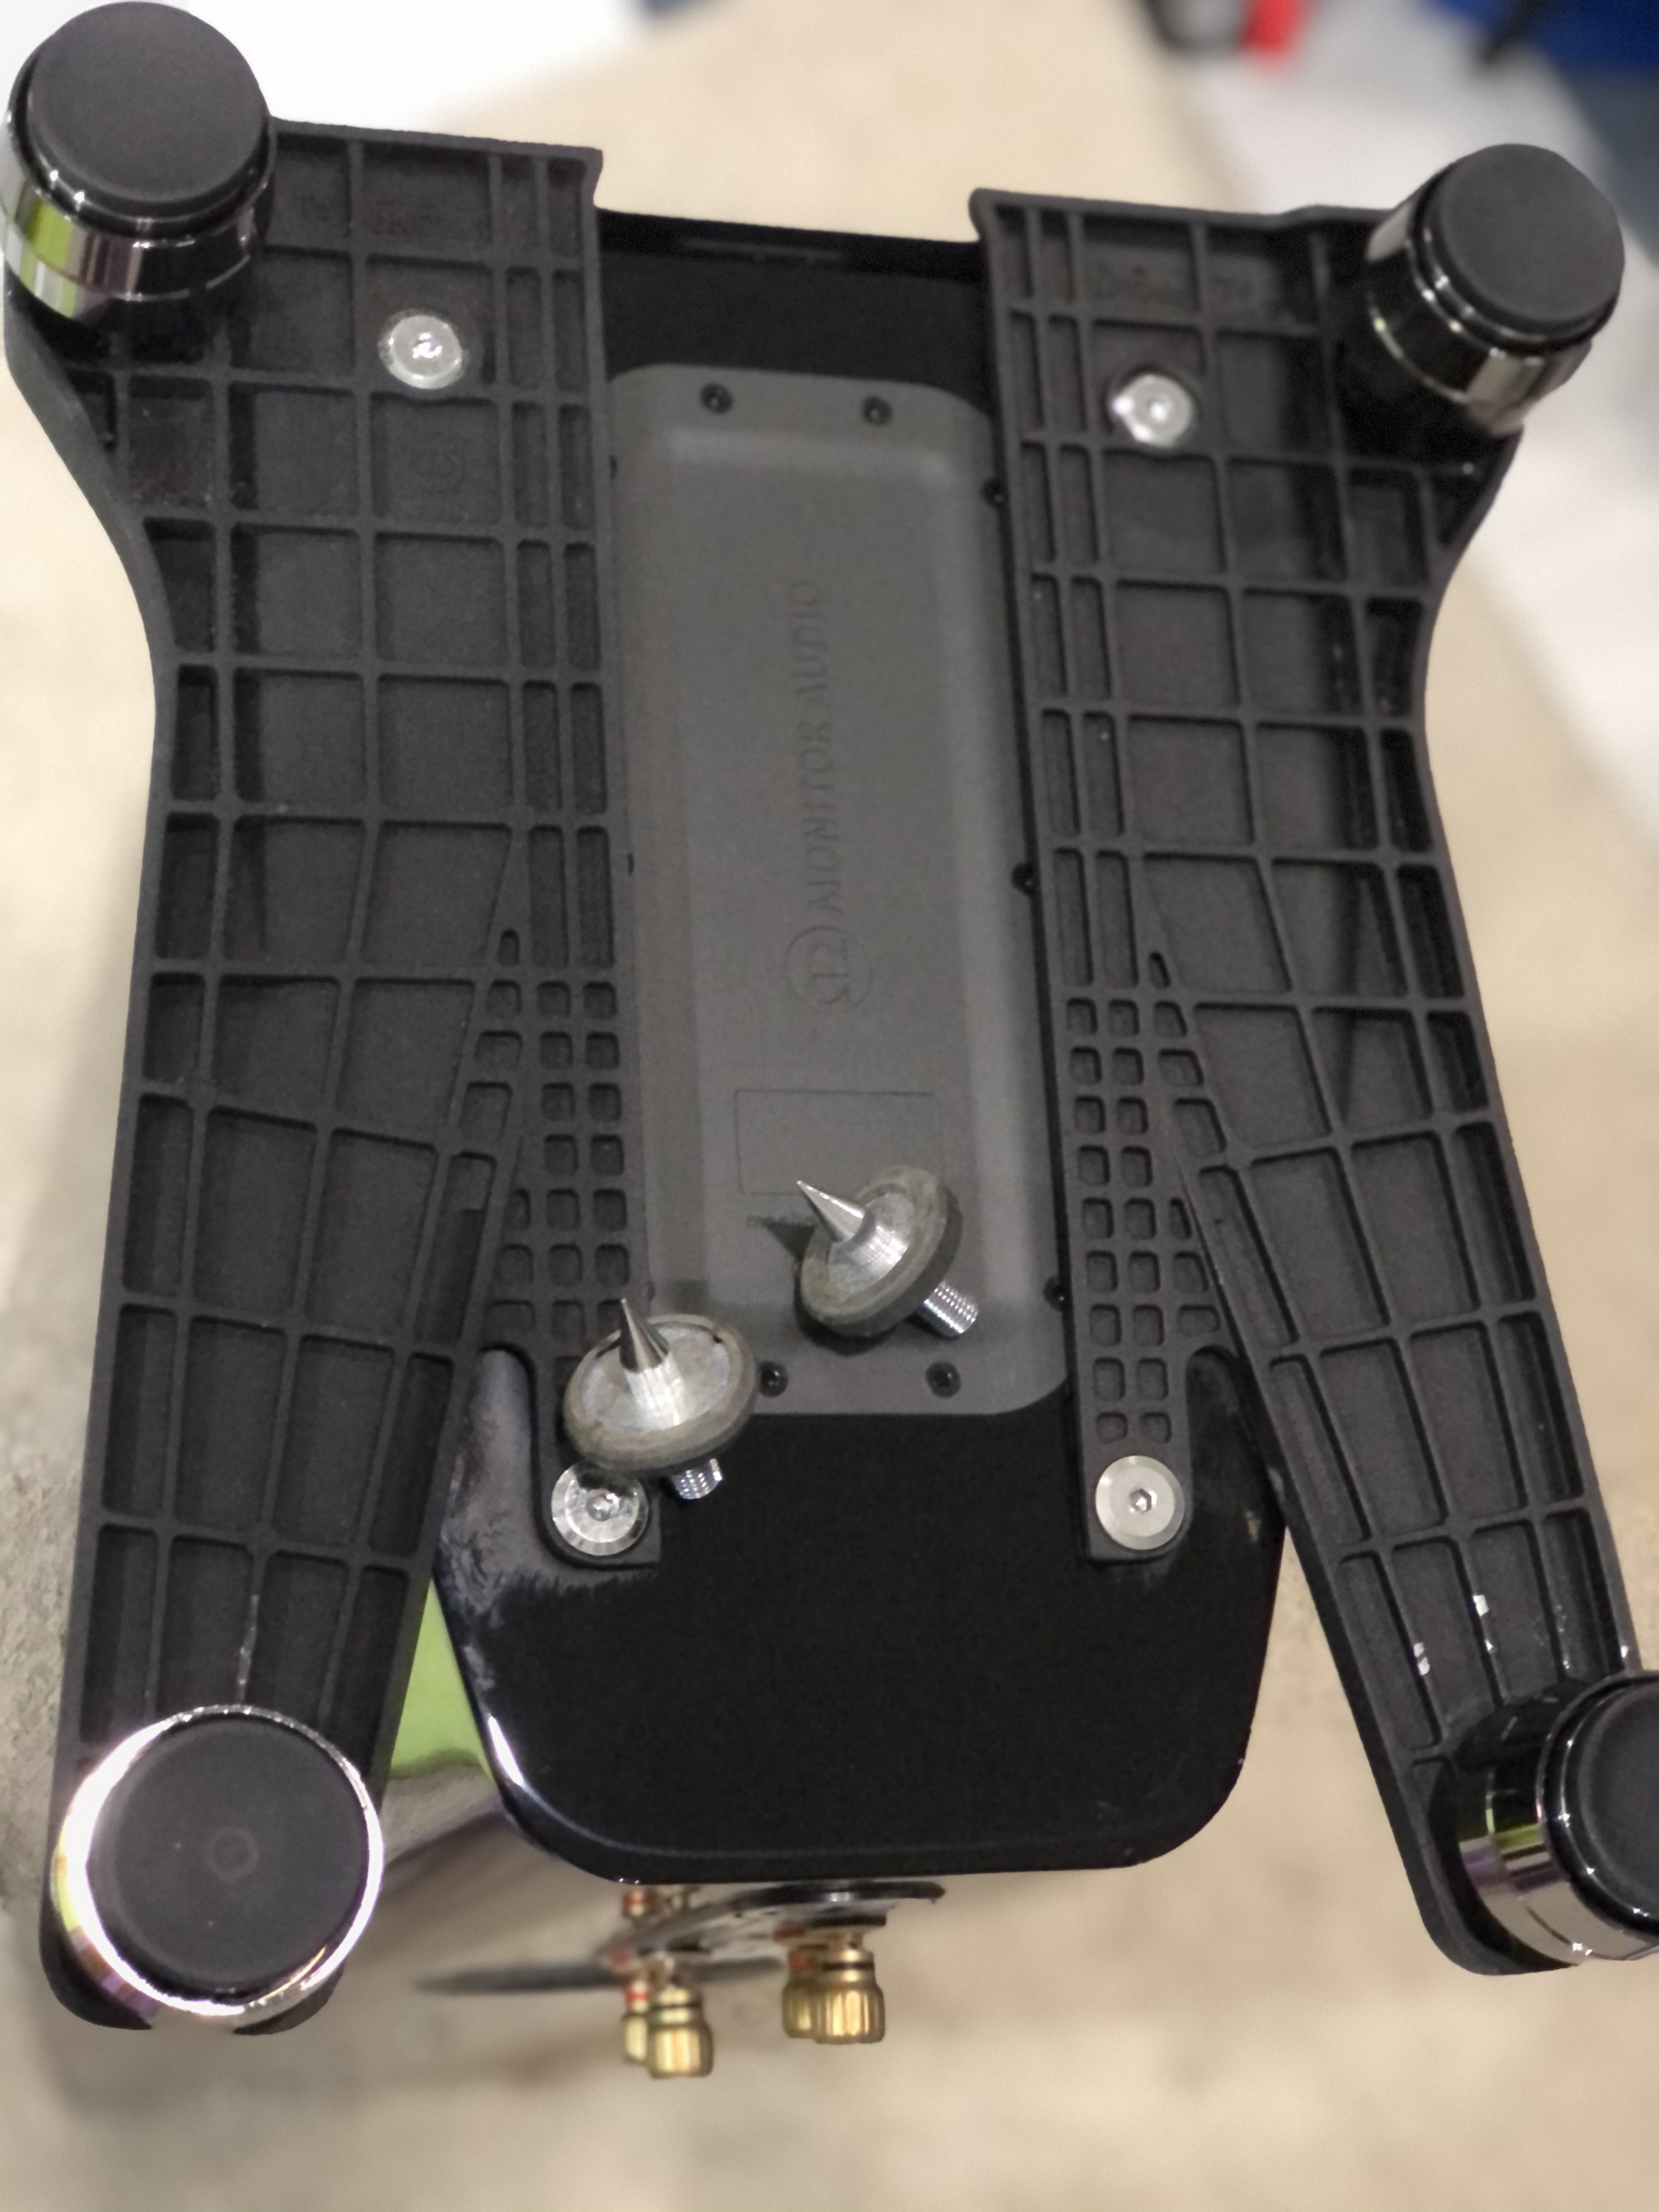
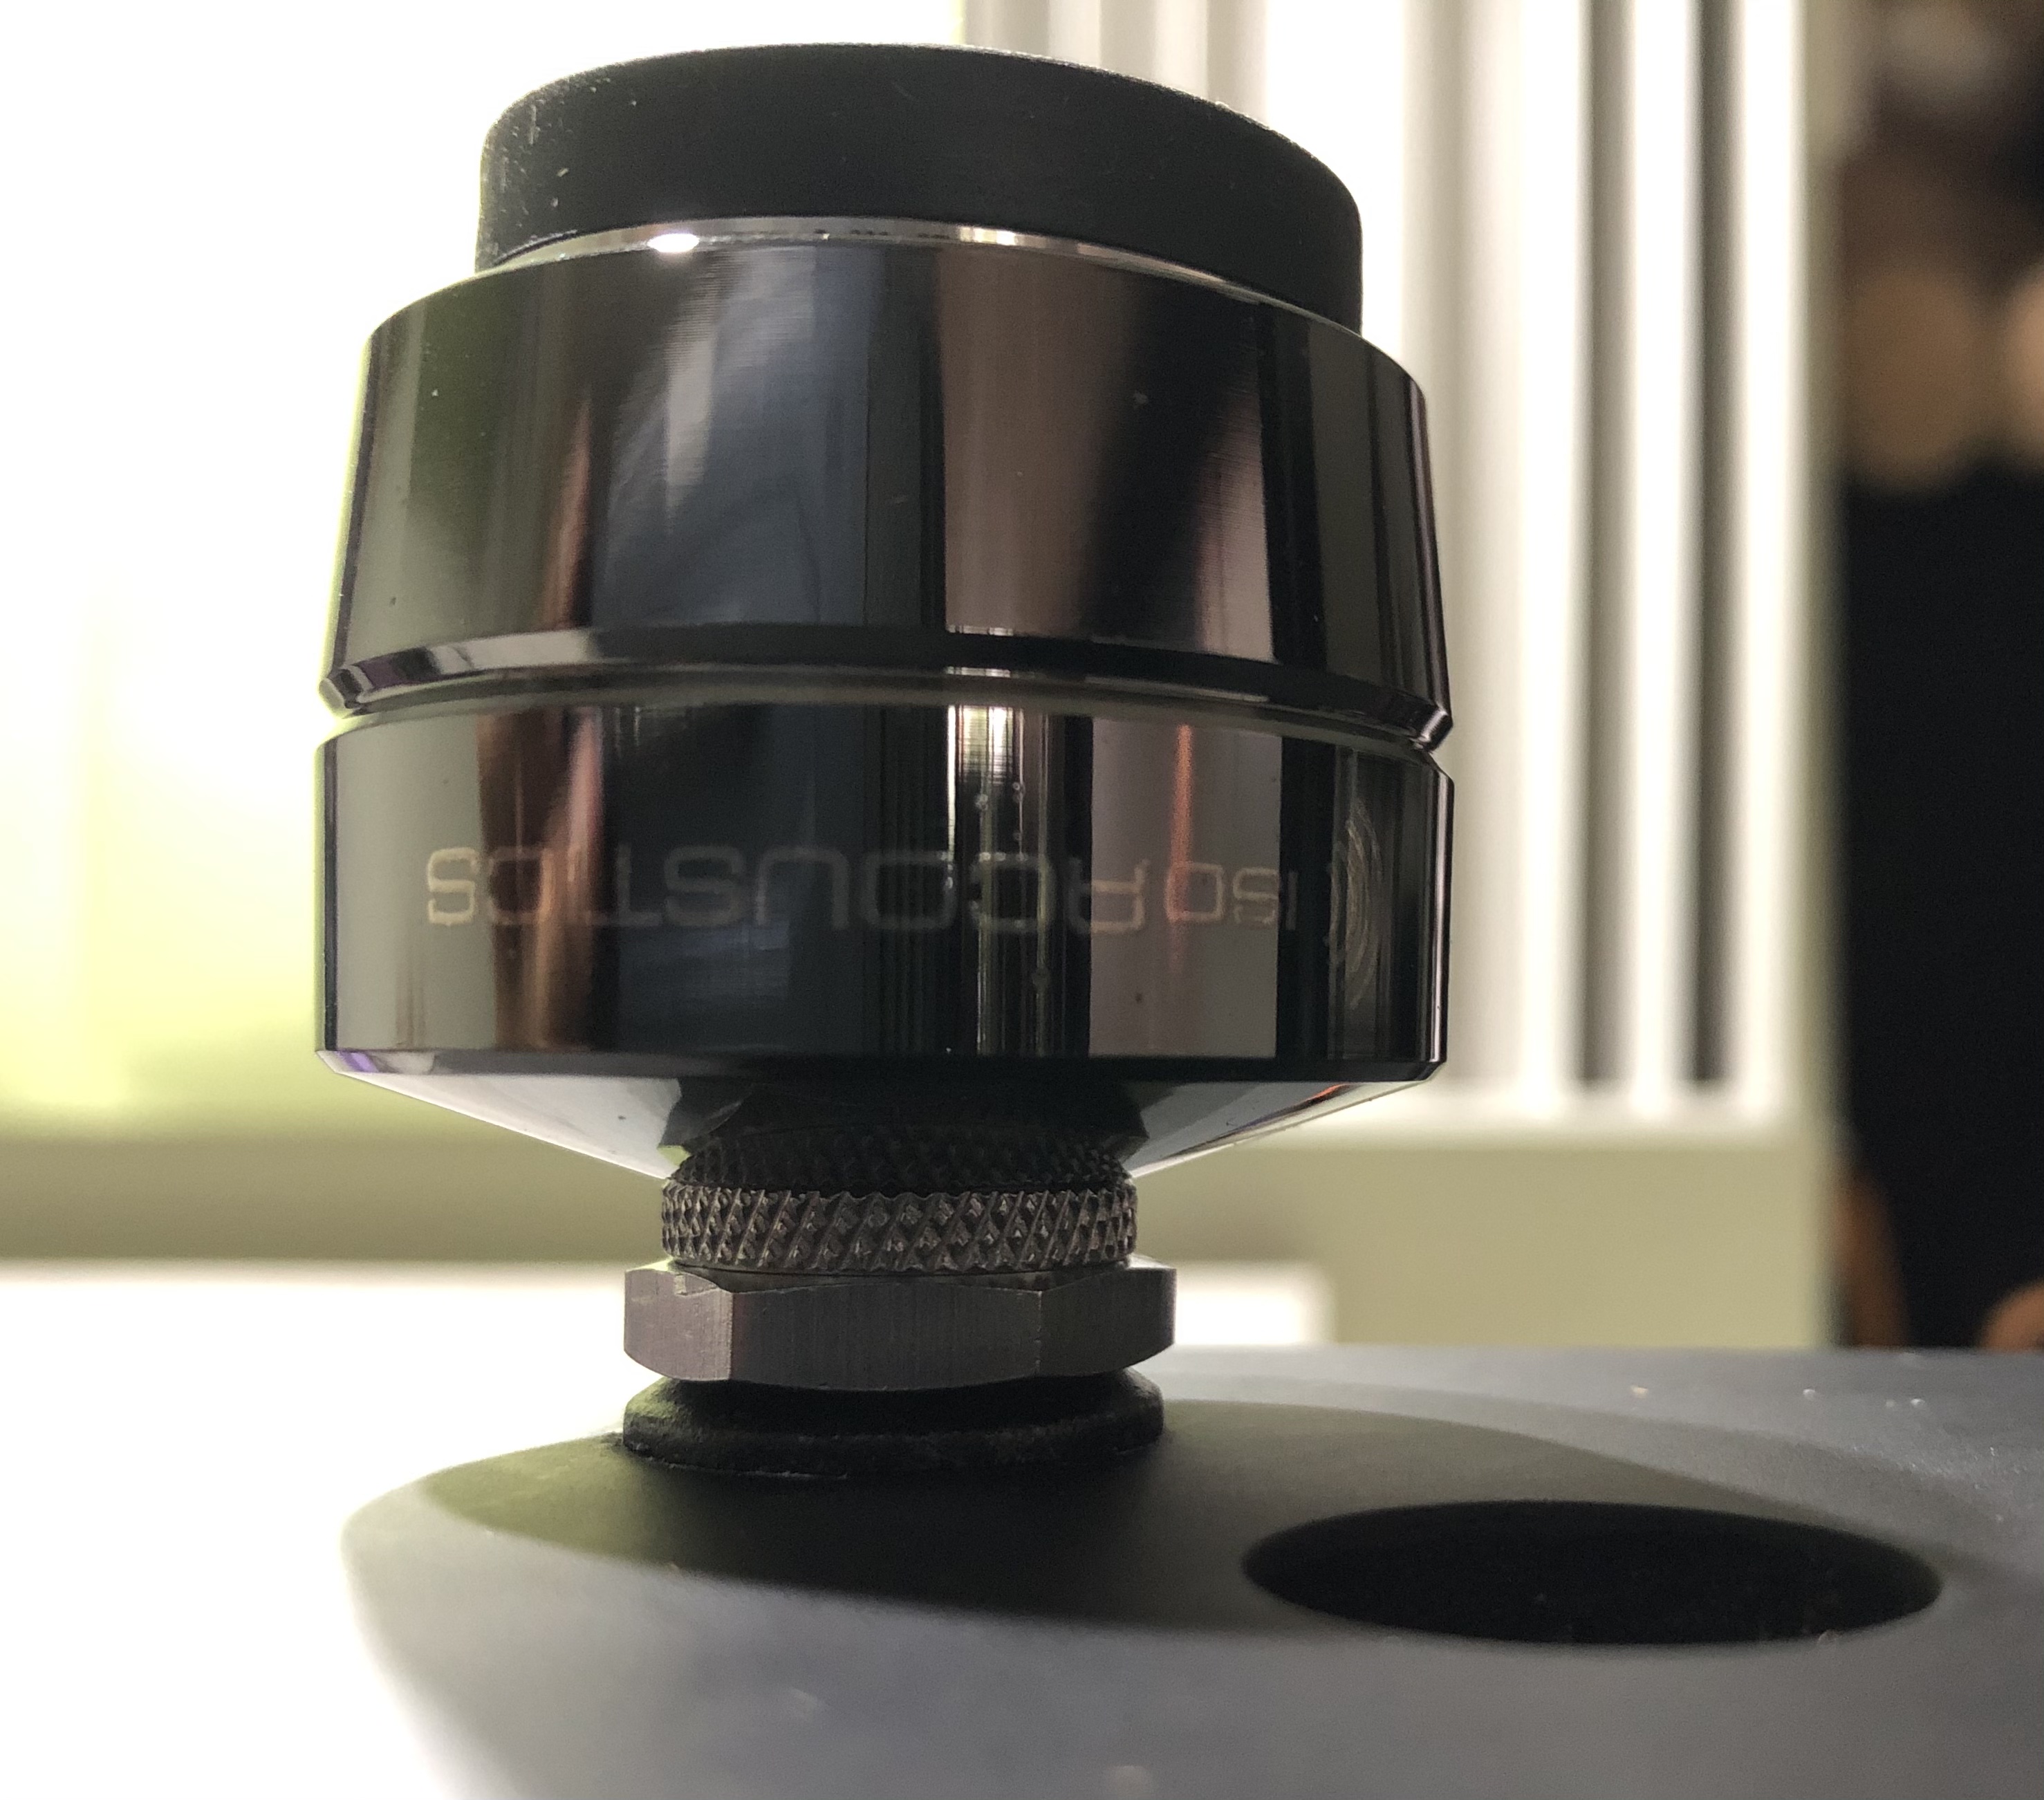
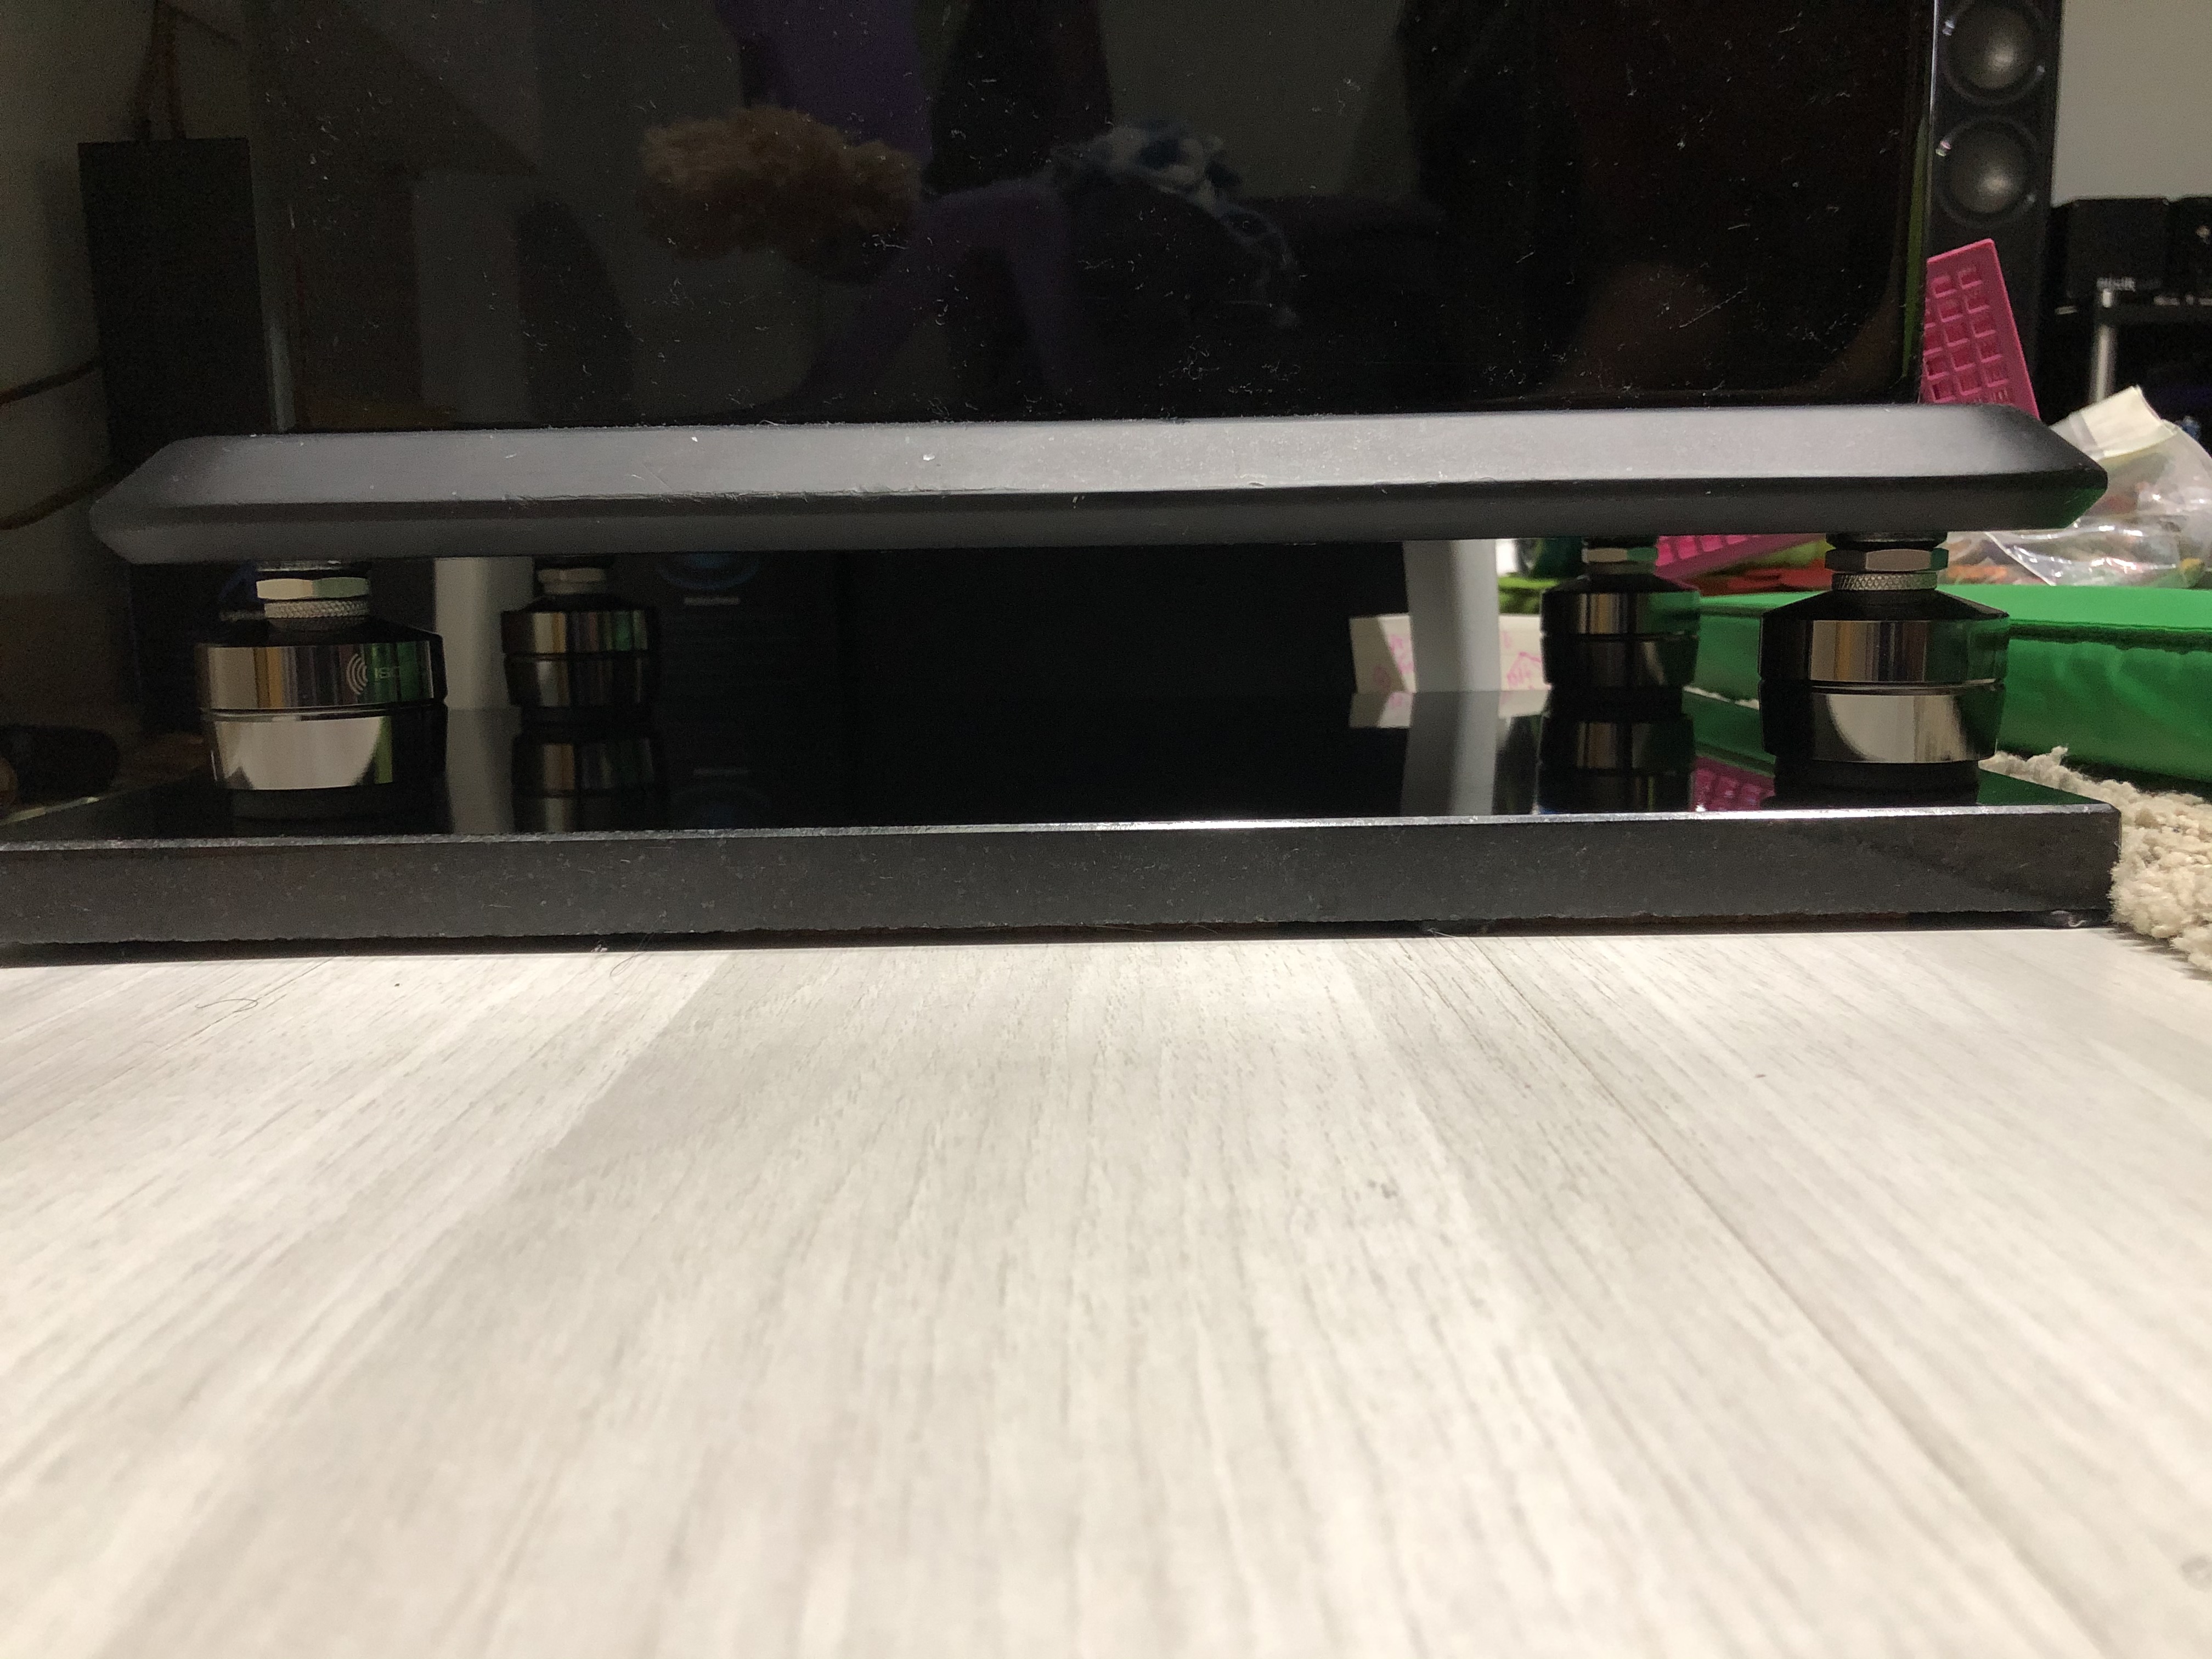
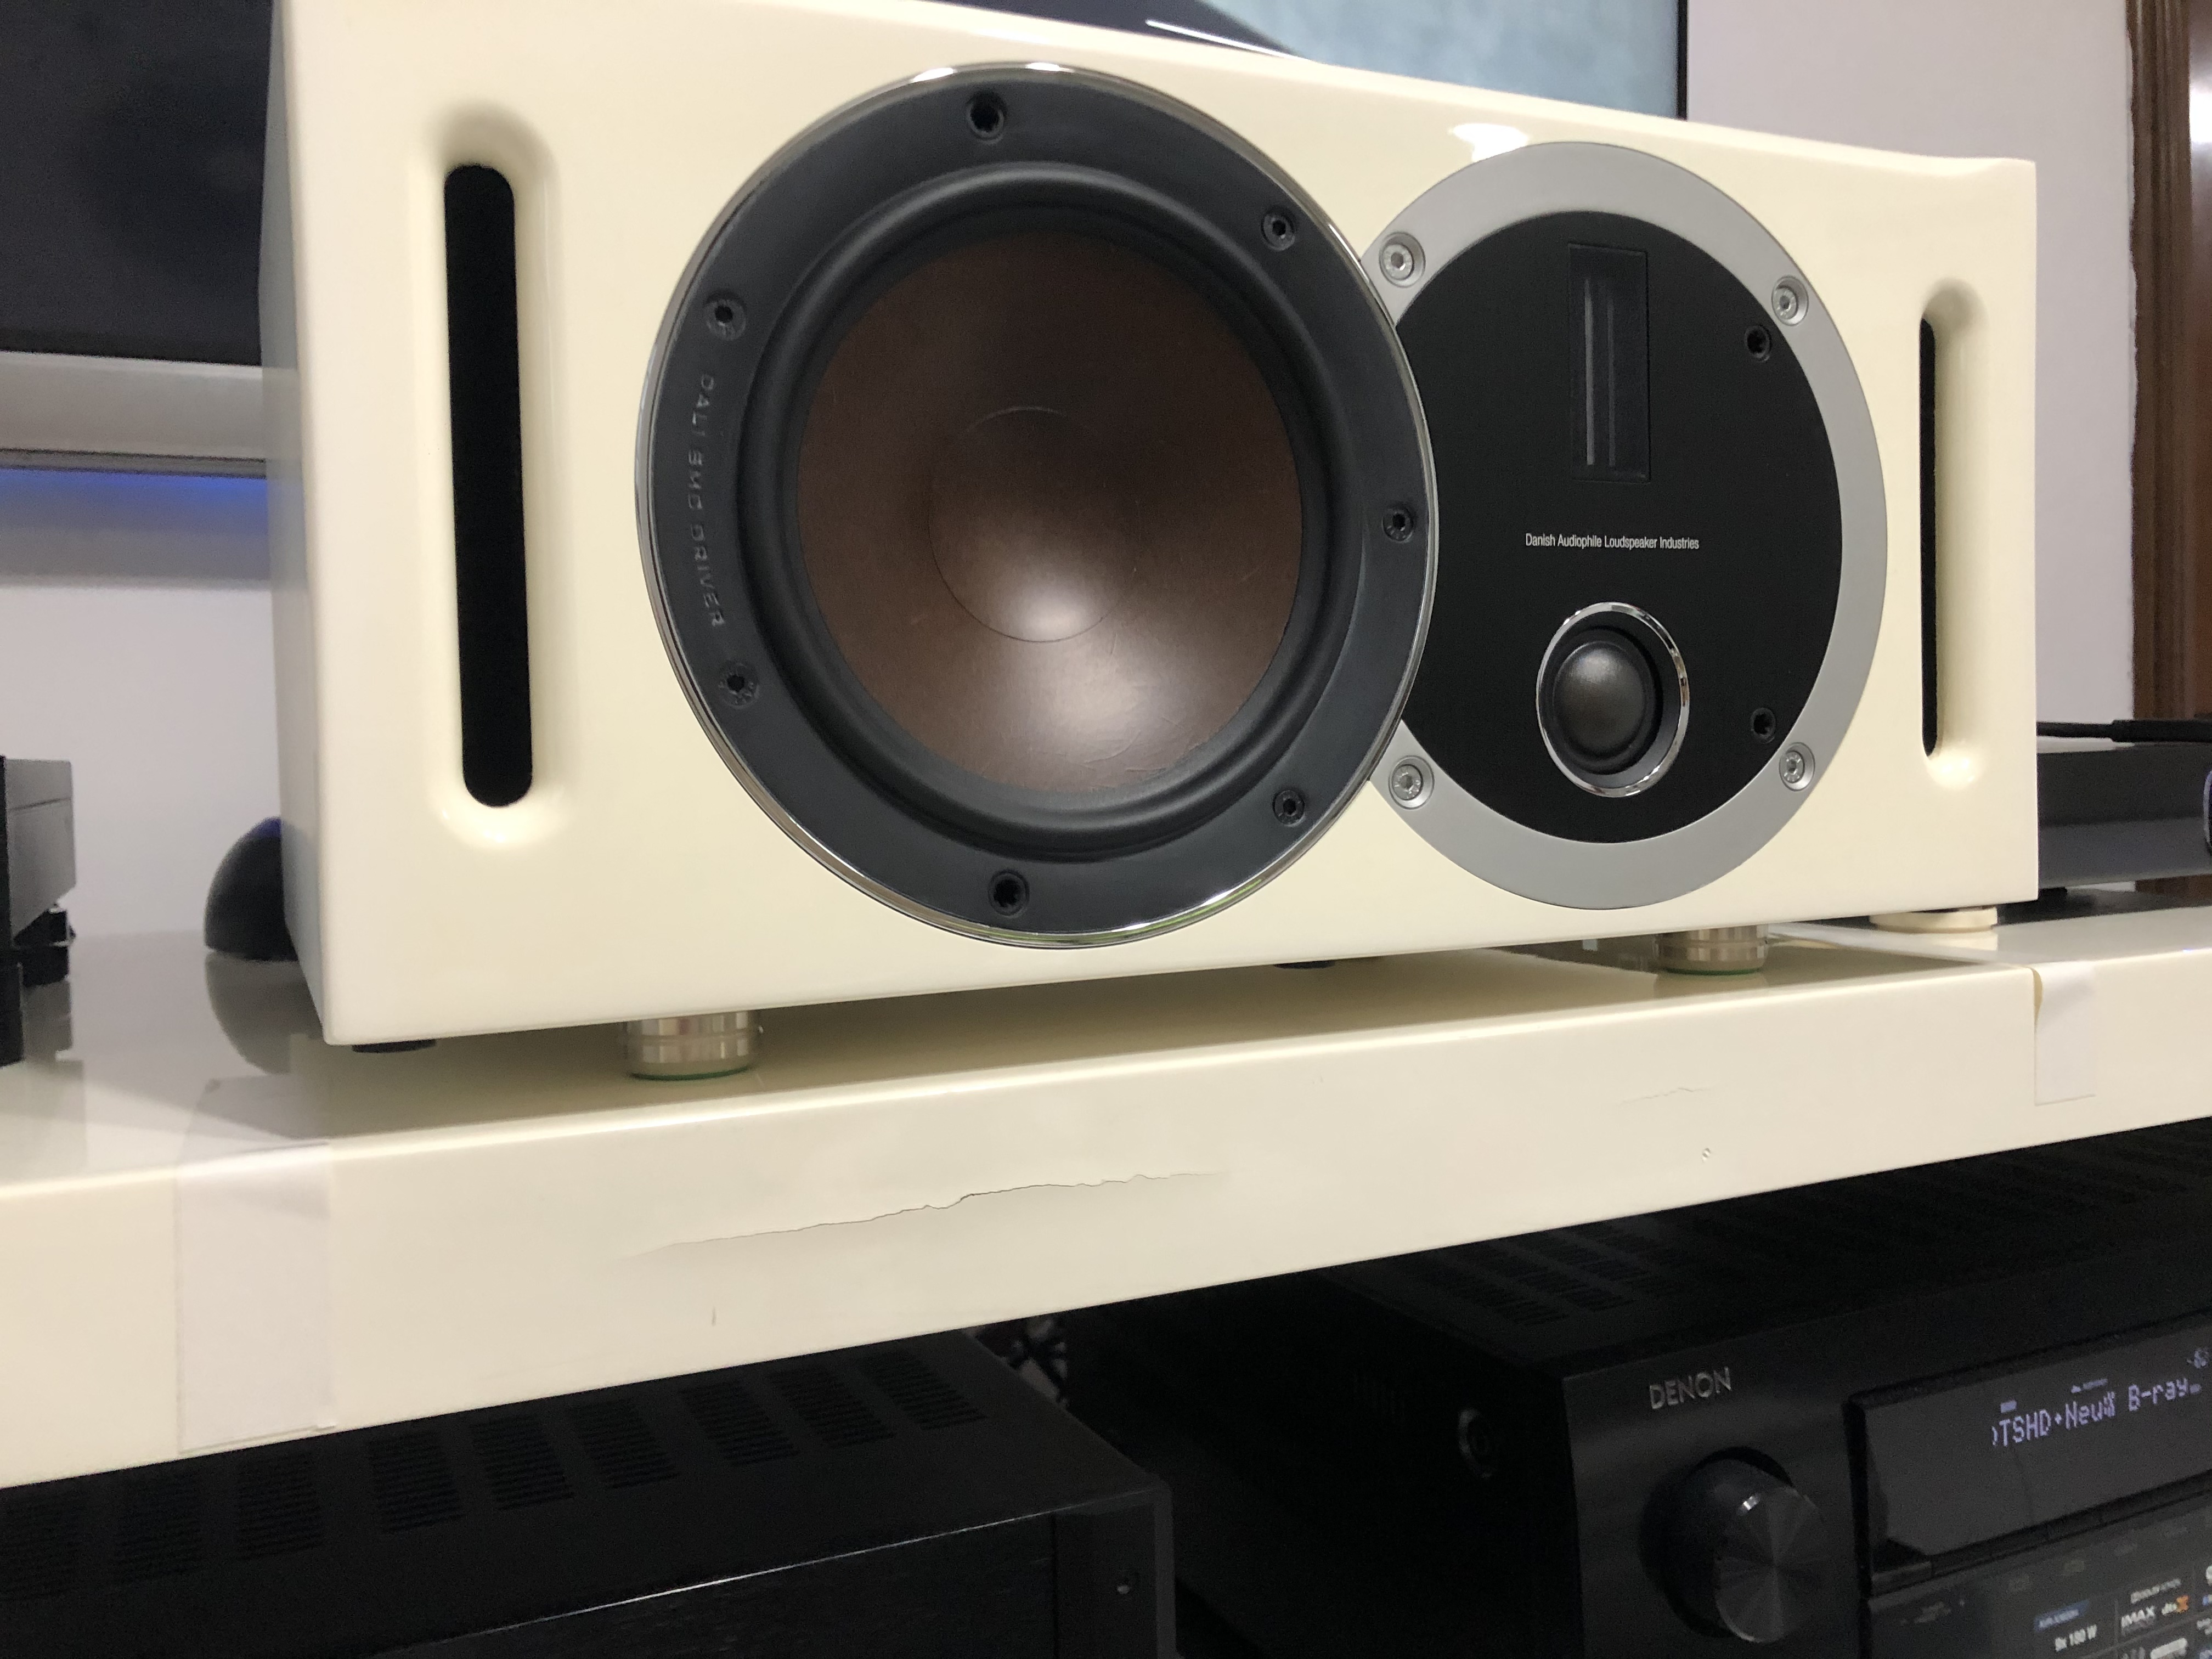
Recently I had these Gaia 3 installed onto the footers of one of the Dali speakers , they are very effective indeed.
As I continue my journey this year with improving the stereo aspect on my system, I will be getting one of these for the MA speakers and we shall see how effective this is.
Anyone else care to share your experiences with the Gaia footers ?
I have found that it is very effective in a sense that it doesn’t transfer any vibration to the floor, nor vibration making its way to the speaker cabinets, very effective indeed .
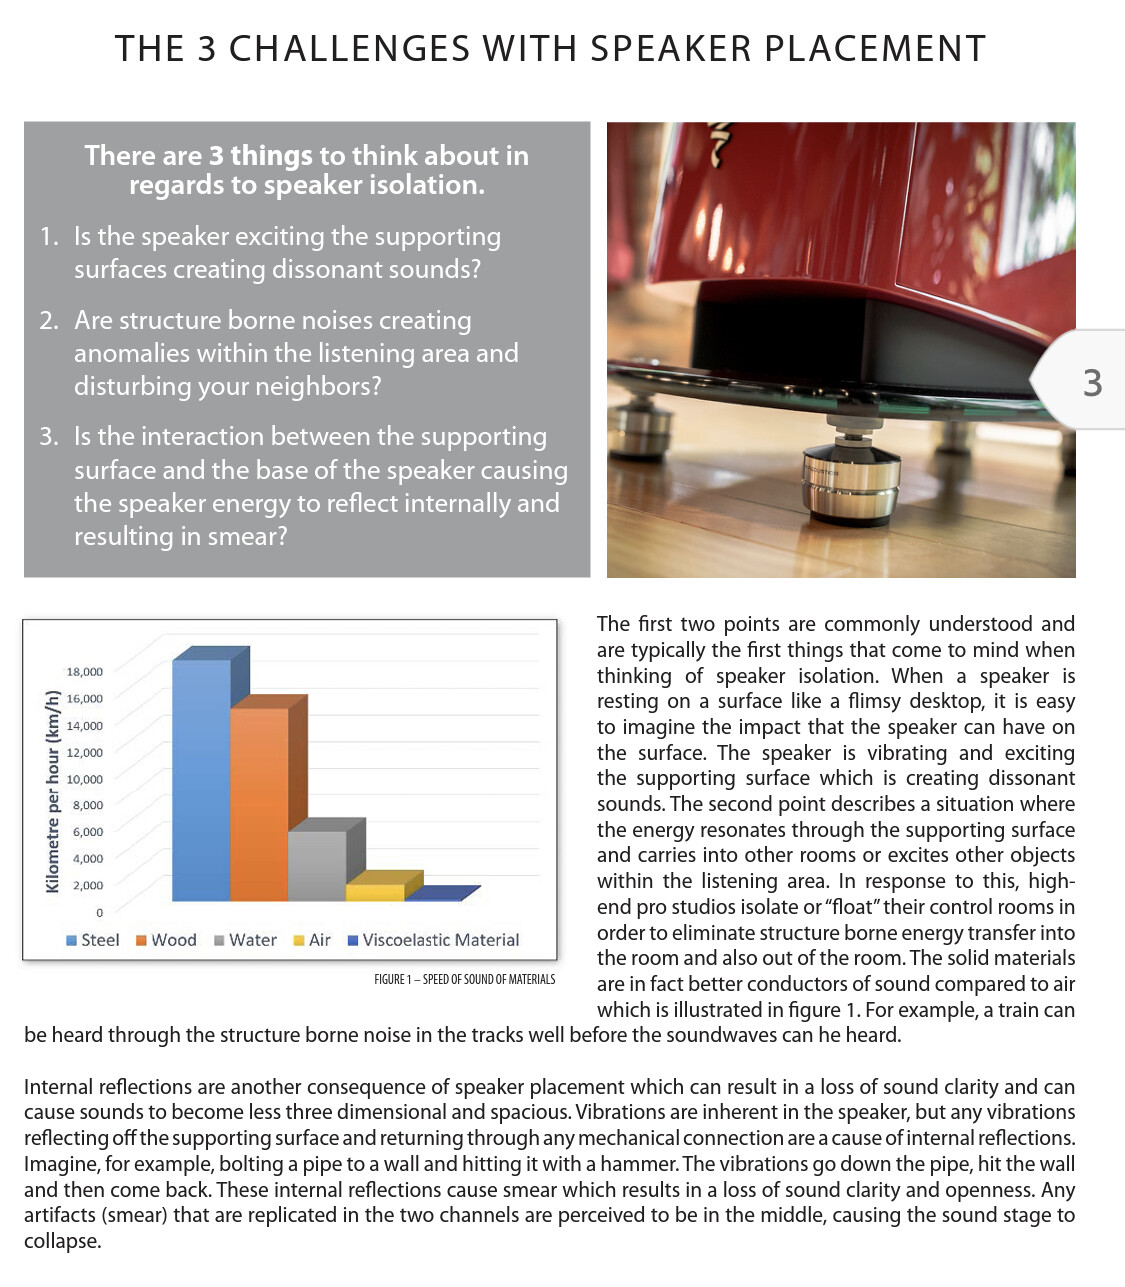
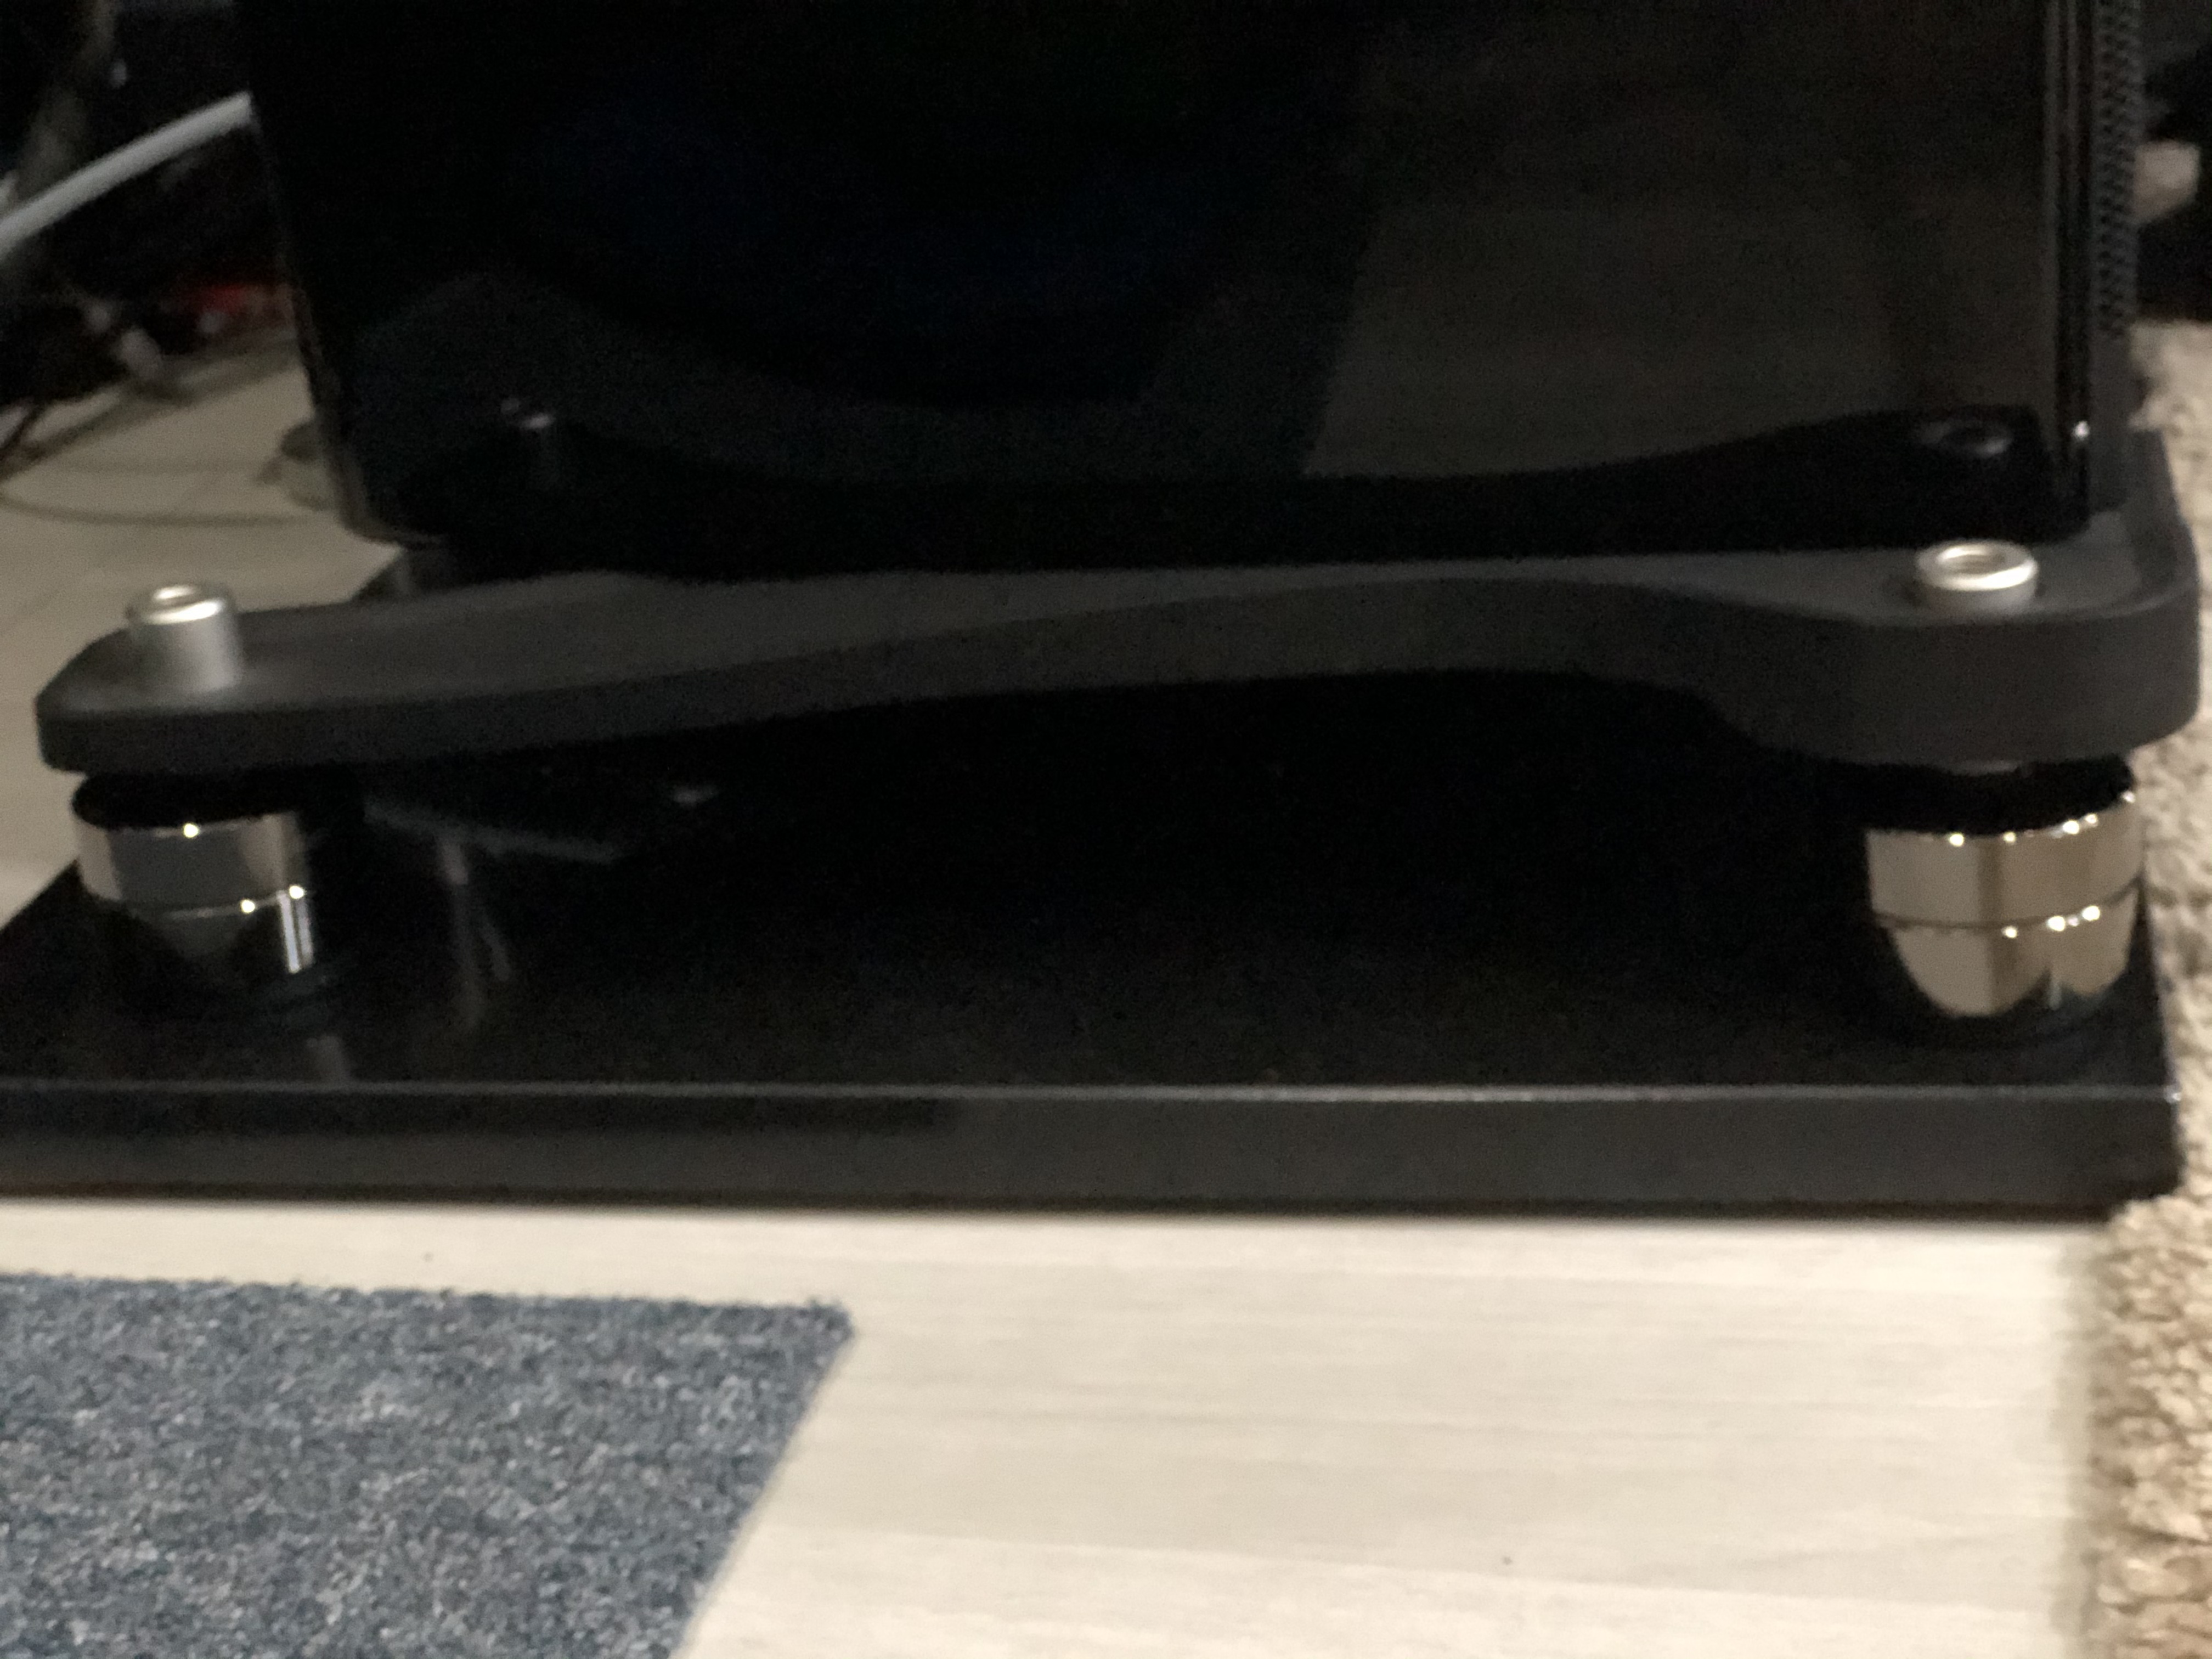
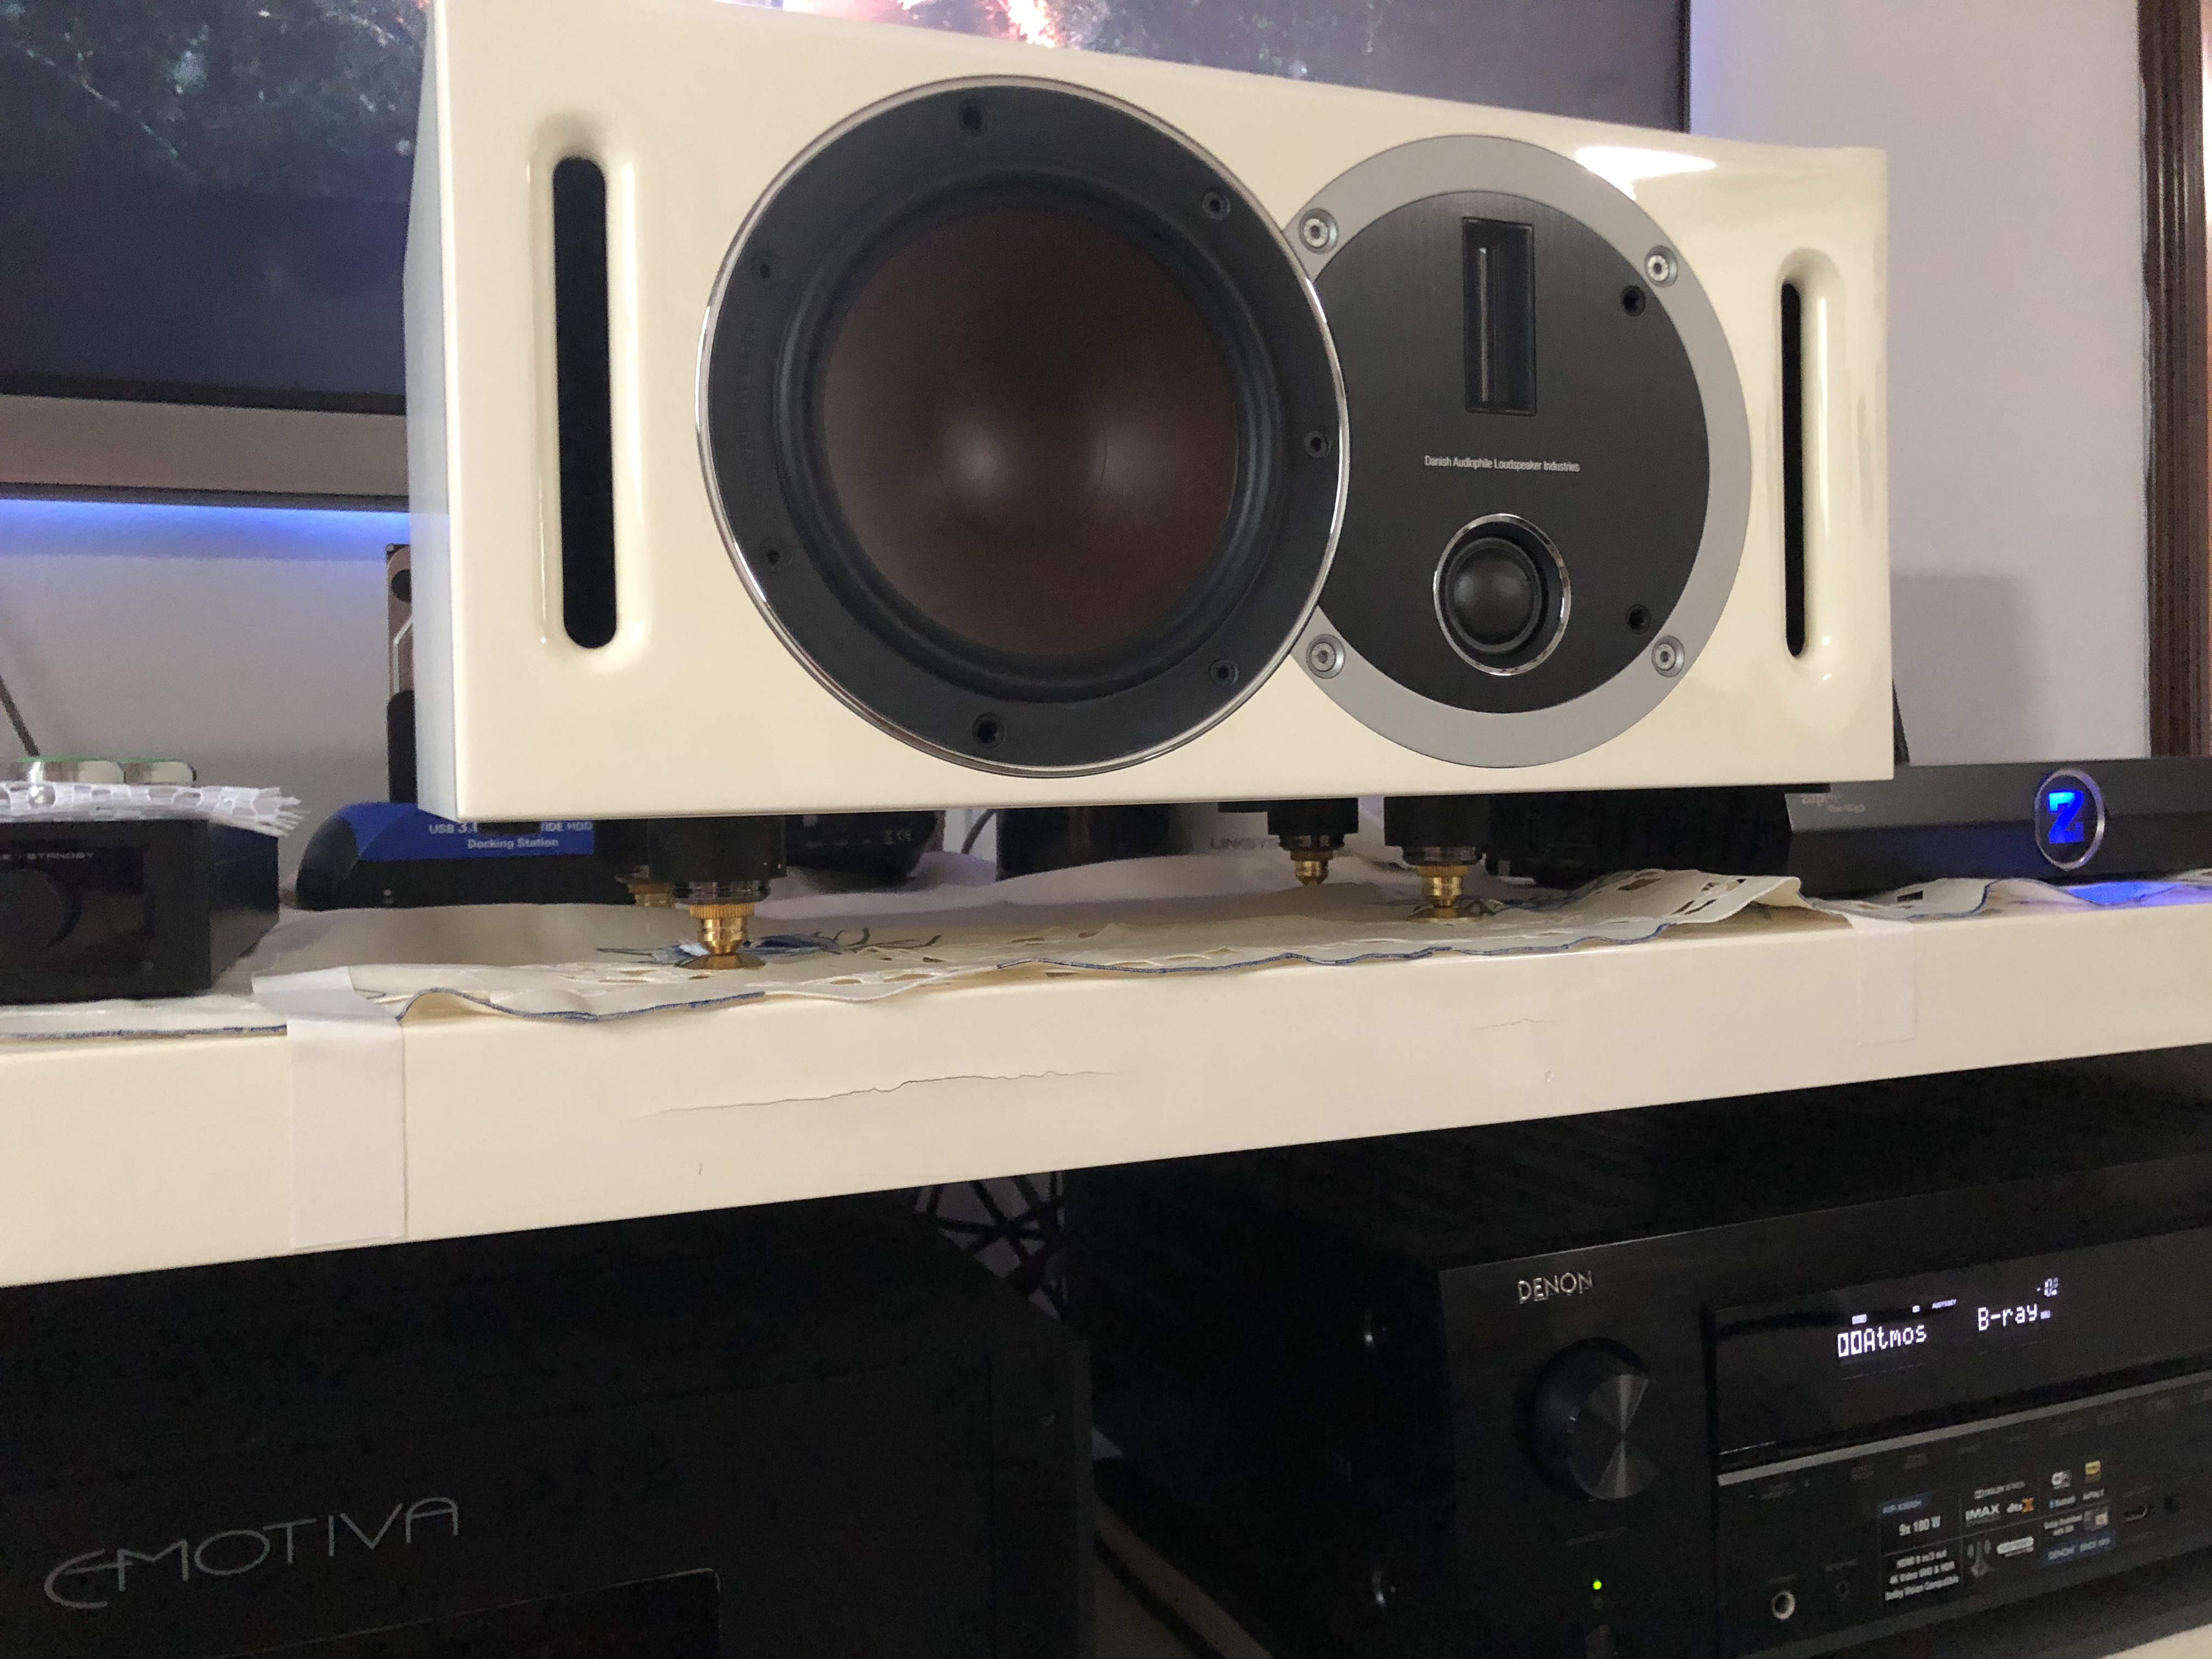
My current speakers are on spikes, and I can see the problem with spikes
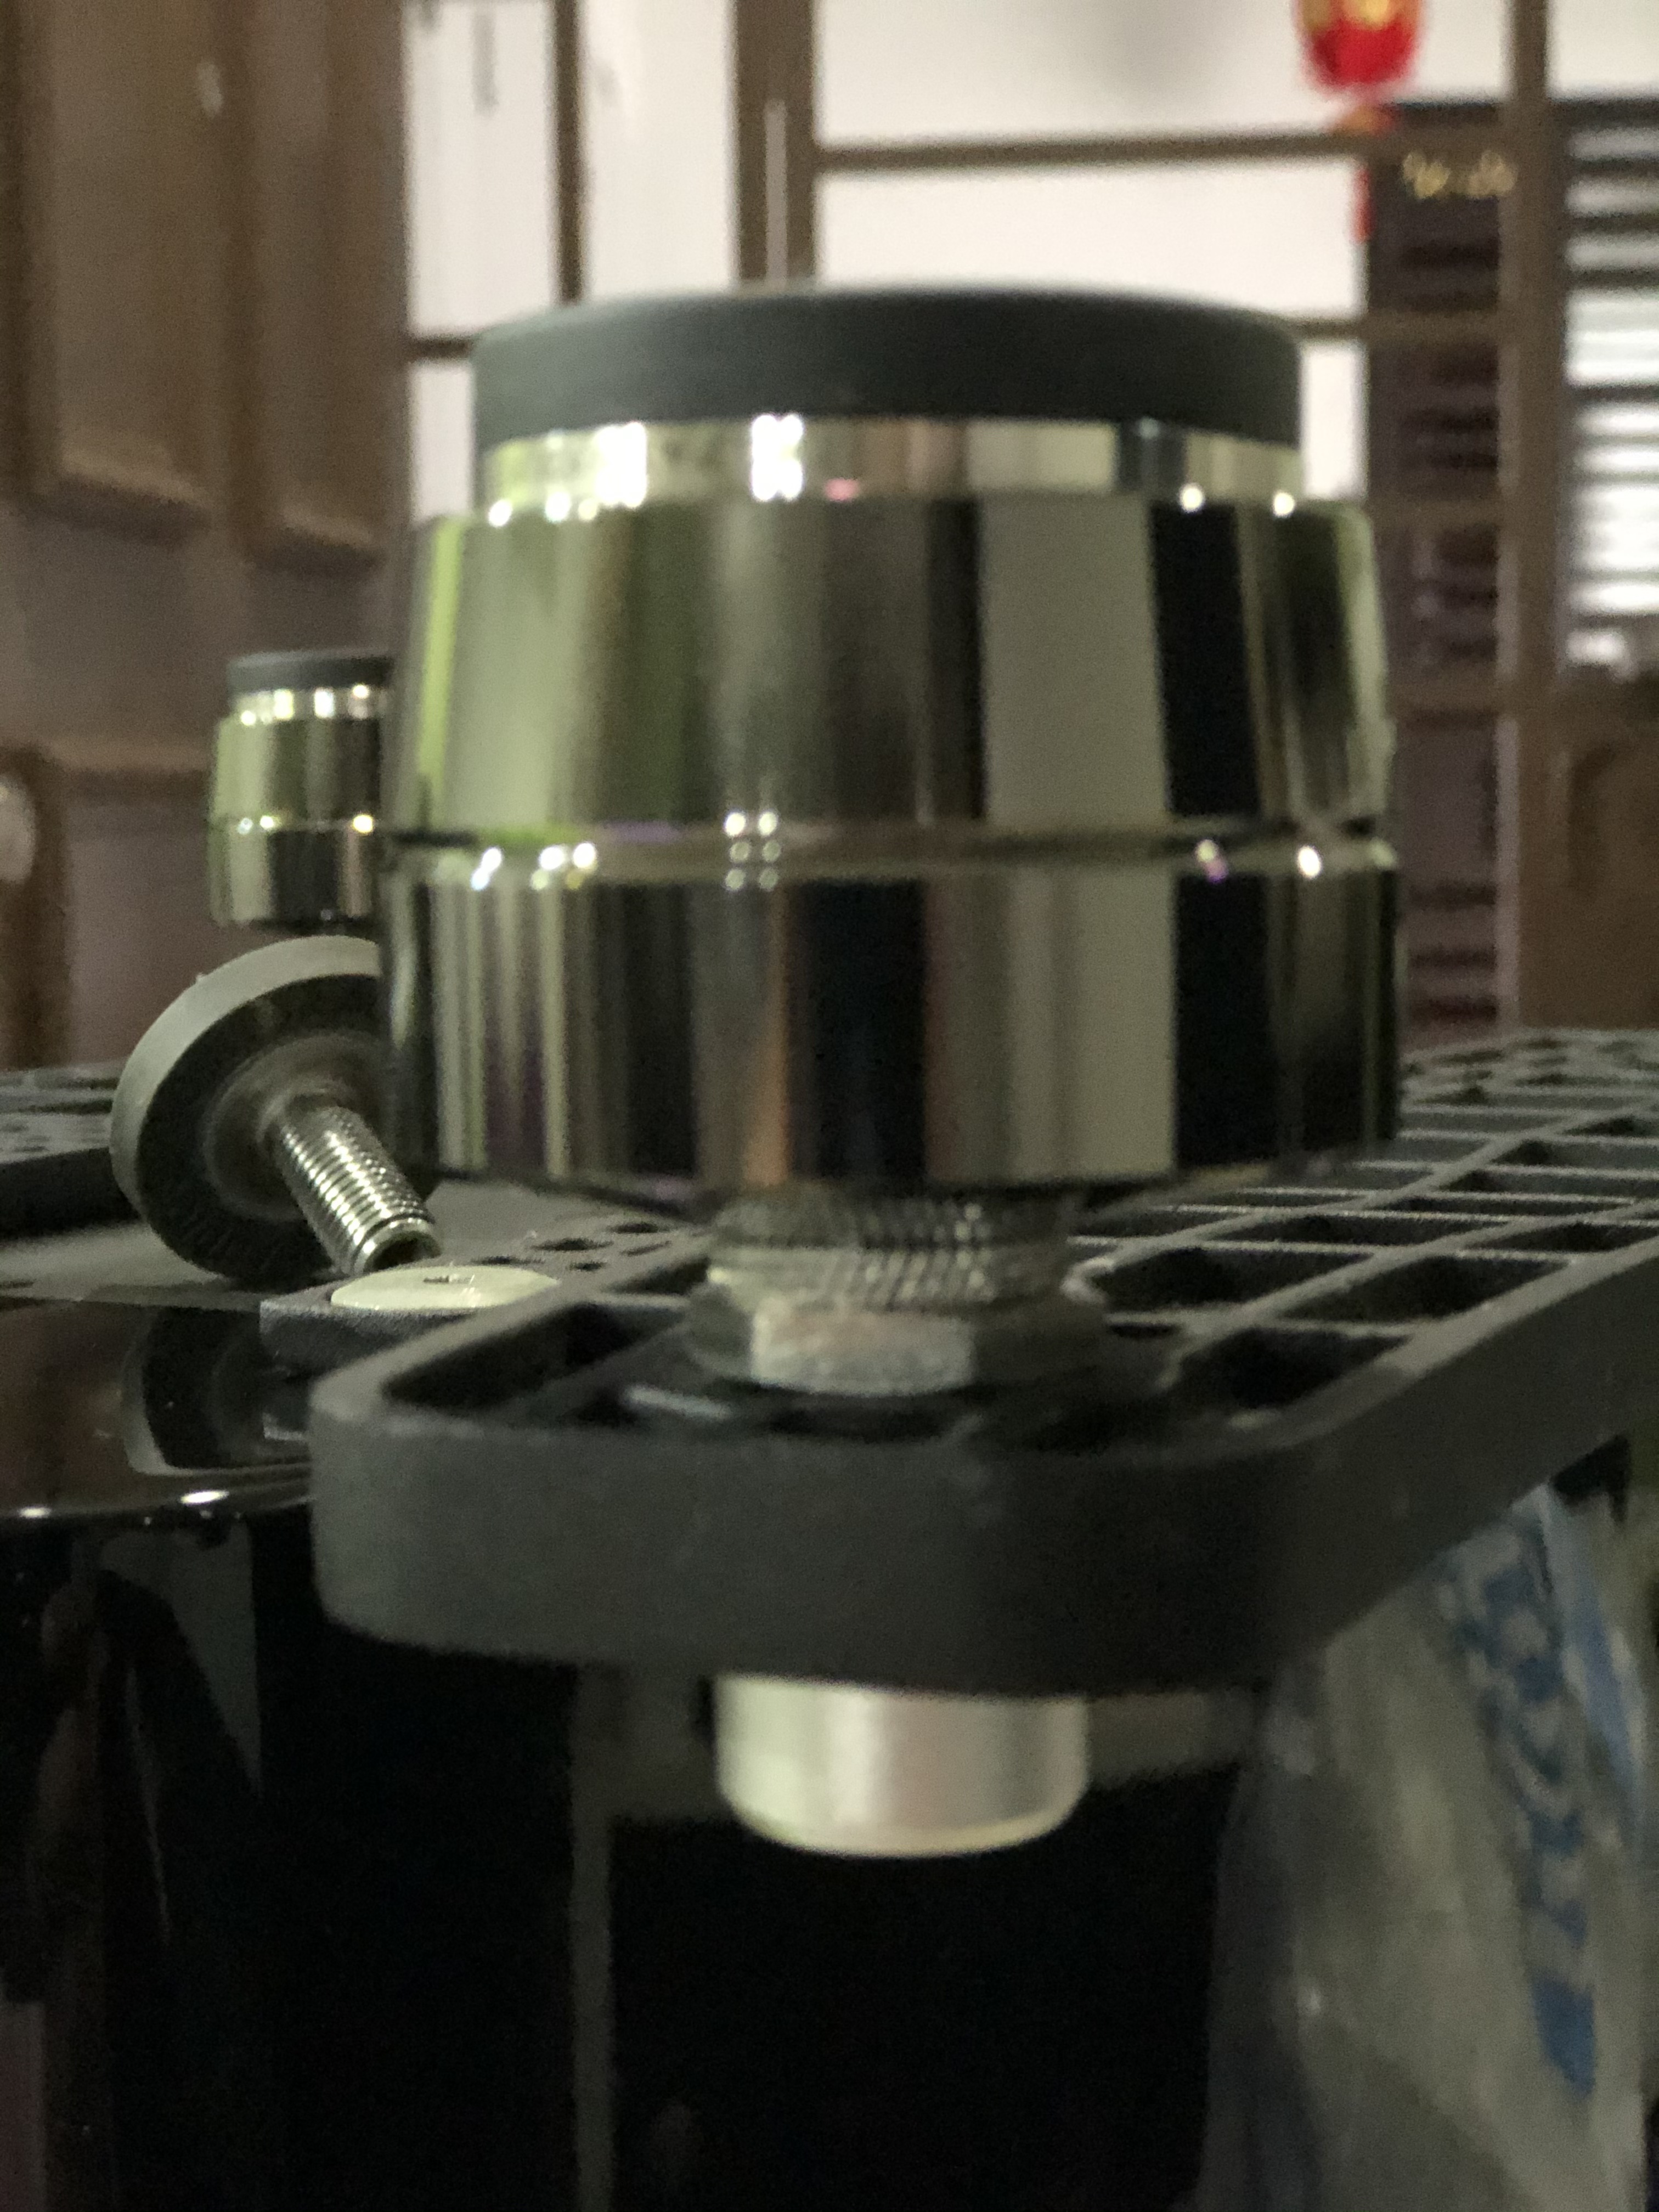
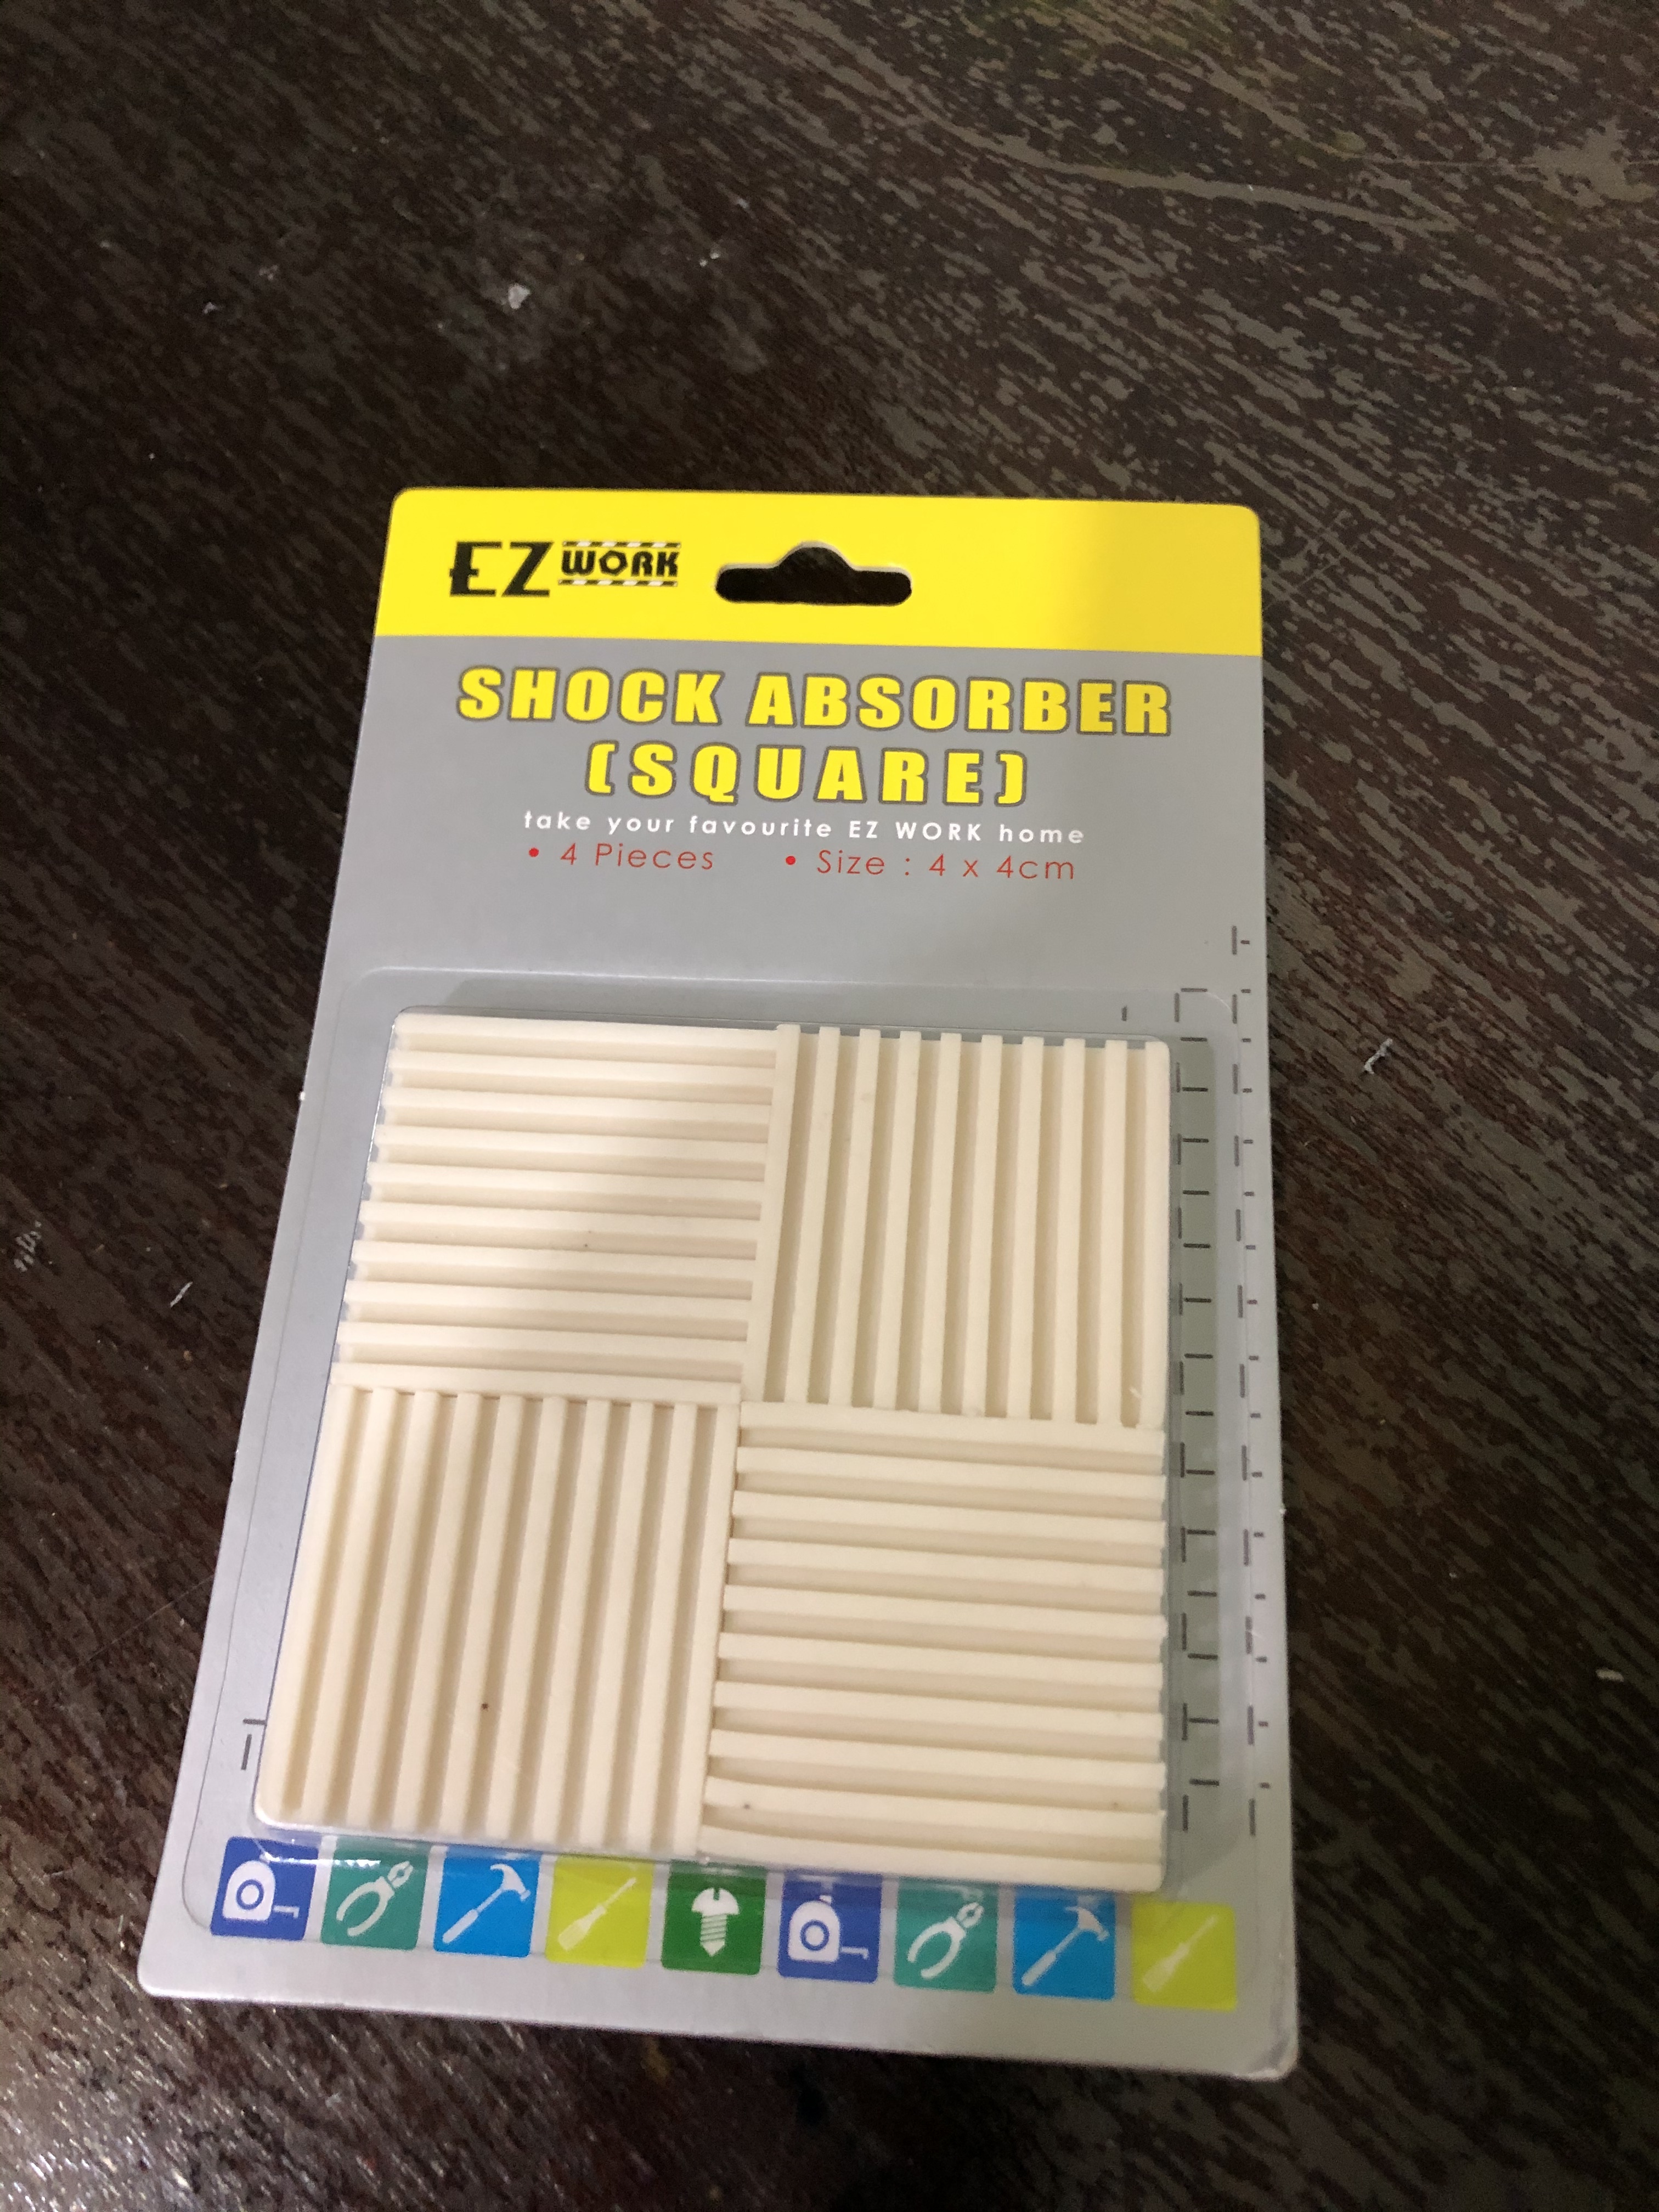
It is similar to the townshend vibration pod, the speakers are like wobbly after the installation but it has a curve like mixed material (not sure what material,suspect it’s got sorbothane)that provides suction to the ground and stabilises the speakers
Zoom in to the 30 second mark on the video, and you will get what I mean
I will share more details here, once I get mine in mid November
I will attempt the objective measurements with the speakers on spikes and ball bearing, vs on the wooden structure and granite base, vs the upcoming Gaia 2 to be installed on the MA GX300
I will share this information here, once that is complete and also share my views on how it sounds with and without
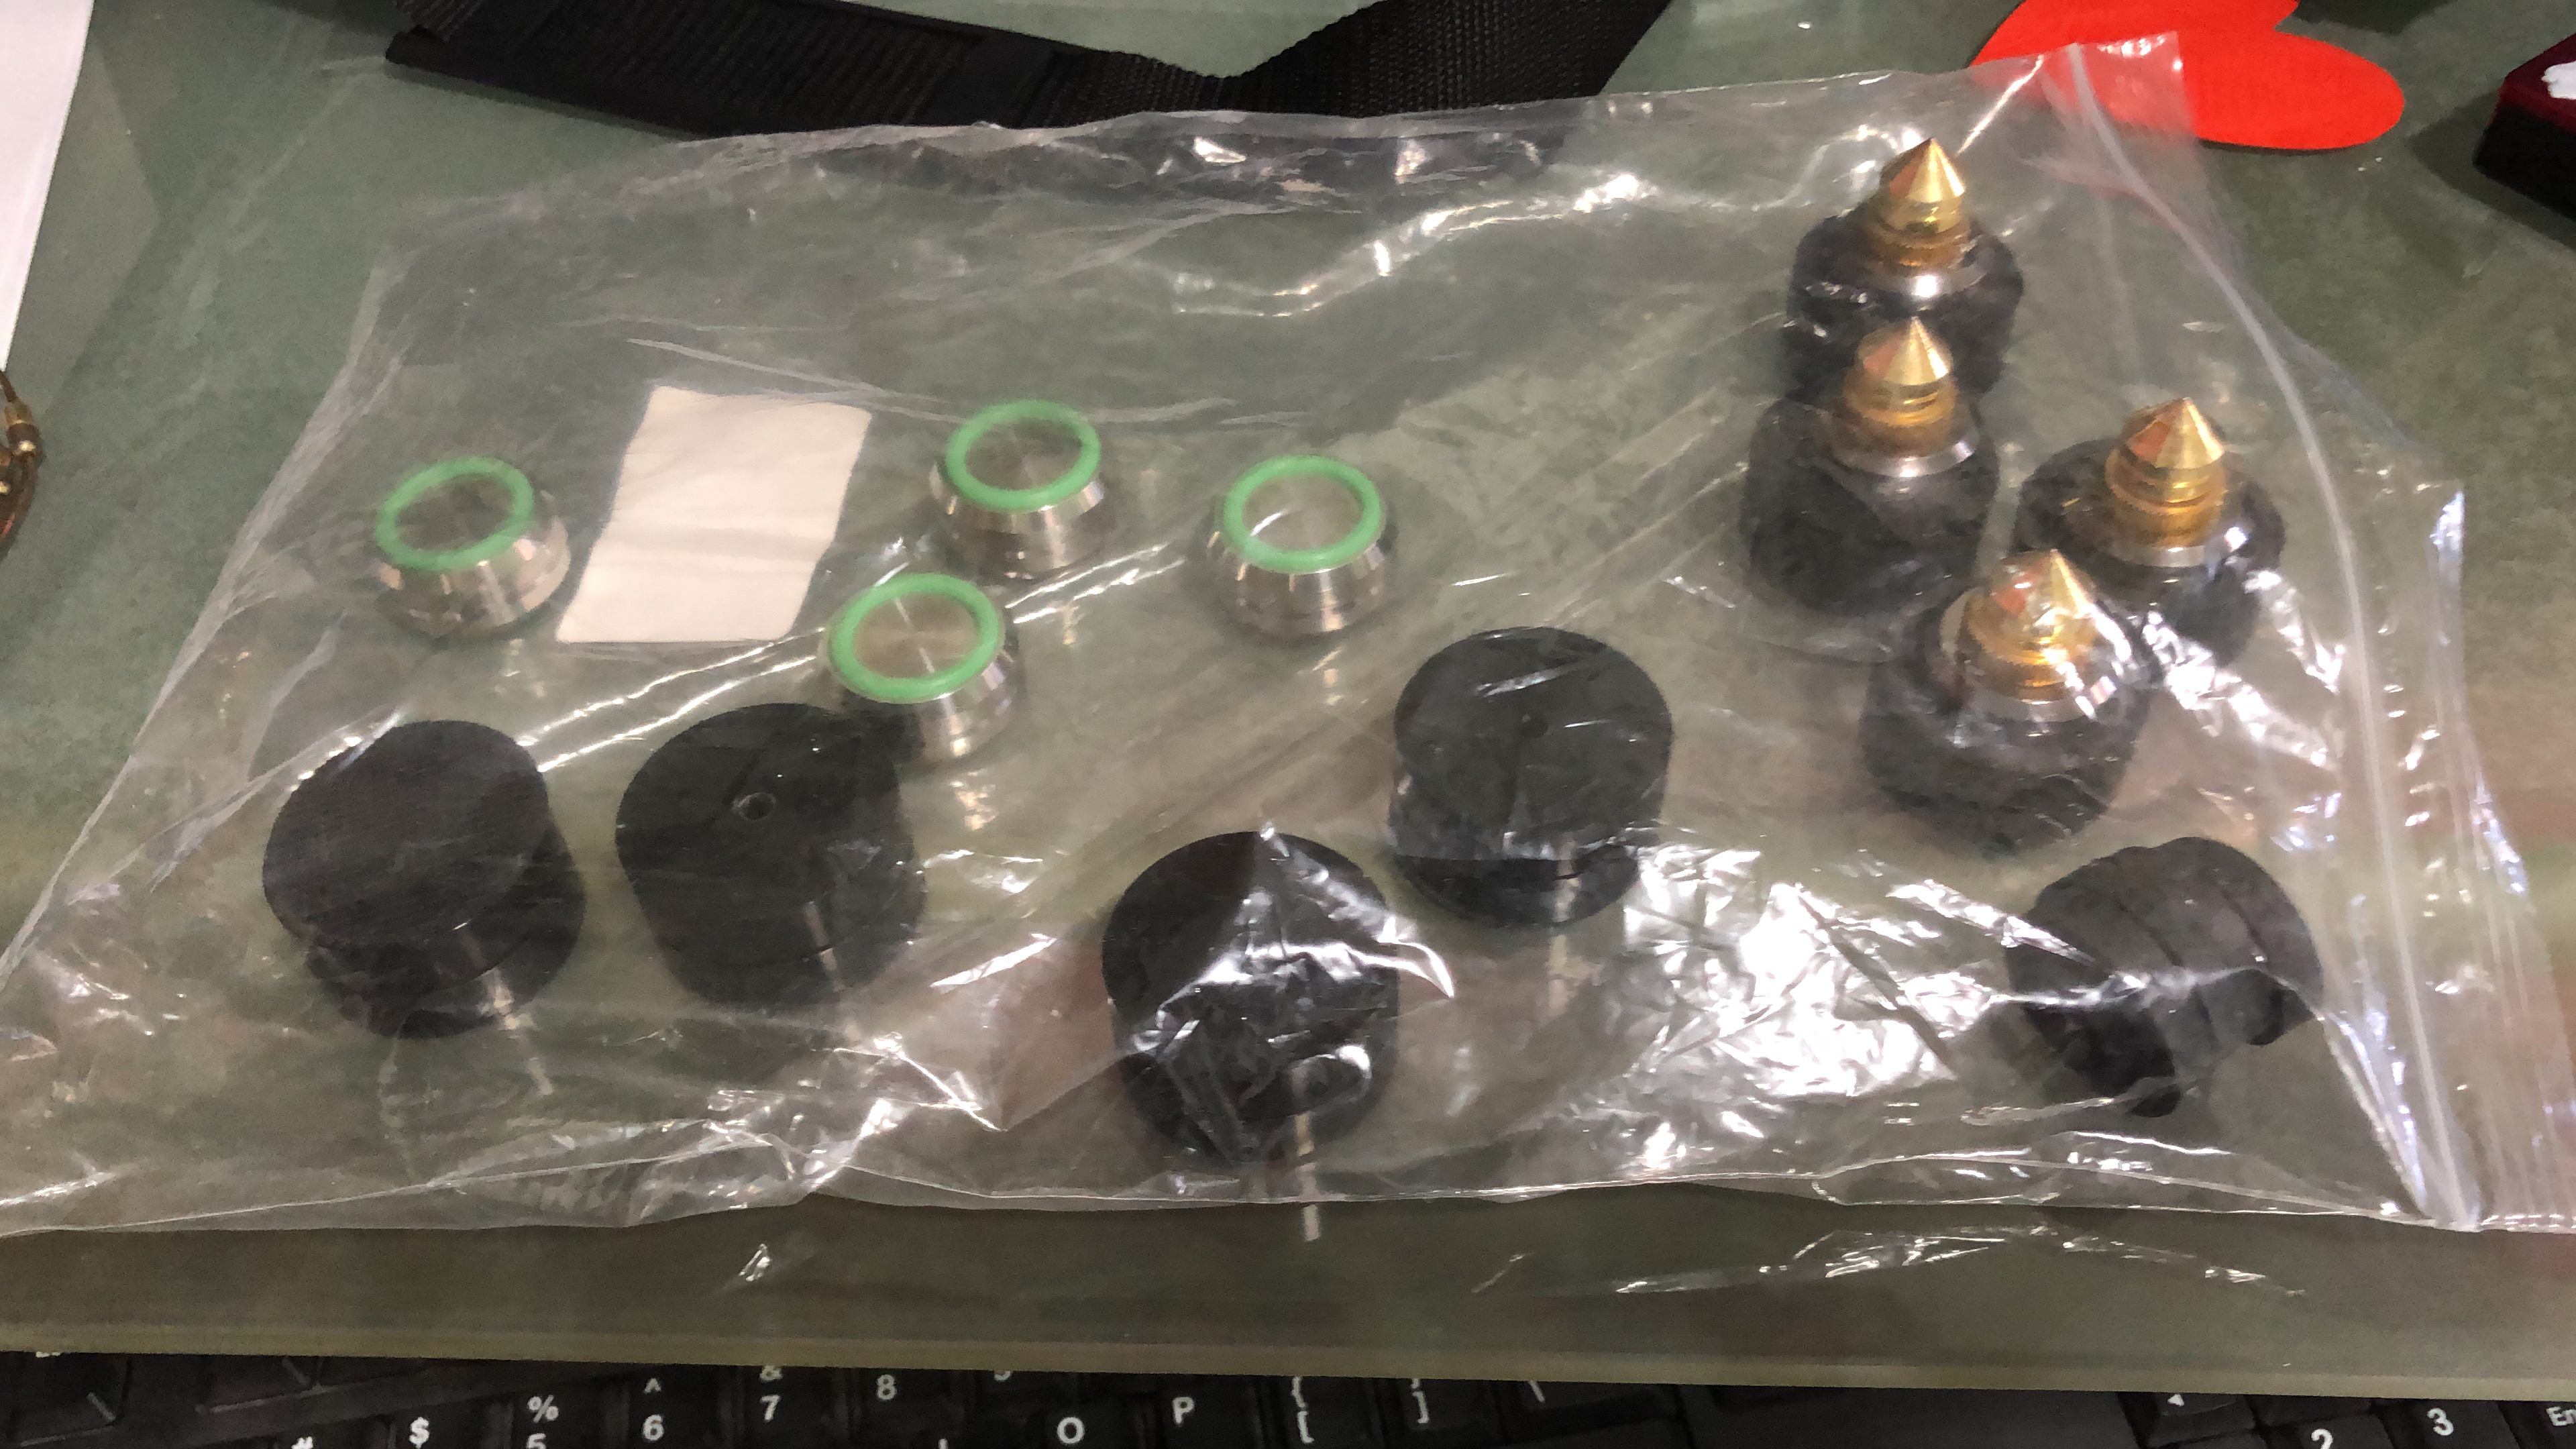
Since the MOnitor Audio uses M10 screws, and M10 screws doesn’t come with the original package , I have to wait patiently for 2 weeks for the special order. The set was purchased from our local distributor absolute sound
This is a very easy to use app, that allows you to toe in the speakers correctly on both sides
After having a quick chat with the guys, I decided not to toe in the speakers
Then I fired the system up to quickly listen to a few familiar songs
There appears to be very nice improvement with instruments placed in the soundstage . But somehow I lose the width, that I normally get with the toe in. There are pros and cons with the placement of toe in, finally I decided not to toe in.
Just so u know, this is being compared(toe in vs no toe in) with the MA speakers placed 3.6m apart, so as not to block the 135” screen
The recommended placement from MA is to have the speakers 90cm off the back wall, and ideally 1.8-3m apart. Unfortunately I have to bend the rules here . That is the reason I went with the toe in initially on the previous set up
It has been recommended on the MA manual not to toe in, or slight toe in. ( but nothing is mentioned on what slight toe in refers to) , as in How much is slight toe in? 5,10,15,20 degrees ? Anyway, doesn’t matter much as I decided not to to toe in this time
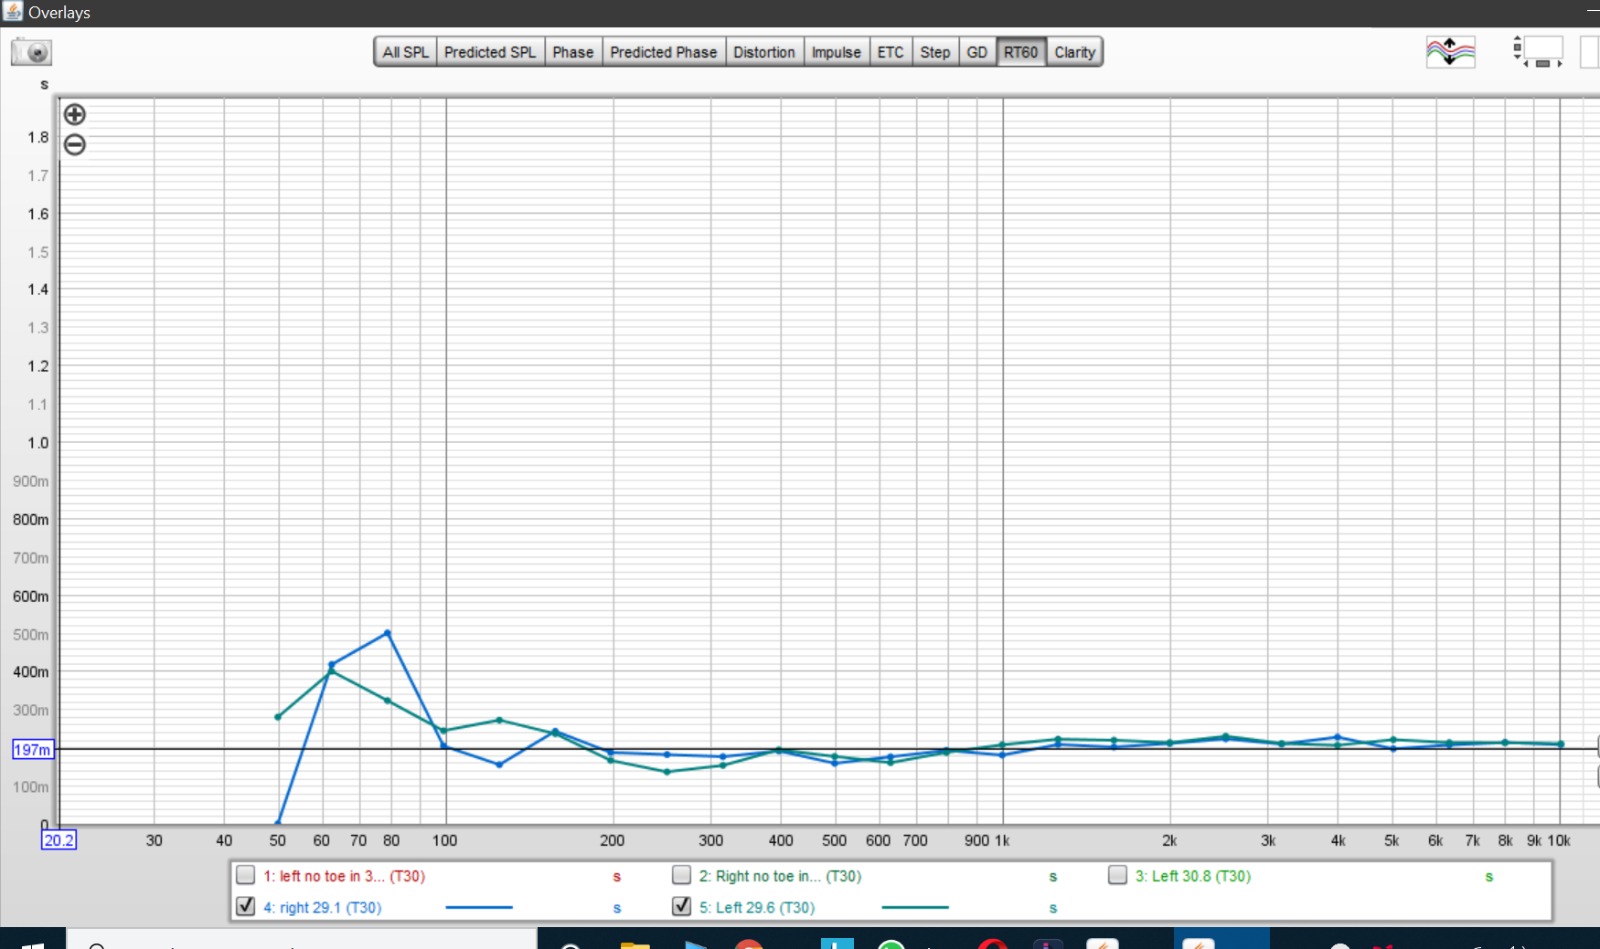
Pulling up the RT60 on the pair, I could see nice uniformed decay from both speakers close to 200ms. The only problem is the left speakers, which have a bit of bass issues below 200hz
Below 100hz, everything will be handled by the line array woofers . So that is good , no problem
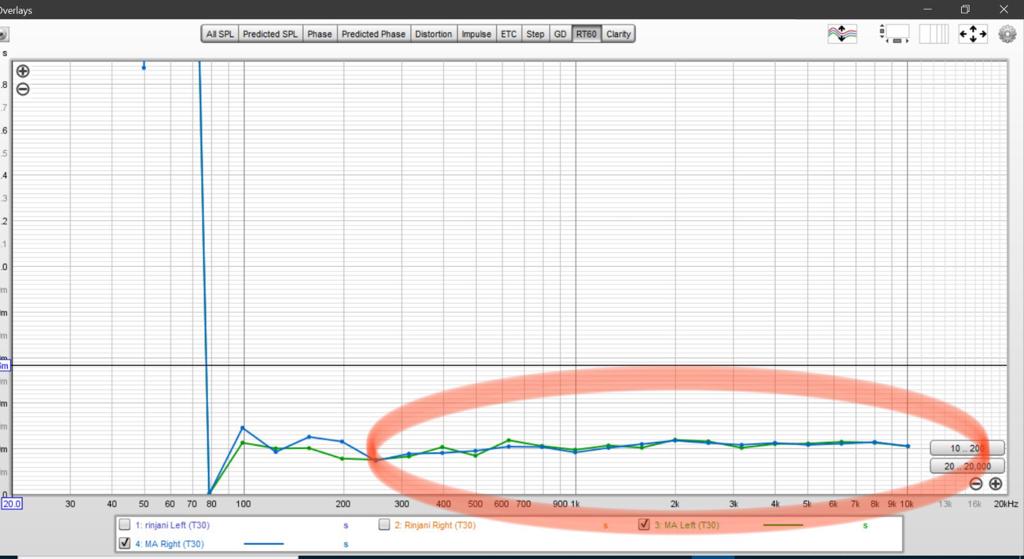
Just for reference, this is the RT60 on the previous Toe in MA
I didn’t attempt any measurements to look at the energy before and after the footers to demonstrate the benefits of the Gaia. But if I had to gauge how much improvement it brought to the system, it’s about 30%. Quite significant
It’s like you are really just listening to the speakers only this time
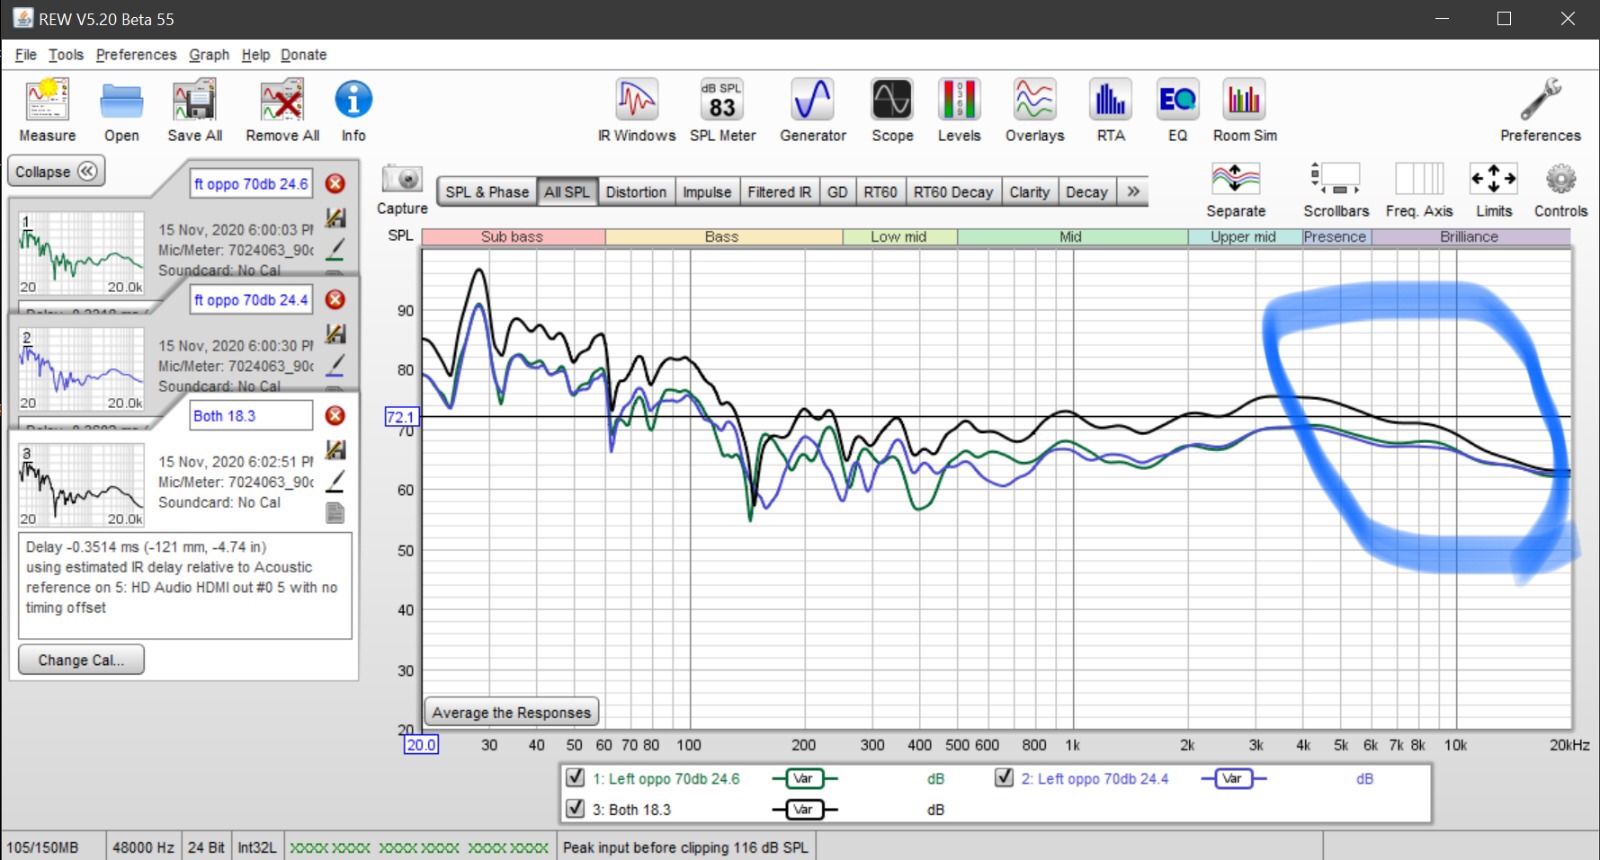
The soundstage is much wider ( maybe partly no more toe in) , but the higher frequencies are slightly rolled off
Concluding that it affects the tonal balance of the direct sound= more toe-in equals more high frequency energy since tweeters becoming directional at higher frequencies.
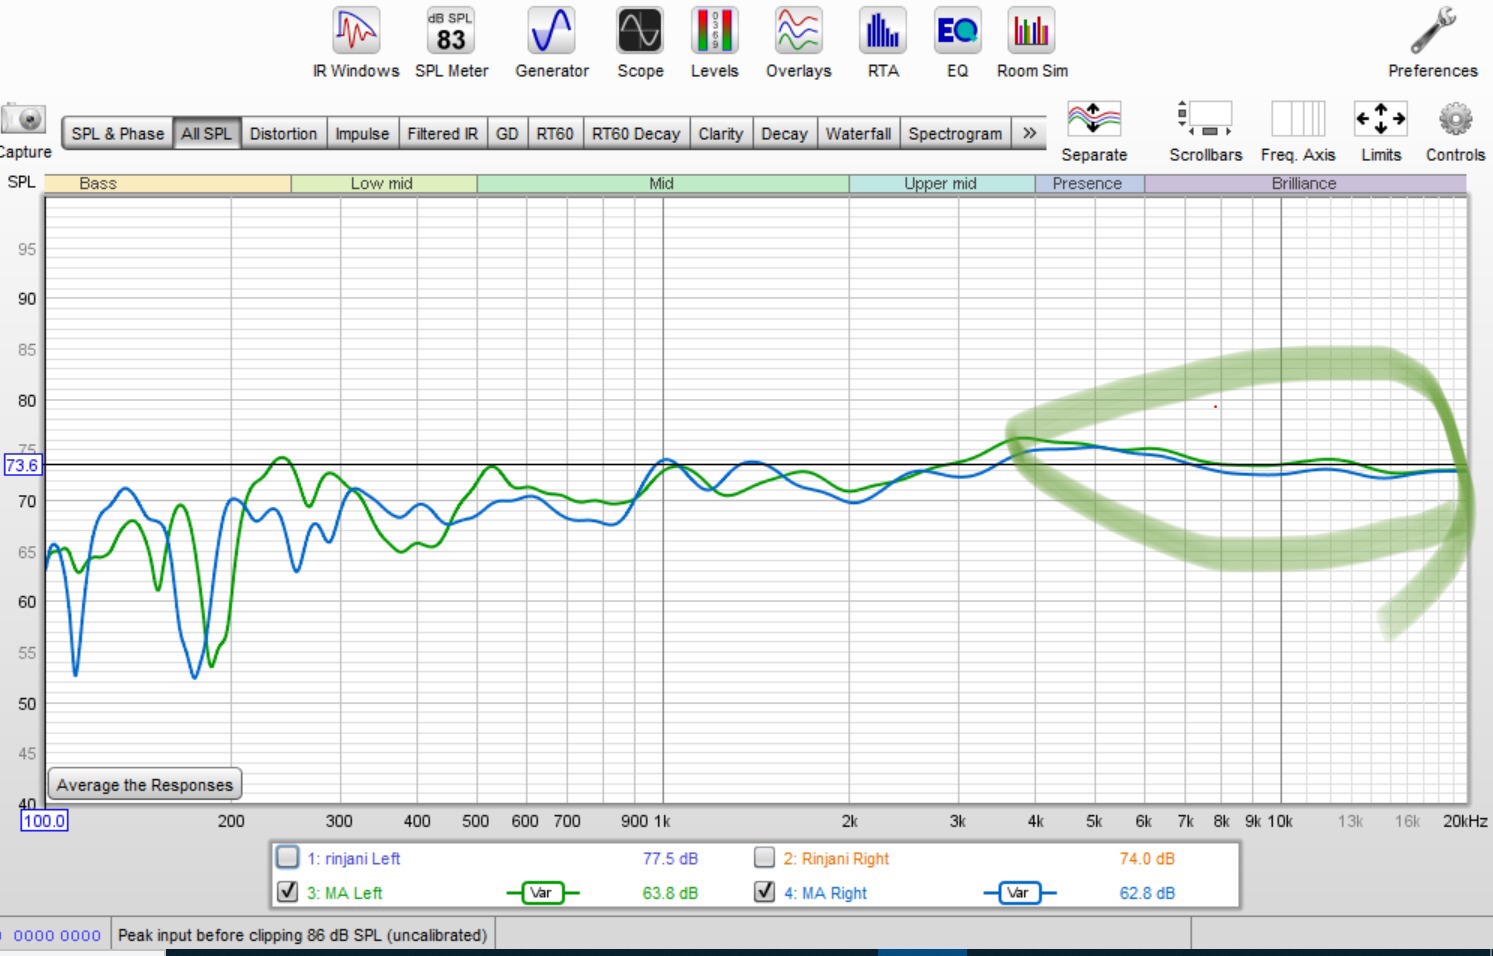
Yes and by the way, once they are perfectly time aligned, they will also sum in phase with a perfect +6db gain. Can be seen above when measuring both L+R speakers at the same time
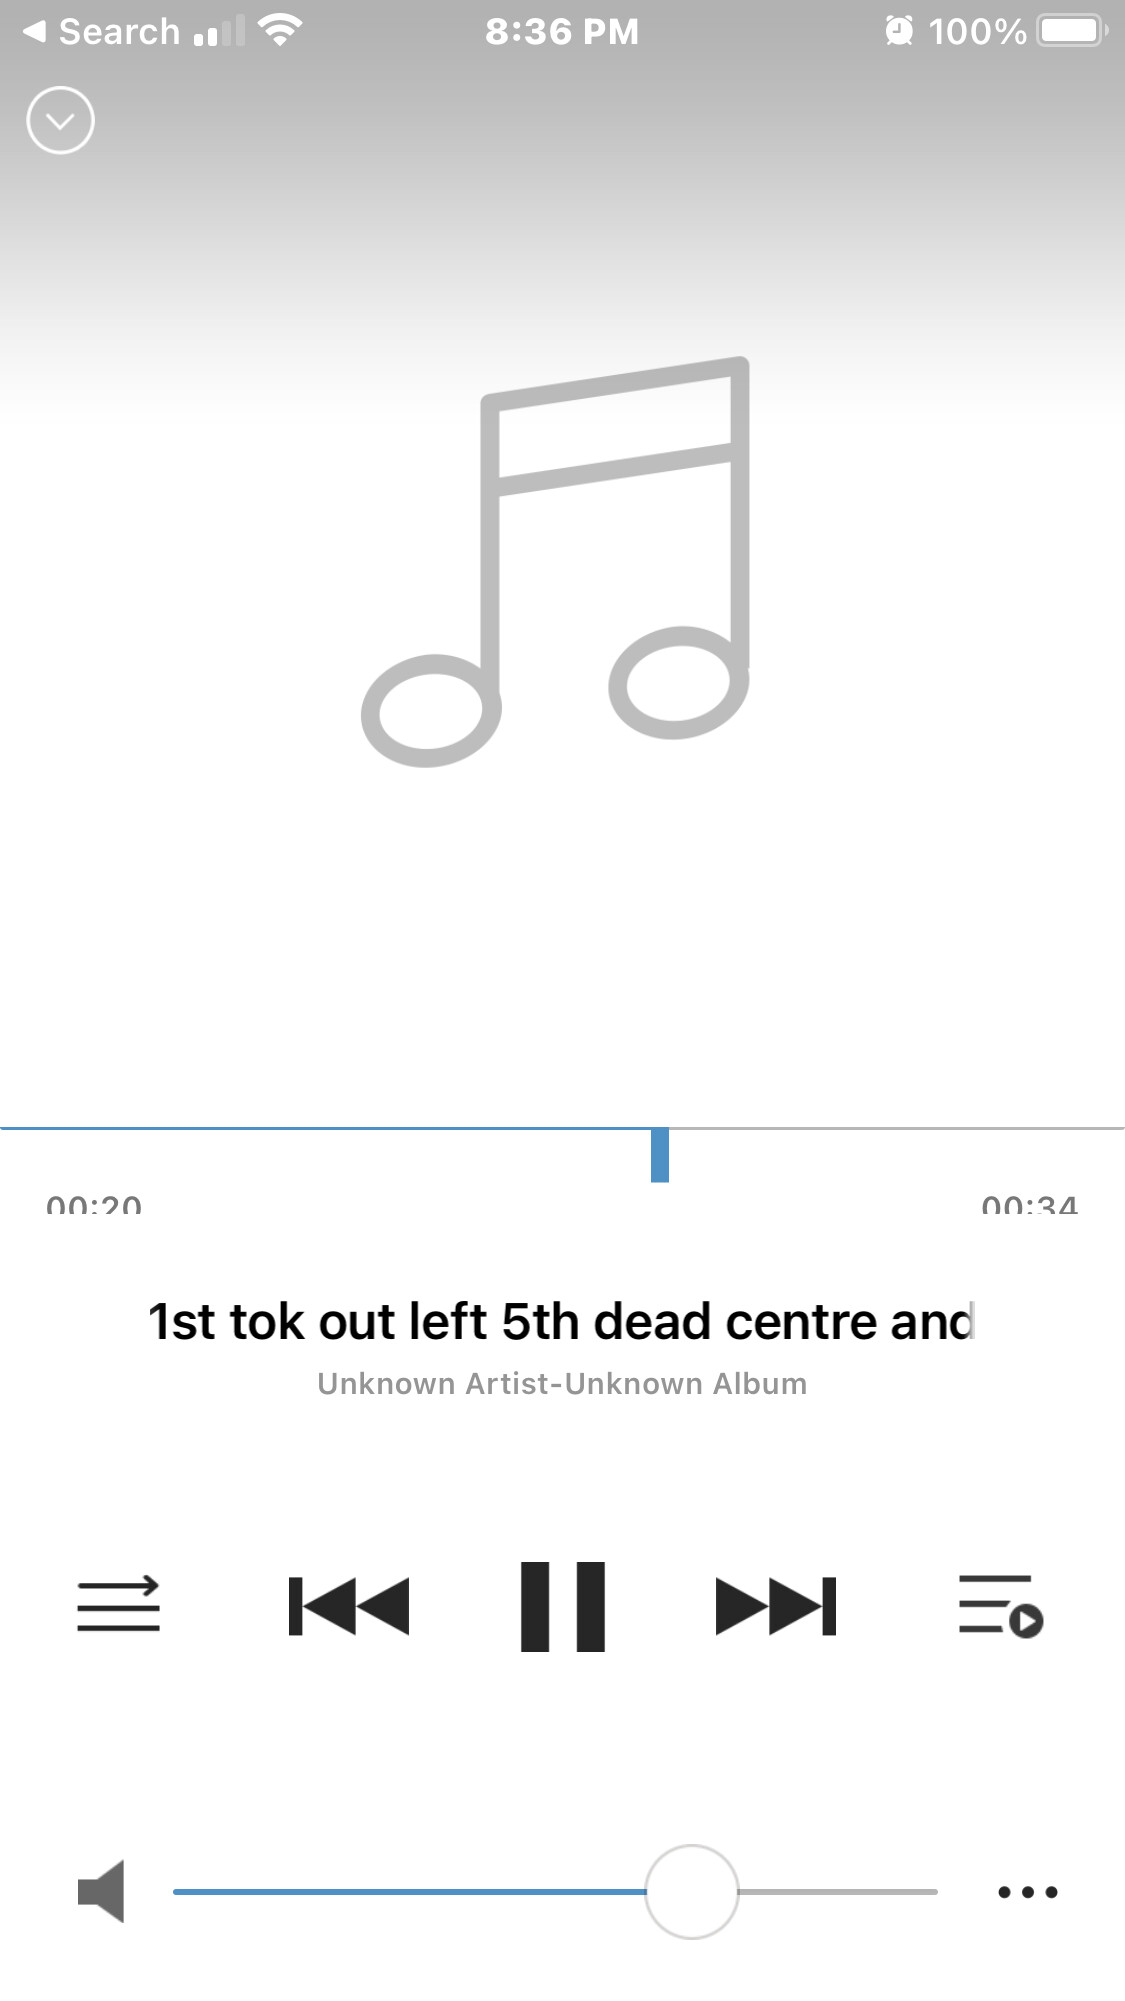
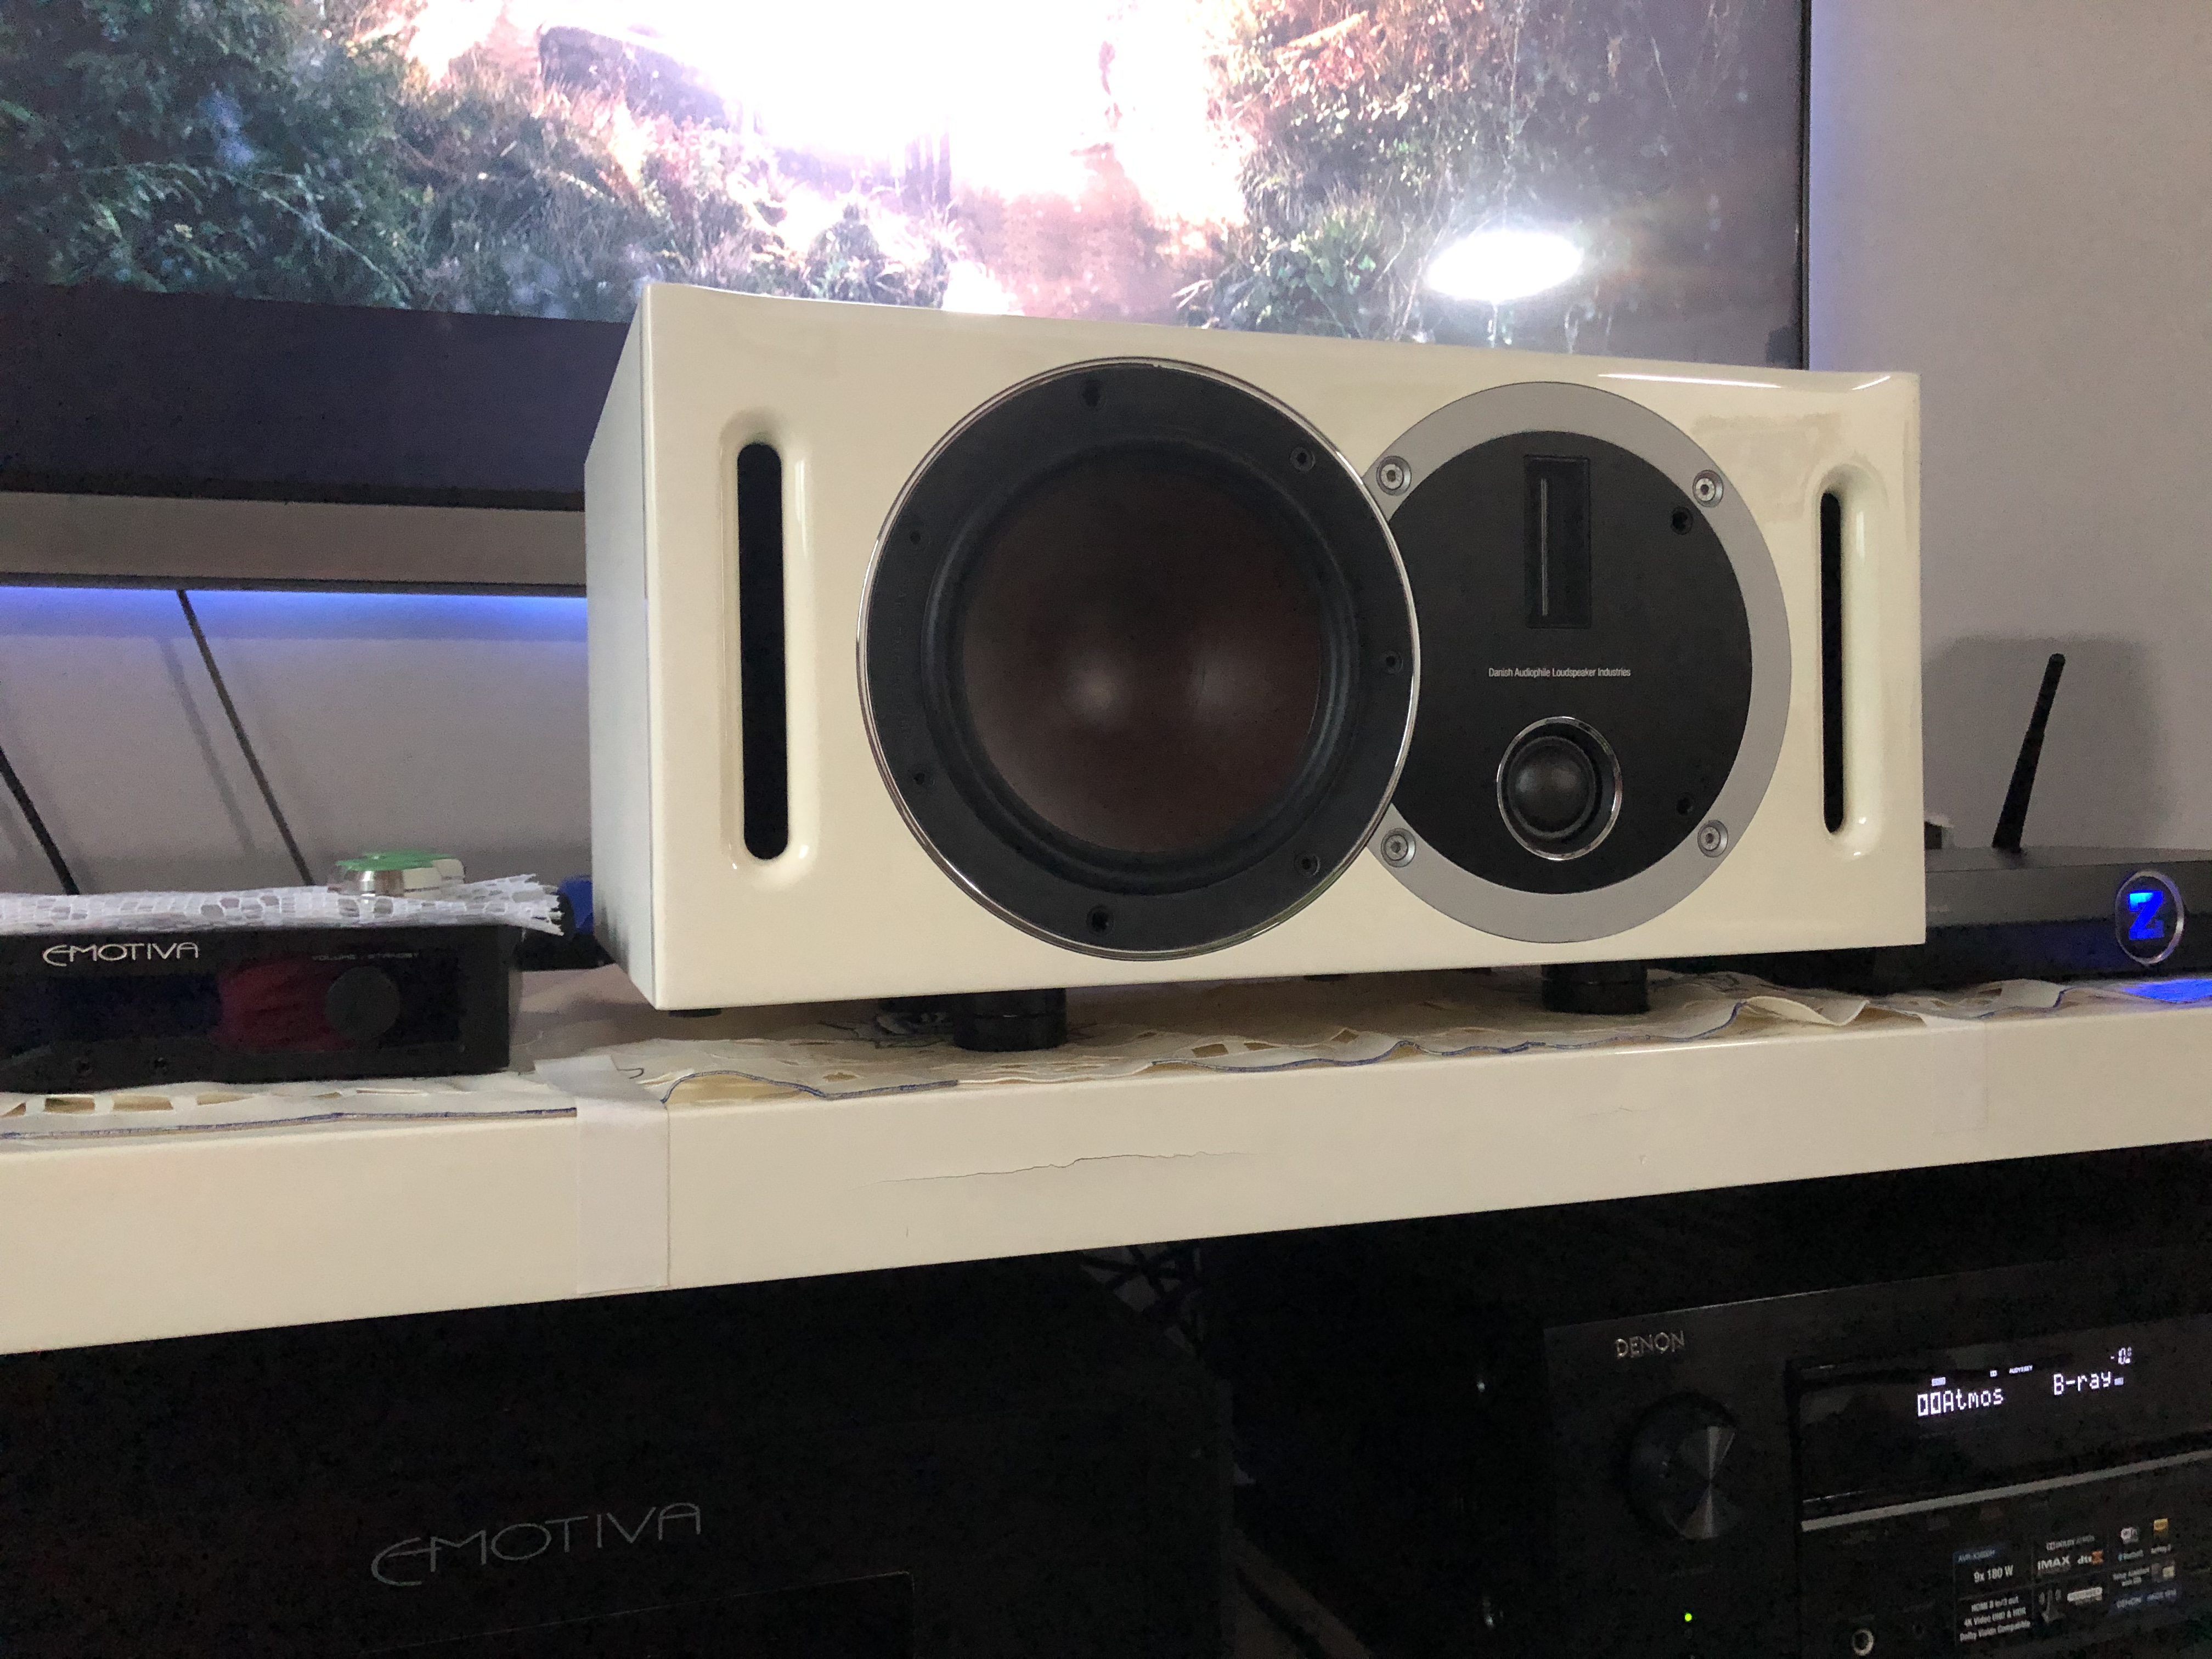
Ok quick fun afternoon today, testing the footers for a centre speaker placed on the wooden console , full range, with mains and surrounds turned off, subwoofers turned off. Only centre channel playing
We tested the centre channel using a few different material, voice of Optimus prime, age of adaline, Prometheus
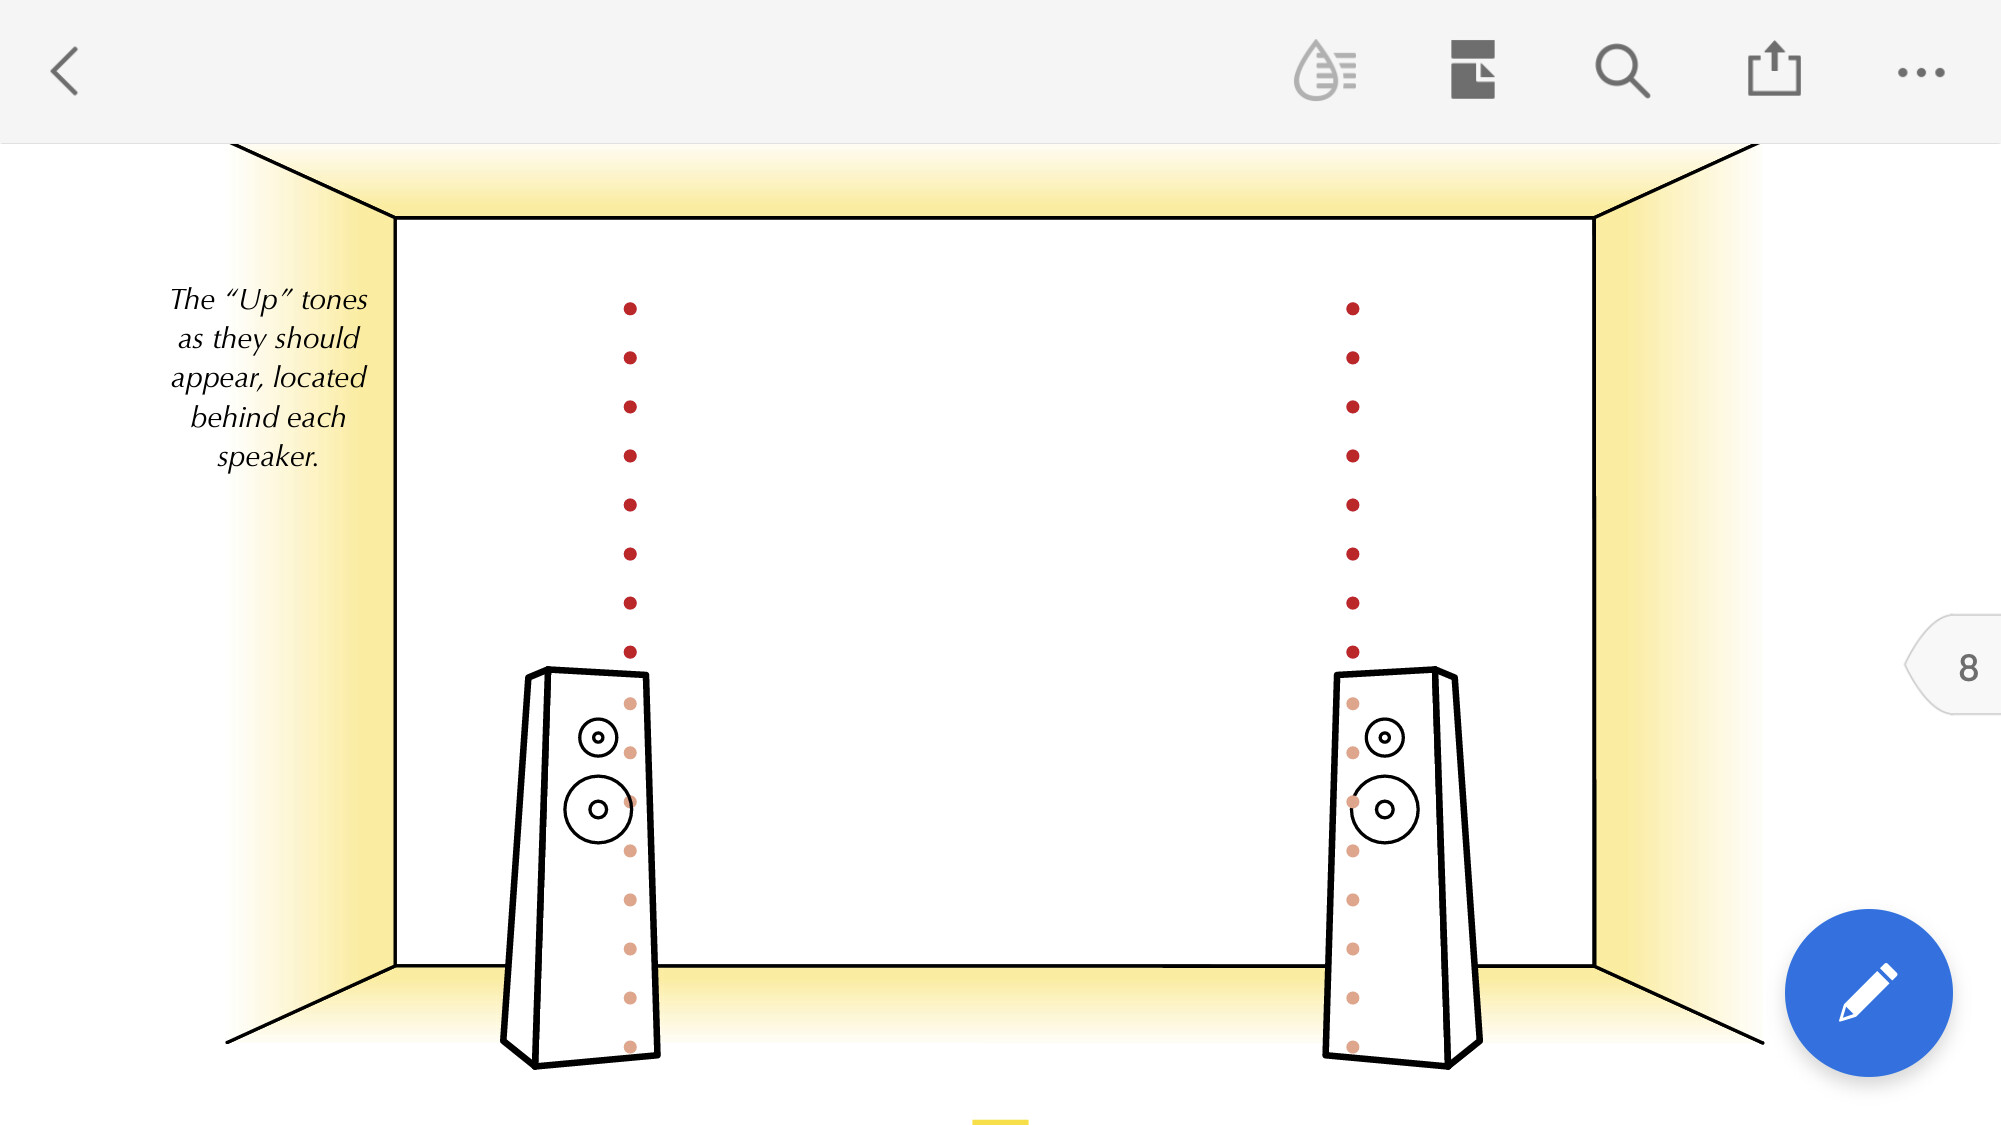
UP paths, Left and Right. The sound should begin at about eye level and then travel as straight as possible up to one or two meters above the loudspeaker. Use the Left and Right paths to check for symmetry. If the sound does not rise up from your loudspeakers, try using high quality headphones instead. If headphones work, your loudspeakers and/or listening environment are at fault. If not, the pinna transform embedded into the test signal is possibly too different from your own pinna transfer function; the LEDR test will then fail in this particular case.
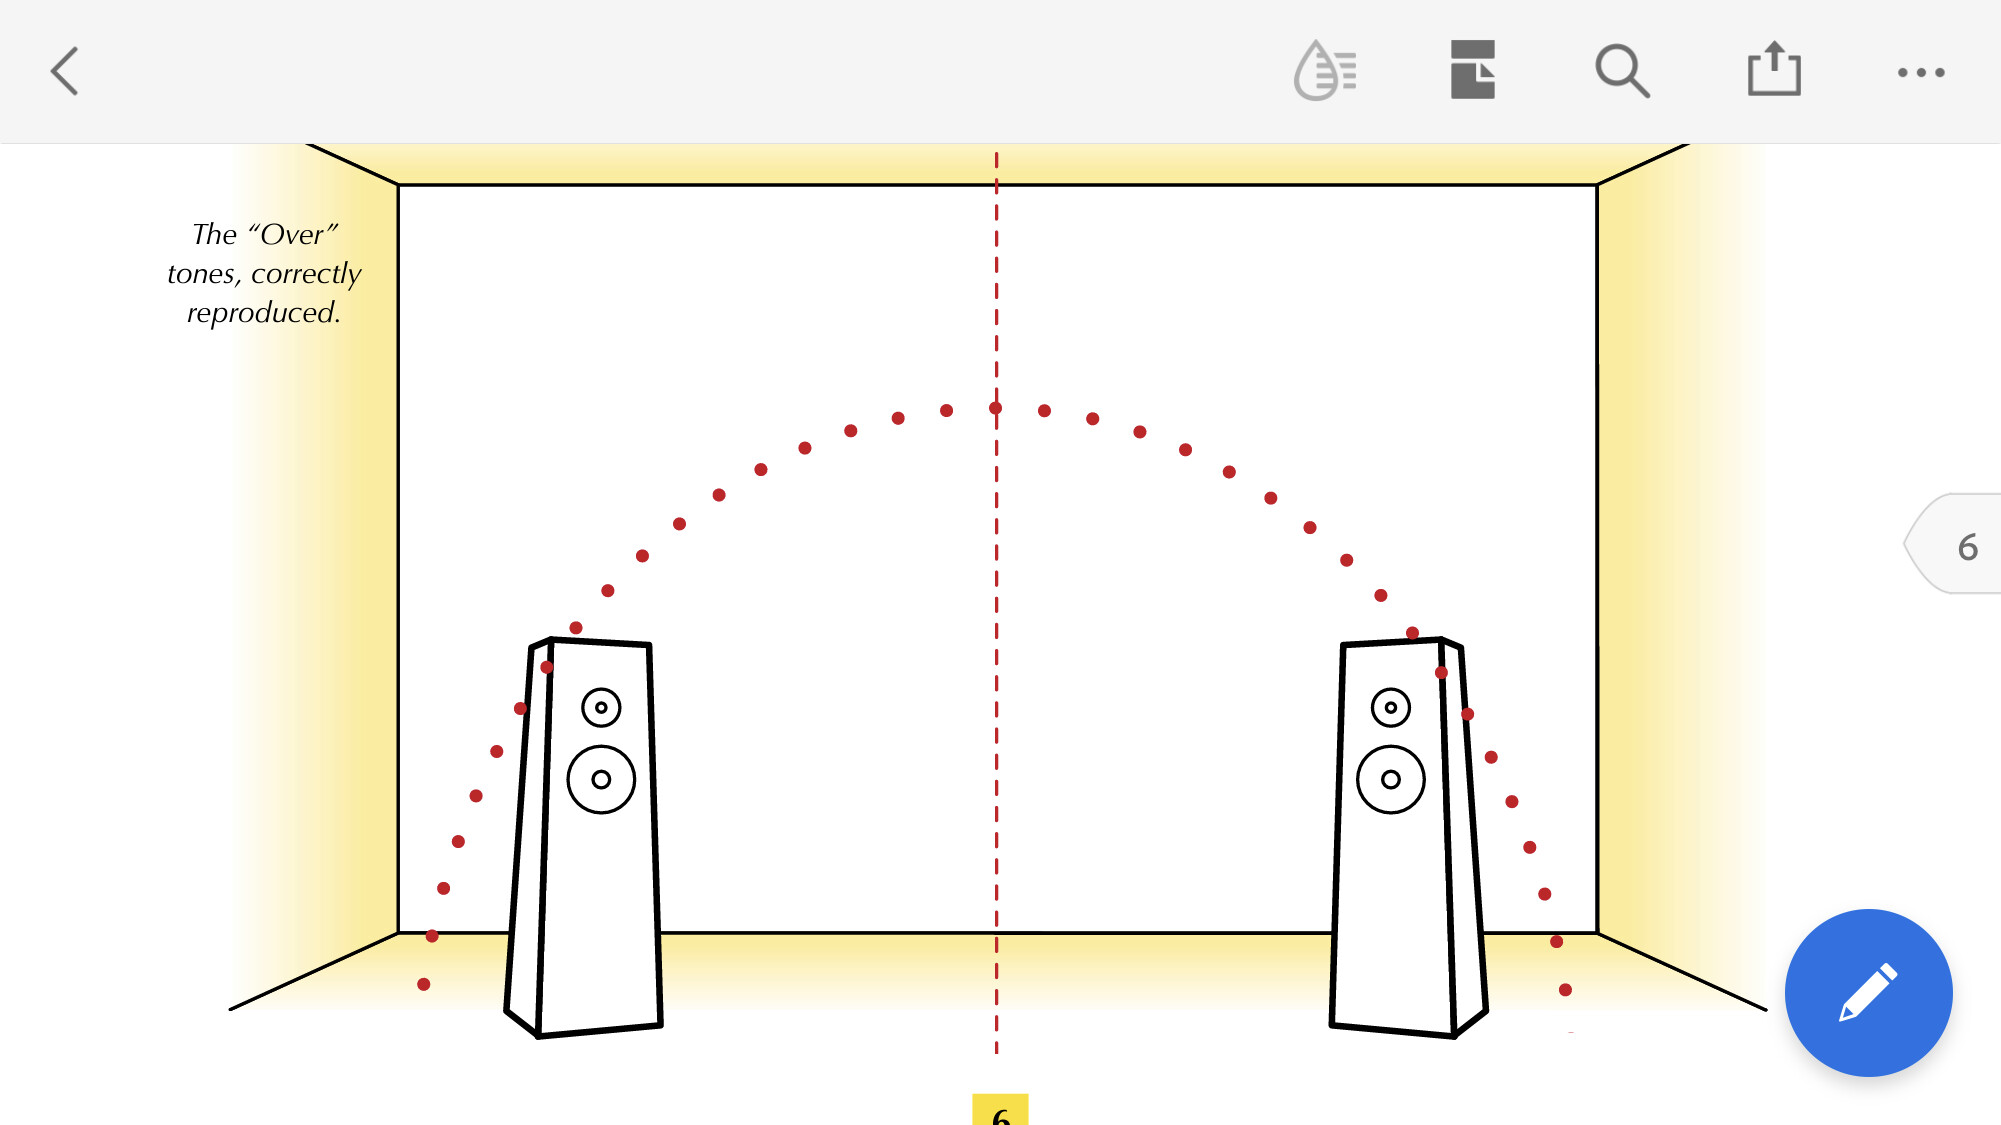
OVER. The sound should begin at one speaker and travel in a smooth arc to the other speaker, from left to right and then return back to the left. The arc should be unbroken, smooth and symmetrical. The top of the rainbow should be as high as the Up signals.
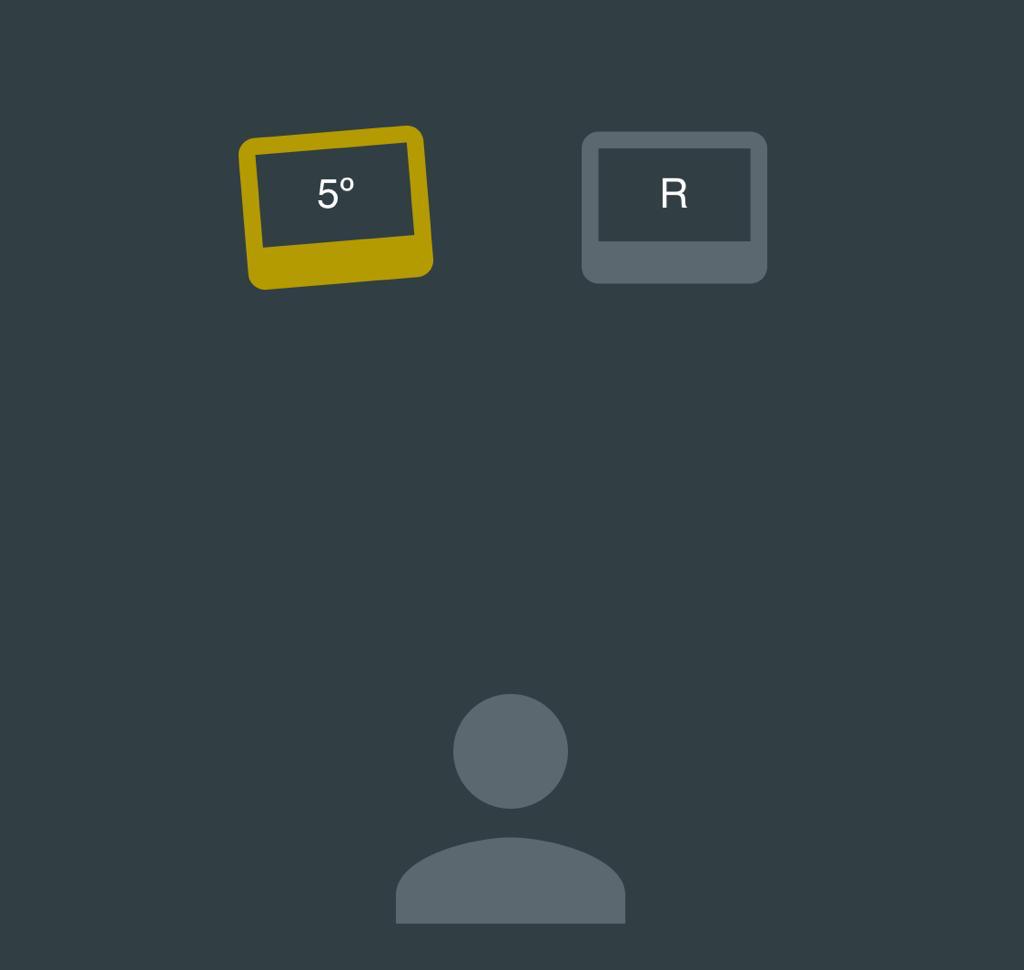
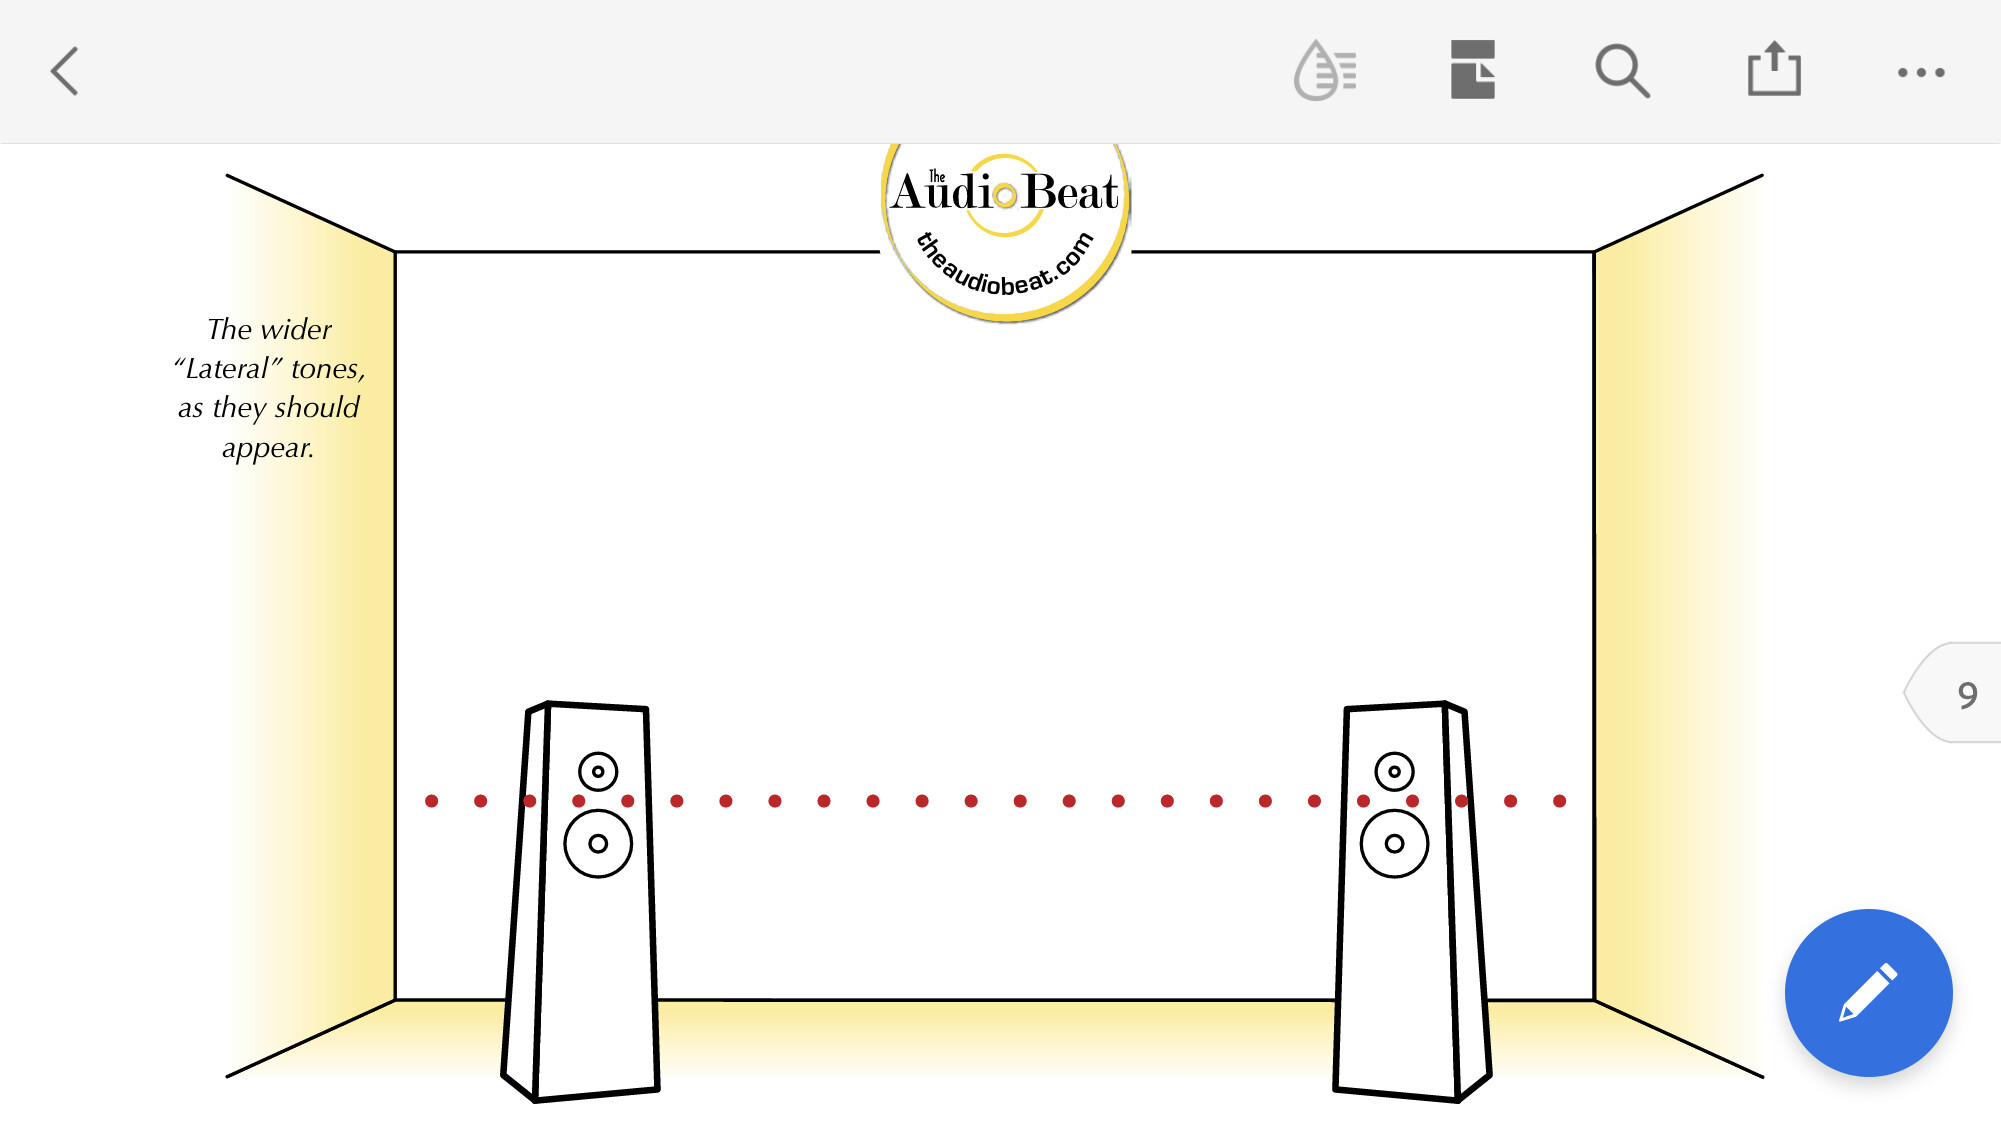
LATERAL. This signal tests for conventional left-to-right stereo imaging. Since a speaker’s acoustic center may not be its physical center, you should use the Lateral test to adjust your speakers until the sound traverses a 60 degrees angle from the listener’s point of view.
BEHIND. This signal moves from behind the left to behind the right, then back behind the left again.
Quick zoom into the pics and how it should sound! This is what we need. A lot of times, somebody tells you, oh it should sound like this sound like that, you should not/ should depending on your room and speakers.
And you go round scratching your head, errr… so do what ah ??
With the test tones, u take away the guessing
The image for the lateral tone , should sound like the one below :
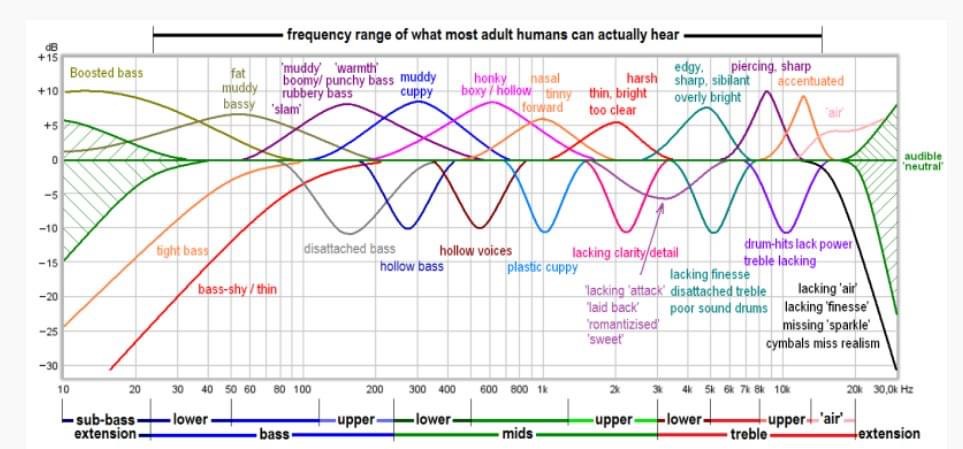
Great chart…simple understanding. Our human auditory perception is anywhere between 20Hz to 20Khz. The 8 - 10Khz range is the upper treble region…as we aged, especially in the late 40s onwards, some of us may not be able to hear higher freq starts from 15Khz and above. Some may start as soon as 12Khz. For this group, Atmos effects will more treble presence will not have a good effect. If you are above 45 yrs old and still enjoy Atmos effects, count your blessings for it may be short-lived.


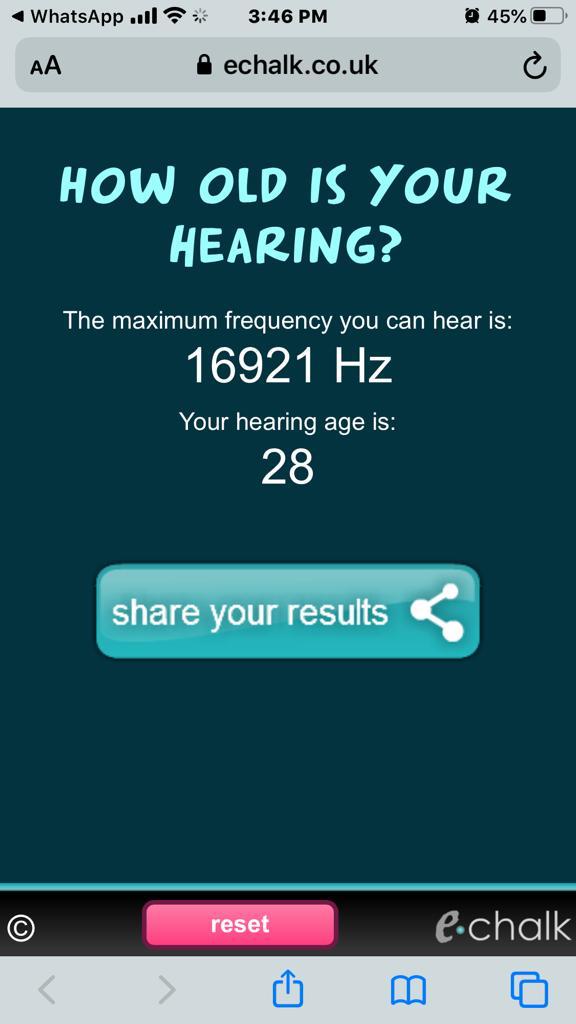
 Test your ears… and see if you can hear the sounds relative to your age … ★
 All must do this test…