Spatial audio calibration toolkit

Just had time and played with this tool kit…


If you haven’t yet gotten a copy, you need to get one and try! It’s awesome !

Speaker pairs test tones helps with dialing in the “phantom image”

Then you have the torture test tones with chanA’s voice. This will reveal your system flaws with Atmos

Then you have the tonal balance test tones, that’s also very good…

Finally you have the object panning test tones that lets you dial in the soundstage

What a fantastic toolkit, it works very well supplementing REW. These test tones are not available with REW, as you cannot measure phantom imaging and soundstage, you need test tones to dial them in….

10/10… must have toolkit for calibrators

1 Like


I’ve always thought that the surround backs speakers were inferior and needed upgrading. Using the toolkit , I discovered how wrong I was

It turns out placing the speakers higher up and tilted downwards does not really sound right.

Bed speakers should be placed at bed layers with tweeters toe in / firing forward depending on how big the space of your room and the dispersion characteristics of the speakers .

I have always wondered, how come I cannot get the “ phantom imaging “ between surround backs and surrounds. It turns out, surround back speakers were placed too high.

Using the speaker pairs test tone, I found out that in order for the “bubble” to be complete, (I’ll come to what I mean by bubble) all 6-7 bed channel speakers need to be at ear level. Period. Do not follow the dolby specs where it is mentioned you can placed it higher and then tilted downwards… that’s not the same as bed level tweeter at ear levels. The toolkit will reveal this flaw in the set up…

What followed was adjustments made to the surround backs at my place

See how far off the height for surround backs… sample it tilted downwards

No toe in above :point_up_2:t2:

25 degrees toe in above :point_up_2:t2:

I’ve settled down with a 7 degree toe in at my place.

Why 7 degrees you ask ?? Why not 15? Why not 10?

The spatial disc will reveal everything…. Let’s see why….

All along…. I’ve always thought we only have a phantom for mains , surrounds and sb. That FR FL phantom image for mains is at the centre, u have sound emanating from centre space… and phantom between FL and SL will give you the Wide left image so on so forth…

What I didn’t realise is…. We have another phantom layer….

That other phantom layer I didn’t know, is between your Atmos speakers and your bed layer speakers… assuming your height speakers are at 100% height; and bed speakers are at 0% heights, you will have another layer called “50%” height… that is your phantom height layer…. Something that pans just slightly above your head; instead of all the way up to the ceiling…, ( one good scene to demo is max max fury Atmos disc 2015, the car will just jump slightly over your head) the panning of the car movement is not all the way up to the ceiling, it is at 50% height layer, so it feels very realistic as if the car just slightly above your head

To achieve this layer of phantom 50% height, speakers need to be equidistant at ceiling…

Let’s see

Observe area marked in “green”… this is your phantom image formed between Atmos speakers and bed speaker, in this case, the surround right with top Center right…

Now let’s look at how many phantom images in a 7.1.6 set up


On the bed itself we have 6 phantom images (assuming centre speaker is not in use)

On the ceiling, your have 7 phantom images.

Then finally between the bed speakers and Atmos speakers, you have another 9 phantom images coming in at 50% height layer… so there are a totally if 22 phantom images with the 6.1.6 set up

Once you have achieved this, it will feel as if you are in a gyrosphere like this… the level of immersion is another level up

image

to put it in simple word’s, that is exactly what “AURO 3D” achieves…
Hehehe!!!

1 Like

I did a couple of test… so far found 3 clips to demonstrate the quality of phantom images between bed and heights….

  1. use the “ A quiet place, part 1) basement clock ticking scene for

Testing the front wide left phantom image with front right wide image…

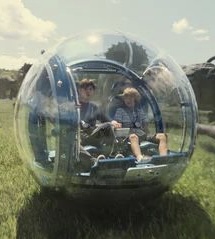
  1. use the 2016 Atmos test disc, jungle scene for
  • testing surround back width left ( phantom image between SL and SBL)


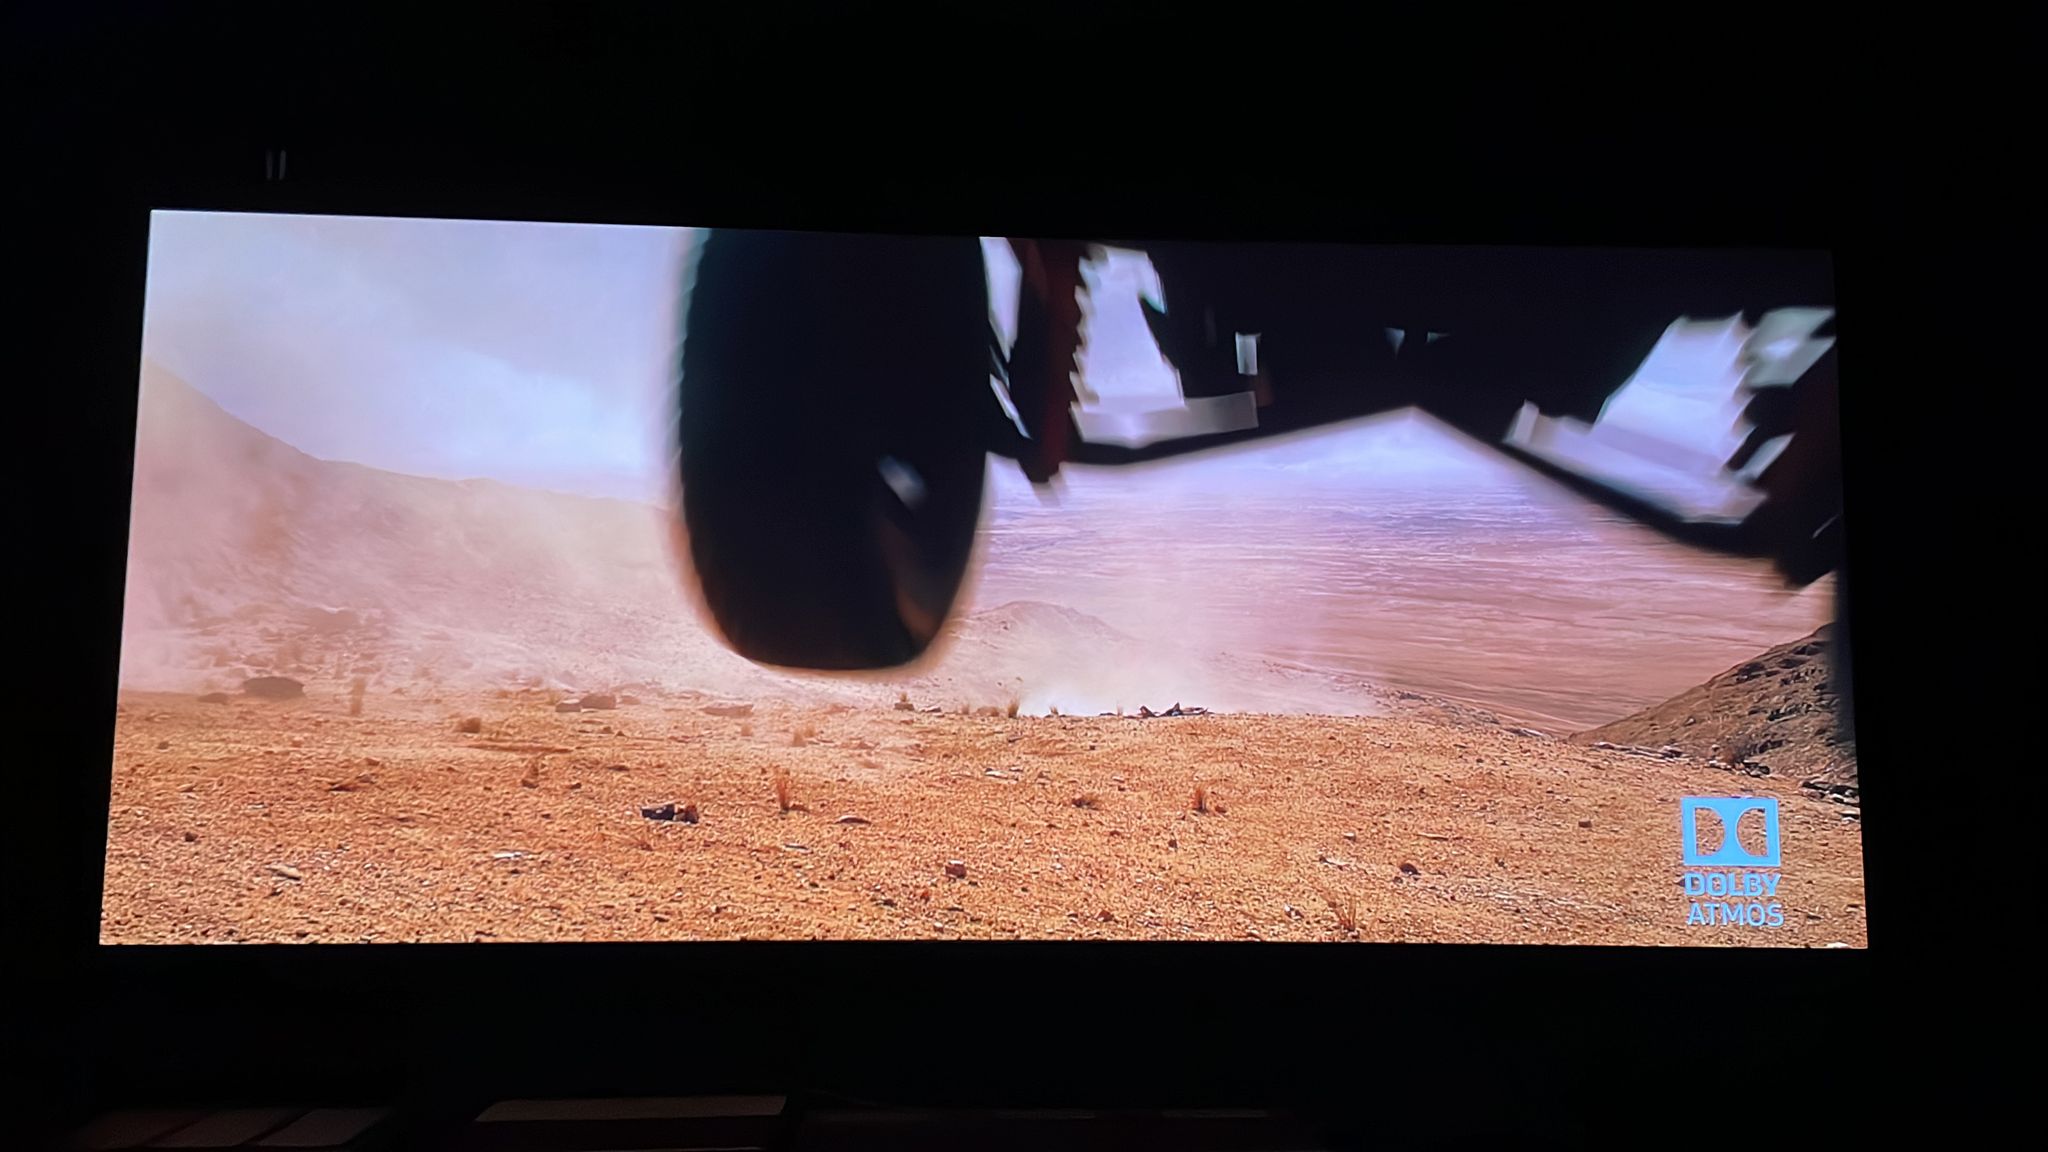
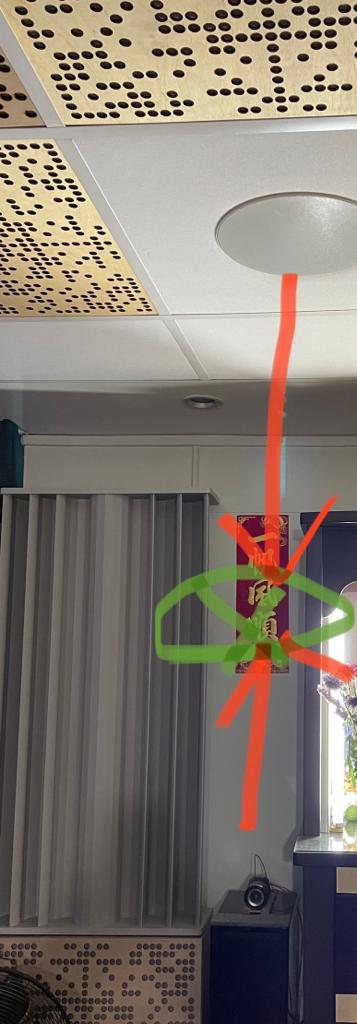
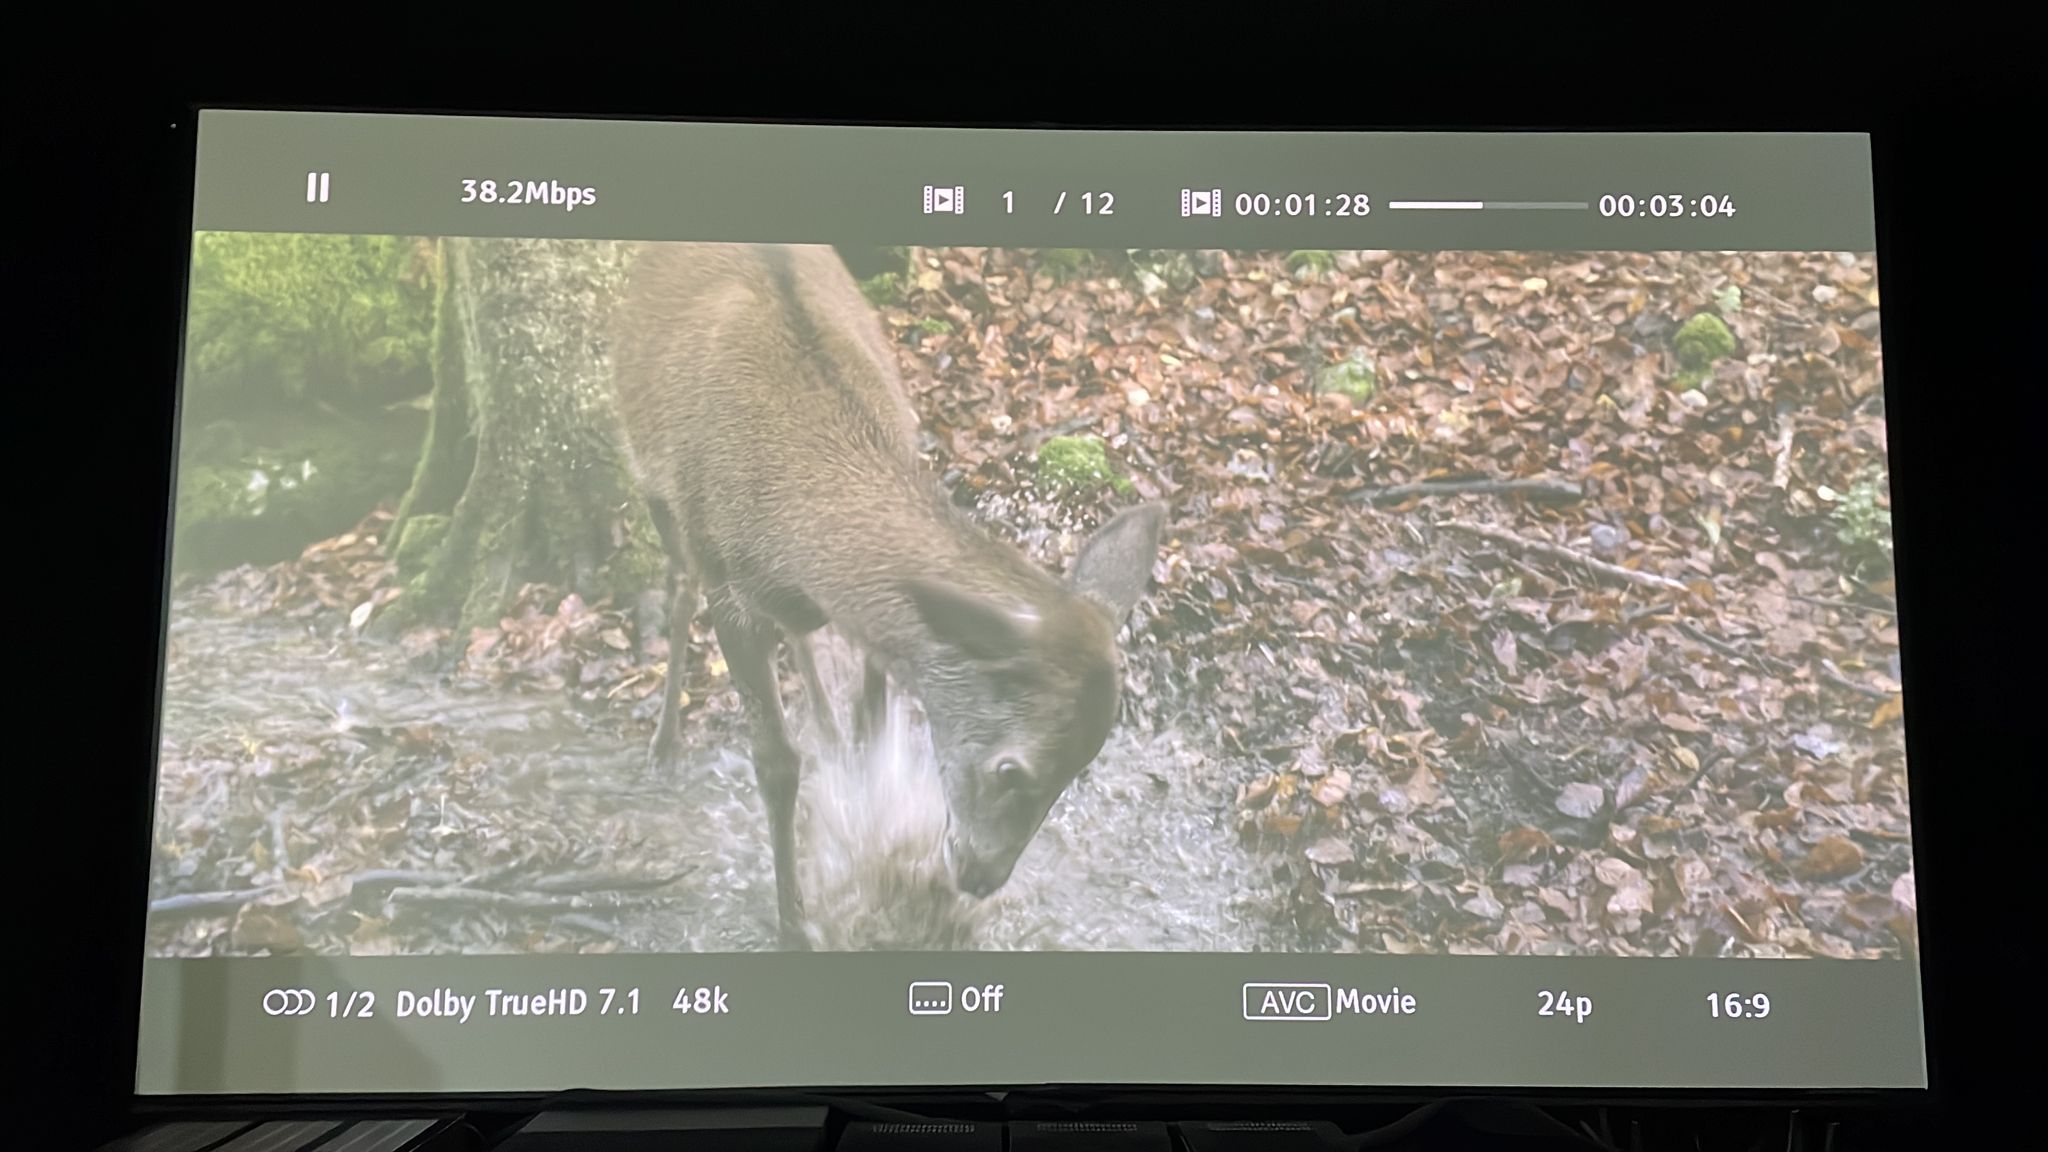
Sorry for washed out image

At timestamp 1:28, the deer moves from surround left towards phantom wide backs…. The running sound extends to 1:34 even after the porcupine appears… the decay is solid… the deer is still running behind the porcupine !

With previous set up, the deer runs at the surround left, and finish. That’s it. This one u can find he is running away further behind towards kitchen area, the phantom area, and this is extending for 6 seconds even when the image of the porcupine is showing. Brilliant stuff when the imaging is done correctly with the spatial disc

  1. 2015 Atmos test max max fury
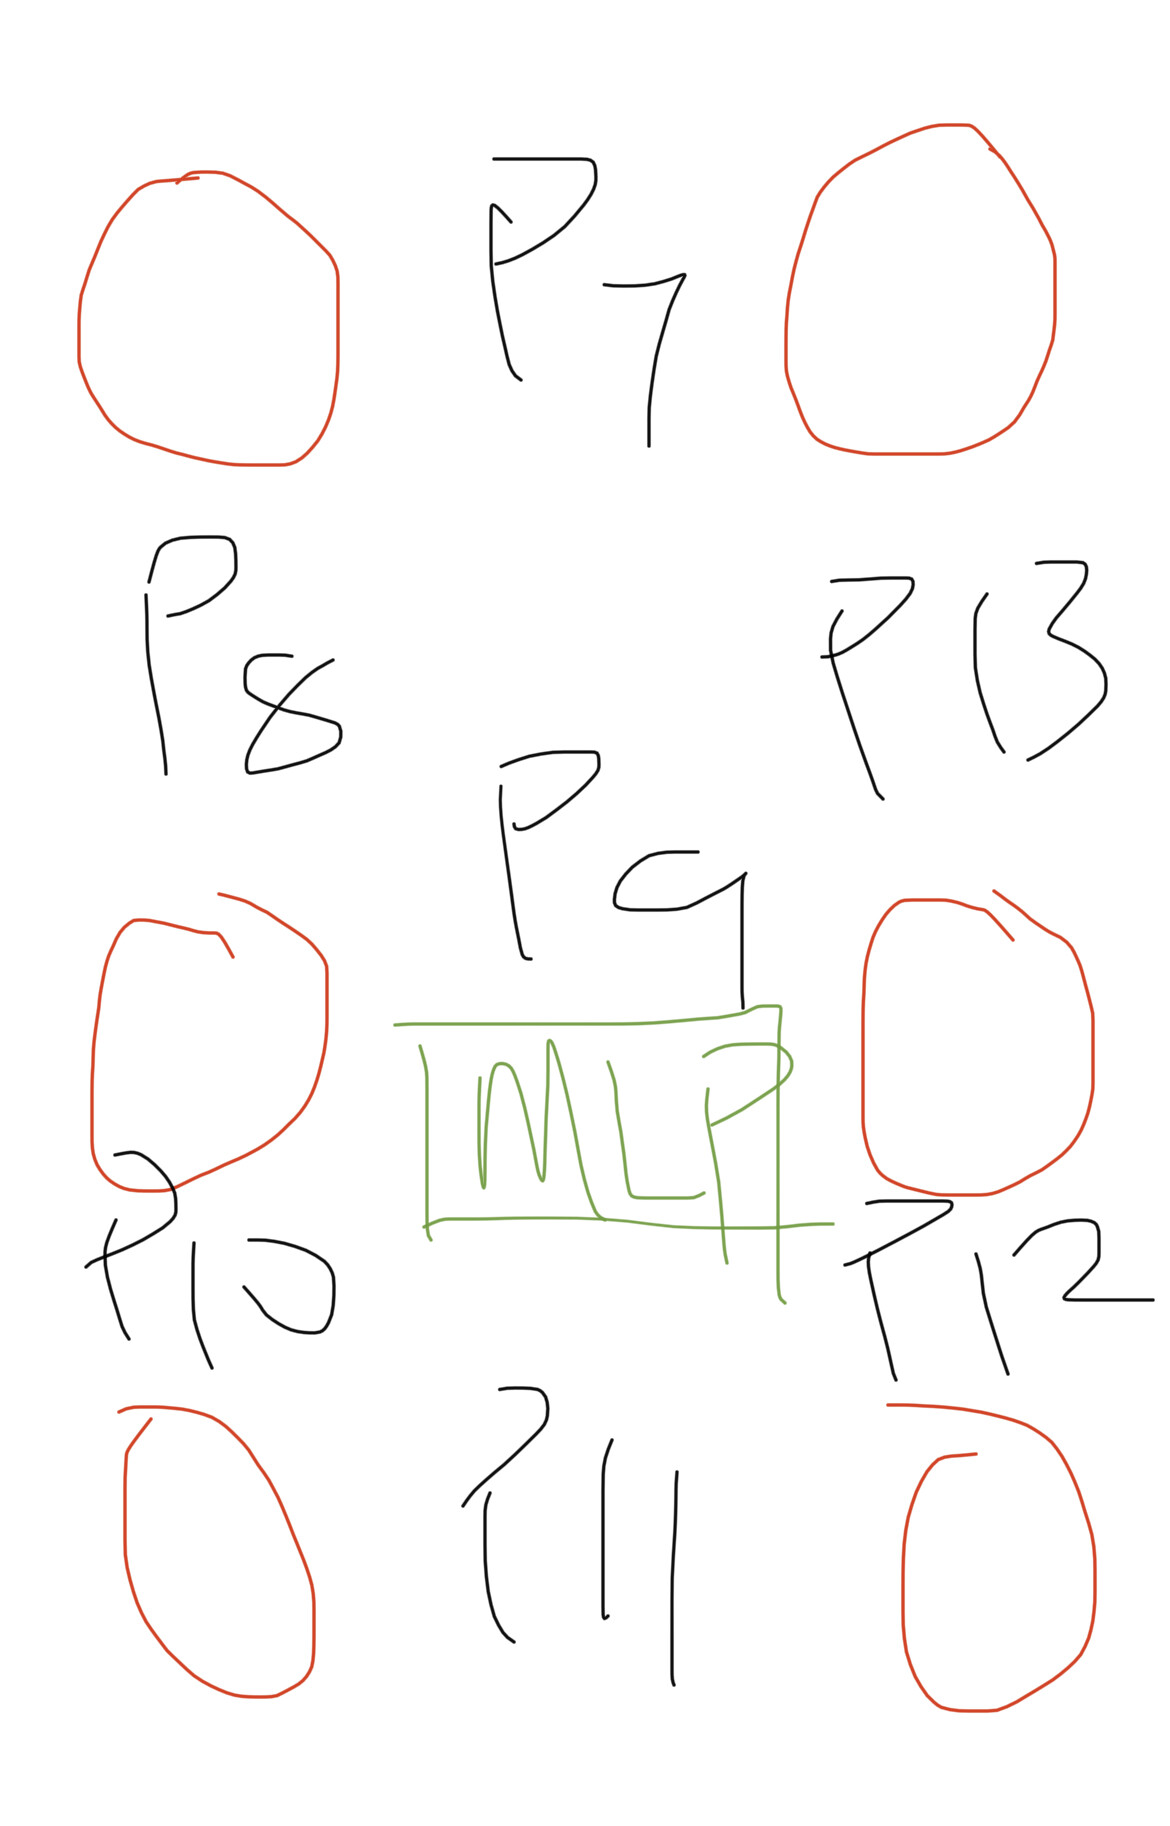
  • testing for phantom centre at 50% height. As mentioned above

So far I’ve come across 3 solid scenes to test , still in the process of compiling some nice demo worthy scenes for these phantom images …

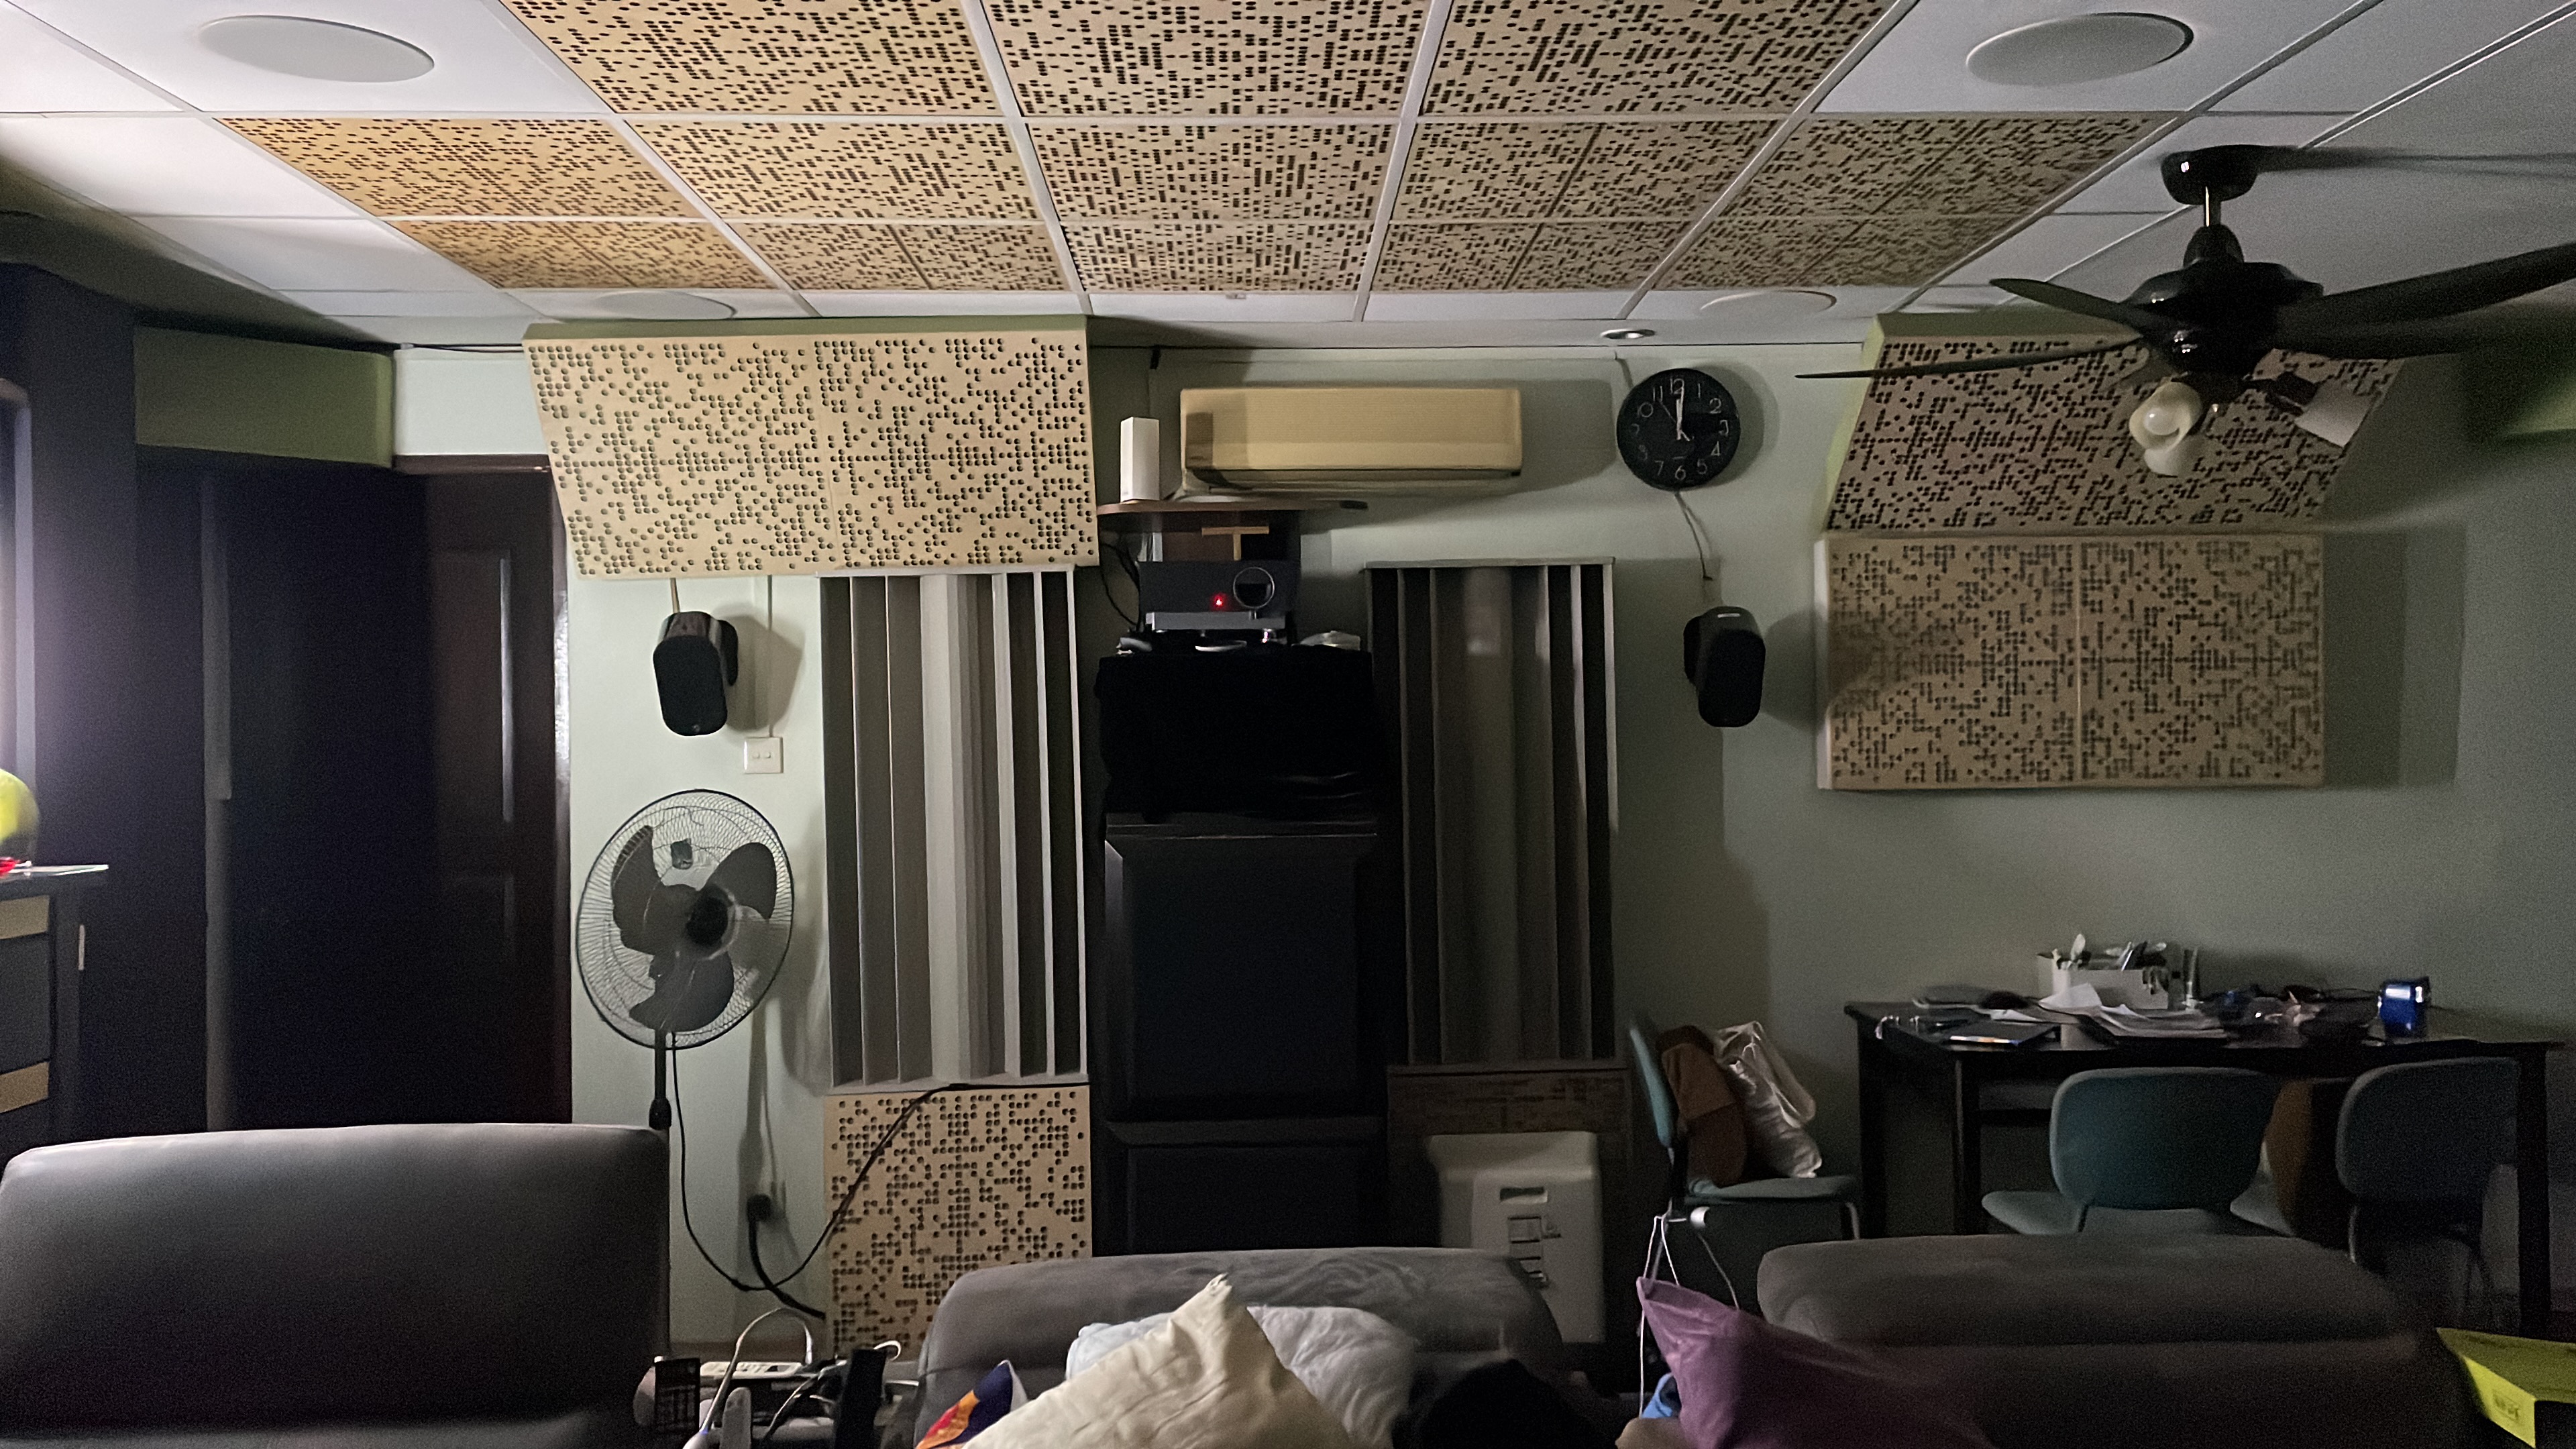
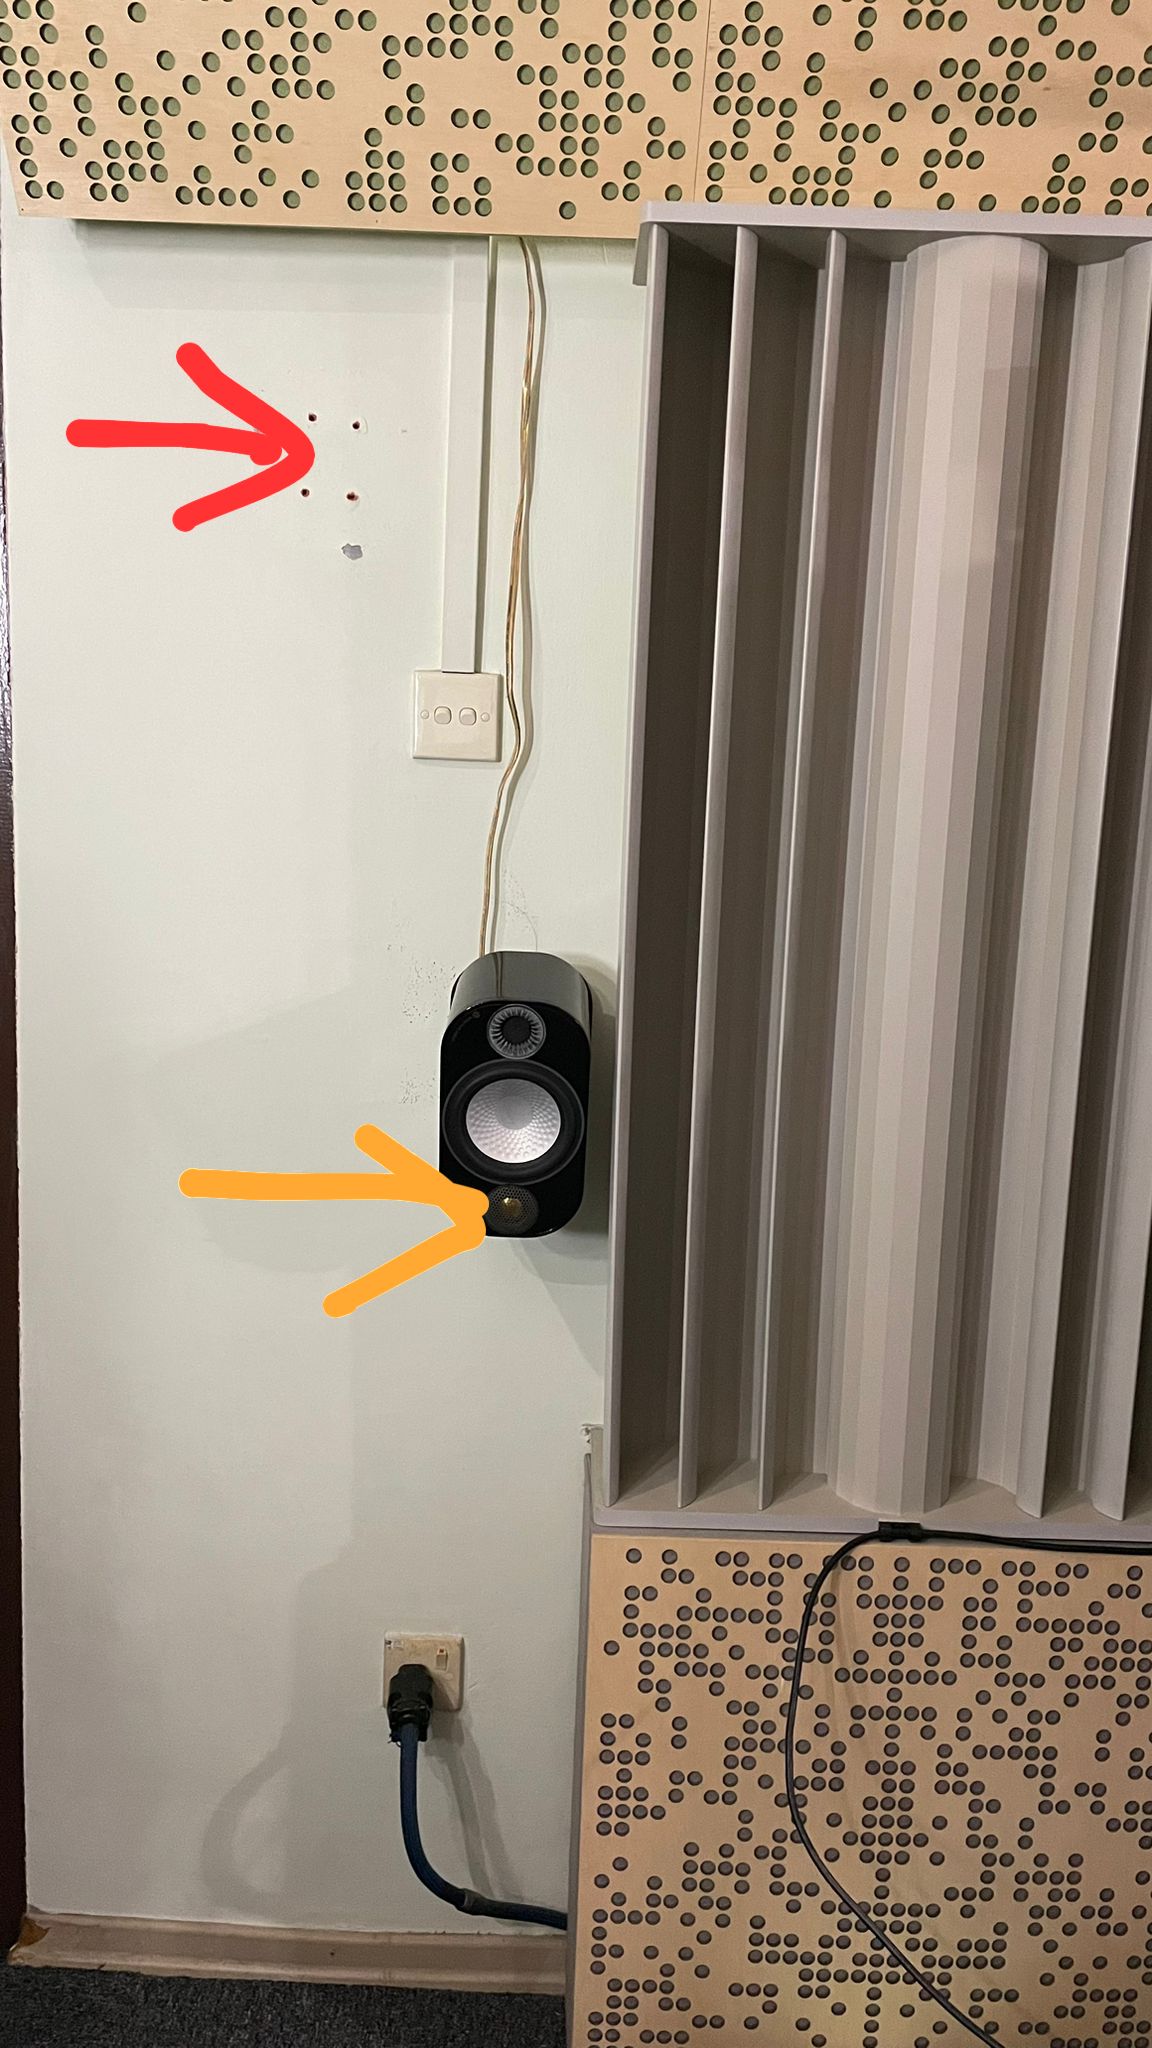
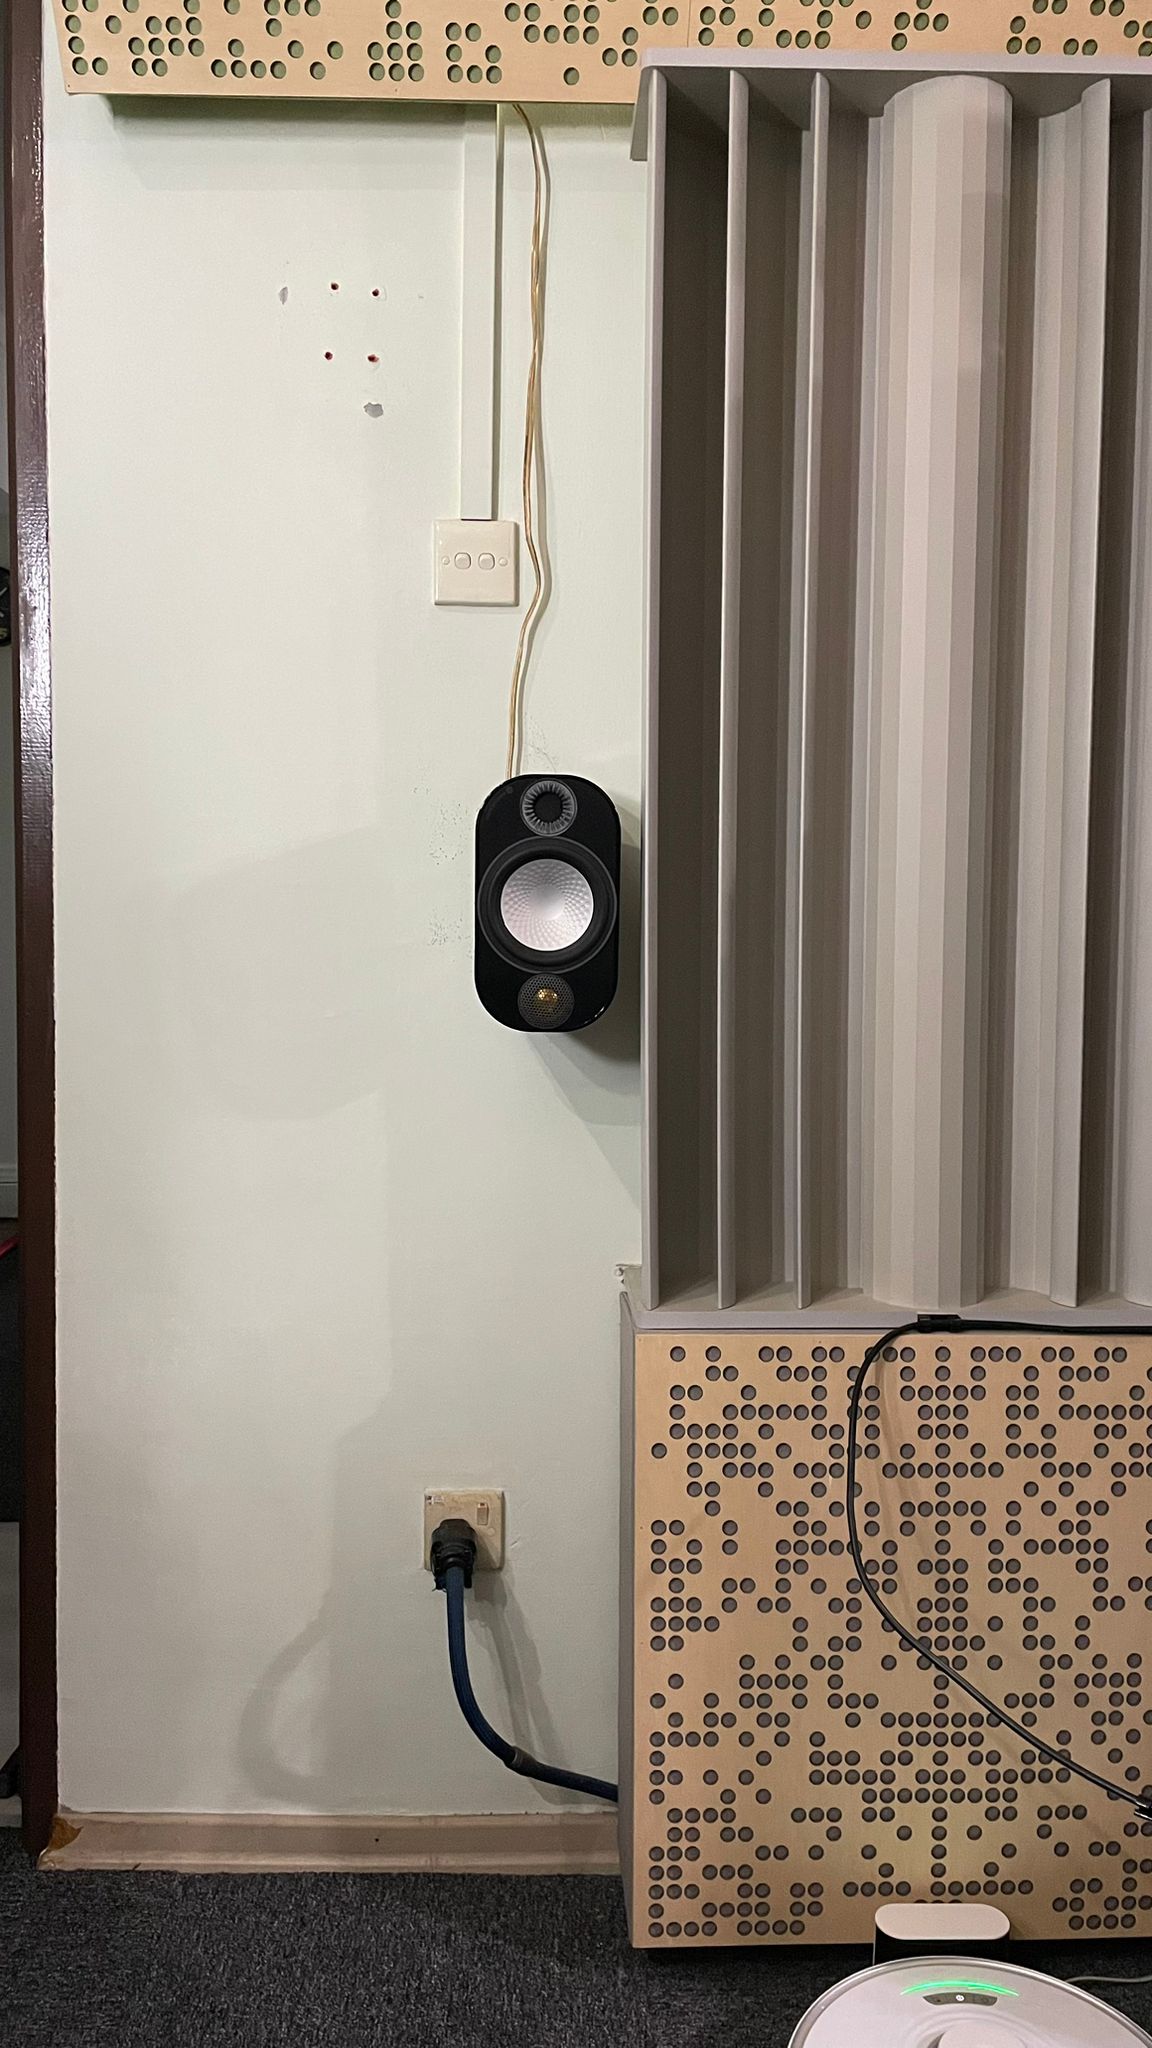
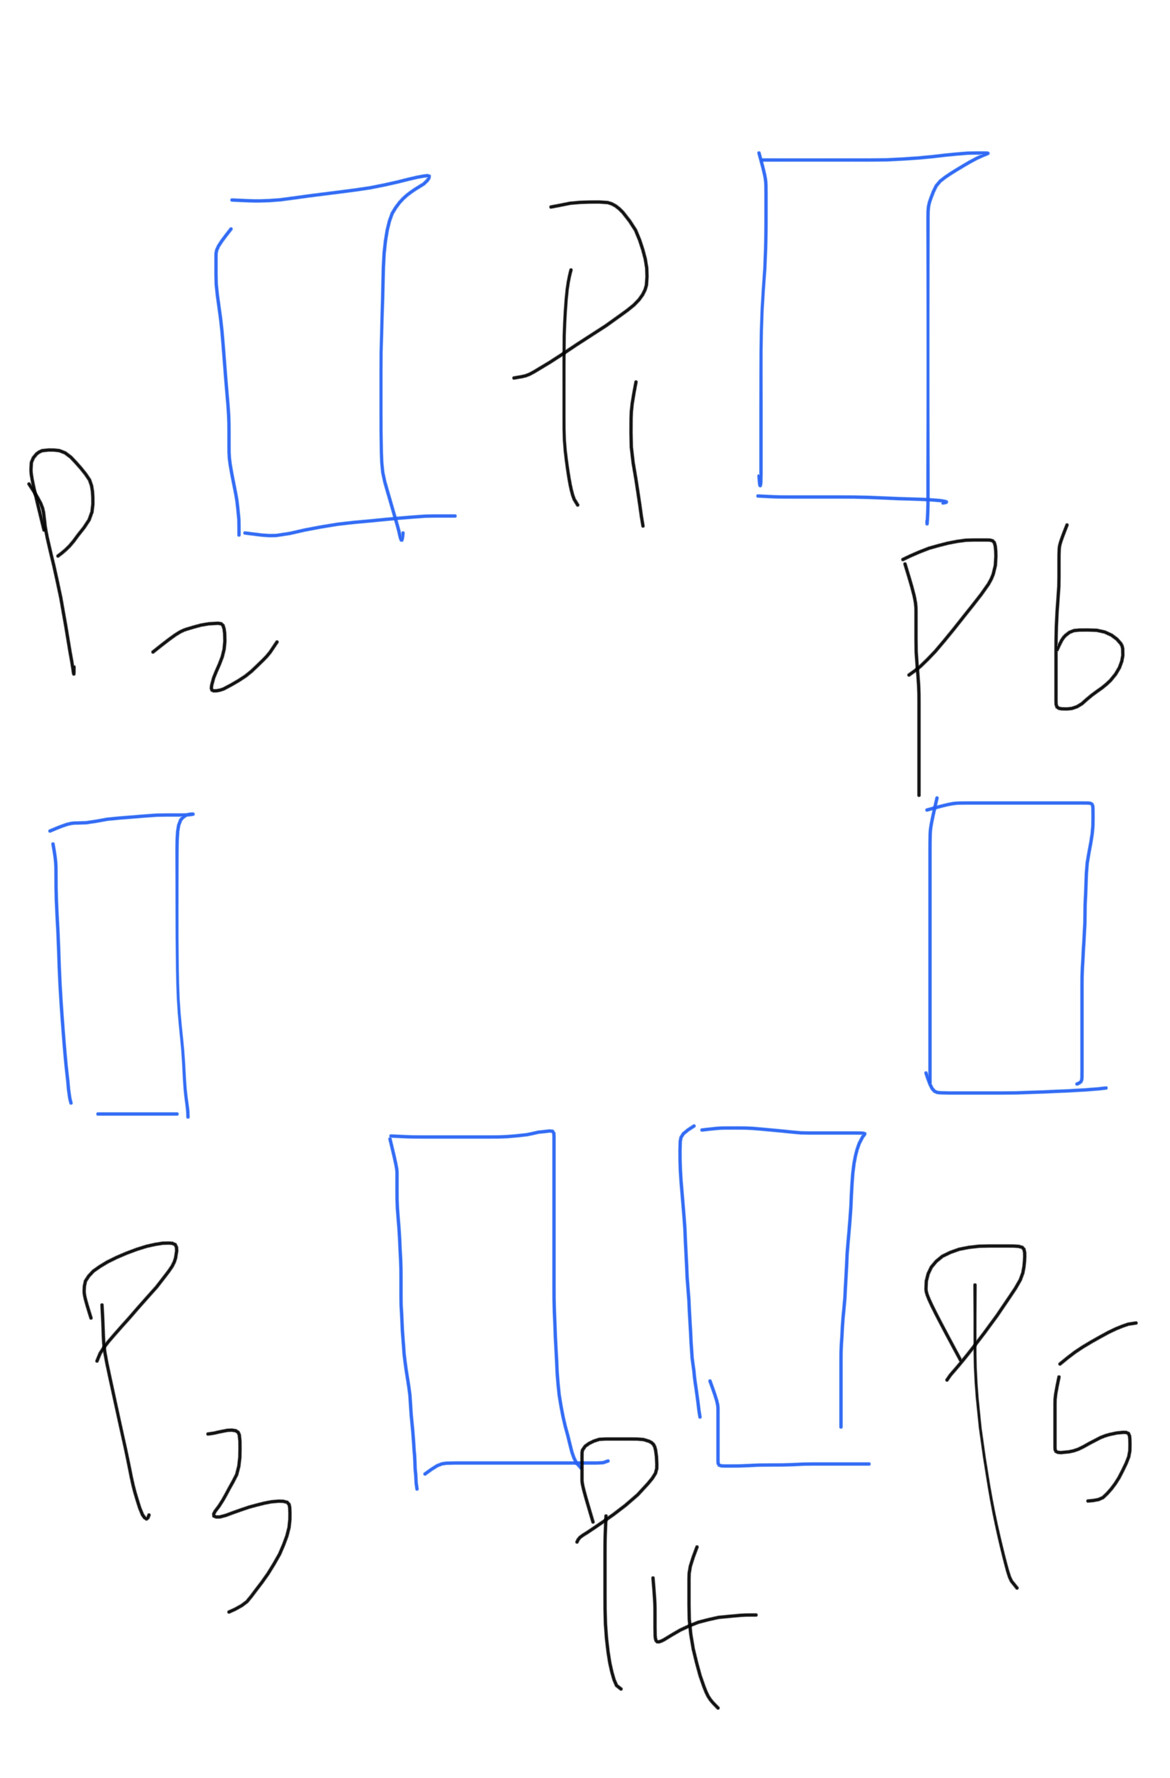
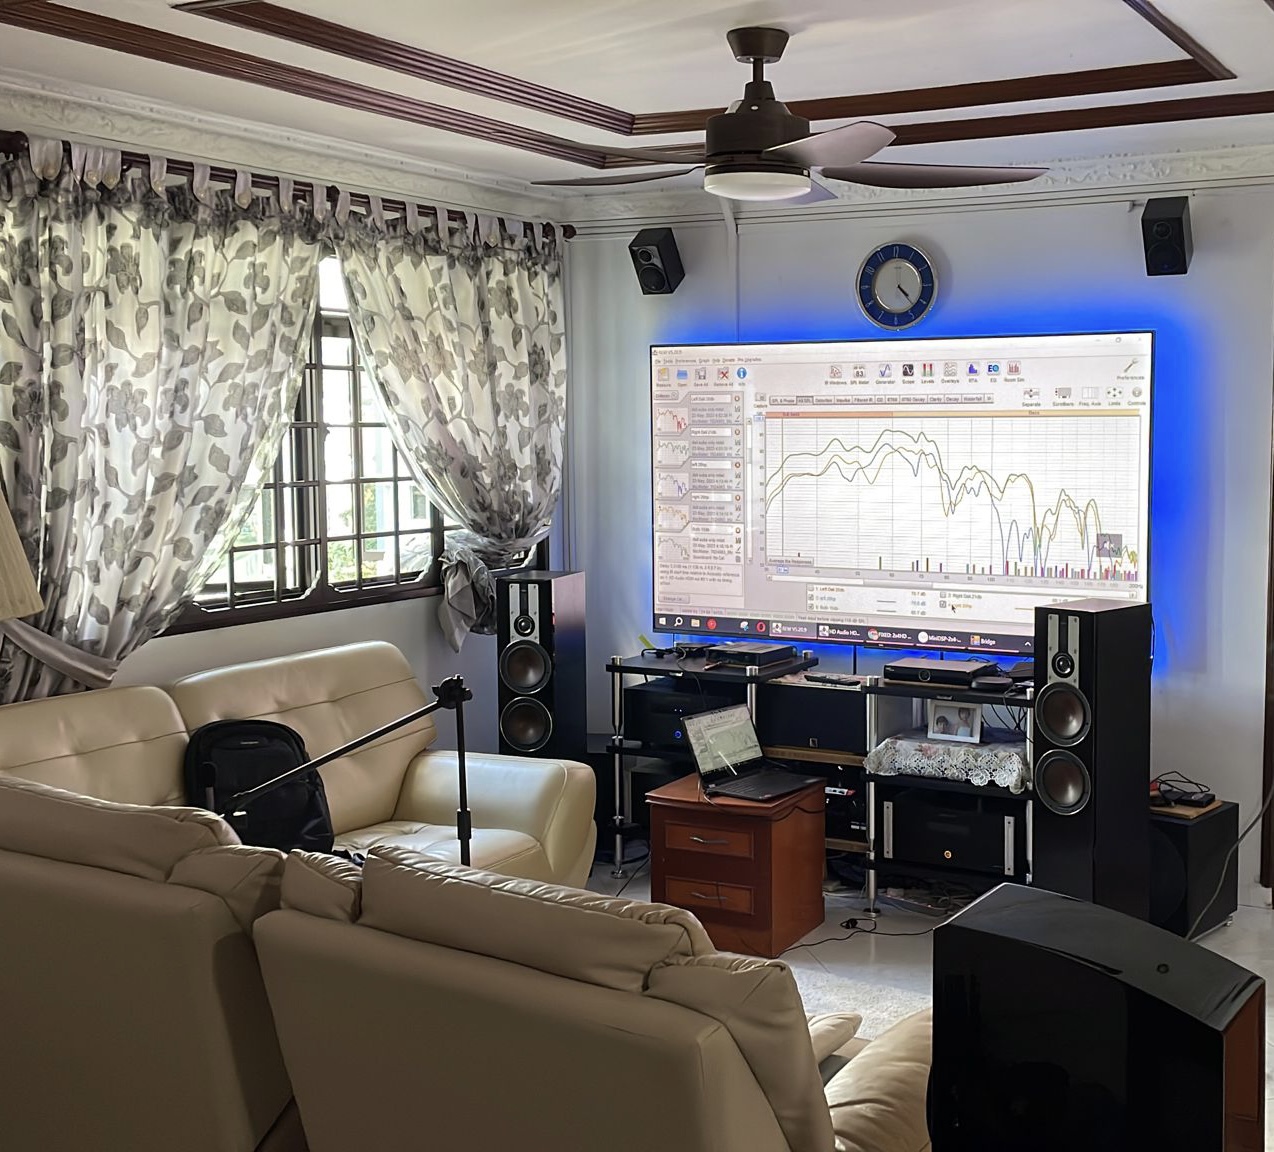
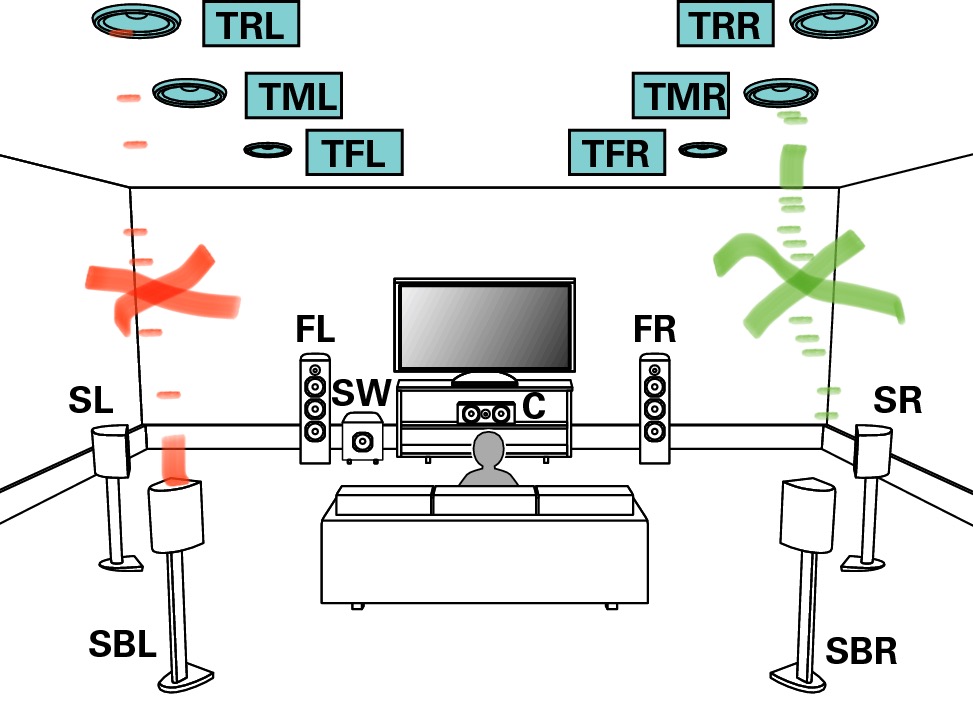
One should also note that in order to achieve these phantom images at width locations, the room needs to have space

My living room measures 6m X 8m… so I have a lot of width.

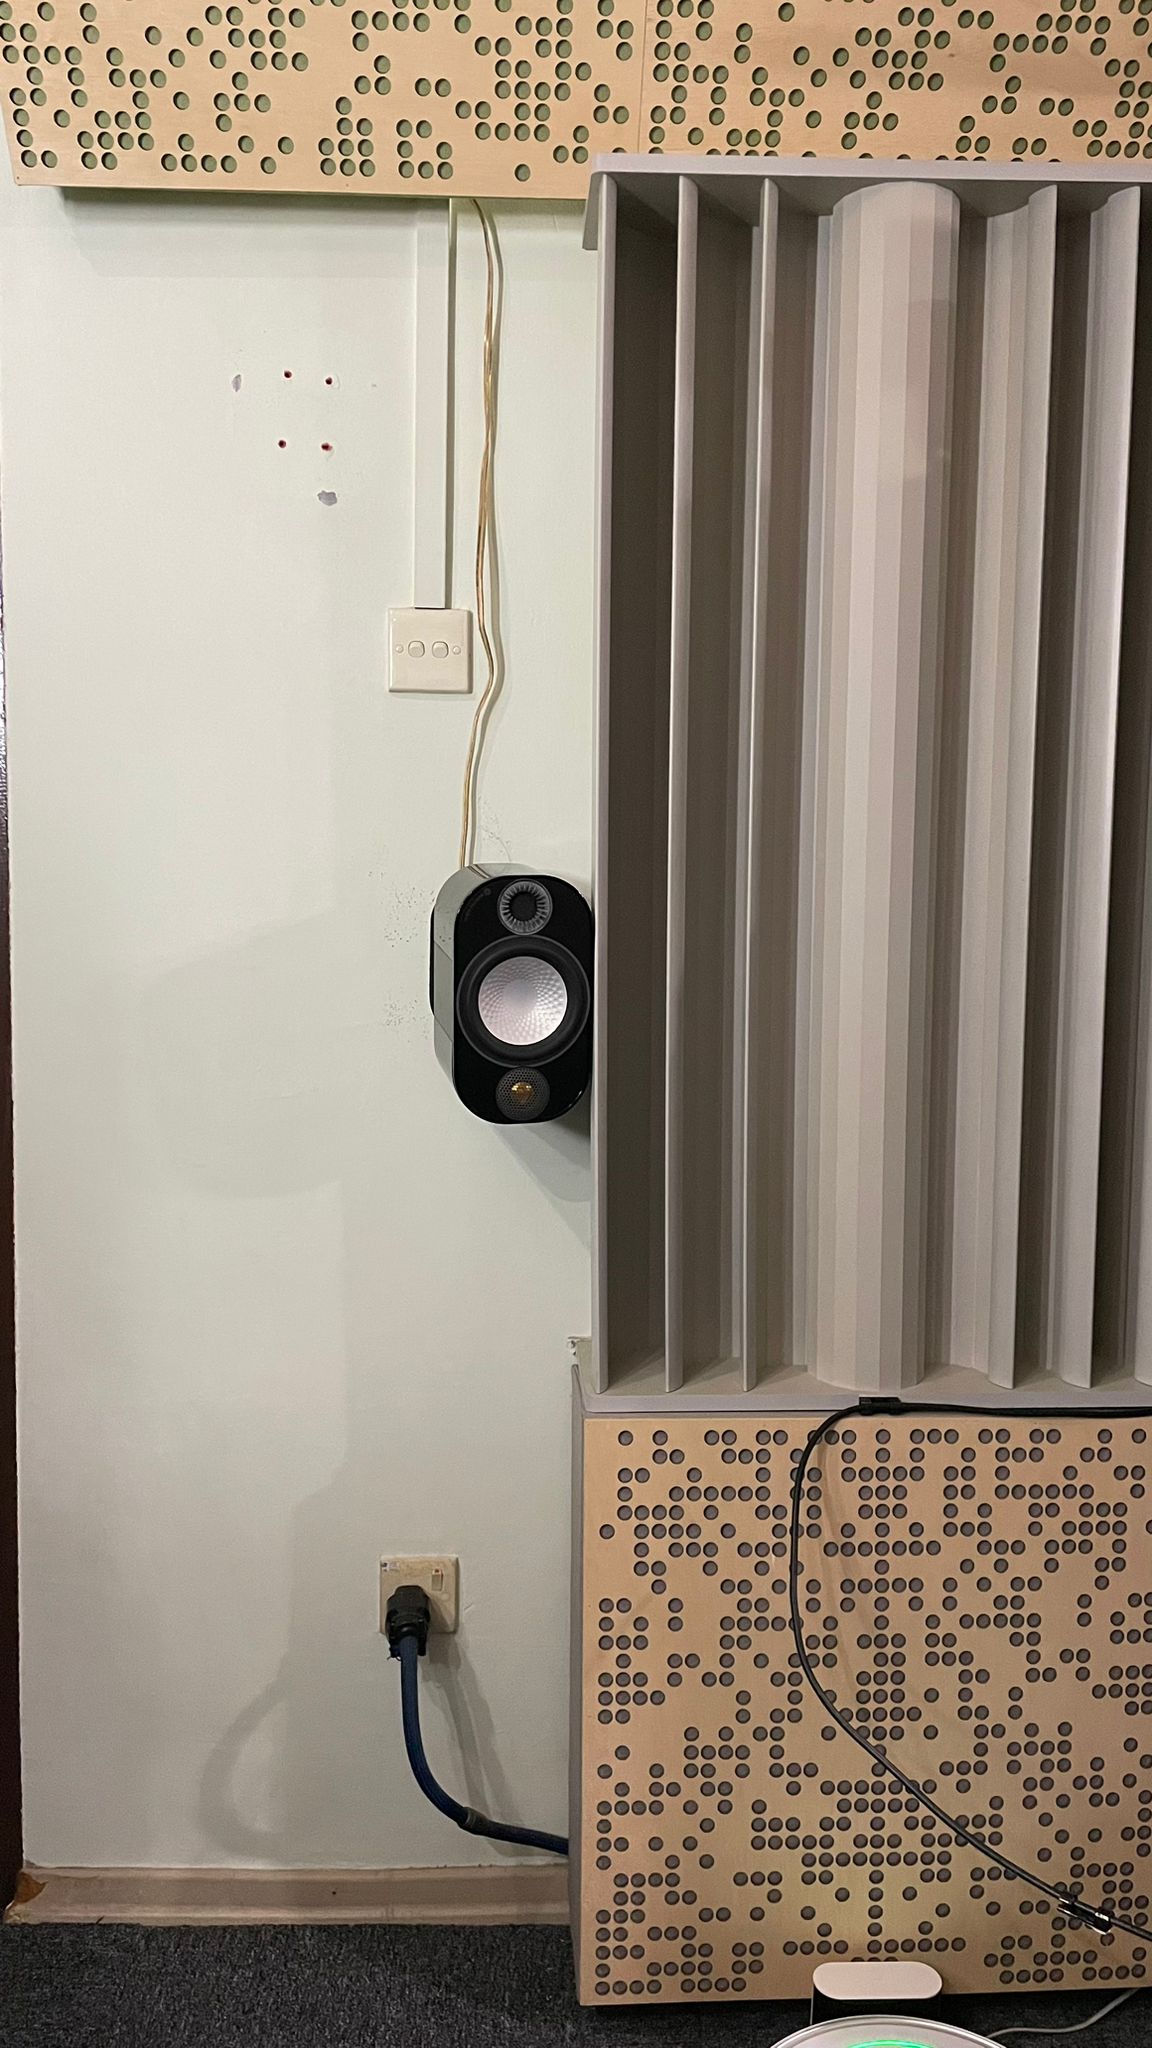
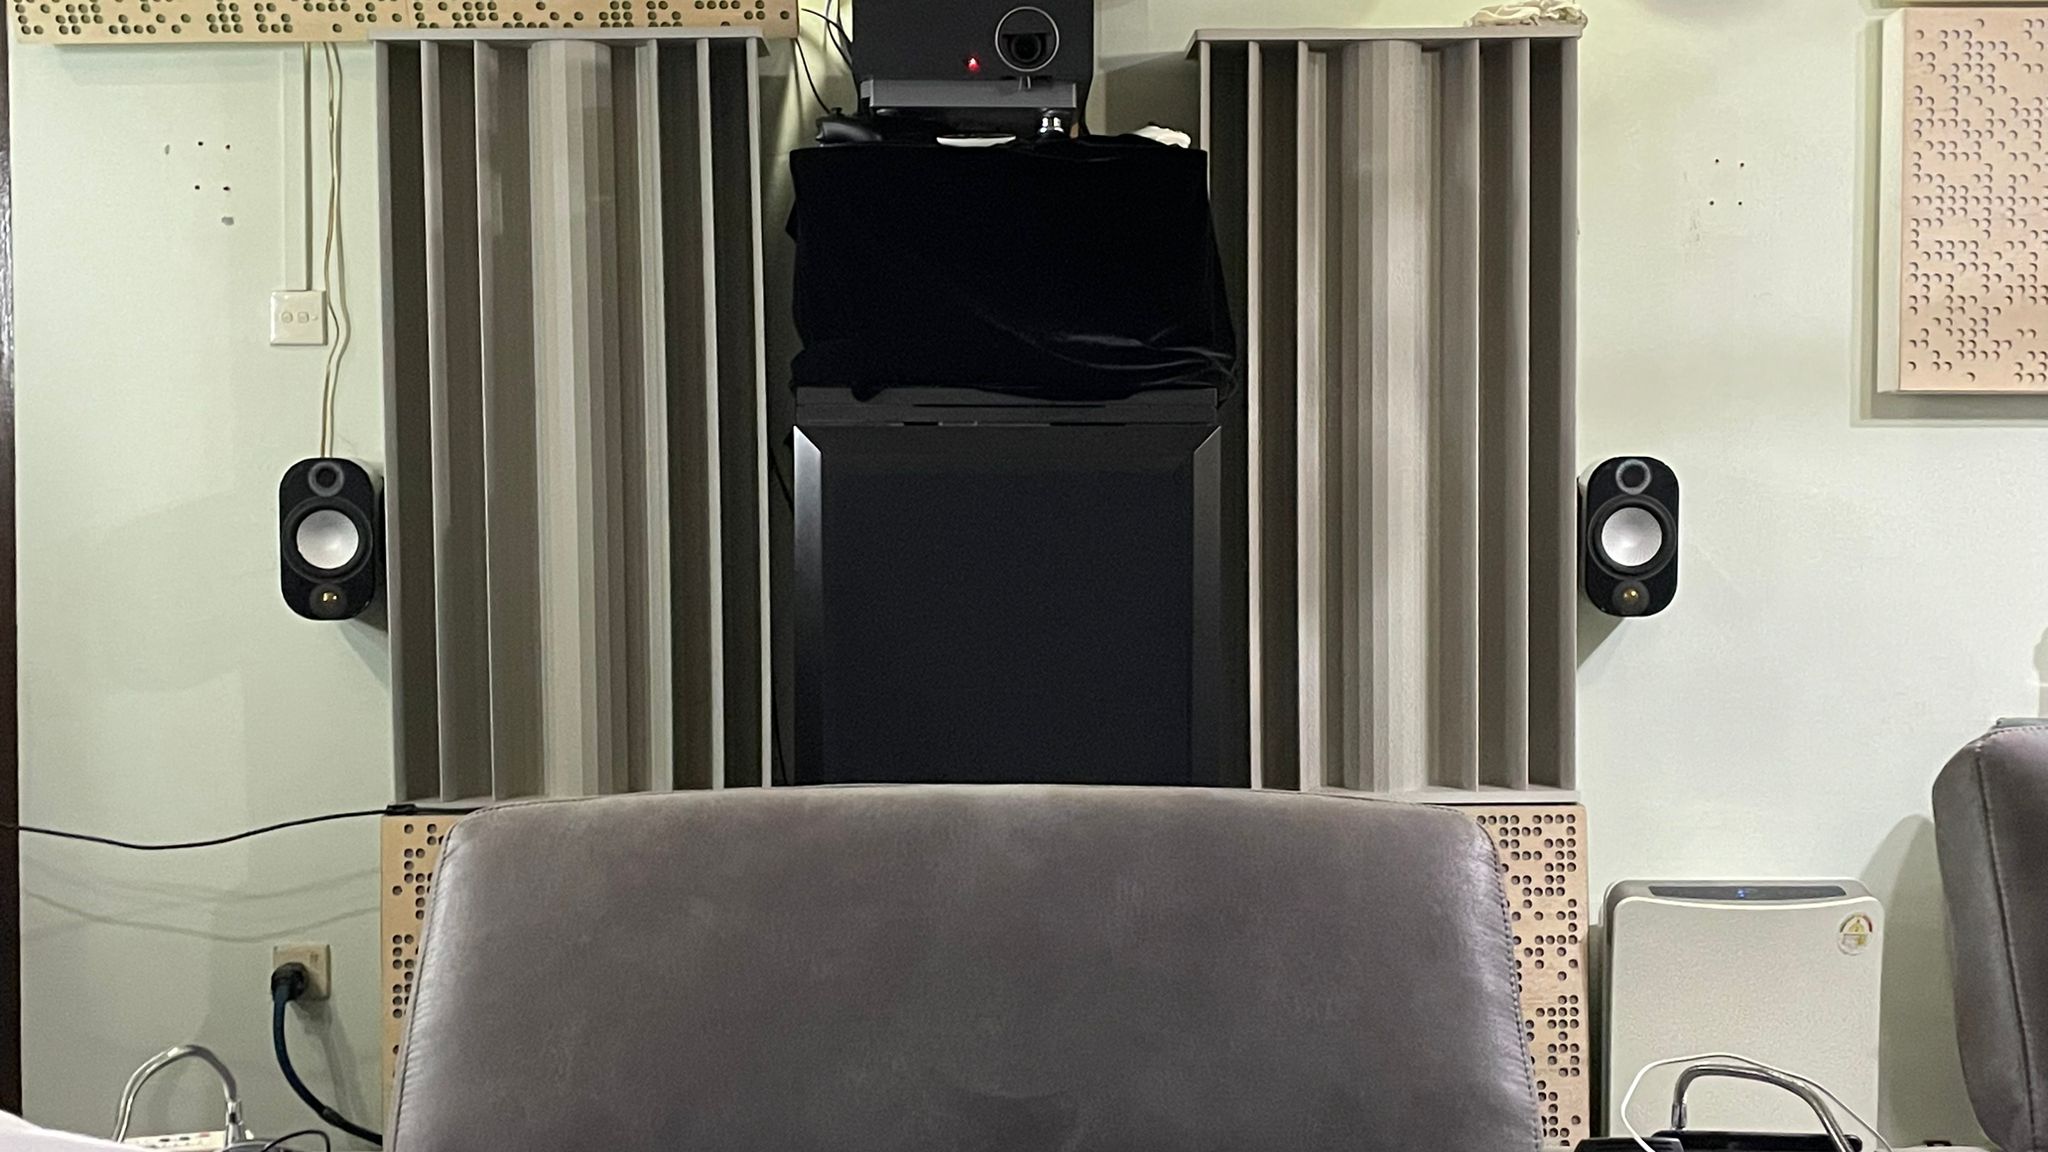
My MLP is 3.3m from front wall, so I have 2.7m from back wall for sb speakers. Surrounds are at approx 3m away from MLP to left and right. This is creating another thing called “phantom depth” at wide locations.

Remember how we place main speakers away from wall? To allow the speakers to “ breathe” so we have a depth ? The same logic applies for phantom wide. There is another aspect to this called “phantom depth”. So phantom depth at my home is measuring 4m from MLP

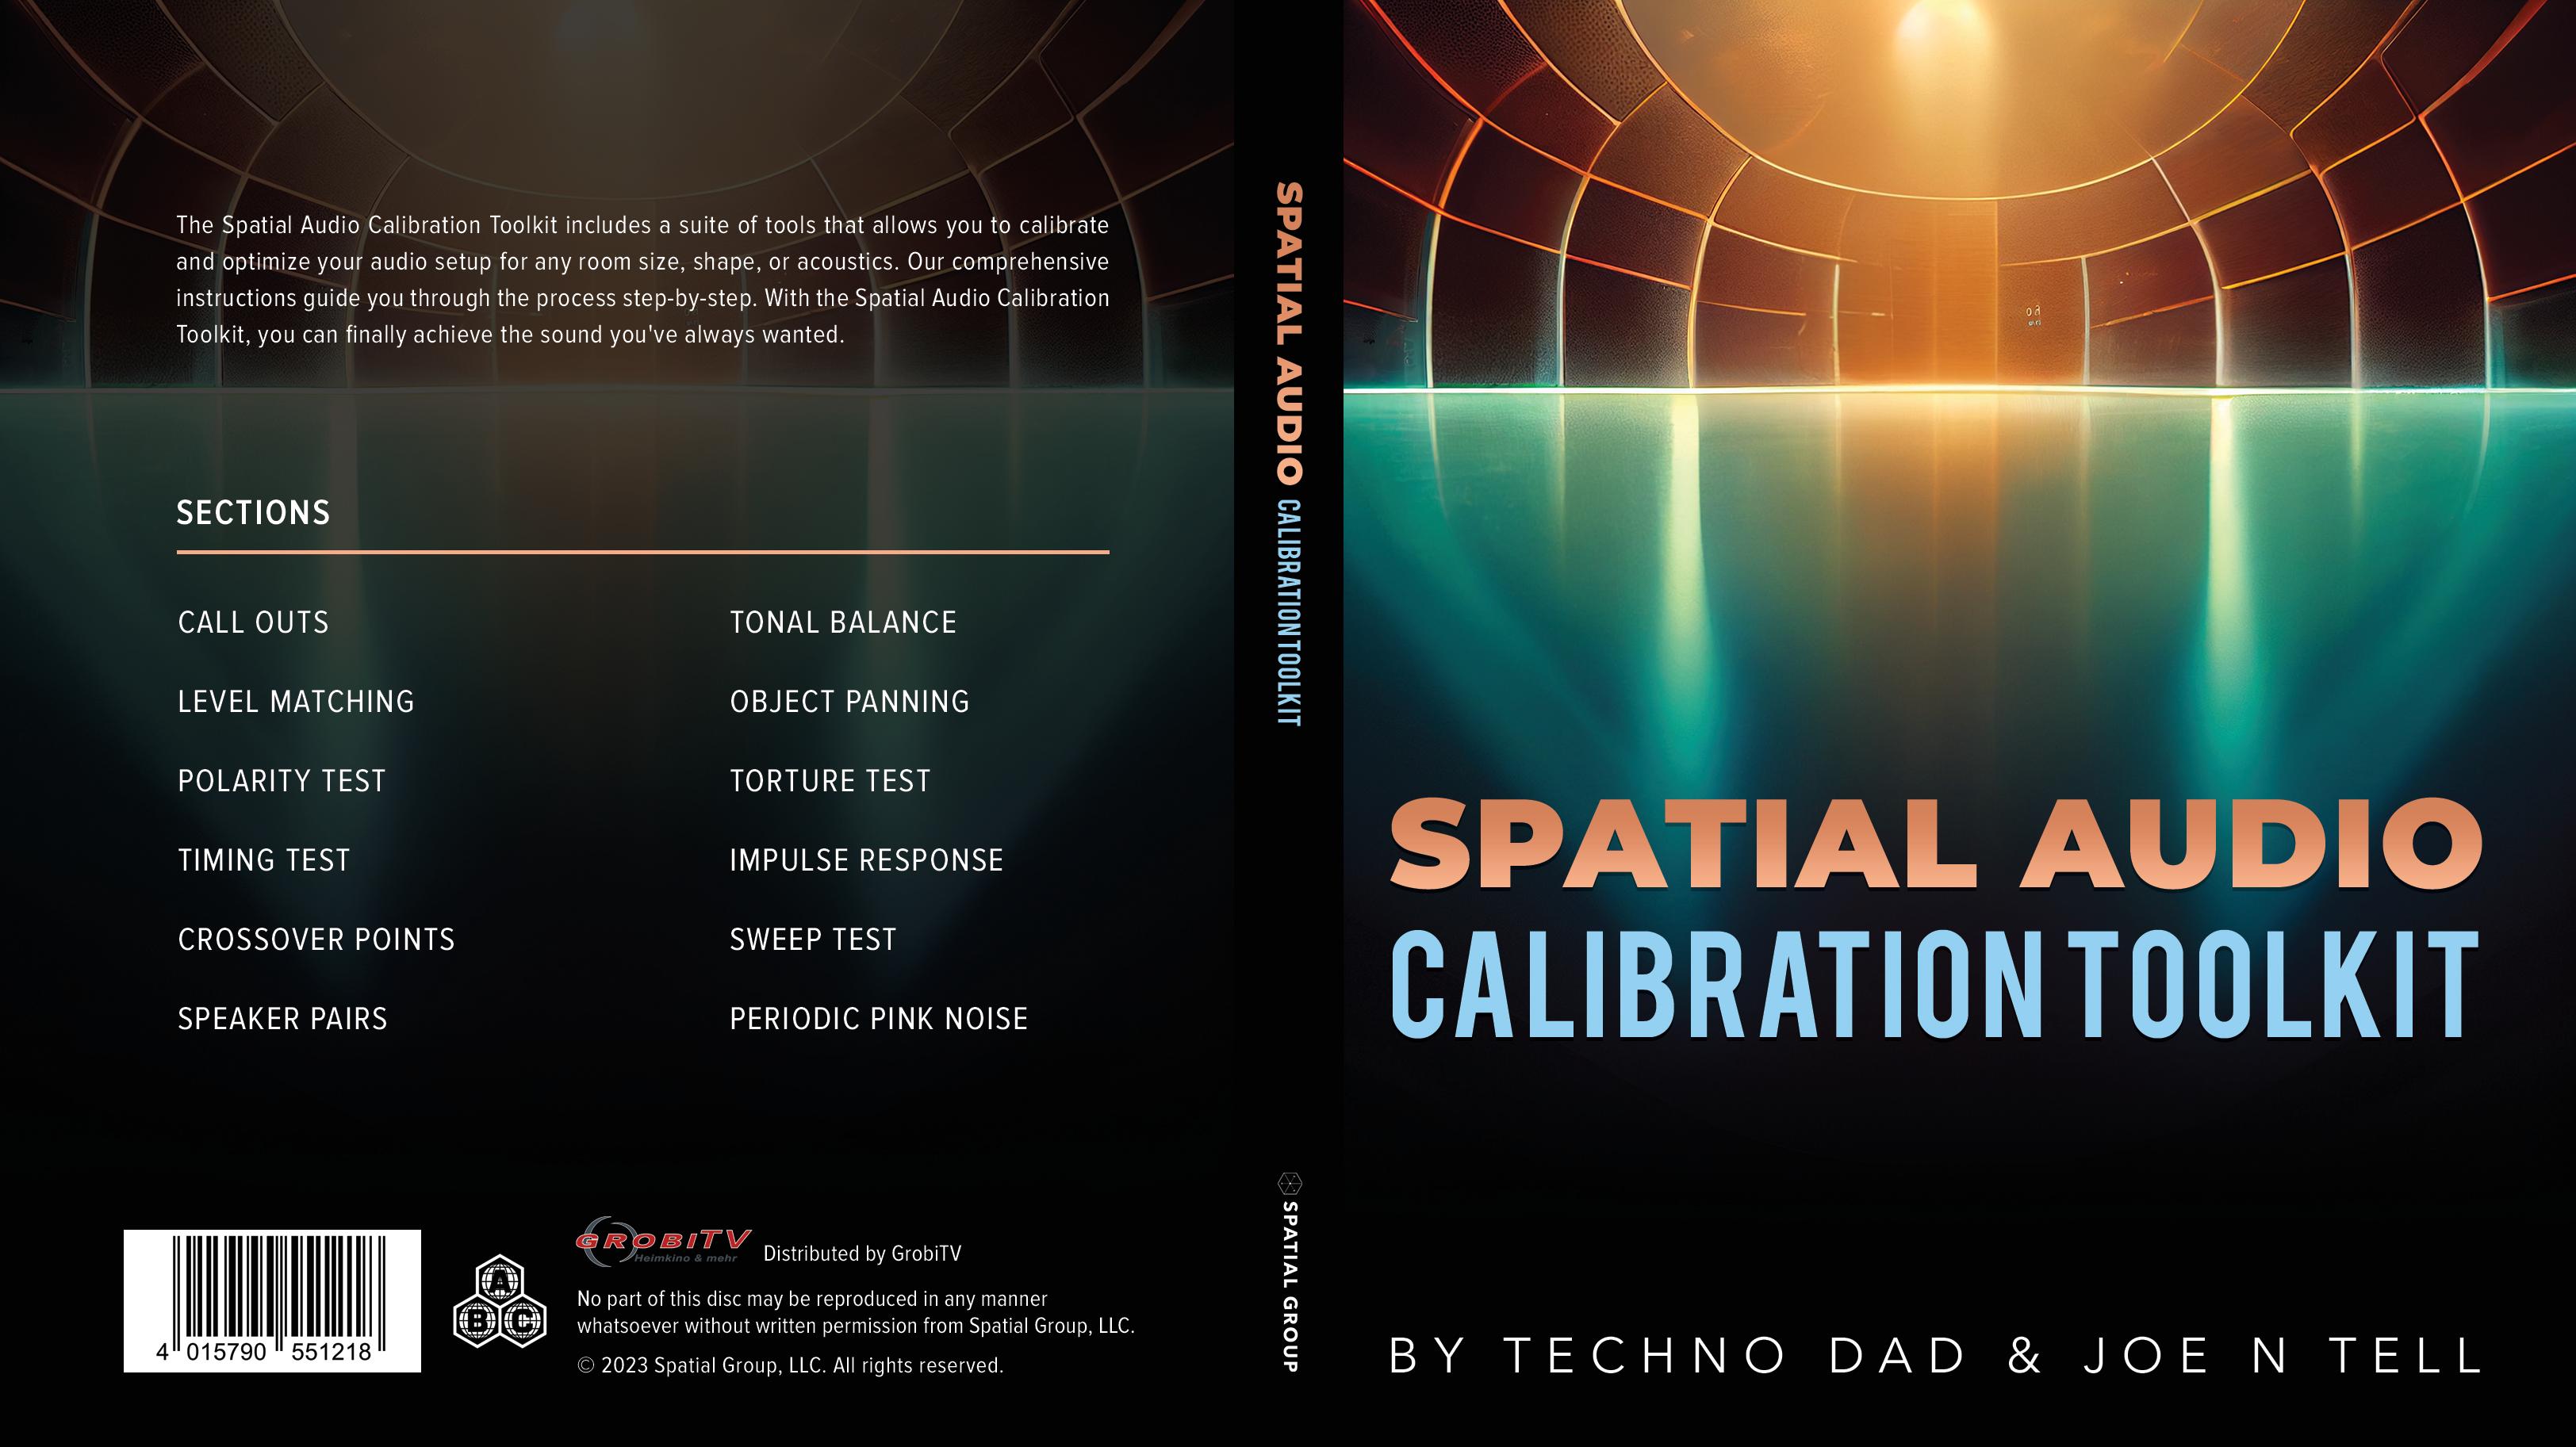
This disc is an excellent disc… there is no guessing anymore ! You can dial in the system to have reference levels ….

Too much levels boosted, your imaging will skew, incorrect placement, your phantom image will collapse… incorrect toe in, you won’t get your phantom image…

There is no more guessing ! You can use this to dial in any speaker system in any room , any shape …

Of course if your MLP is right up against the wall, then there is nothing you can do. Dolby says, that’s not my problem, it’s your room limitations, I can’t help it….

I remember in the past, we always get this question that no one can answer

Eh bro; how much you boost your surrounds after audyssey huh? ( due to shape of ear and how humans perceive sound from behind) I boost 3db; oh, Issit? I boosted 5db! Some 2db, some even 7db ! Lol… all sorts of levels… and then they go… ah yaaa… no right or wrong… it’s your system, your preference……ahhh with this thing… no longer have such a thing u suka suka boost… the spatial disc will reveal the flaws… the image will skew and the bubble will be incomplete …

That’s how good this disc is!

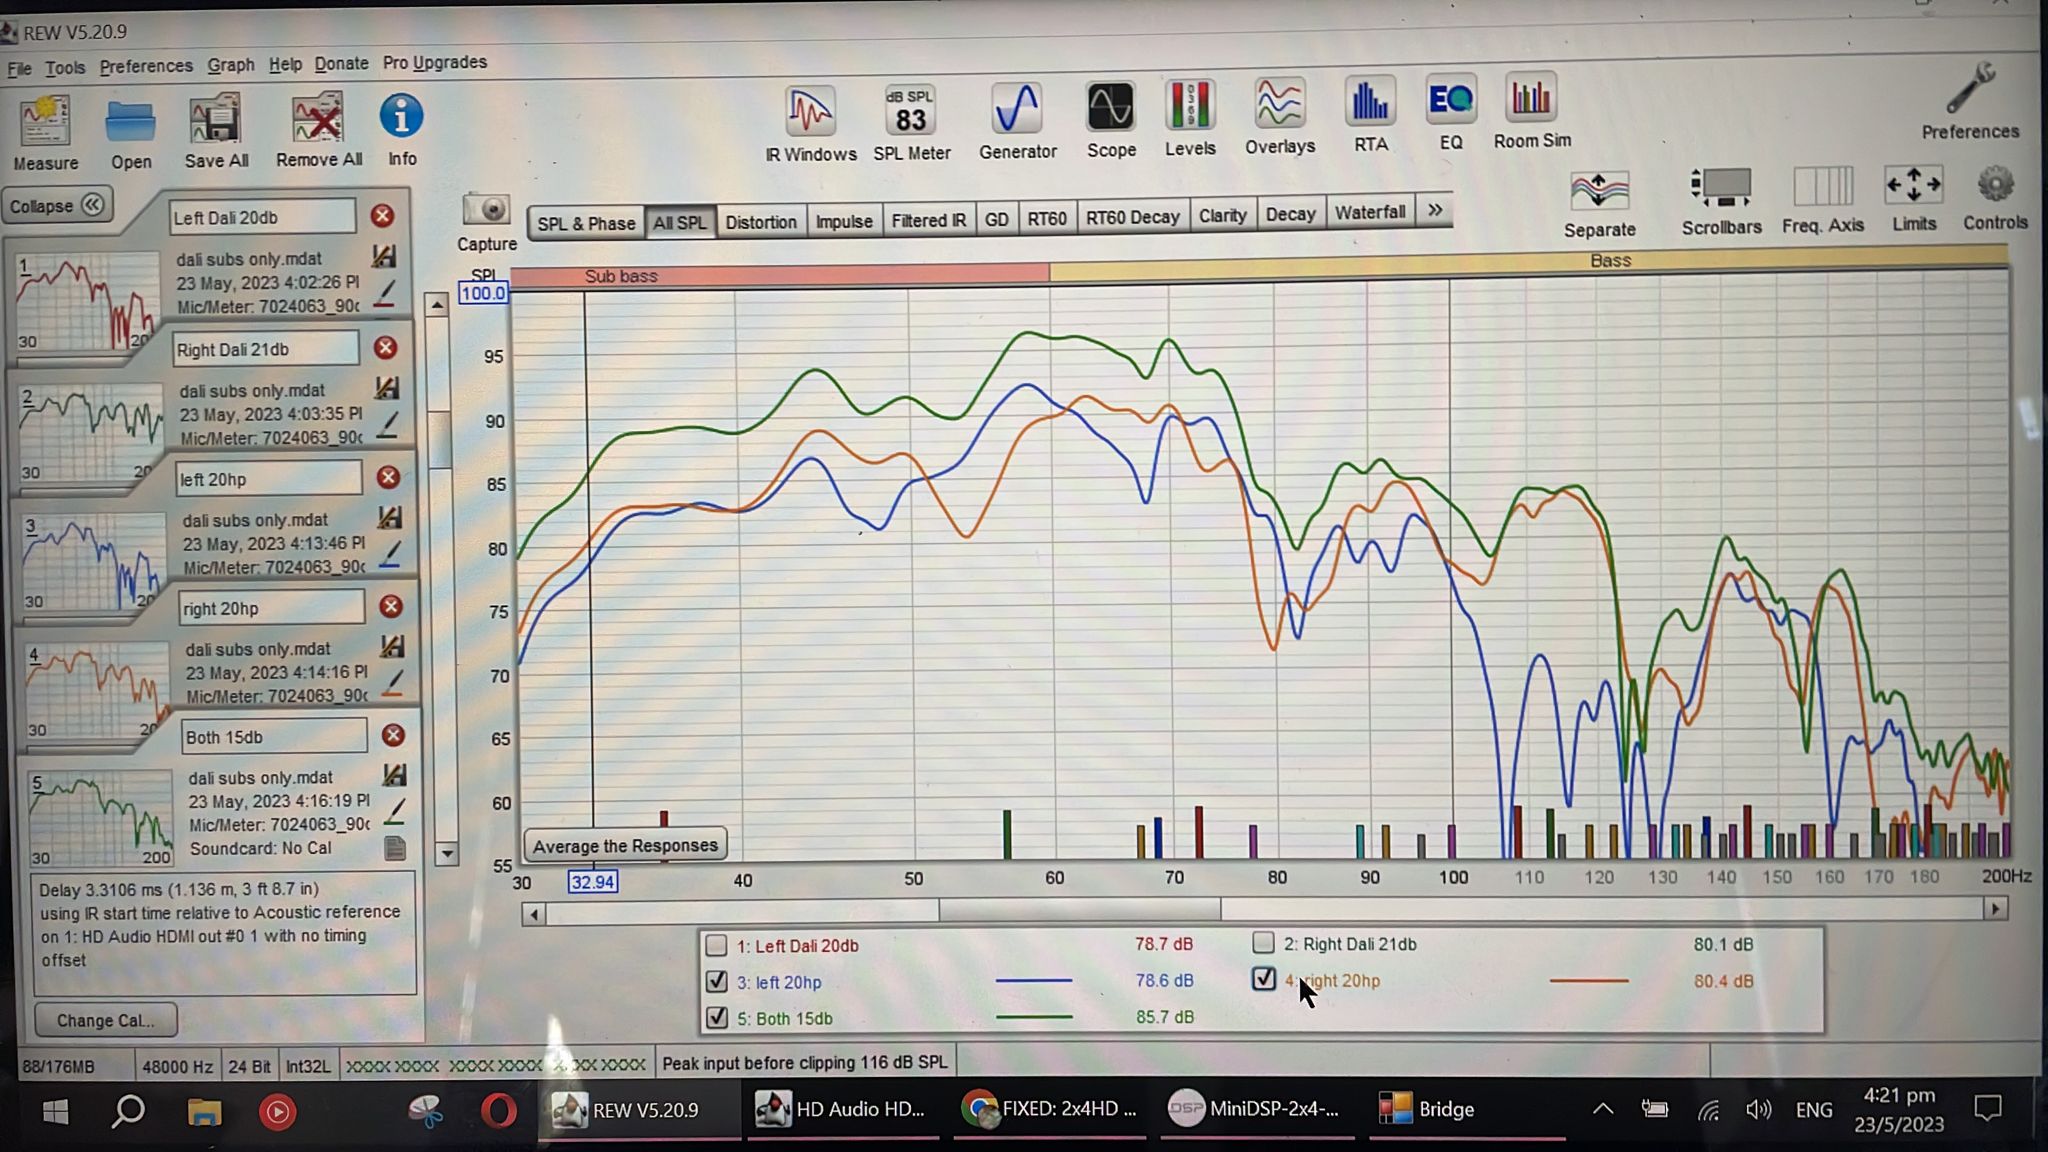
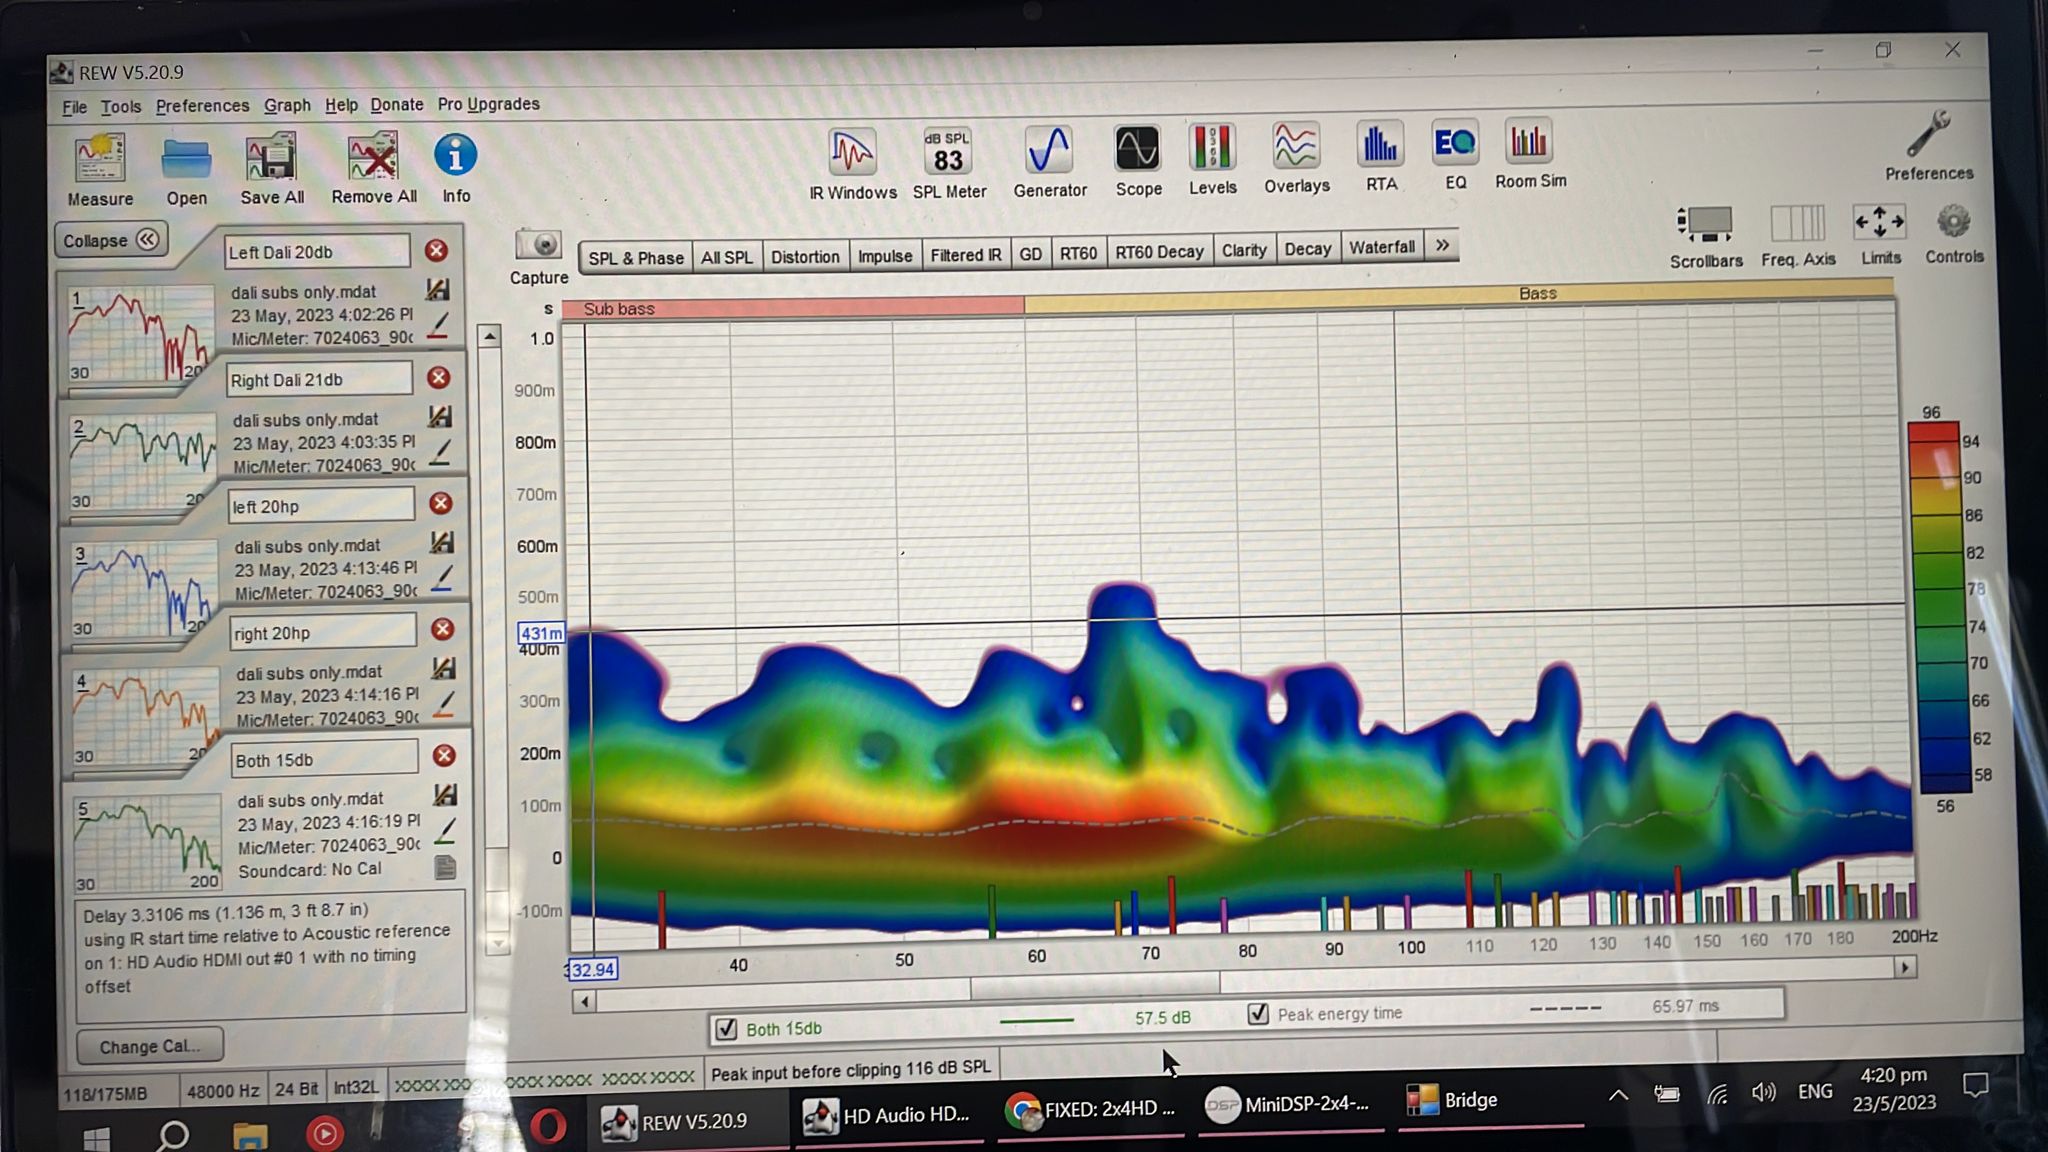
REW cannot measure this… so they really supplement calibrators working with rew …

Fantastic must have disc that works well

Apparently u can also dial in the timing and phase check etc etc… but I didn’t use those features,… I use rew for that…

I’m using the grid system on ceiling , it measures 60x60cm / grid… so after two blocks, one Atmos height… between left right, it’s 5 blocks and MLP is is directly below the 3rd block

SYMMETRY is key !

Big thank you to Jag , without his help, I wouldn’t have been able to get it done correctly…

The torture test revealed the Atmos objects tracking in square and diamond shapes are panning correctly with the home set up….jag was correct from day 1!

It’s really challenging for those who have mounted their Atmos speakers only to realise they were mounted incorrectly after testing with the spatial disc. Are you going to drill and re drill more holes ? That’s something you need to get it correct the first time, else it’s gonna be very troublesome

But I assure you if the speakers are placed correctly for Atmos , you will have a very pleasant experience

Oh yes, and if you are using different speakers for surrounds and mains, the disc will reveal this flaw as well!

One of the user had Dali speakers as mains and Yamaha speakers as surrounds. When the image transitions from mains it sounded brighter, when image moved to surrounds, it sounded warmer. Finally when it moved to phantom location, it was something in between warm and bright ! So you have 3 types of sound signature when using different speakers for surround. Imagine using 1 pair of different sounding speakers each at mains, surrounds and SB ? That is going to have rojak sound… you cannot escape from this disc…

Another conclusion, for a better experience, use all same type of tweeter for mains, surrounds and SB…

Solid disc… very helpful…

Oh yes, let me share further what went wrong with having the speakers placed higher and tilted downwards angling towards MLP.

Although the dolby guide mentions this as possible placement option, this didn’t work well. When testing surround backs width, the phantom back image collapses . You cannot get a phantom image at back width location, despite having the space for it. So imagine how much I was missing out…

The second problem then is that it now blends in with content from 50% height layer. Meaning your image is now panning somewhere around 75% height instead . So surround backs that are supposed to be at ear level that phantoms with height, will originally give you a height at 50%. Instead if you elevate the speakers to 50% height placement, it now produces the phantom image at 75% height, between bed speakers and Atmos speakers. There is not enough distance between bed layer, phantom height 50%, and 100% height

What follows is the sound pans from front stage left speakers at ear level, moves to surround left , no image at sb left width and suddenly elevated to 50% height and then back down again to surround right and mains right . Immediately I was able to tell the bubble is incomplete at the bed layers…

There are so many different recommended layout for surround and height channel speaker placement out there… this disc works very well for dolby atmos content….

One thing I am not sure is how it sounds when it comes to dtsX content… the disc uses the dolby atmos renderer … but I suppose the theory should work for any other format… because of a simple fact…: the speakers are placed symmetrically….

Another fun exercise and experience…

Level Up

Jag? as in Jag aka Dr Bass? is back?

Yea our Jag… but long time ago…

Before I got the construction guys to mount it, he invited me to his place, I was contemplating front heights… and how many speakers to go with on the ceiling…

Jag was patient, he went through one by one, disconnecting speaker cables and showing how it sounded with vs without… it was a good idea exercise ….

Once I understood the pros and cons, it was easier to inform the guys how to mount it on ceiling… thank god it was done correctly… if not I can’t imagine the nightmare to shift and re mount the speakers again on ceiling

1 Like

Someone on AVS shared the demo video, for those of you keen can check these out…

2nd file

https://drive.google.com/u/0/uc?id=1f_W5It4_FoDY3sGzPzUHRqMIqX2SHJoh&export=download

We no longer need to guess where the object is…

I didn’t quite like the early demo material, the helicopter, the jet flying above you, the Santeria jungle scenes…, the leaf :maple_leaf: scene, birds flying, are they flying above ? 50% height ? Or around you bed channel? All we’re guessing… those demo materials don’t really give you any visual cues

I still recall some were saying helicopter is circling around you from left to right, some are saying aeroplane flying from right top corner, middle then left top corner, some saying from middle to centre to back…. All sorts of guessing…

With the disc, no more guessing ! You can see the objects move on screen as sound moves around you, no need to guess, no need to argue… the spatial disc will reveal everything …

1 Like

Sounds good…

Very good! It’s exactly what we need.

Folders 7 has speaker pairs test for phantom image

Folder 8 is for tonal balance that test the entire system for SPLs balance

Folder 9 has object panning for testing sound stage and and how sound tracks the onscreen action

Folder 10 is the killer one, torture test. Here use the voice version, don’t use the pink noise version. You can tell how loud is his voice if it sounds balanced and how the objects are moving around you… this test will reveal what needs to be fixed…

Excellent disc!

Oh yea, you can check out how it works on some of the videos shared on YouTube here

A big thank you to the guys who created this, we never really knew how much to toe in speakers, how to place speakers correctly, how much levels to boost, how to achieve the phantom image, how to improve soundstage… this disc really helps… really worth it…

For me it’s a must have tool when calibrating the system, I use this disc with REW + UMIK 1 to dial in the system…

It can transform a $1300 denon 3700 system with simple Dali speakers to have good sound… no joke really…

A simple Atmos living room set up, with no acoustics…


Superb time alignment and check out the spectrogram … the bass energy decays in less than 400ms…

This room has 0 acoustics in place….

Sound panning, imaging and Bass hitting with speed, authority and articulation… only 2 simple Dali 12” subs… the subs were able to hit 105db clean down to 30hz < 2% THD

Oh yes, my relative was also convinced to go with phantom centre after a few rounds of demo… lol… :skull_and_crossbones:

Actually a lot of movies will have phantom sound once the speakers correctly placed.

I’ve rewatch maze runner with my kids, a lot of surround and back phantom activities that hovers around your MLP yet not knowing coming from which speakers. The panning just gives the chill that surprises you every now and then.

2 Likes

Nice, do you know the time stamp ?

Which episode is this ? 1,2,3 ?

Still in the stage of compiling some nice demo to track phantom images across the room…

The problem with most of the Atmos mixes is they are static… rarely do we get a dynamic Atmos mix … so the phantom image that tracks the on screen action at 50% height is quite rare… so far I’ve come across one mad max fury….

Do pass me those clips that you think is worth looking at. I intend to compile this in AVDisco Demo Disc 2 towards the end of the year or early next year.

1 Like

Sure, so far I’ve only found 3… still in the process of compiling them… will share once I have more info

1 Like

Also, if possible, avoid the use of upfiring Atmos speakers like these below :

If the situation allows, always go with speakers on ceiling, or in ceiling type speakers

With these sort of upfiring Atmos speakers, will you have sound at height levels ? Answer is Yes.

Will it give you the best Atmos experience ? Answer is No

What the user will be missing is all phantom images that is taking place between height and bed layer at 50%

Because the upfiring speakers sits directly above the mains speakers, there is no space for the height speakers to form this “phantom image” between itself and the bed speakers …

What we want is like this below, where one is on top, one is at bed, and when the sound pans, u get a phantom image at 50% height marked in “X”

Observe above in red the Top rear L will form one phantom image with surround backs L, whilst the top centre right forms the phantom image with surround right speakers.

The logic is just that simple…. For every bed speakers u have, u need another corresponding pair at height… so u r just recreating this second layer, which in the process creates another layer, which is the mid section between height speakers and bed speakers

Stereo system works the same, one left speaker, one right speaker… u have a phantom image in the middle… same basic simple logic … that’s all there is to it…

We will note that dolby uses the word “guide”, so it’s just a guide. Will it provide the best experience for every home ? Not necessarily. It really depends. This is something the user will need to know… the spatial disc will reveal and tell you that

Esp 3.
The starting already very good. 2m45sec there about the bullet surround panning

11min25sec, after “The Death Cure” you “should not” be able to locate where the sound coming from. There is meta object panning around the speakers.

15min52sec, phantom rear height center helicopter.

20min10sec height sound bubble

Just a few…

2 Likes

Oh wow, nice !

I will check it out for sure… thanks bro